After one of the wires under my Queen Anne Rowhouse burned up, I decided I should clean up the rat’s nest of wires to prevent future damage.

When I started electrifying the Rowhouse back in 2012, I was regretting that I connected the Fairfield’s lights under the floorboards, where I couldn’t easily access them if a light stopped working (which one of them did). In the Rowhouse, I decided to pull all the wires down to the bottom of the house and connect them there so I could access them later. I also thought I should leave the wires long, in case I needed to snip them to re-attach them to the tapewire at some point — I didn’t want to run out of wire and massively overcompensated.
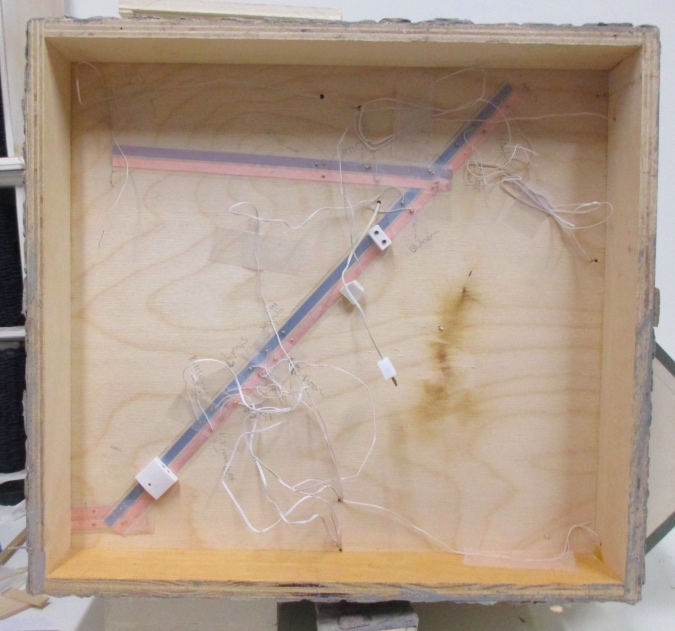
When I recently added two lights to replace the ones I had to break in order to re-wallpaper the stair rooms, I added plugs to the wires instead of hardwiring them into the tapewire. That went well, so I decided it would be much neater, and more stable in the long run, to cut all the wires short and attach them with plugs instead of hardwiring.
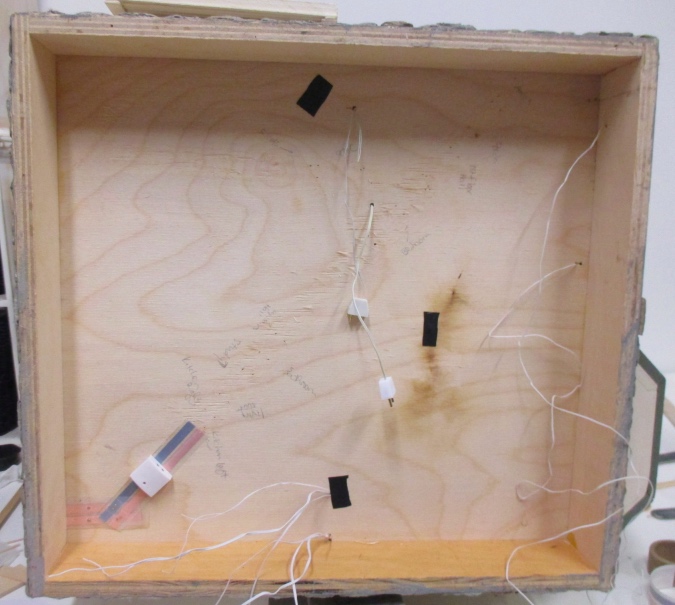
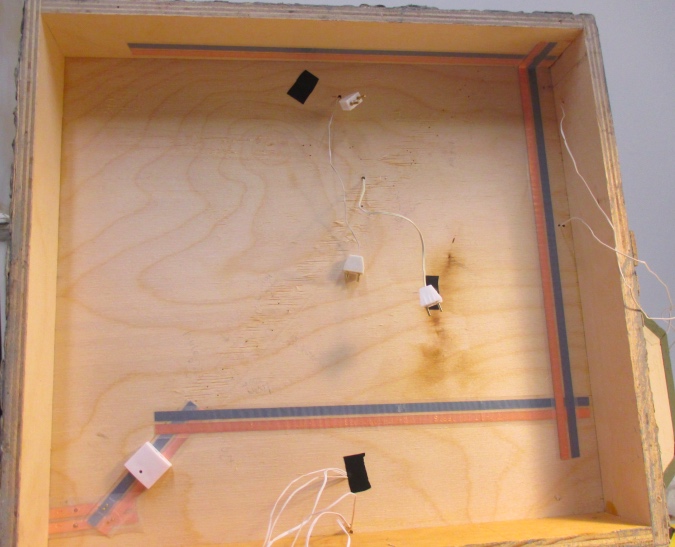
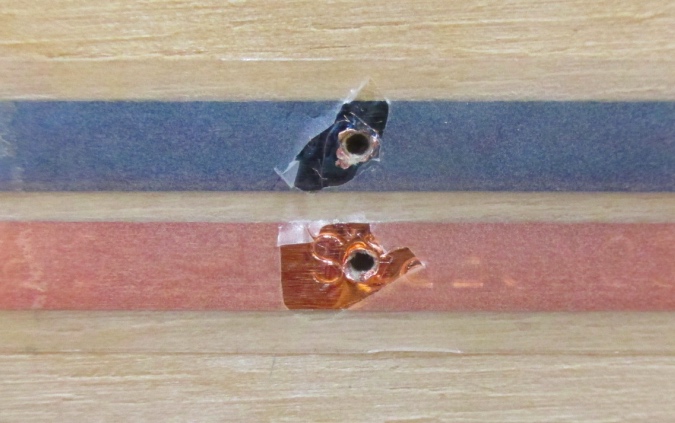
I started by disconnecting all the hardwired lights and removing the brads and the tapewire (I didn’t want the tapewire to be full of holes). The pieces of black tape are covering up the cut-off ends of the lights that had to be removed, so they don’t accidentally touch any other metal in the circuit and cause a problem.
I thought about using a power strip instead of individual outlets. (It would have had to be connected to the tapewire somehow, since there are two outlets inside the house that are plugged into the tape.) It would have made this project much quicker, but I decided against it because the wires come out in a bunch of different places underneath the house. For all the plugs to reach the power strip, I would have needed some long wires, and cleaning up the wires was the whole point.
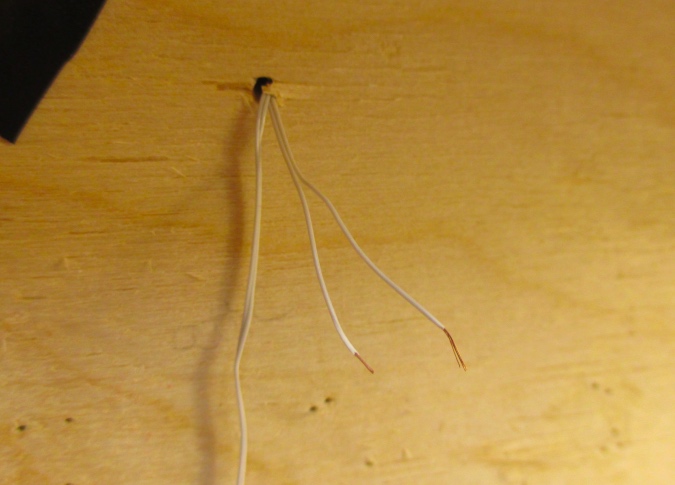
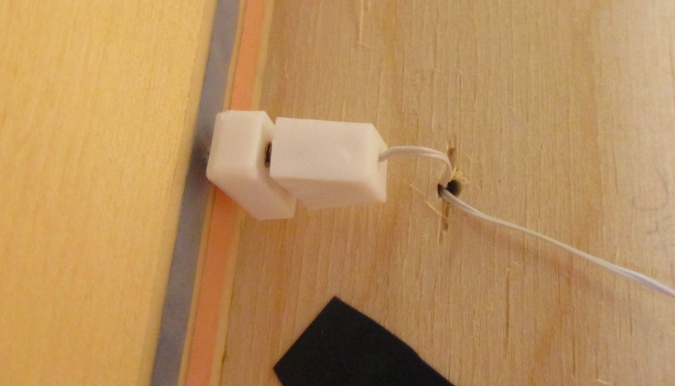
The shortest wire is the one coming from the attic. I only had about two inches work with. I added the plug to this wire before laying down the tapewire, to ensure I put the tapewire in a position the plug could reach.
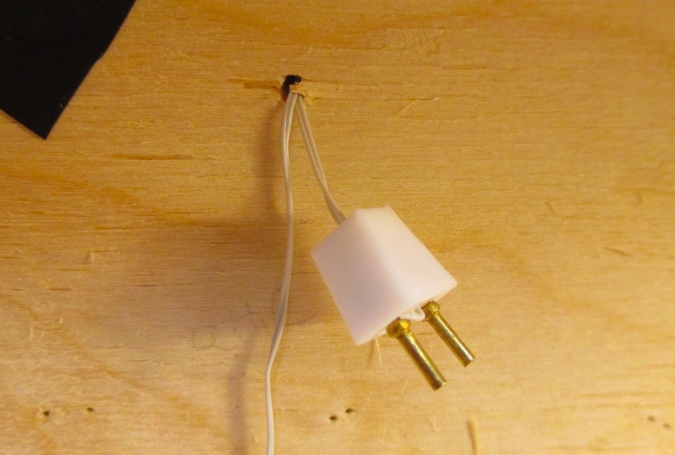
I managed to get the plug on without any drama, but now the wire’s even shorter!
It’s too short to plug into tape wire on the bottom of the house, so I ran some along the side instead. Then I put down the other two pieces and used brads to make connections between them.
I plugged the plug with the short wire into an outlet and then poked the pointy ends of the outlet into the tapewire, so I’d be sure that the plug could reach.
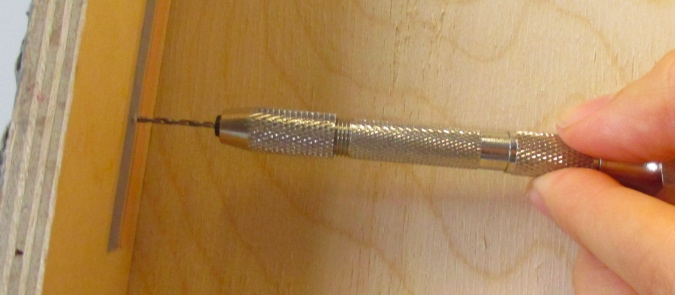
When I put an outlet in the bottom of the house to test the new lights I installed a few weeks ago, I totally mangled it trying to pound it into the plywood without pilot holes. This time I used the micro drill to make the holes, using the dimples that were created when I poked in the outlet’s pointy ends.
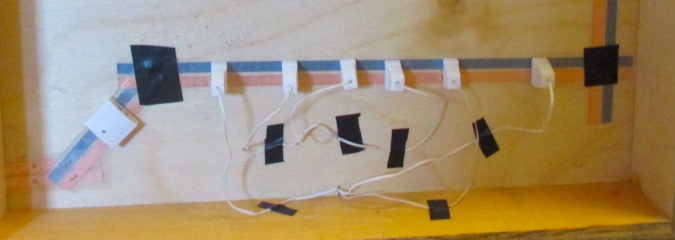
Here it is with all of the plugs and outlets in place. It took a few hours to get them all in and working, and it wasn’t fun! I tested each light as I went along, and needed to jiggle the outlets around a lot to get them to make a connection with the tapewire.
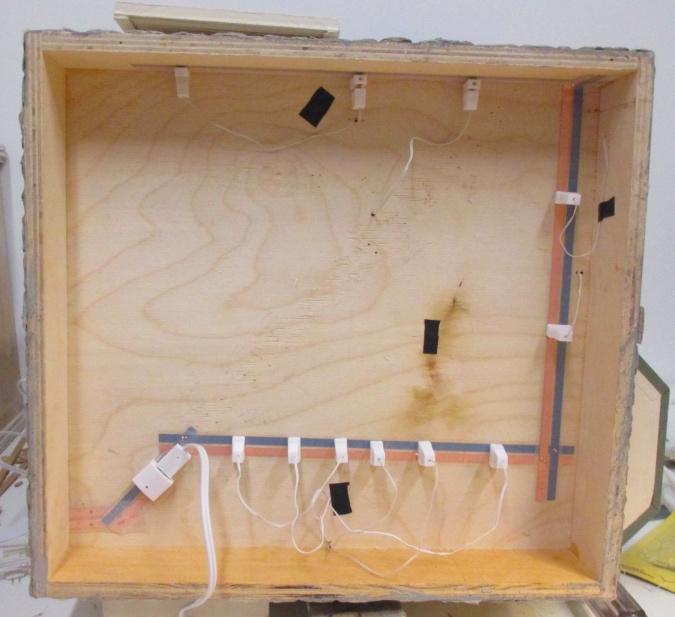
I hadn’t considered that by drilling holes into the plywood, I was creating a channel for the metal spikes to pass through the tapewire without actually touching it. I ended up scraping off the plastic around the holes so there would be exposed metal for the flared ends of the spikes to make contact with, and even then needed to do some jiggling to get some of the outlets to work. On the bright side, the outlets are nice and snug in the drilled holes, and I don’t have to worry about them falling out.
I used electrical tape to cover up the brads where the pieces of tapewire attach to each other. In the past I’ve done this with Scotch tape, which doesn’t hold up well over time. I also taped down some of the longer wires so they won’t hang and potentially get caught or scraped when the house is moved around.
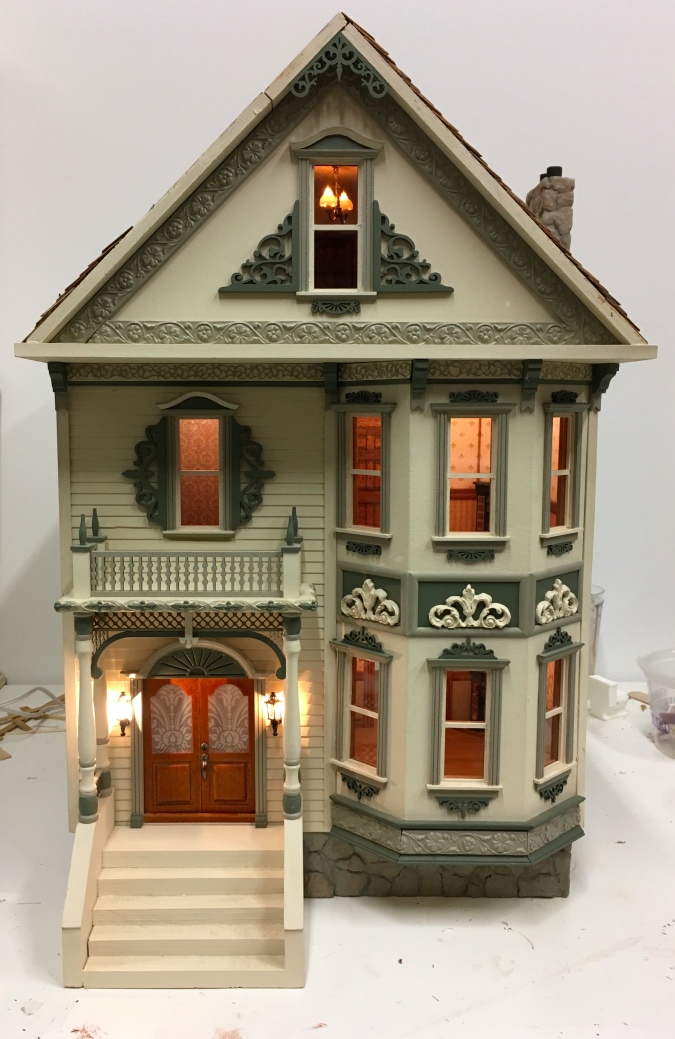
LET THERE BE LIGHT! I keep saying I’ll never electrify a dollhouse again, and I probably mean it, but there are few things more exciting than turning on the power and seeing the house all lit up.
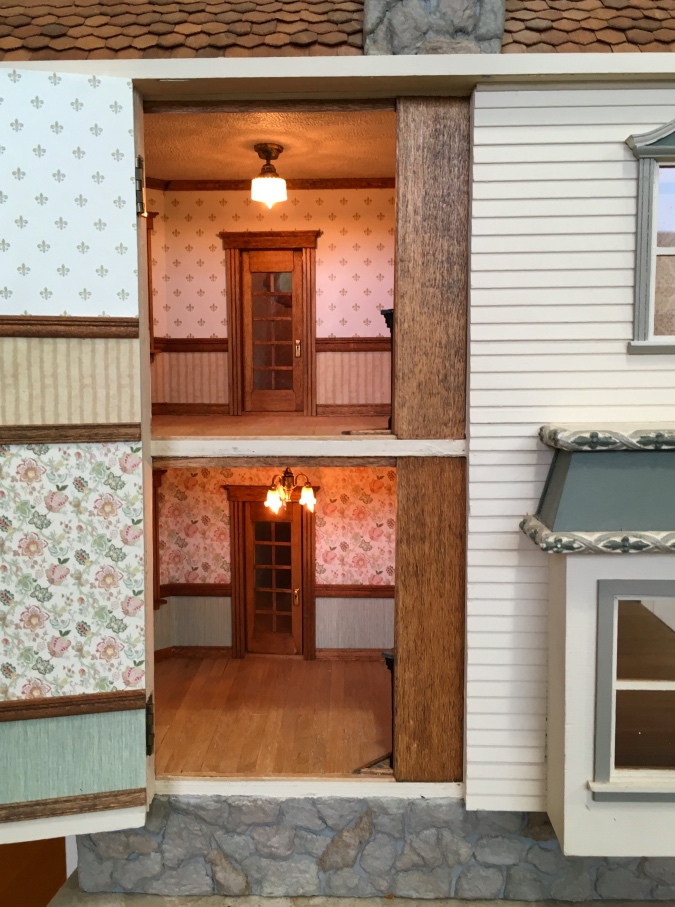
These are the lights I had to replace in order to re-wallpaper this room (there used to be wall sconces and a hanging light in the second floor stairway, which is now gone). The new lights actually illuminate the rooms better than before.

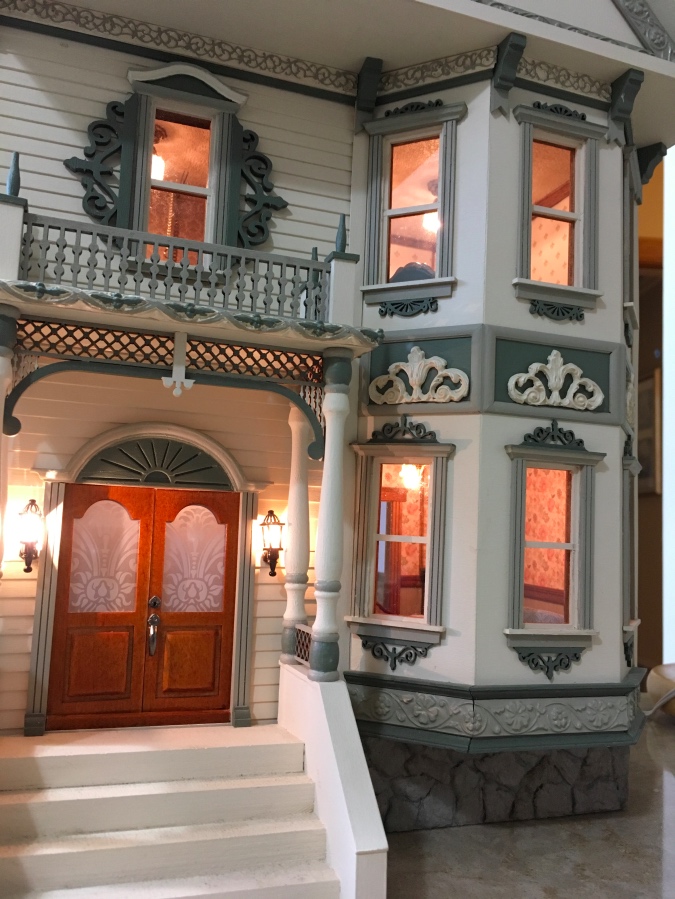
Here’s the other side of the house.
The third floor bedroom has an outlet for lamps. The outlet will be hidden under the bed.
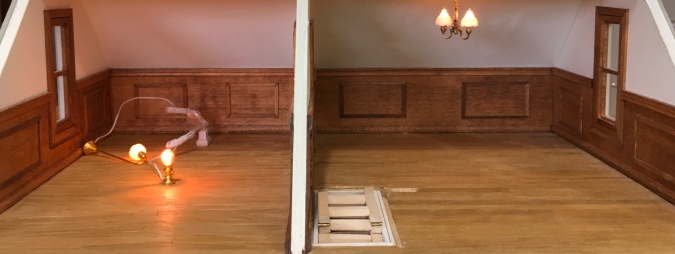
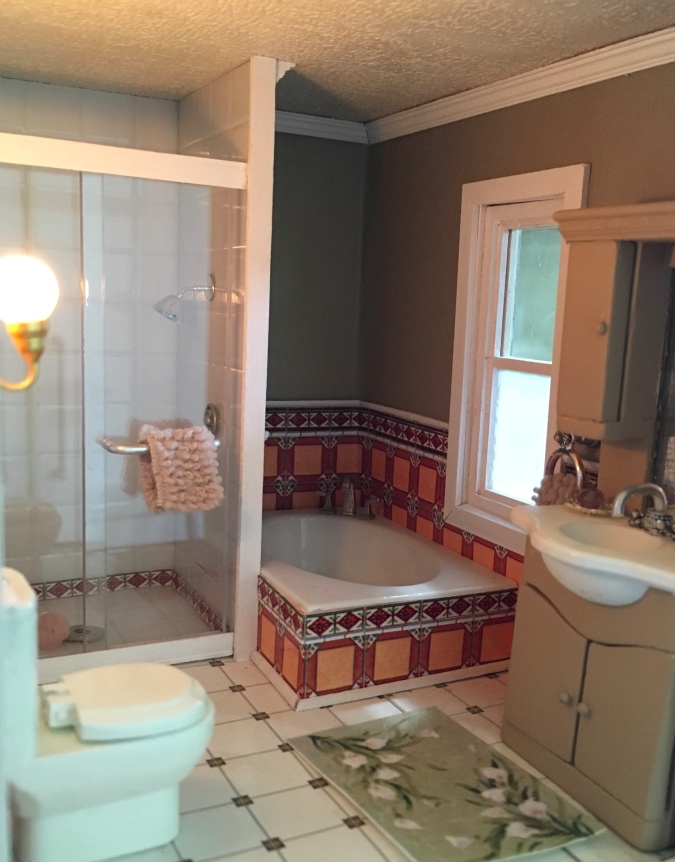
In the bathroom, the tub area is dark and I wish I’d added another sconce there. The stair room is on the other side, so I could have done that before I put in the new wallpaper. But the wire from the attic light is running down that wall, so I could have accidentally destroyed that by drilling through it — and considering all the problems I’ve had electrifying this dollhouse, I probably would have!

Of course, seeing all the lights turned on made me want to put the furniture in. (This house has been packed up since I moved in 2015.) I’m still playing around with furniture and will change some of this, but here’s what I have right now.
My kitchen cabinets are a slightly bashed SDK Miniatures modern kitchen kit. You can read more about it here.
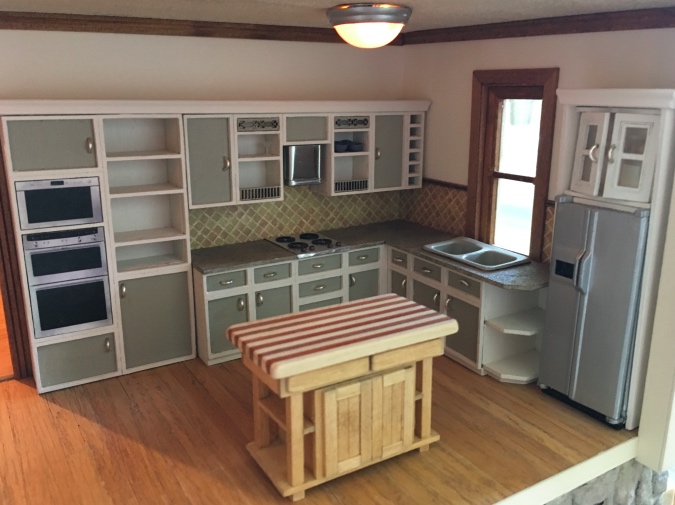
I made a glass topped table to go on the other side of the kitchen, but decided it’s too modern. I have another idea for this area that I’ll post about soon.
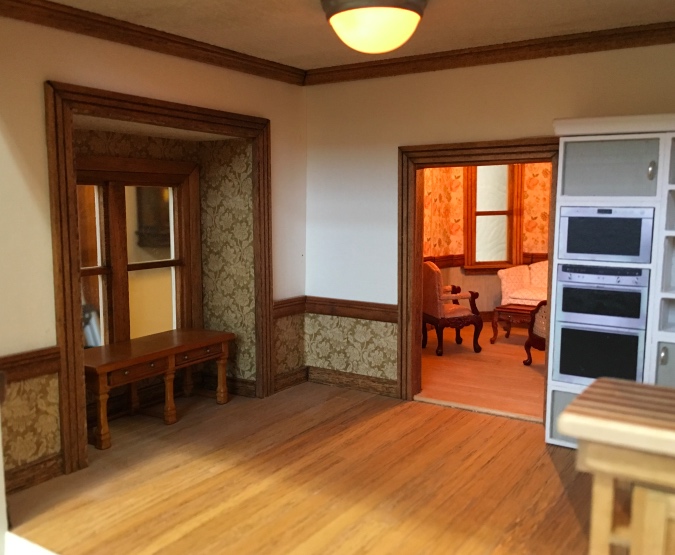
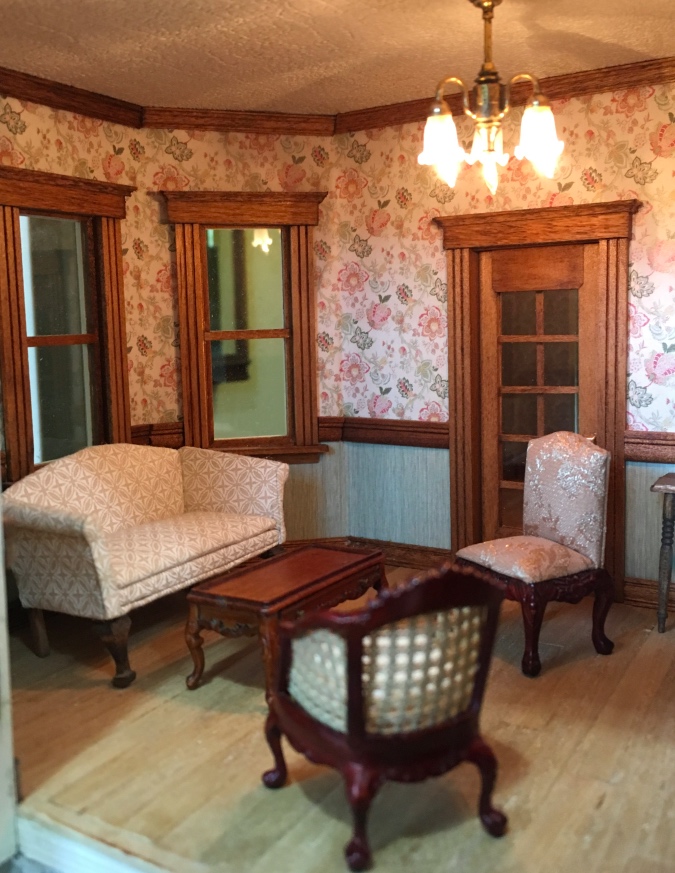
Through the kitchen door is the living room. I envision this as a modern house, but the owners have a lot of antiques and have decorated it like an old Victorian. (That said, I’m not sure if I’ll use this furniture — it feels a little haphazard.)
The french door in the living room leads to the first floor stair room.
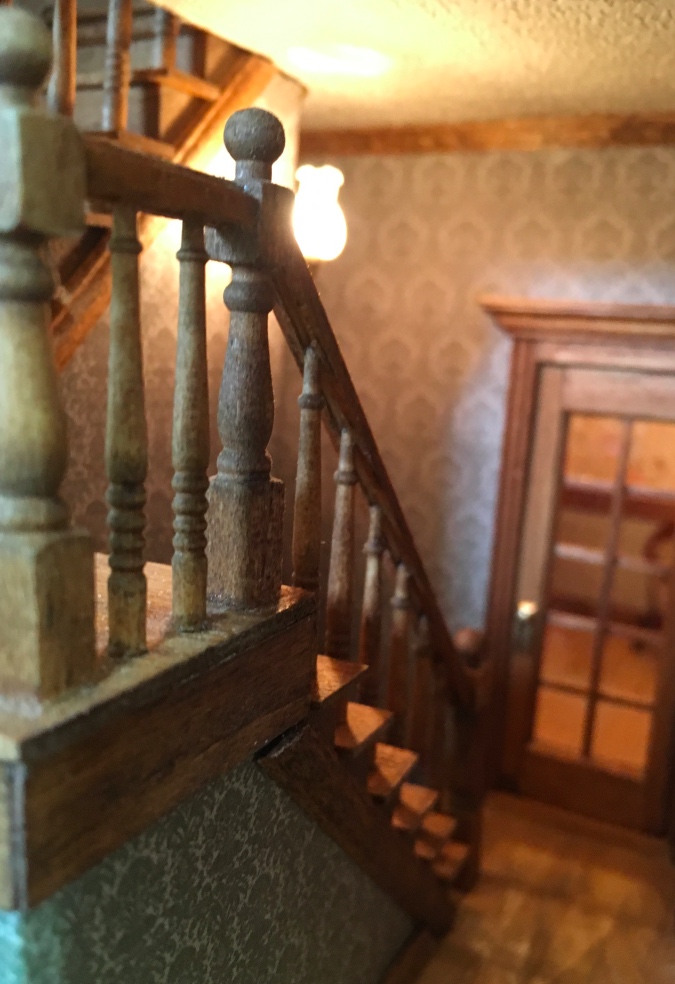
Which leads up to the second floor stair room. I still have to add the railings and finish the trim in this room, but I need to fill up the bookcases first since they’ll be hard to get in once the railings are in place.

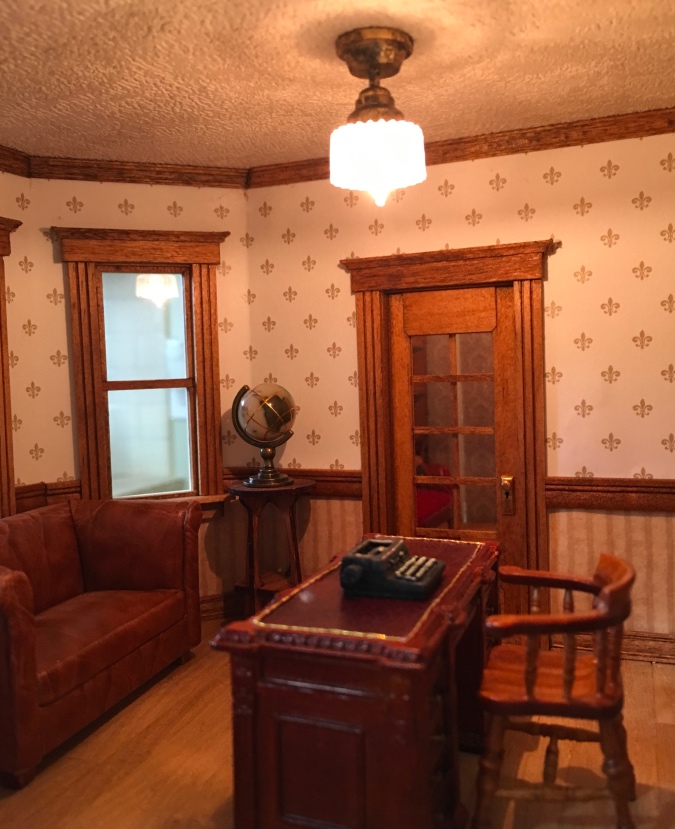
The french door leads to the office.
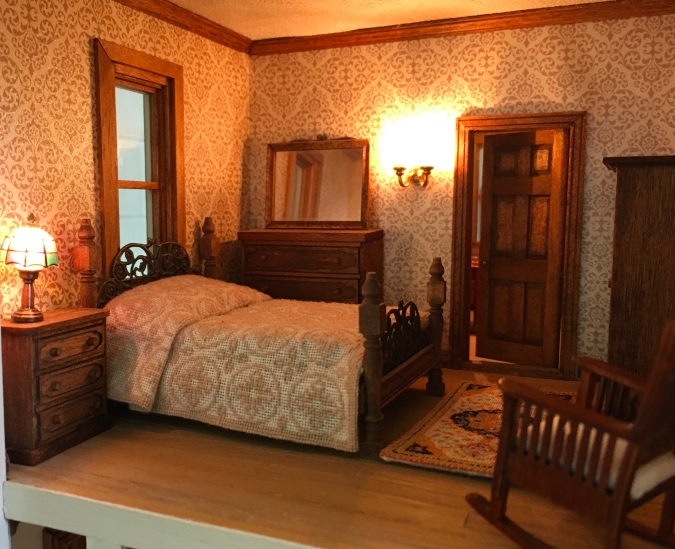
Behind the office is the bedroom. Here’s a tutorial for making the filigree bed. (Fun fact: that tutorial gets more traffic than any other page on my website!)
And the bedroom connects to the bathroom. You can read about how I made the shower here.
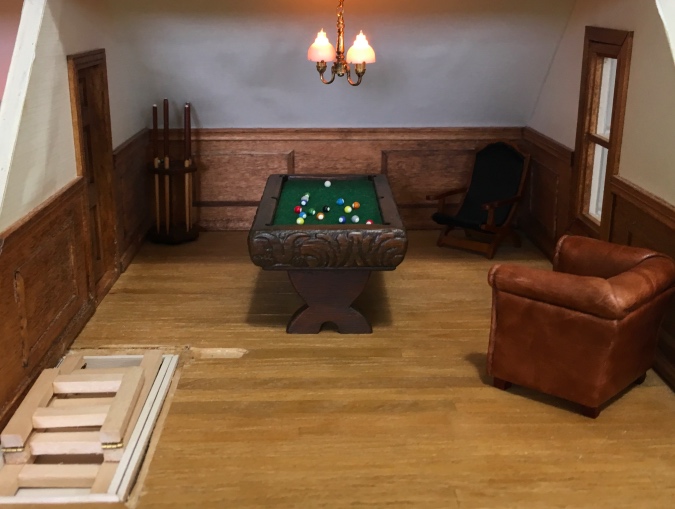
Going up another level (via fold-down attic stairs), we have a billiards room. (Don’t ask me how they got that pool table up the ladder!) The pool table and cue rack were purchased separately, but made by the same artist, Rae Backus. Since pool’s always more fun if you’re drinking, I’m planning to add a side table with the cocktail set I made for this year’s swap.
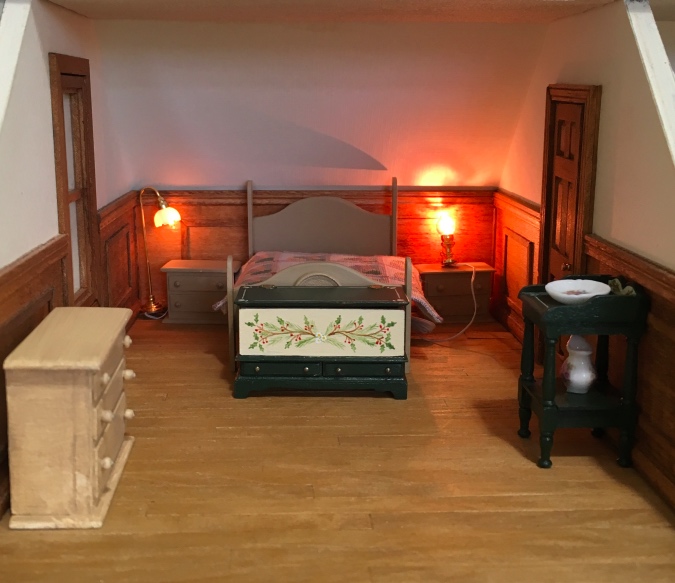
And here’s the attic bedroom. I don’t think I’m going to use this furniture, but this will be the layout, with the bed hiding the outlet. (Is it me or does the floor lamp seem comically short?)
There’s always the chance that the next time I go to turn on the lights, they just won’t work, so I’m glad I have photographic proof. Now repeat after me: “After this, I’m never electrifying a dollhouse again…”
 Emily is a freelance writer, miniaturist, and adventure game enthusiast.


I love how it looks! I feel your pain with electrical. It’s never easy and never fun and always has something go wrong!
But the end result is so pretty!
Maybe they brought the pool table up the stairs in pieces and built it up there? Like they would have had to do with the bed.
When I was a kid, I had a friend who lived in a Queen Anne Victorian, and they had a pool table up on their third floor that was up a flight of narrow twisty-turny stairs. I figure if they somehow got that thing up there, then it’s believable that my dollhouse people found a way!
Three cheers for you Emily!
I am thankful that I am not an electrician in RL…..my husband would be collecting life insurance at this very moment.
Thank you sharing your triumph, it looks nice and neat and the house is gorgeous.
Thanks! I just clicked on your blog and see you’ve been going through the same thing. I’m glad you worked it out, your coach lights look awesome!
It looks so nice what you have done.
Thanks for all the technical explanations.
You’re welcome! Thanks for visiting. :)
This has been a EUREKA! moment for me. I ‘inherited’ a house with a box of seemingly random lights and electrical bits; now I see how I can neatly combine the tape wire with the plugs and outlets. Thank-you so much!
Great! I like using outlets (assuming you get a good connection to the tape wire), as long as they can be easily hidden. I don’t even mind the chunky 1:12 plugs for a half scale house if you can’t see them.
Beautiful!
Thanks!
Looks beautiful! I have never been brave enough to electrify my houses.
Thanks! I keep saying I’ll never do it again, but it really does enhance the house, especially for pictures. The ones I haven’t electrified, I get disappointed about how dark the rooms are, especially the Victorianna since it’s deep.
Your house is beautiful, inside and out! Wiring my dollhouse is the next step, and I’m scared to death of it! It’s my first house, Harborside Mansion, and I think I may have bit off more than I can chew! I’m saving all your tips; I need all the help I can get. For the dark corner in your bathroom, would a battery operated light work? Just an idea. I enjoy your blog and your honesty!!
In theory it would, but the battery operated lights are out of scale for half scale. Even the ones that are supposed to be half scale (like this) look weird to me because the battery pack is so so big. But I think those are a really good choice for 1:12 houses, or if the light can be hidden (which I’m doing in the towers of my Victorianna).
You’re electrical solutions have earned you a Certificate of Excellence! Modifying an already completed project involving both the wallpaper, the electrics and the stairs was a challenge for you but your persistence prevailed and the house looks TERRIFIC especially with the lights on! Beautiful Work!!!
Emily…it is looking wonderful! Great job.
It’s so good! I love it. You clearly put a ton of work into it.
I love this house! I have watched you fix up the inside not knowing what it looks like outside. So, so cute. I think I have bemoaned my lighting problems. I like the way you plug them in on the underneath of the house. And I know well that my lights will work today, but maybe not tomorrow. I have flickering fireplace light that hasn’t worked in weeks. Everyone now and then I turn on the lights on my three lighted houses just see if the lights work at or which ones will fail. I have decided not to worry about them when I know that I haven’t made an error. Great work, Emily.