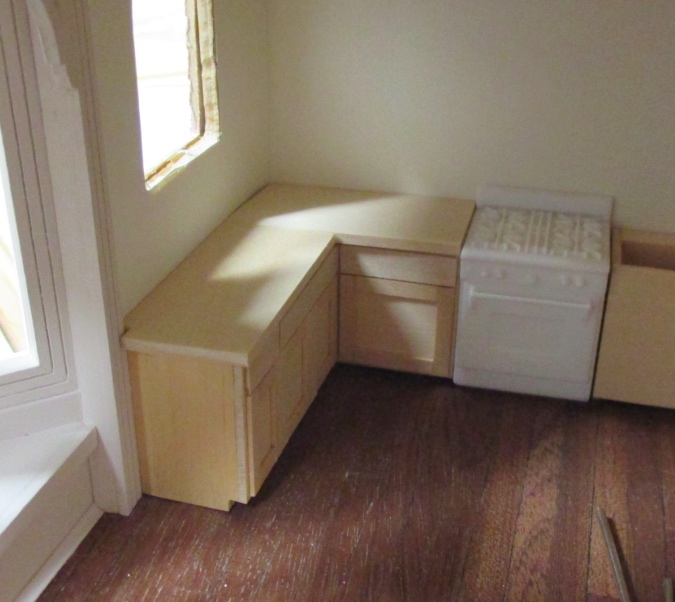
The Victorianna’s kitchen sink will be centered under the window. After building the cabinet, I next needed to figure out how the window lined up with it.
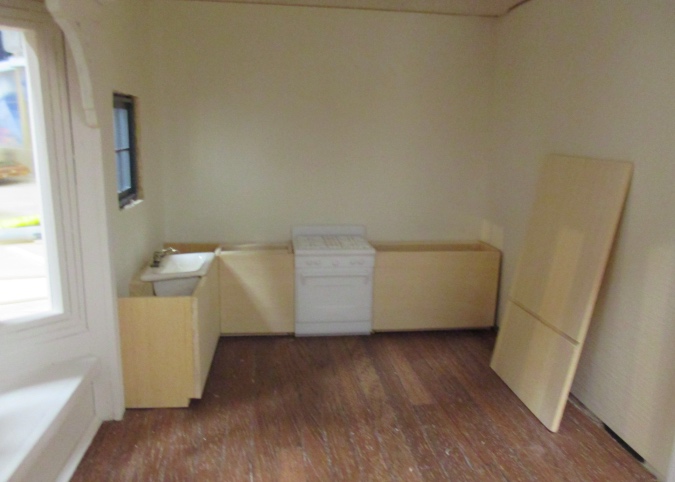
The window isn’t glued in yet. I held the cabinet up to the window hole and marked the edges of the window on the back side. Then I measured from the edge of the cabinet to these lines, and made lines in the same spots on the front side.
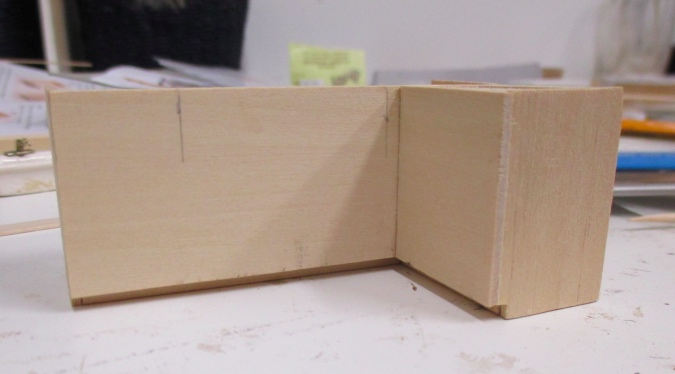
The window hole is slightly less than 1.5″ wide, so I decided to round up and make this a 1.5″ cabinet (36″ in real life). I learned when renovating my own kitchen that this is a standard size for sinks.
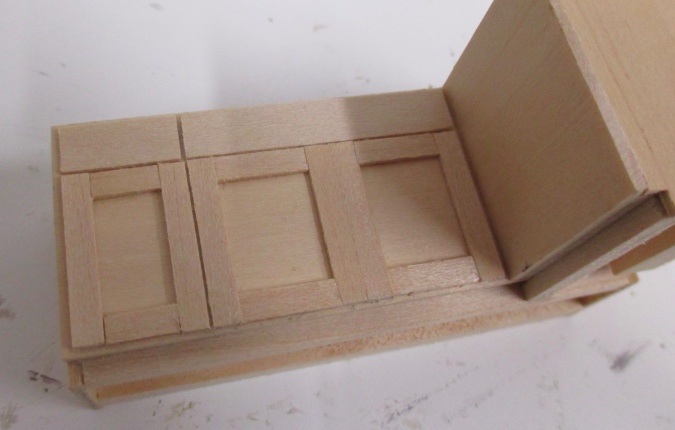
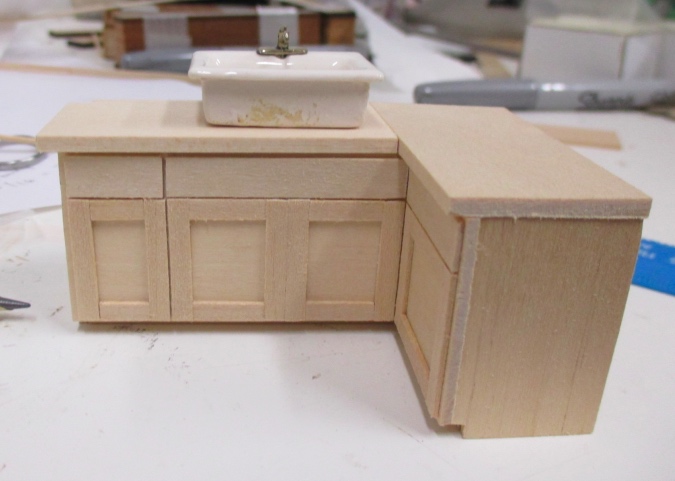
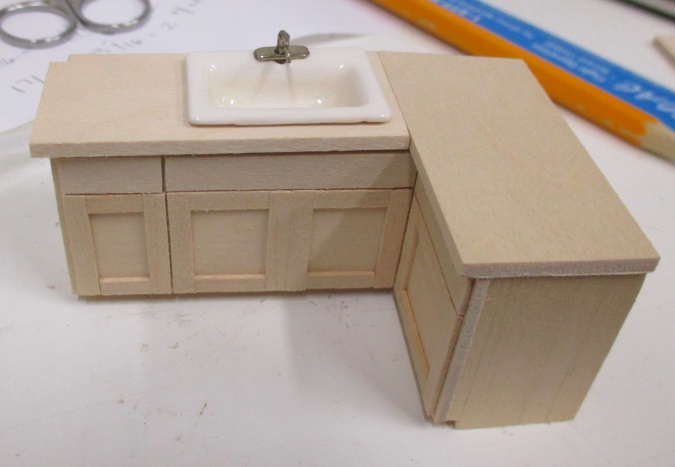
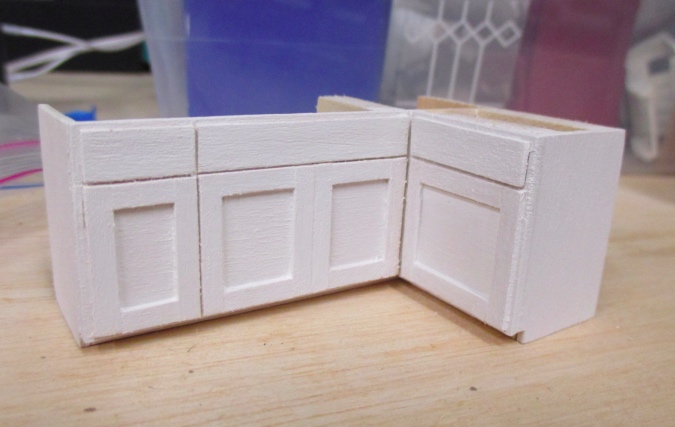
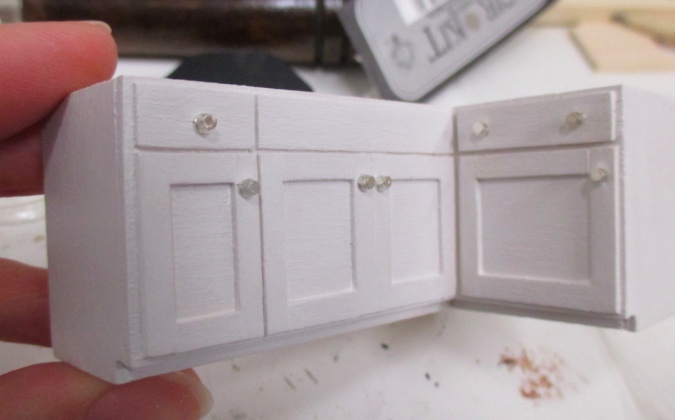
I’m using 1/4″ x 1/32″ basswood for the drawers and 1/8″ x 1/32″ for the doors. I cut the drawers first and glued them on. Next I cut vertical pieces for the doors and glued these on, lining them up with the edges of the drawers. Finally I cut the horizontal door pieces to fit inside the vertical pieces. Simple, Shaker-style cabinets!
Next I cut the countertop pieces. As you can see here, the wall isn’t square so the countertop piece doesn’t reach all the way back.
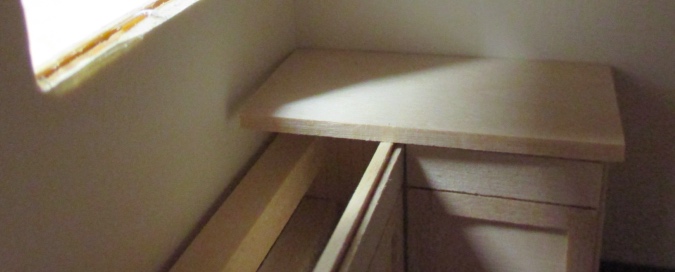
I used the belt sander to sand an angle that contours to the wall (more or less). The crack of space at the corner will be covered up with the backsplash. The countertop is flush where it meets the stove, but slightly overhangs on the other side (just like in my real kitchen). I notched it so it fits around the bay window trim.
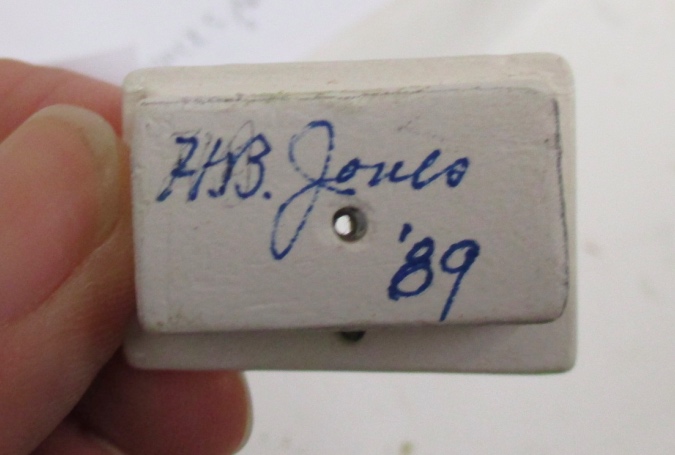
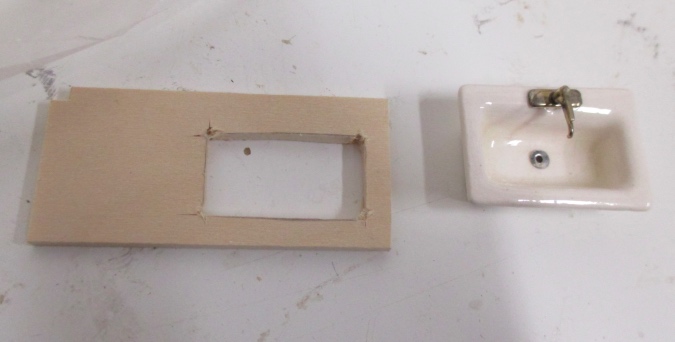
The sink I’m using was made by Horace Jones, an artisan who did a lot of half and quarter scale sinks in the ’80s and ’90s. Jenn’s Mini Worlds has a post with pictures of one of his half scale kitchens. I got the sink for $1(!) at a miniature flea market this past summer.
I set the sink on the counter and lined up the faucet with the center of the cabinet, then drew around the bottom of the sink with pencil.
I cut out the hole with a utility knife. I actually messed this up twice and had to create new countertop pieces — no matter how carefully I cut through the grain, the skinny part on the edge of the hole kept snapping off. Then I remembered this trick my dad taught me and used my micro drill to drill holes at the four corners.
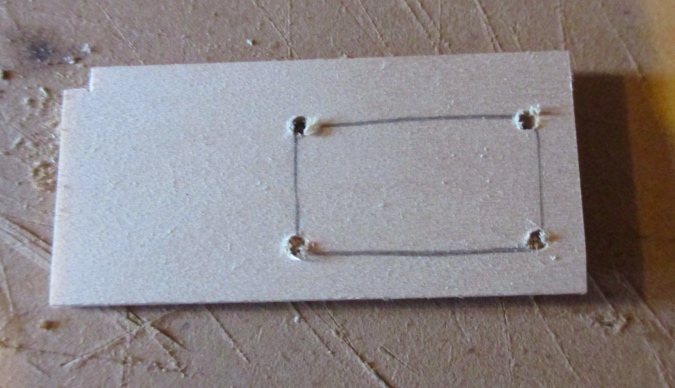
I was then able to cut out the hole without the wood splitting. After cutting (and after taking this picture), I sanded it with an emery board until the sink fit comfortably.
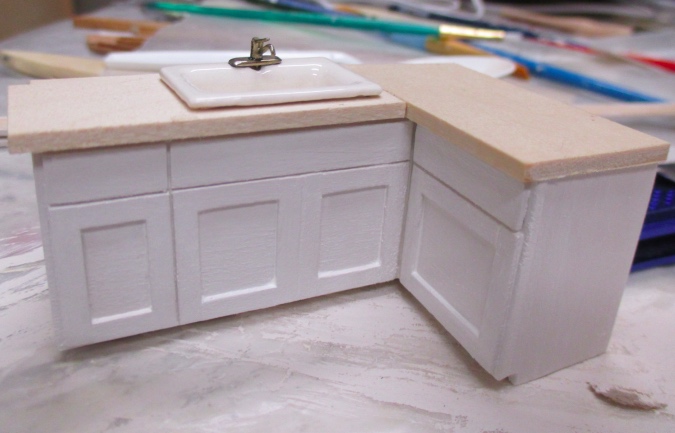
Here’s how it looks. The seam where the two pieces meet won’t be visible once I paint the countertop.
I didn’t notice until I had the sink in the counter that it isn’t a perfect rectangle, it’s a bit skewed. I’ll position it so the front is parallel with the edge of the counter.
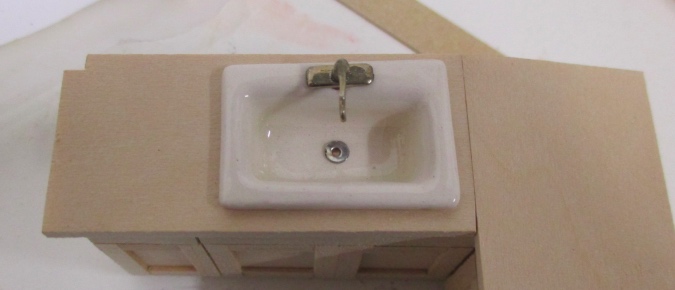
When it’s in place I don’t think you’ll be able to tell.
Next I painted the cabinet. I was concerned about paint getting in the seams between the doors and filling them up too much, so I watered down the paint. I initially used Tuscan Beige, the same color I’ve used for the trim and built-ins throughout the house.
The watery paint raised the grain on the wood significantly, causing a lot of little hairs to emerge on the edges of the door and drawer pieces. (It looked awful for a while!) I tried sanding with an emery board before the paint was fully dry, which only made it worse. I actually had to replace the drawer and top door piece on the right-most cabinet because they got so chewed up by the emery board.
I let it dry for a day and then sanded gently with 400 grit sandpaper, which worked much better. But when I put it in the kitchen to see how it looked, I didn’t like the cabinets being the same color as the trim. It needs some contrast.
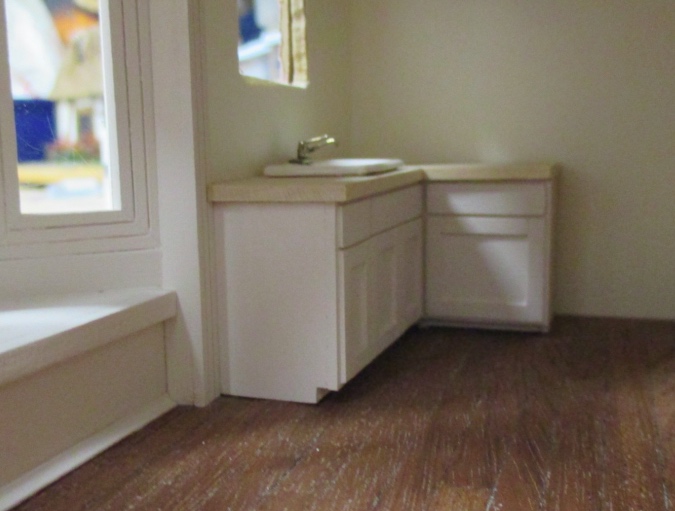
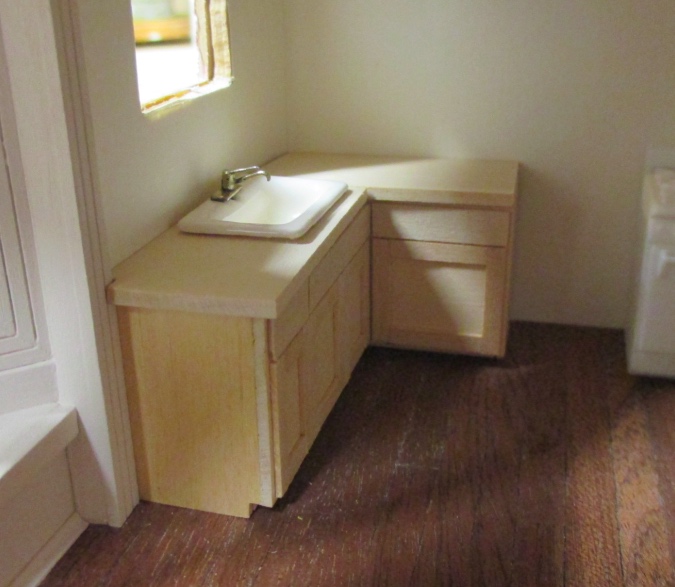
I repainted with a Behr sample named Bleached Linen. This paint has a satin sheen, which works better for kitchen cabinets, anyway. (I was going to use varnish on them but now I don’t have to!)
It’s not a huge difference, especially since the room is deep and shadowy, but I think this looks better.
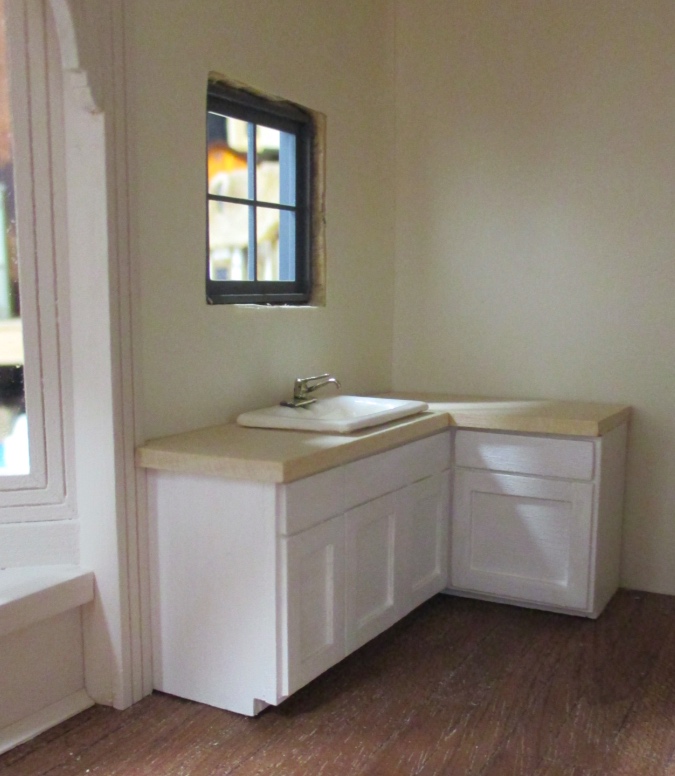
The last step was adding pulls. These are cut down head pins inserted into clear silver seed beads.
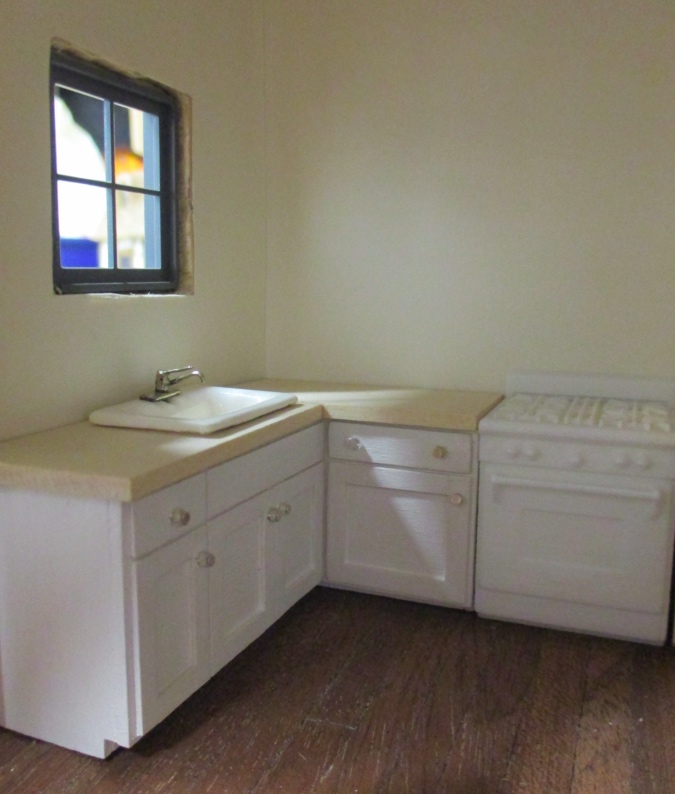
Here’s how it looks in place. I’ll wait to paint the countertops so I can do them all at once (I still have two lowers to build for the other side of the room).
 Emily is a freelance writer, miniaturist, and adventure game enthusiast.


Nice job! I like your dad’s trick for cutting out a hole without the wood splitting. I will have to give it a try. The new color on the cabinets looks really good, and I like your little drawer pulls, too.
Thanks!
Another tip from Dad: It looks like the inside joint of the sink under the lip is slightly rounded. If you bevel the edges of the cutout the sink should sit flush with the countertop. Usually there is caulk around the lip where it meets the counter but at half scale as it is now that would be almost 1/2 inch thick (real world).
Good idea, I’ll try it.
Your persistence is paying off and your sink unit is coming along very nicely! I love your PERFECT little sink but what a GREAT FIND and for an UNBEATABLE price – double bonus!! :D
What a delightful sink…can’t imagine finding such a little gem at such a great price. That perfect sink adds to the realism of the already impressive cabinets around the sink…love the cabinet style as it seems to be one that remains very popular. You have done a lot of work to ensure there is nothing that the eye can spot that is incorrect.
It looks lovely! I can’t wait to see your uppers and backsplash!