Before I could glue in the Victorianna’s flat roof, I had to finish a few things in the master bedroom and bathroom that would be too hard to reach once the roof was on, starting with the bedroom closet.
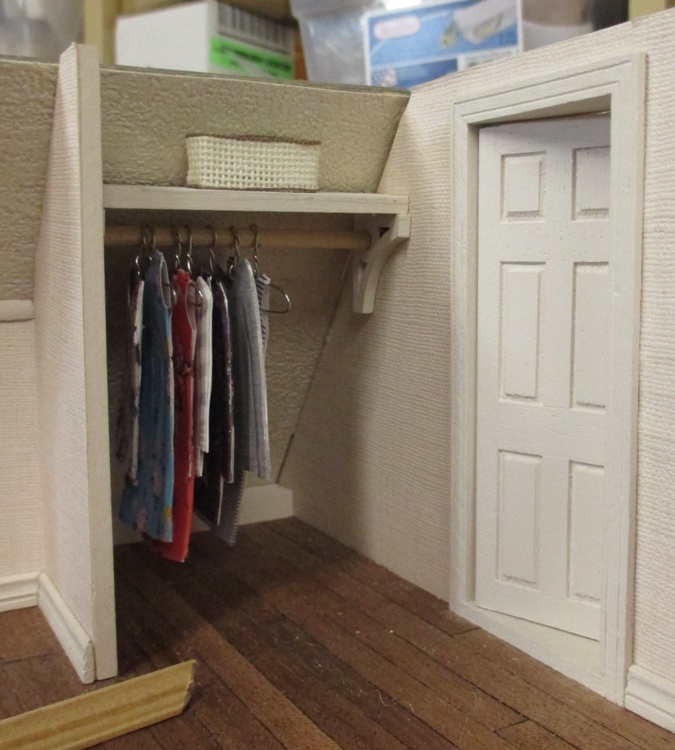
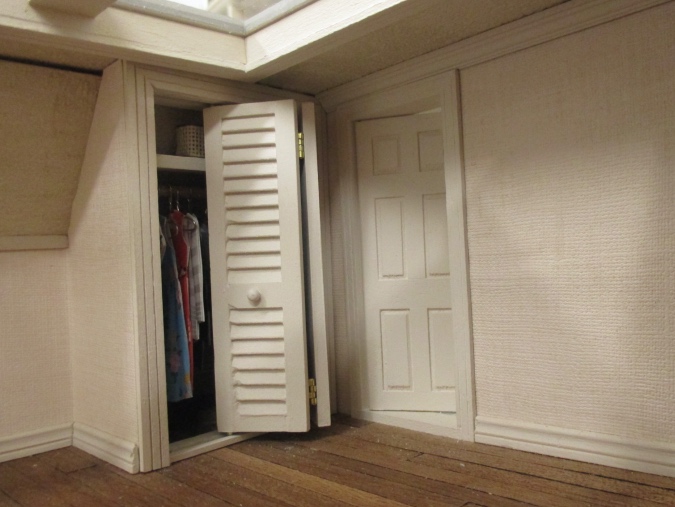
As a reminder, here’s how the closet looks inside. You can read more about the creation of this closet here and here.
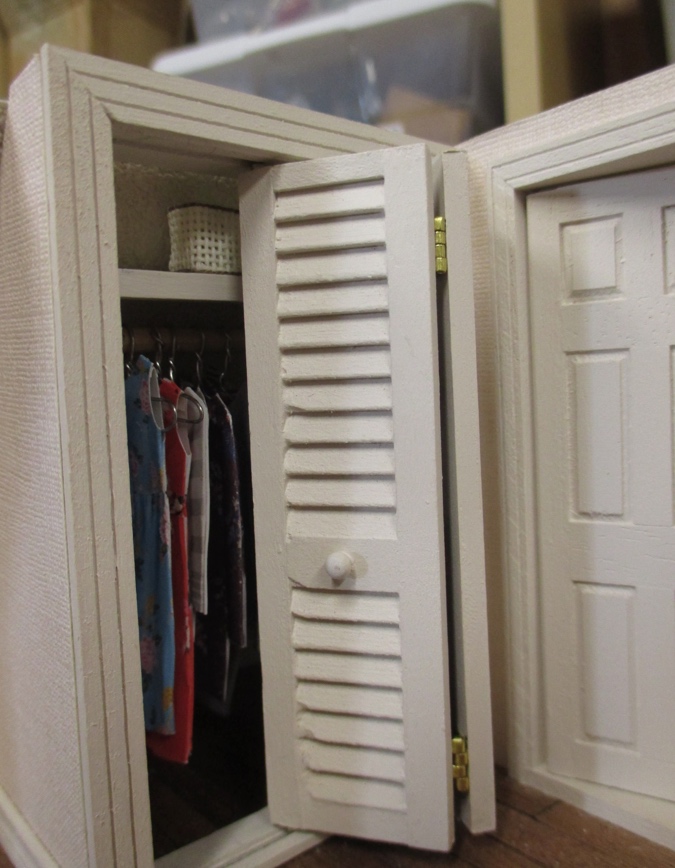
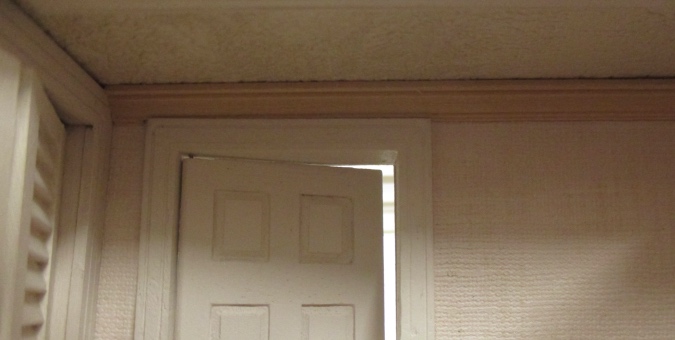
And here it is with the door on. Though the door opens and closes, it doesn’t close smoothly — it gets stuck halfway closed. To close it the rest of the way, I have been reaching down from above and holding on to the top of the closet with my fingers while pushing the door into a flat position with my thumb. I can’t do that once the ceiling is on, so this may well be the last we ever see of the inside of this closet.
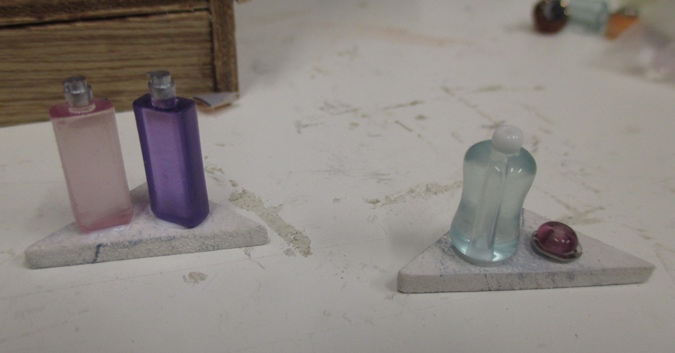
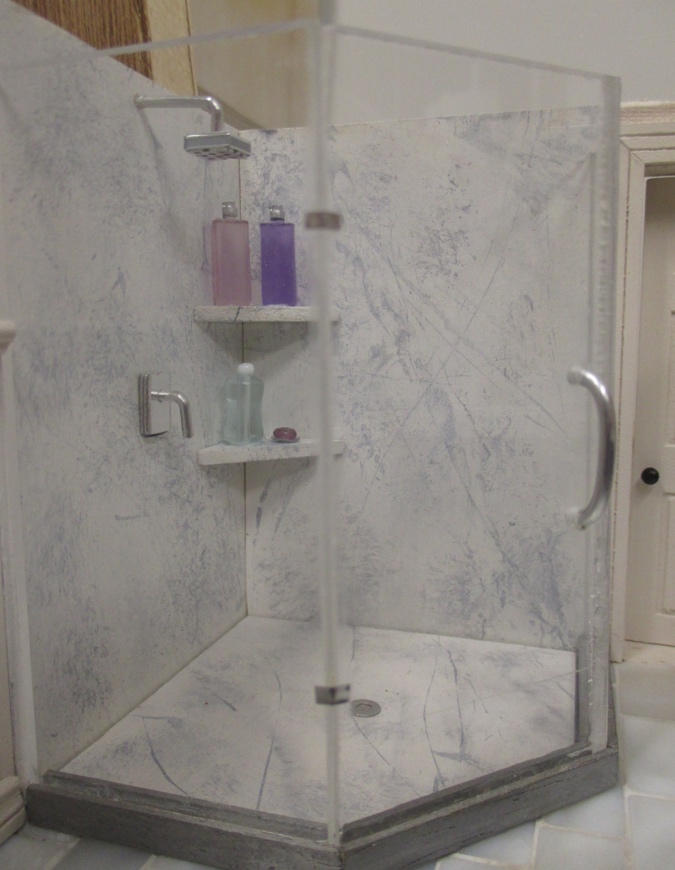
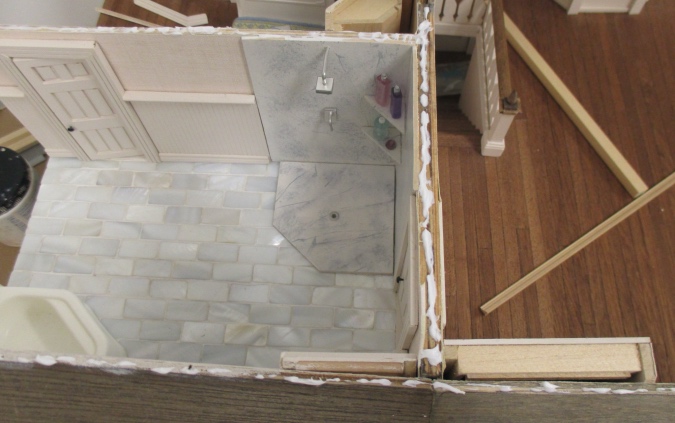
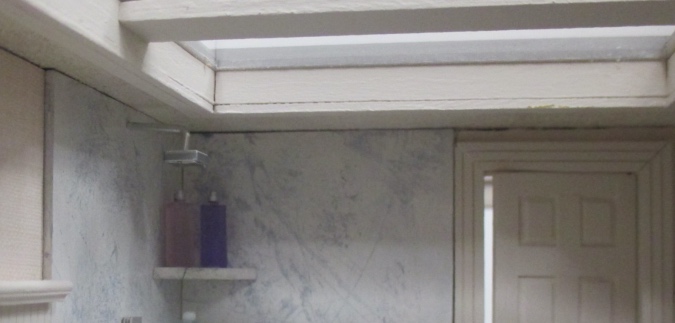
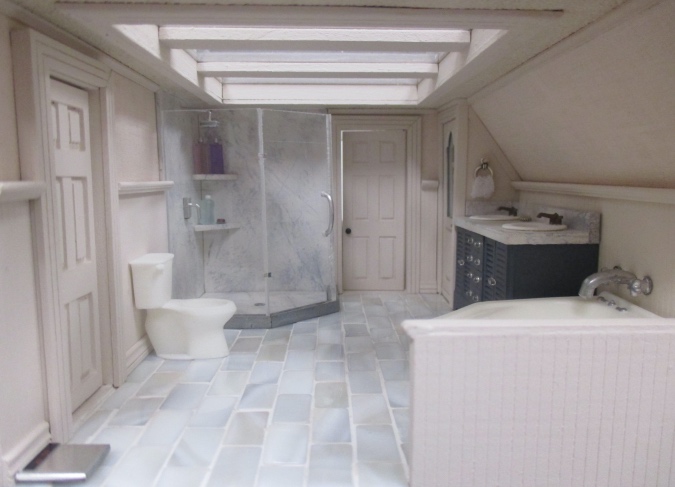
On the other side of the wall, in the master bathroom, I added shelves to the shower. First I glued on these shampoo bottles and soap in a dish. I should have added labels first but I was impatient to get this done, and finding/resizing/printing labels seemed like a big chore at the time. (The lack of labels will probably annoy me forever…)
I glued in the top shelf first, with a spacer below it to hold it at the right height.

Then I glued in the bottom shelf the same way.
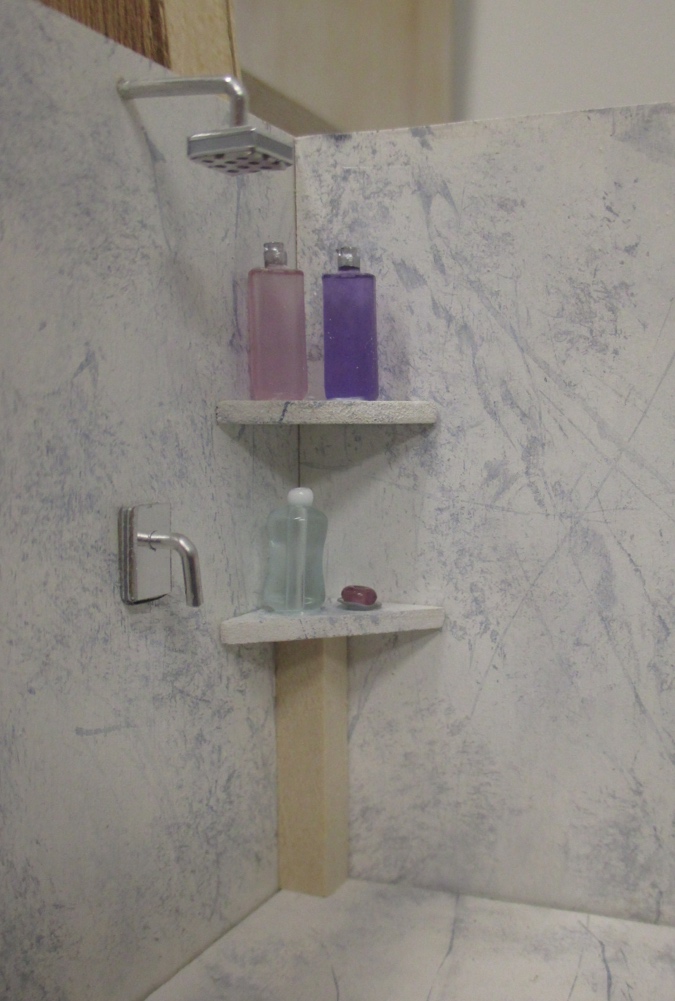
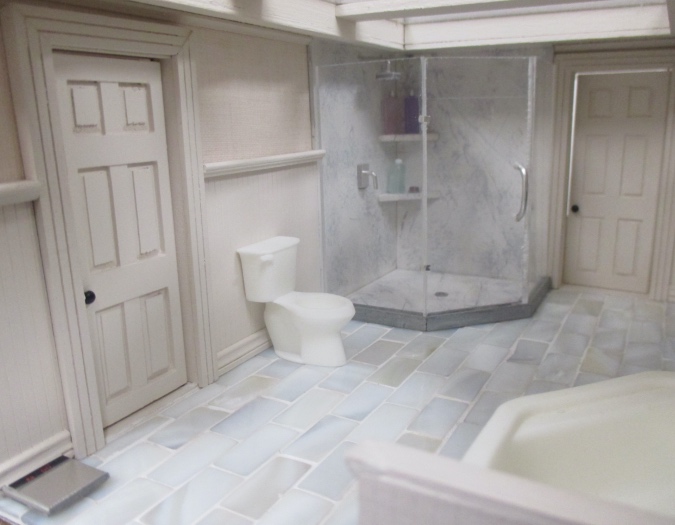
Done! In hindsight I wish I had added grout to the seams where the shower walls and floor meet each other. Oh well.
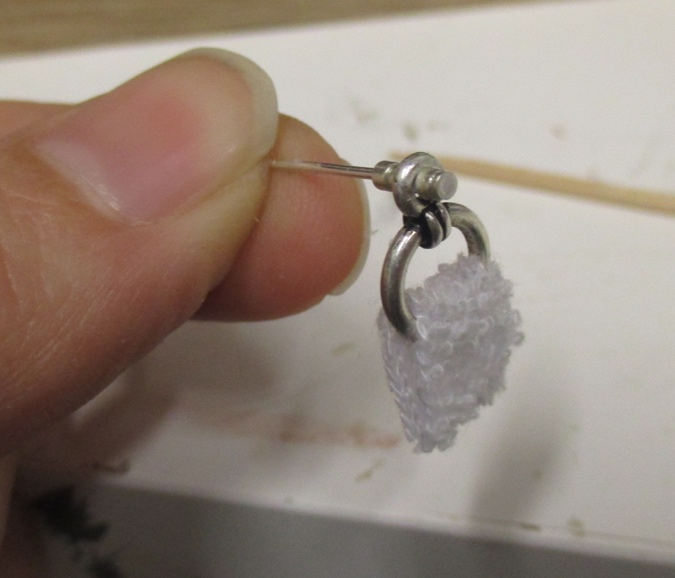
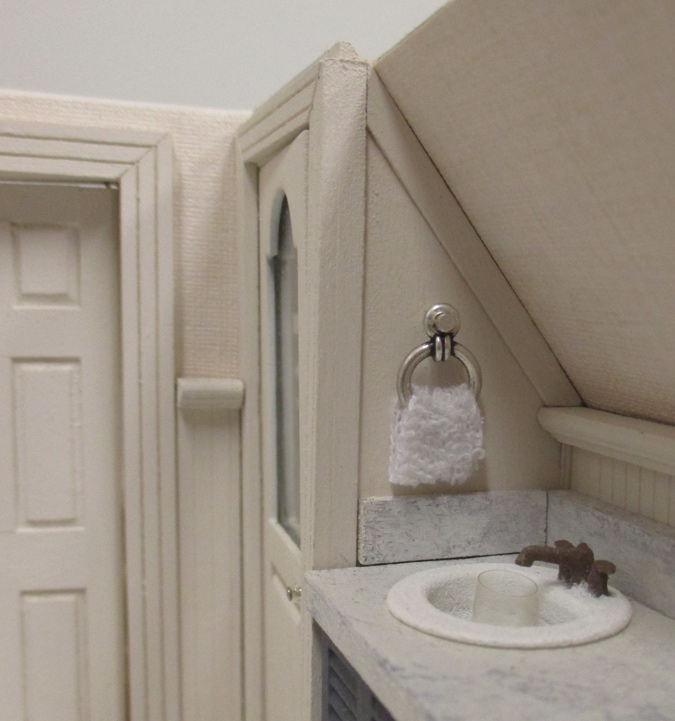
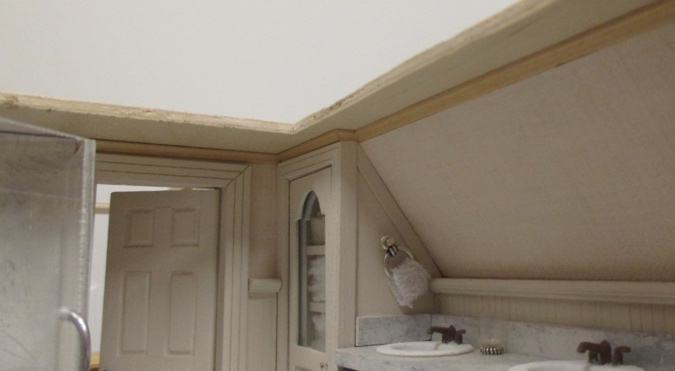
I also made a little towel holder to go near the sink. The round part is half of a toggle clasp. I stuck a head pin through the hole, with crimp beads on either side to keep the pin from slipping out. The towel is a piece of a baby washcloth from the dollar store.
I used the micro drill to make a hole in the side of the linen closet. (This would have been easier if I’d done it before I glued in the closet…)
Before gluing in the roof, I cut trim pieces to go over the door and around the linen closet. This would have been much harder to do with the ceiling in place.
I actually did all of this prep work almost a year ago, before packing up the Victorianna so Geoff could renovate my workshop. Now that the flat roof is ready, I can finally glue it on. I applied The Ultimate super glue to the tops of the walls and back roof.
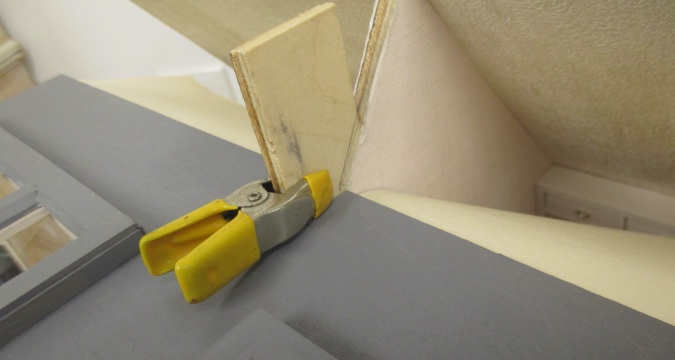
The flat roof piece was slightly warped. I put a clamp on the chimney to squeeze it flat against the center wall.
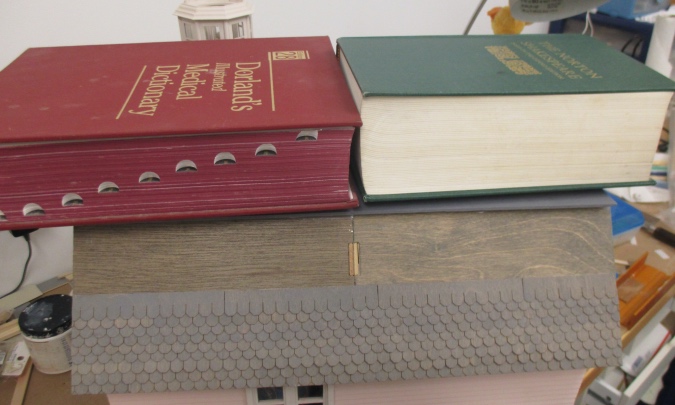
I also weighted it down with heavy books.
Due to the angle of the back roof, it barely touches the flat roof where the two pieces meet, so I glopped a ton of tacky glue under the eave to provide more of a bond. I would have used The Ultimate for this, but it’s thick; the thinner tacky glue is much easier to glop like this. (To glop, verb. It’s a technical term.)
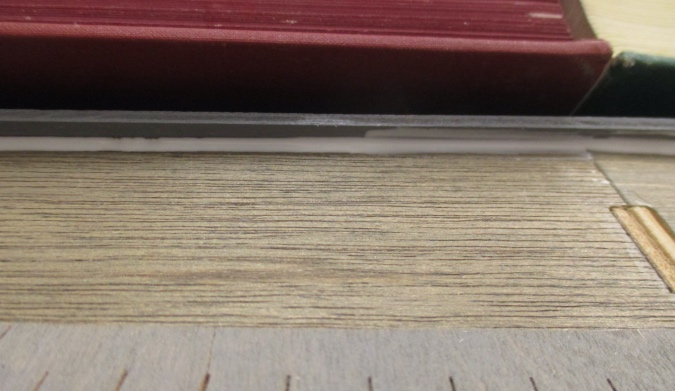
There’s a dark crack where the bathroom walls don’t quite reach all the way to the ceiling. On the wallpapered walls this will be covered with trim, but not in the shower.
It was hard to get a good picture, but I added white grout to the crack above the shower walls. This was very hard to do due to the depth of the room and it’s not as neat as I would have liked, but at least my eye isn’t drawn to that dark crack anymore.
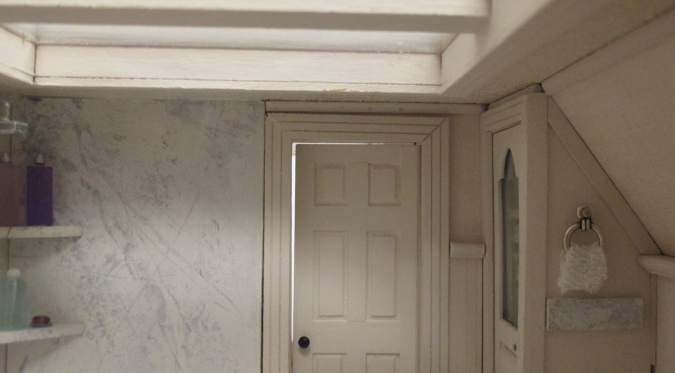
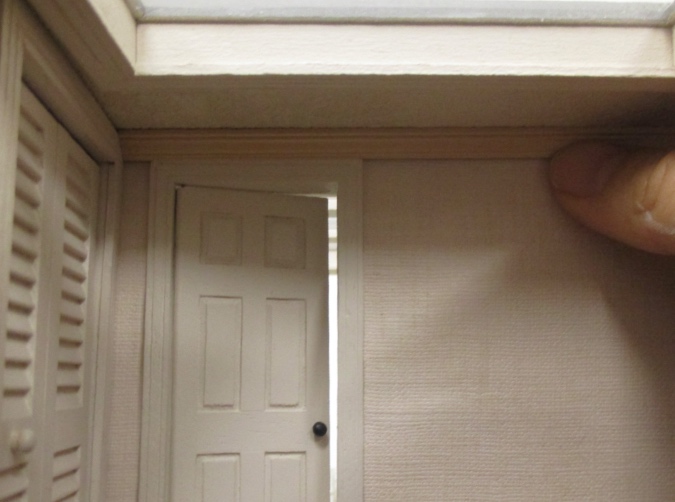
I used a toothpick to try to shove the trim above the door into place, not realizing how pointy the toothpick was — it made little pinholes in the paint, which you can see in the photo above. I was able to cover these up with fresh paint, but again it wasn’t easy due to the depth of the room.
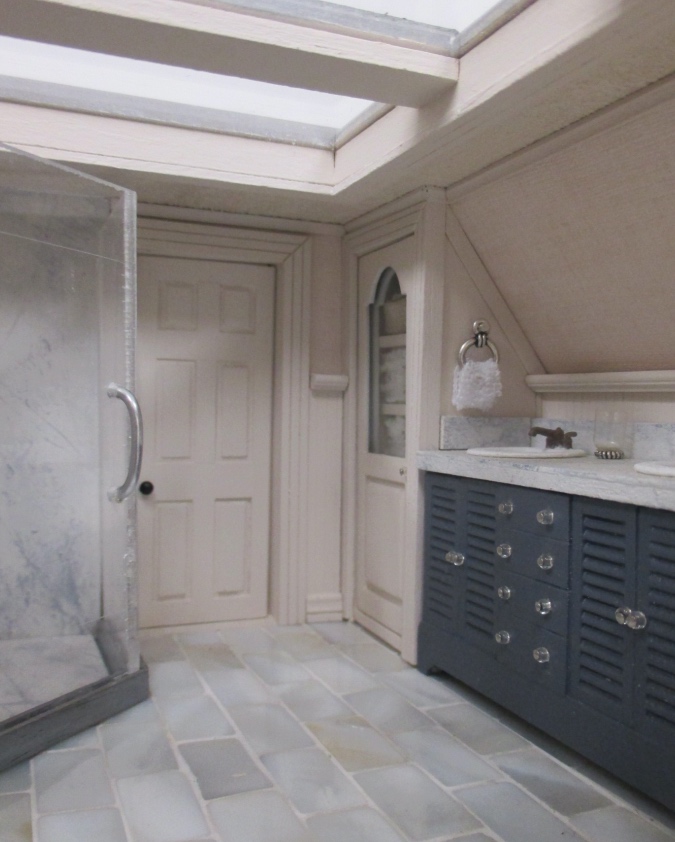
That’s a wrap on the bathroom!
Well, mostly. I’m not sure if I’m going to use this toilet in here… if I do, I have to find the seat that came with it. (It’s 3D printed, from Mini Etchers, and the seat is laser cut wood. I’m sure I have it lying around somewhere…) I should also add a bath mat and another towel rack or two, but I’m not sure where to put them. Above the toilet? On the back of the door?
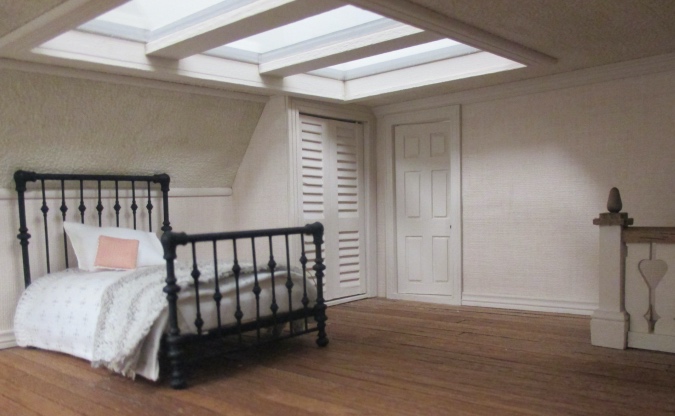
Back to the bedroom. Turns out I can still open and close the closet door! To close it, I have to reach around to the right side and push on the folded part to force it flat. I probably shouldn’t do that too often and risk breaking it, but it’s nice that it’s still possible.
The area above the door is slightly too short for crown molding to fit — the bottom of the crown just overlaps the top of the door trim.
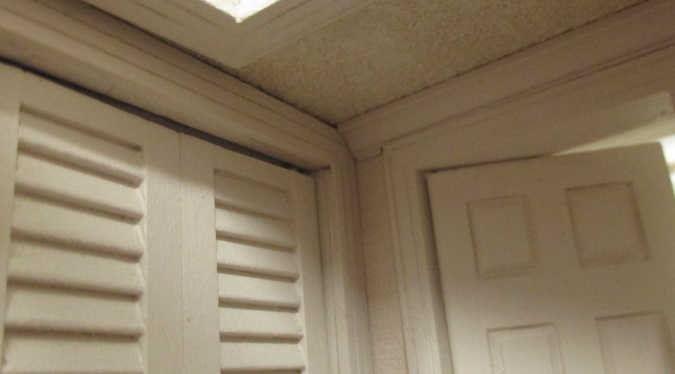
I dealt with this by notching out the portion above the door ever so slightly.
(Sorry for these shadowy pictures! Even with the skylight, the ceiling makes the room dark, and my camera sucks in low light.)
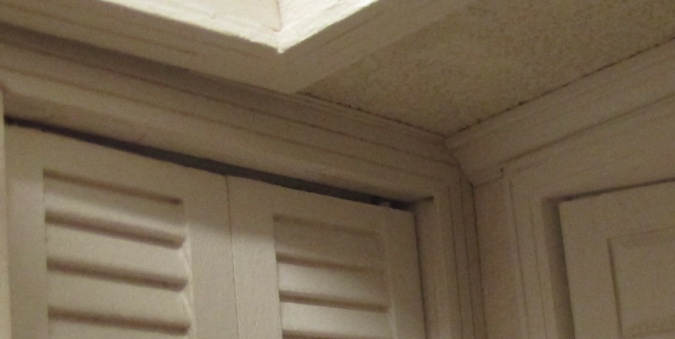
Like with the shower walls, there’s a crack above the closet trim where it doesn’t quite meet the ceiling. I wanted to fill this in with wood filler and paint it but I just couldn’t reach to do it.
Instead I cut a very skinny piece of basswood trim to cover that gap.
So that’s a wrap on the bedroom, too! My next task will be to glue on the sloped part of the roof.
 Emily is a freelance writer, miniaturist, and adventure game enthusiast.


Looks really good. maybe move the toilet over and put towel rack on wall next to it? Person in shower will have a long reach dripping wet to find a towel when they get out. ha!
Good point! There isn’t room to move the toilet to the other side of the door. But I guess I could put it next to the tub, against the “open wall.” That might look weird though.
Looks great!
Thanks!
Fabulous! In my real bathroom, damp towels are slung over the shower door to dry. LOL Perhaps you could add one of those over-the-toilet organizer whats-its to store your extra towels.
Good idea! There are also towels folded up in the linen closet.
Love the closet with the louvered doors–with cloths, too. It seems that problem-solving and covering up mistakes in building comes with each project. I appreciate that you go through the same things that I do, as I now struggle to conceal a bad mistake in the Bellingham–not getting the roof angle glued in straight. I admire your shower, too, wondering how you so precisely made the glass surround. Nice work, Emily.
Oops, this comment ended up in the spam filter! Sorry I missed it before. You can read about how I made the shower surround here: https://www.emilymorganti.com/blog/?p=12871
I ran into some problems with it, too…
Fabulous, meticulous work! The rooms are lovely! I’m always amazed at your cleverness and creativity! The only thing I would add would be a mirror in the bathroom.
I agree it needs a mirror, but I’m not sure where to put one. Maybe a full-length mirror on the back of a door? Unfortunately the sloped ceiling makes it weird to put one over the vanity.
Why not leave the closet door slightly open to show off what’s inside?
Dad
That’s definitely the plan if it gets stuck in the open position! (And maybe even if it doesn’t get stuck.)
Fantastic detail! For all of us who have tried (even at a larger scale) to create reality, you are The Expert! (I’ve probably missed this somewhere along the line, but what kind of glue to you use for attaching things to walls?)
Aw, thank you! I’m blushing. :)
I usually use Alene’s tacky glue or The Ultimate, which is a white super glue (doesn’t dry instantly the way normal super glue does, but is stronger than the tacky glue). To attach wallpaper I use Minigraphics wallpaper mucilage.