Goal: I’m going to finish the Victorianna in 2020. I think I’ve said that for the past three years, but this time I mean it!
I haven’t really worked on the Victorianna since early 2019, when I finished the kitchen and updated the second floor bathroom. I packed it up when Geoff redid my workshop in March, and when I moved everything back into the workshop four months later, it was hard to get back into it.
After my October 2018 post about shingles, I continued shingling the front and started the back. I was getting to the point where I needed to attach the roof. And this is when things got complicated.
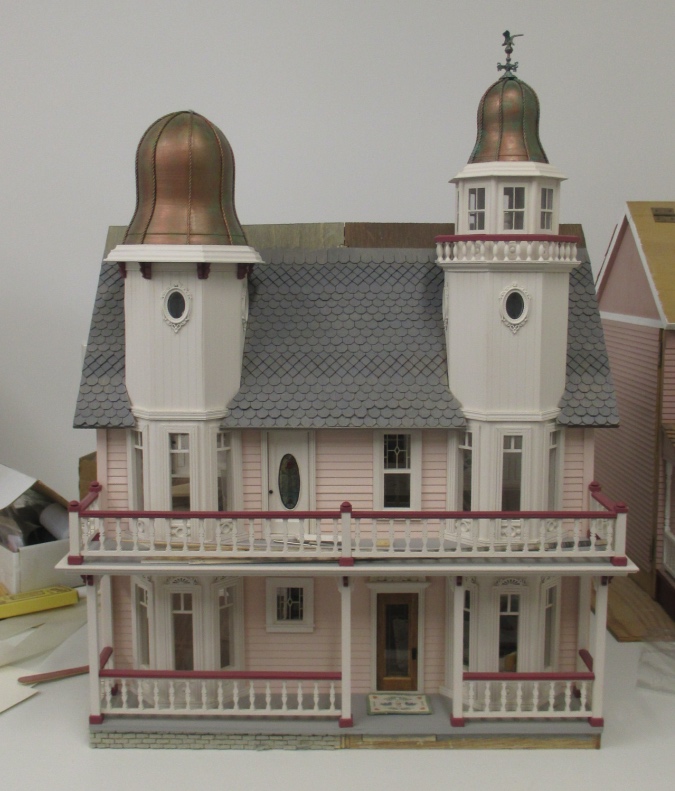
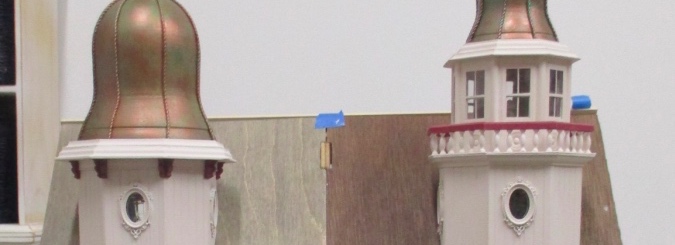
Normally the Victorianna (which is a long-discontinued half scale version of Greenleaf’s McKinley) has two gables in the attic, with the roof sloping down between them.
I modified it to make the center portion flat. This makes the third floor space more usable. I have a master bedroom on one side, and a master bathroom and nursery on the other side.


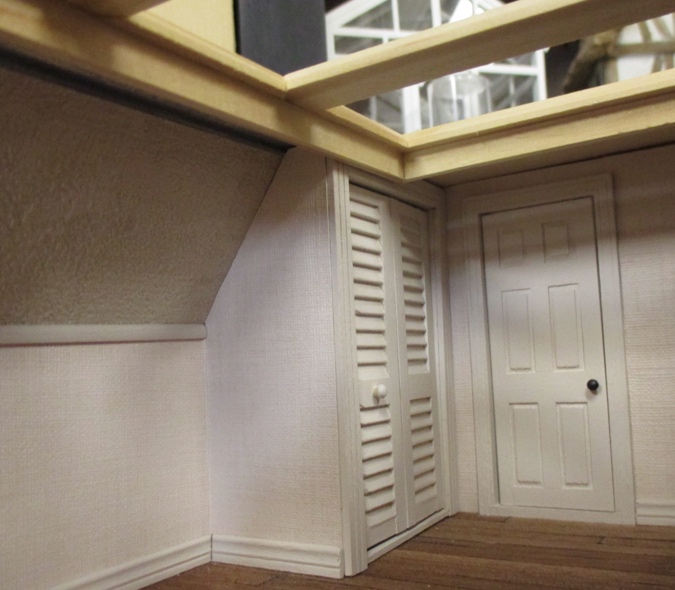
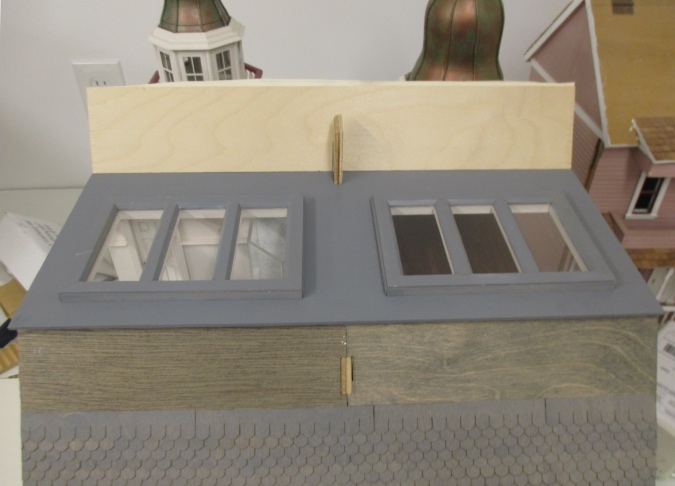
With the roof pieces in place, the rooms are pretty dark, so I decided to add skylights. The smaller ones on the sloped roof are hinged windows from Miniatures.com and the big ones are large cottage windows from Dollshouse Emporium.
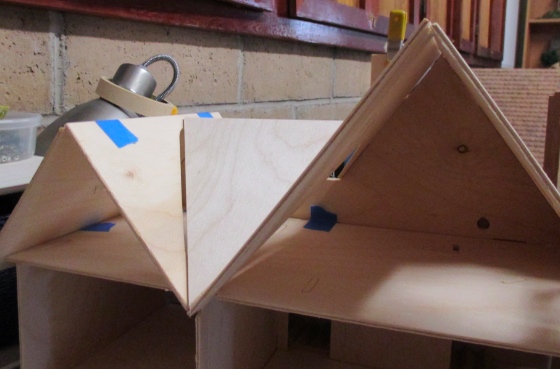
I made the sloped part of the roof from a piece of basswood (same thickness as the kit wood) and Geoff cut the larger piece out of 1/4″ plywood. I can’t remember why we used that size, maybe just because it’s what we had.
I planned all of this out back in 2017 and although I wasn’t exactly sure how the pieces would fit together, I figured I’d make it work when the time came. But as I progressed with the shingles, I started anticipating problems.
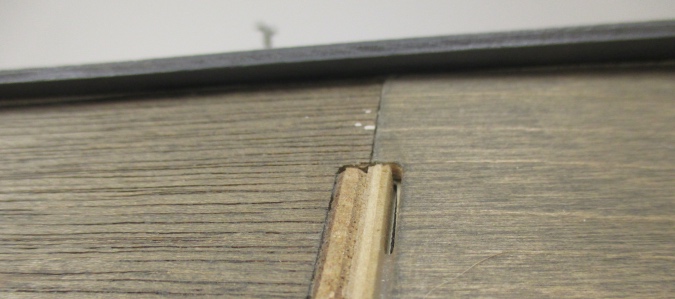
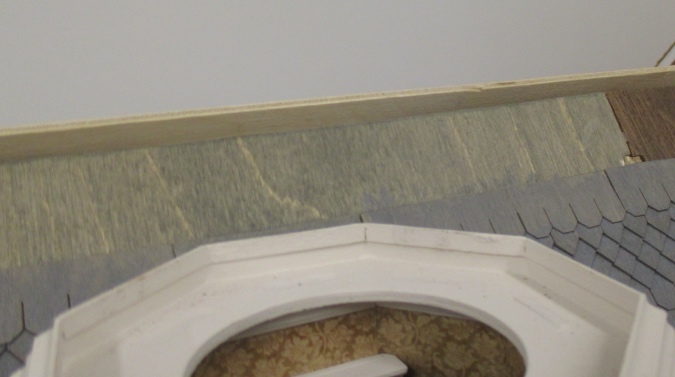
I created this house by putting two Victorianna kits back to back, and there’s a bit of a bulge where the two kits meet, on both the front roof and the back roof. This means that while the sloped roof piece met up with front part of the roof in the center (the high point), it protruded past the front part of the roof at the corners.
Also, the flat roof piece was warped so it didn’t sit flat against the center wall, and the 1/4″ plywood was too thick to clamp into submission. The rooms are already decorated so I don’t have the luxury of slopping glue all over the joints. Everything was shaky and wobbly and I just didn’t see how I’d be able to put them together in a way that stayed put.
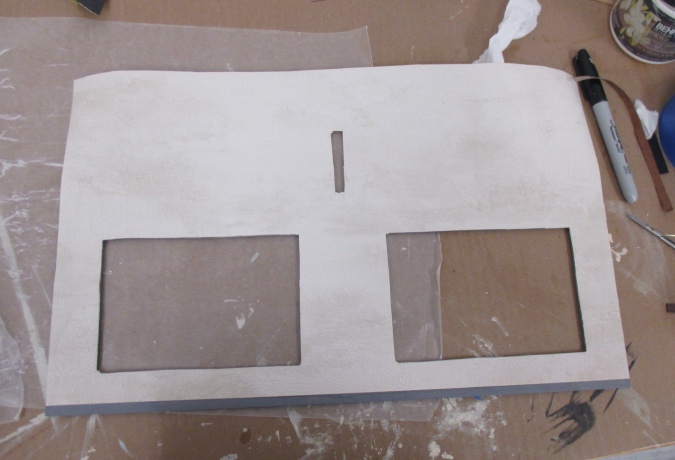
So I took a step back. I bought a piece of 1/8″ plywood and Geoff helped me cut new pieces.
The flat roof protrudes slightly over the edge of the back sloped roof, so the bulge where the two sides of the house meet is hidden in shadow.
The sloped roof is also larger than it needs to be. My plan is to glue on the flat piece, and then put the sloped piece in place and draw a line where it meets the front roof, and Geoff will help me cut it with a jigsaw. Once that’s done, I will add holes for the skylights.
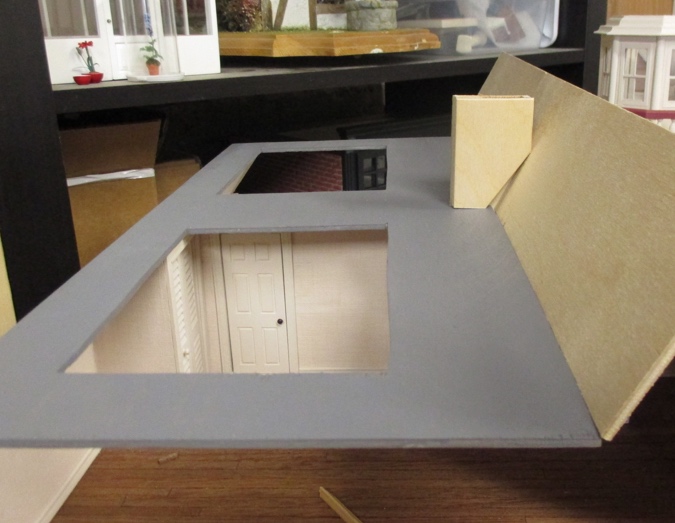
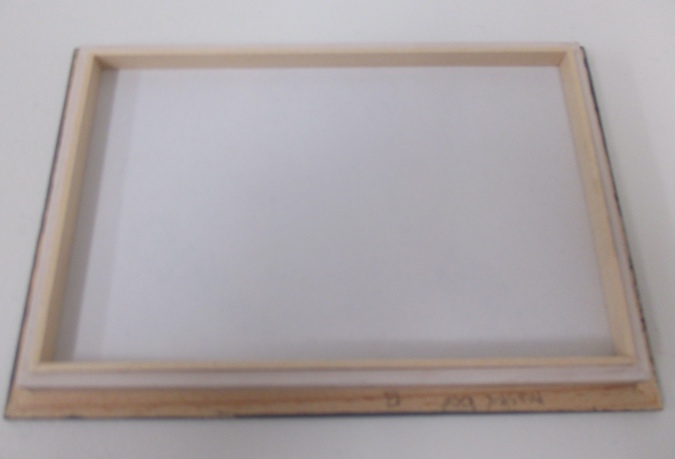
Okay, with that long, confusing explanation out of the way — today’s post is about preparing the flat roof to be glued in. I started (almost a year ago!) by staining it to match the shingles.

Ideally I would have glued in the roof piece and then added the windows, but I didn’t want to be doing trim work upside down, and I couldn’t use the finished side of the window on the inside because the window is too close to the bedroom closet, and the trim would get in the way.
When the windows are inserted with the finished side on the outside, the window just clears the front of the closet, but it hangs down too far into the room.
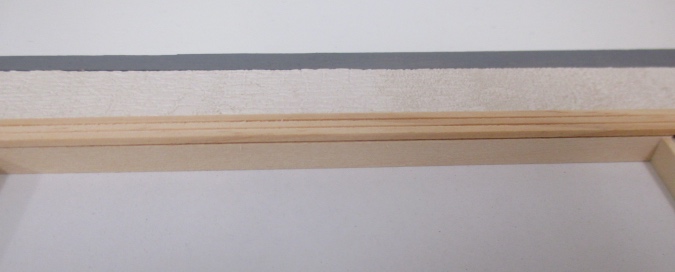
I fixed this by adding shims to the outside.

With the shims in, the window is now flush with the ceiling.
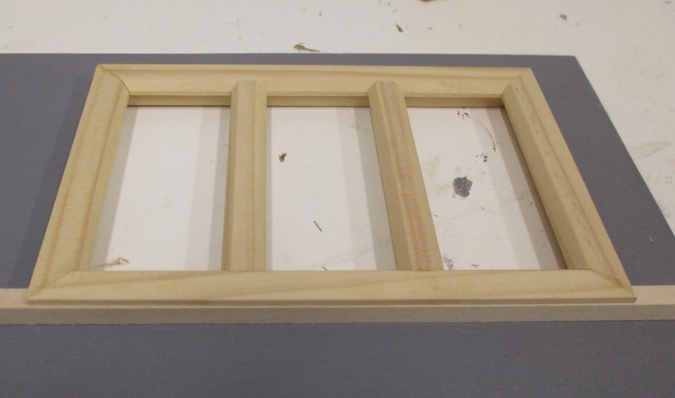
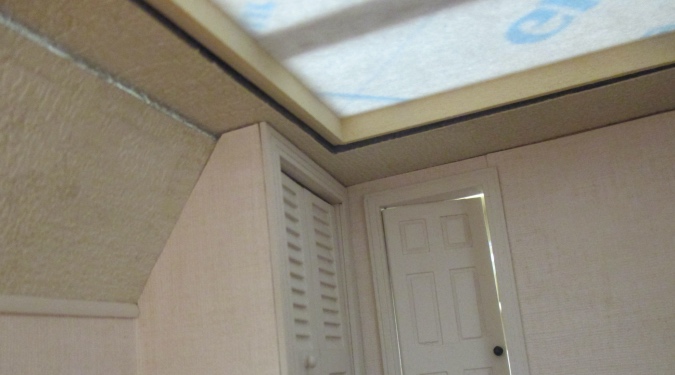
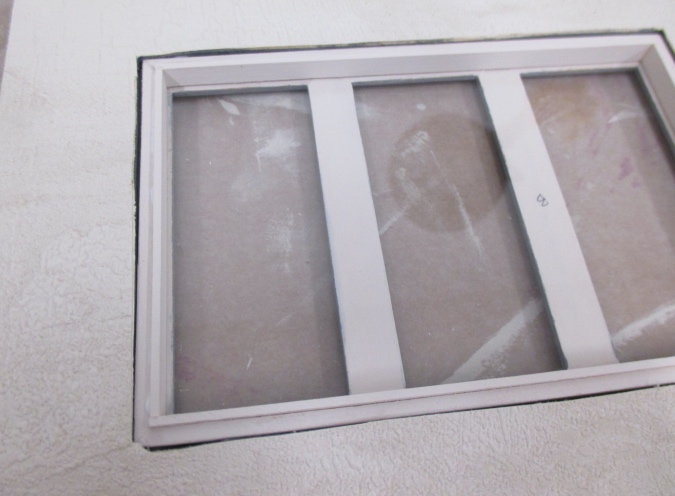
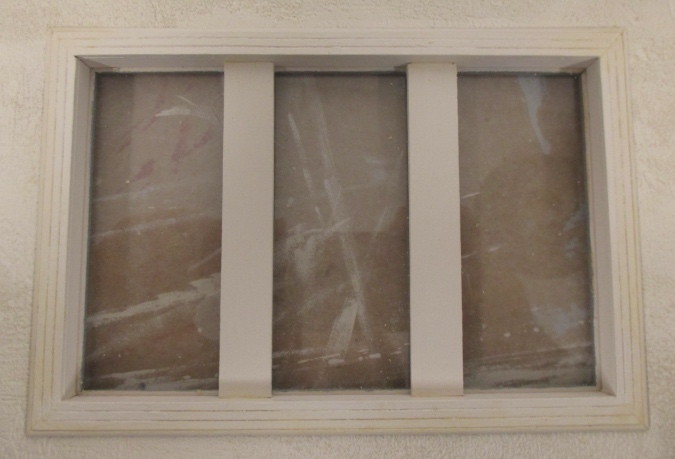
I added strip wood around the inside edge of the window to hold the plexiglass in place. (The plexi is covered with its protective film in this photo, that’s why it looks white.)
I’m then able to line up the window trim with the inside edge of the strip wood.
As you can see, the window is still pretty close to the closet. If I had tried to put trim around the window hole, it would have bumped the closet trim.
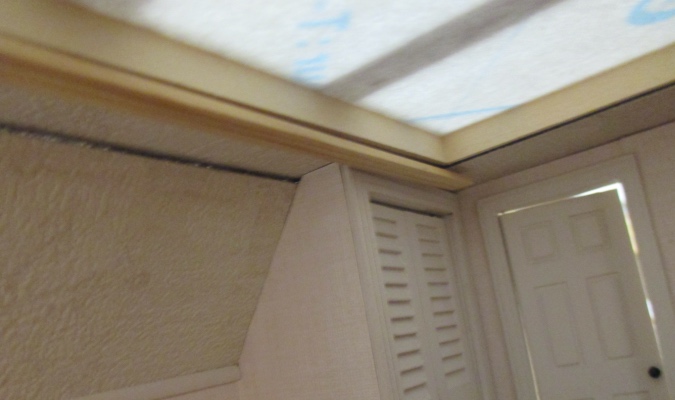
But lined up with the strip wood, the trim *just* clears the front of the closet. Whew.
When I put ceiling paper on the flat part of the roof, I included enough excess to cover the sloped part and then some.
This way I’ll have a continuous piece of ceiling paper on the two roof pieces, without a seam.
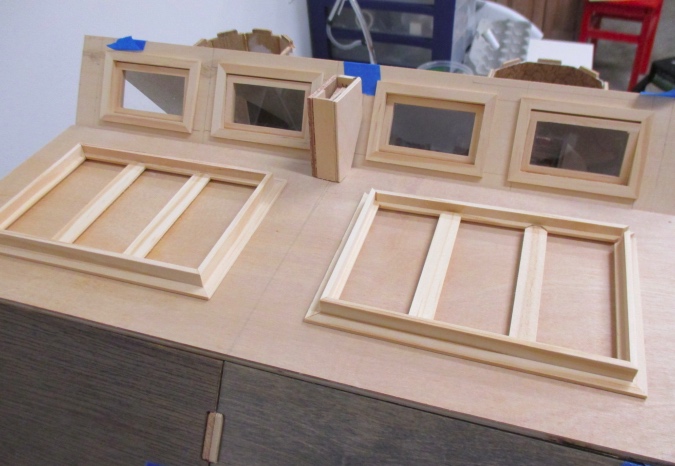
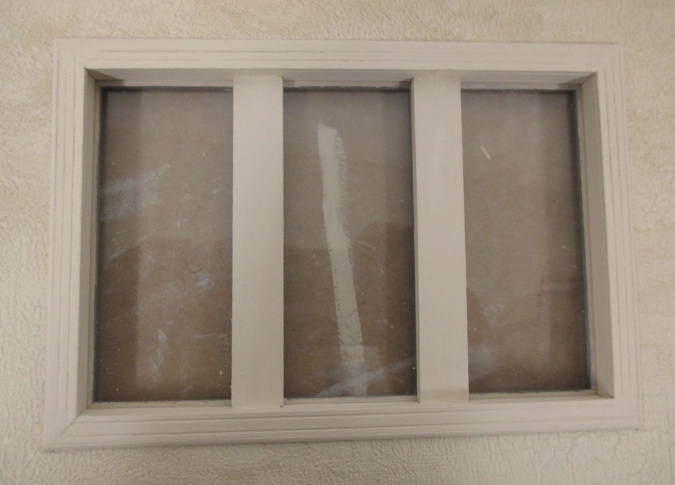
Before gluing in the flat roof, I added the window trim. This is 1:24 door and window casing, which is 1/4″ wide.
The window plus added strip wood is also about 1/4″ wide, so the trim doesn’t extend quite far enough to cover the edge of the ceiling paper.

I had the same problem around the doors in the living room, which I fixed by gluing quarter round to the trim. I did the same thing here.
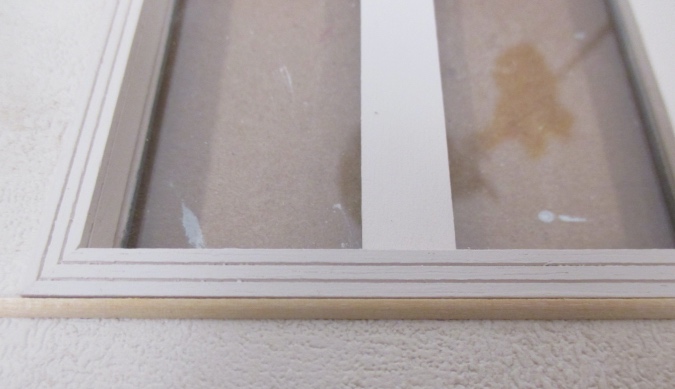
I painted the quarter round, glued it on, and then rubbed wood filler into the seams between the casing and the quarter round.
Once it’s painted it all blends together.
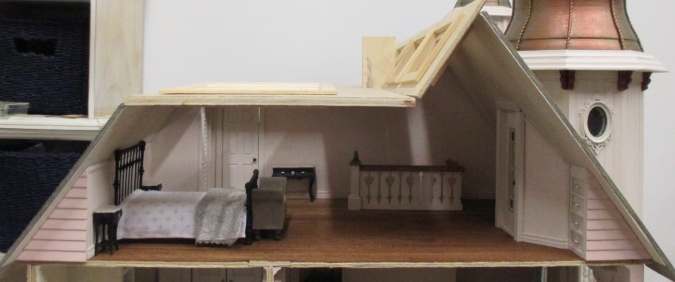
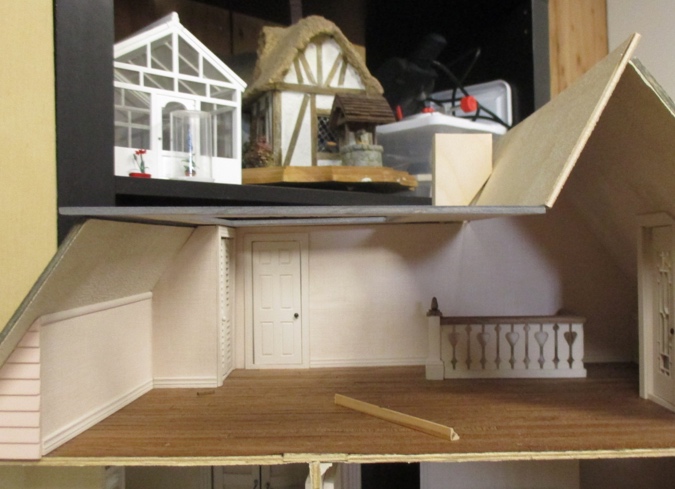
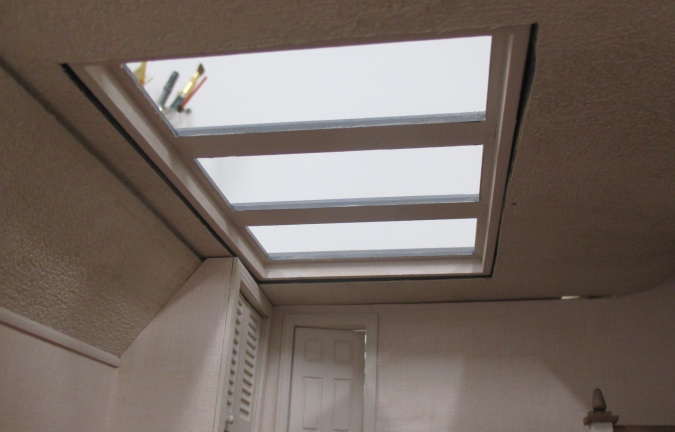
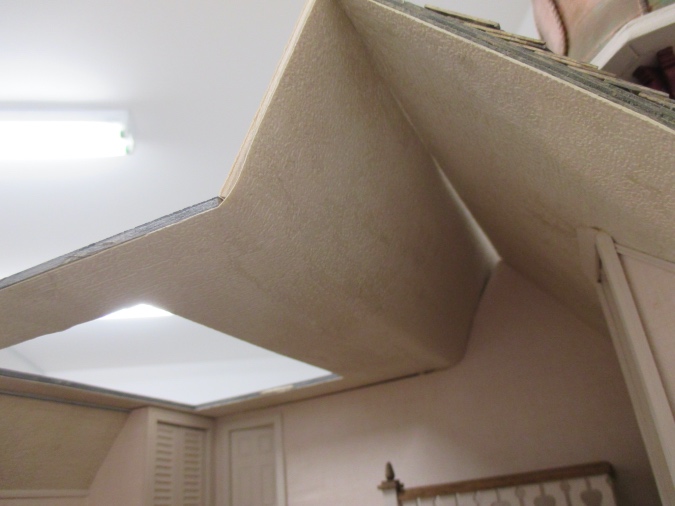
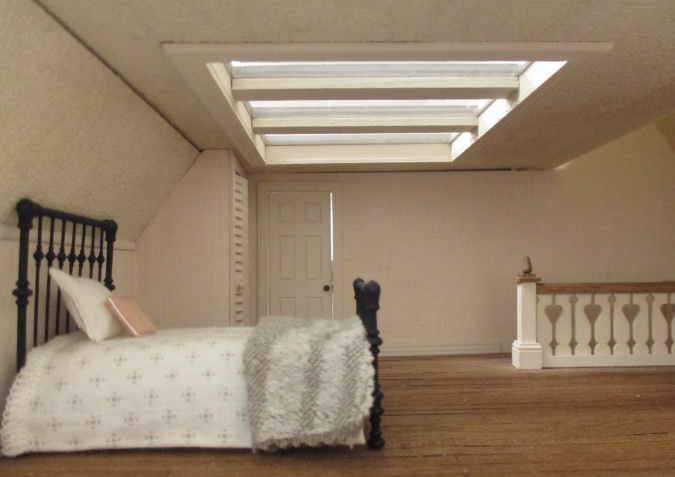
So that’s a wrap on these giant skylights! Here’s how it looks on the bedroom side.
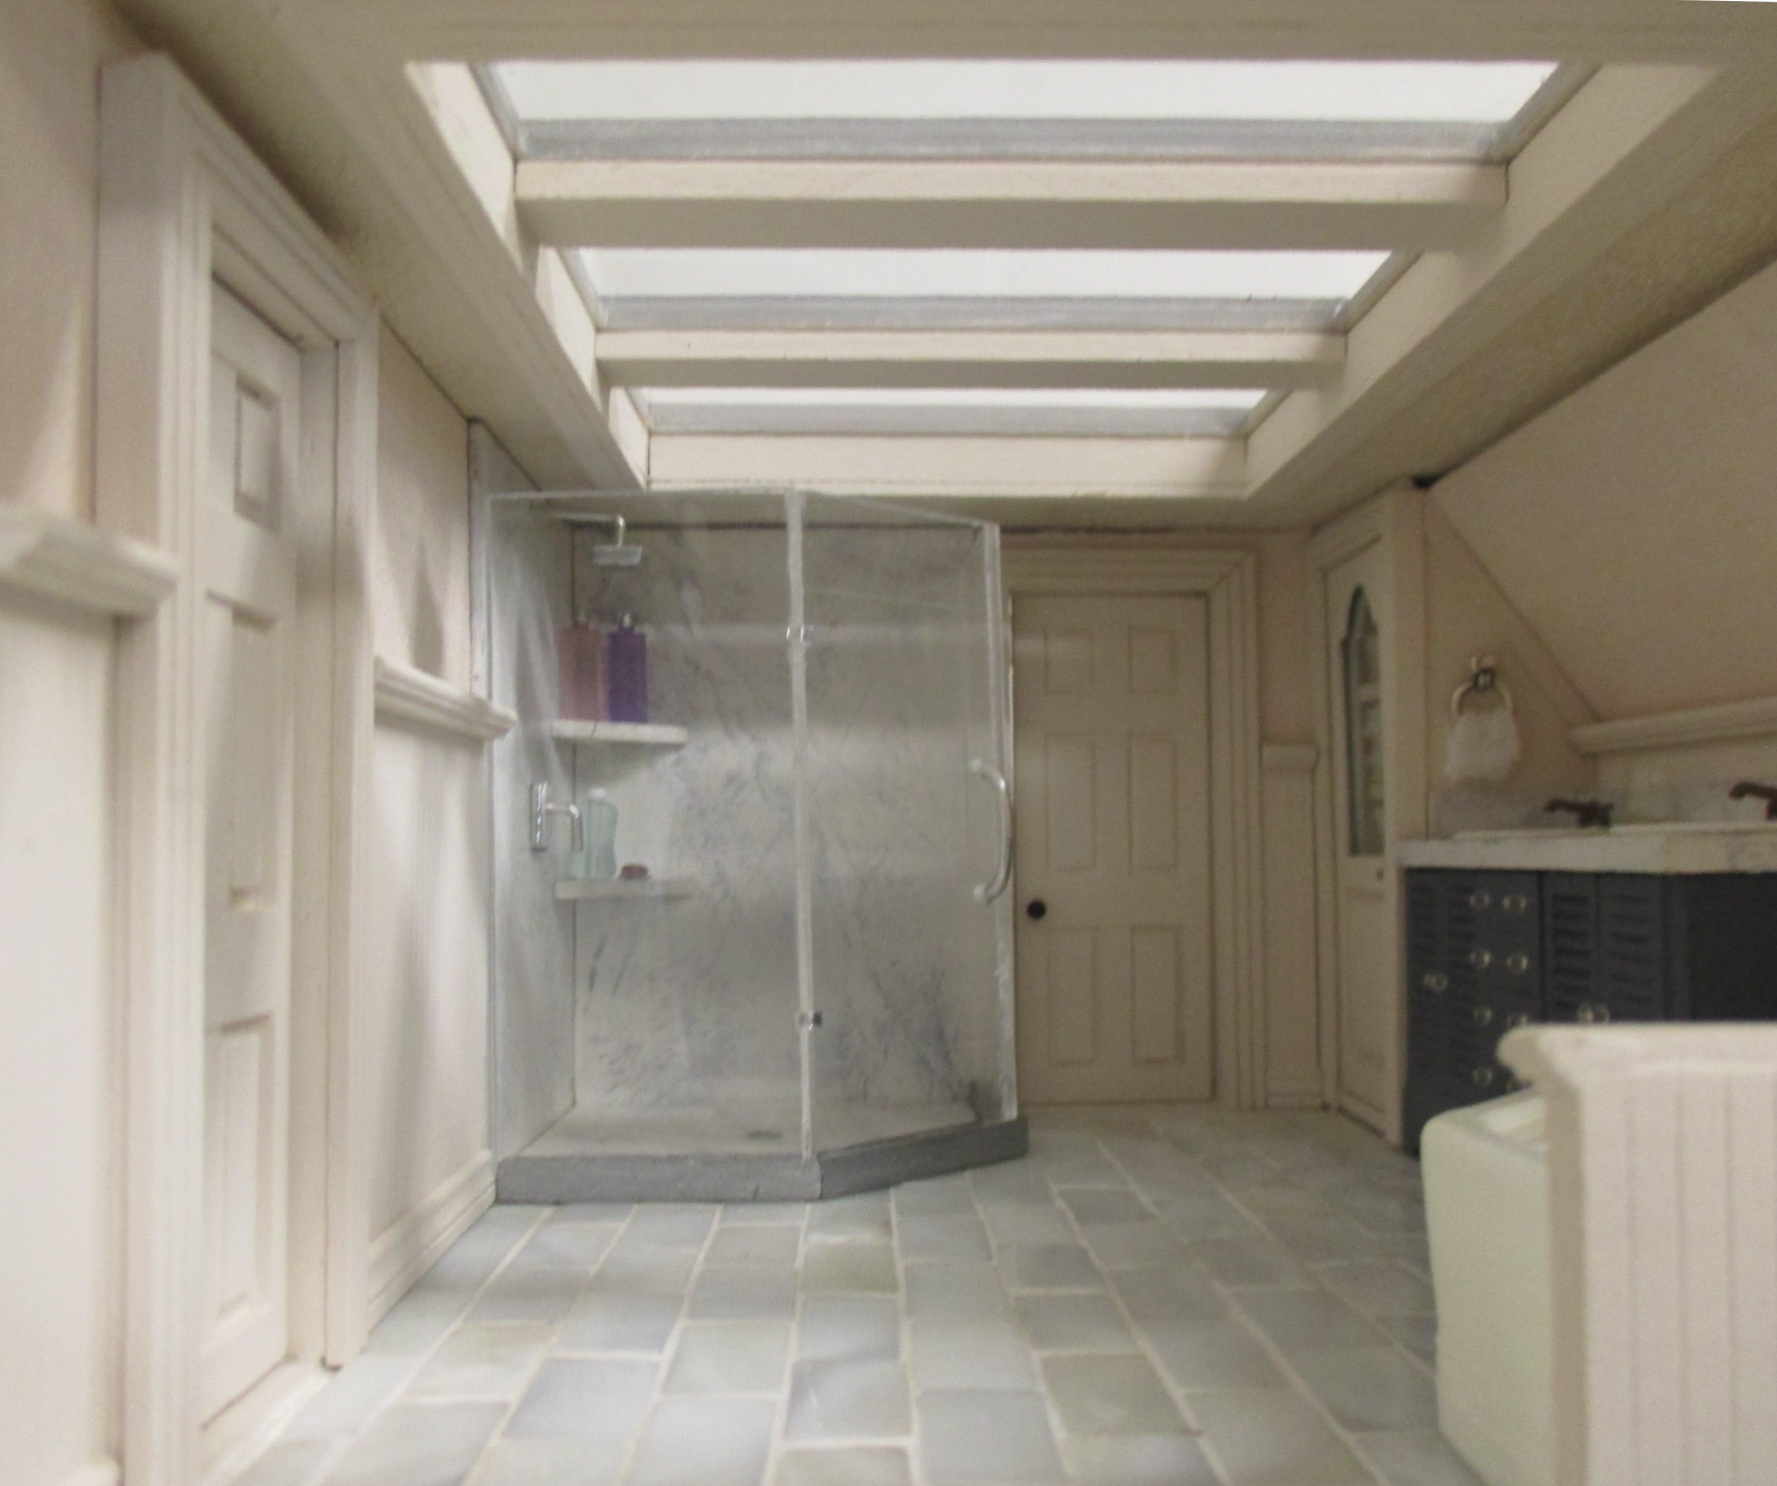
And on the bathroom side.
The next step will be to glue in the flat piece and deal with the sloped piece. Theoretically it won’t take another whole year, but we’ll see…
 Emily is a freelance writer, miniaturist, and adventure game enthusiast.


Nice work! I love the skylights, they make the rooms so nice and bright.
Great idea. The skylights really look nice and add more light! Keep going! :)
I really love how the skylights brighten the rooms. So pretty!