It’s the end of the world as we know it… and I feel fine…
Ahem. Hi! Hope everyone’s doing okay with the coronavirus weirdness. I’m taking advantage of my self-imposed isolation to get some work done on the Victorianna — maybe I’ll have the house finished by the time the world gets back to normal. (Want to take bets?)
My original plan for the Victorianna’s small sloped roof was to use four hinged windows as skylights. This would have provided a bird’s eye view into the nursery and the master bedroom and given those rooms some much needed light.
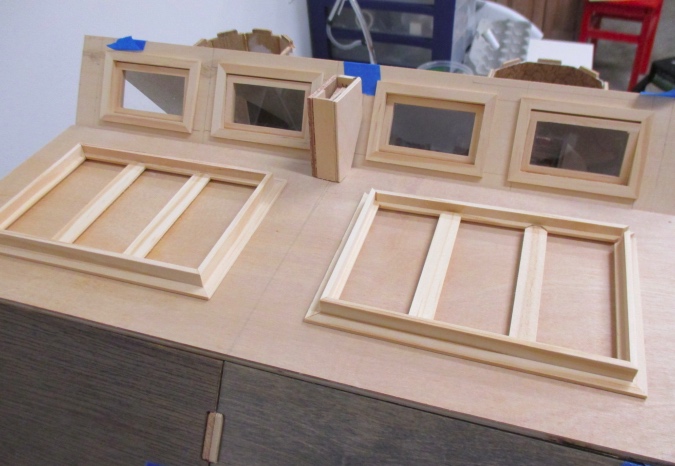
Between the house not being square, the roof pieces not having much of a surface to attach to, and my eagerness to finally finish this house after 5+ years, I decided to leave out the skylights. (Actually, Geoff talked me out of it.) The piece just wouldn’t have been stable enough with those four holes in it.
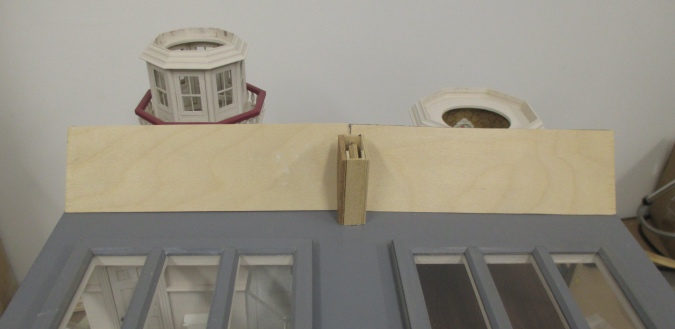
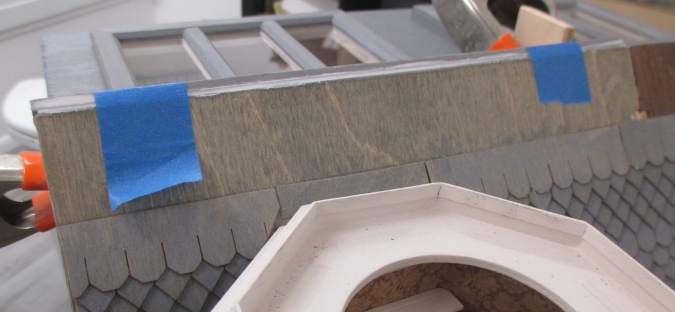
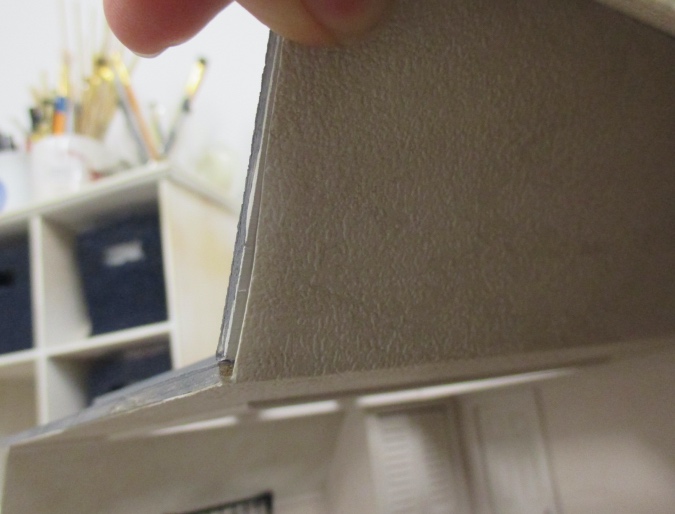
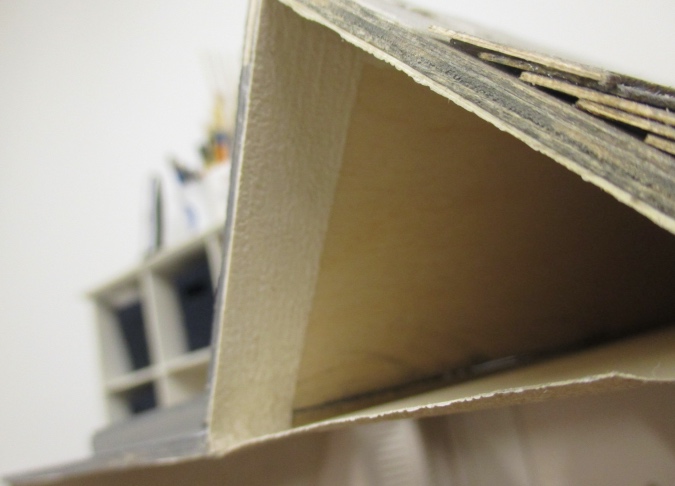
Here’s the roof piece Geoff cut for me.
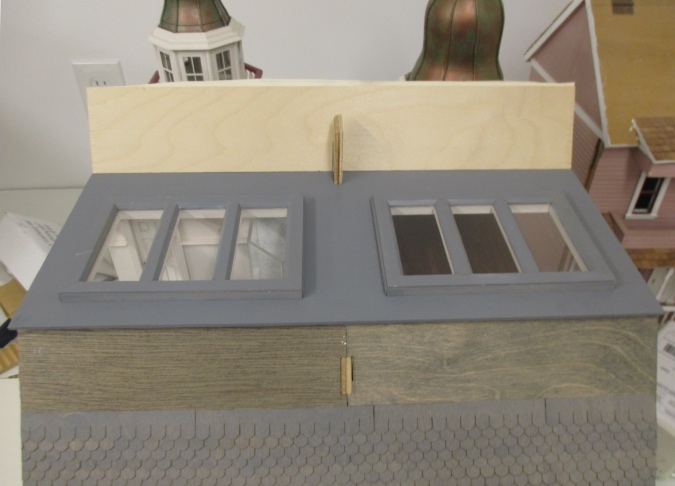
We left it too long at the top on purpose.
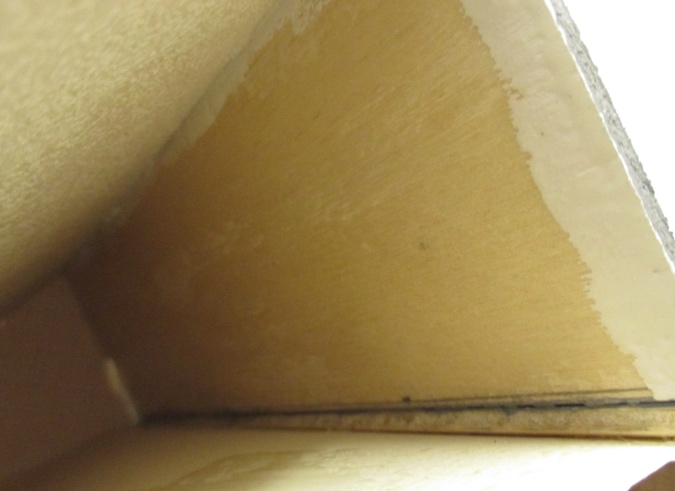
The Victorianna is made from two kits that I bashed together, it has a small hump in middle where the two kits meet. Also, the sides of the roof don’t have anything holding them up, so they droop a little. As a result, the peak where the sloped roof pieces meet up isn’t a straight line.
I drew a pencil line along the top of the front roof piece and Geoff cut it for me with the jigsaw, so it will meet the front roof piece neatly. We also cut the sloped roof in half, because when it was one big piece it couldn’t sit flat (due to the hump in the middle of the house). And we beveled the bottom edge where it meets up with the flat roof.
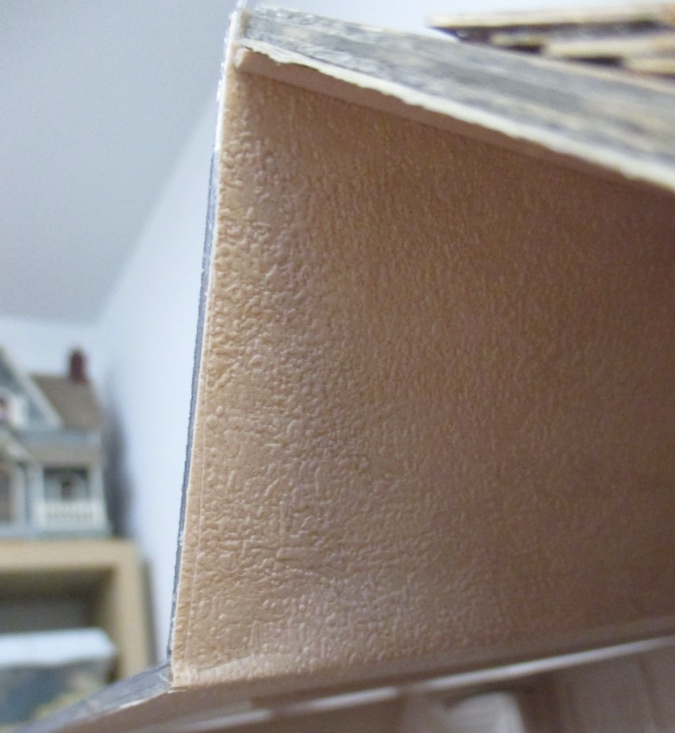
I didn’t bother taking pictures of these steps — I just stepped back and let Geoff do the work. Trying to figure it out was making my head hurt and he came to the rescue! Here’s the result.
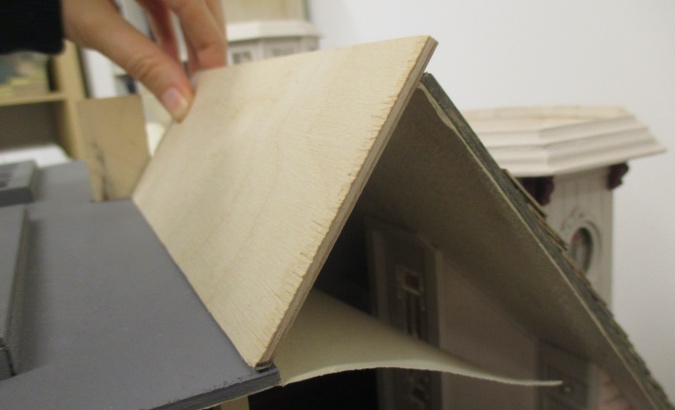
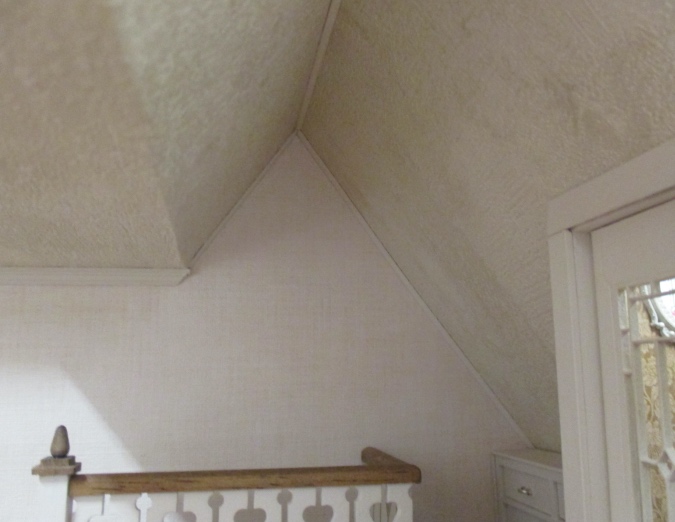
Next I pulled the ceiling paper (which I’d left hanging to attach to this piece once it’s glued in) against the underside of the sloped roof and drew a pencil line at the top so I could cut the paper to fit.
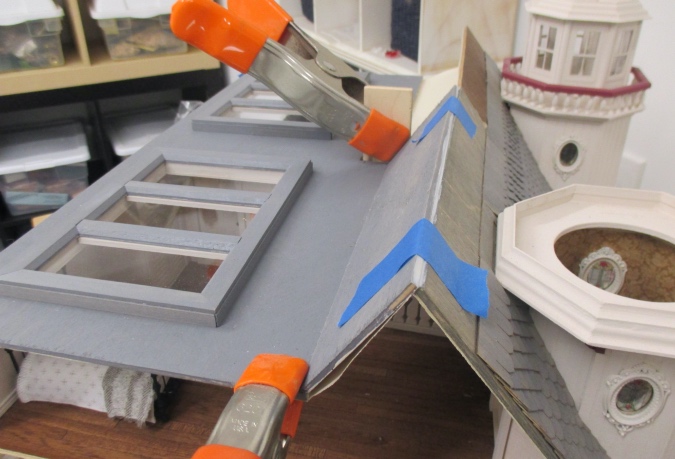
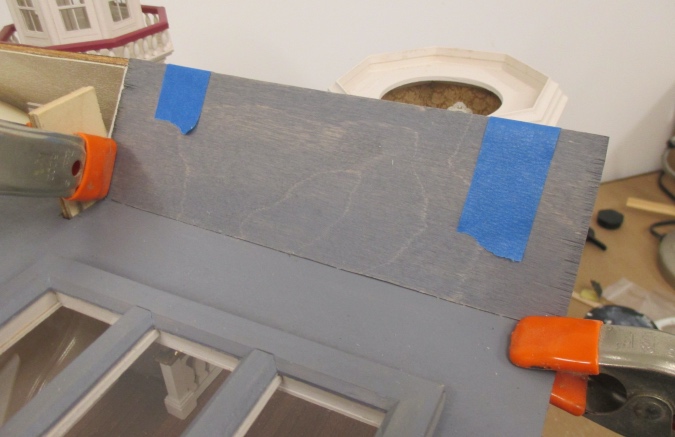
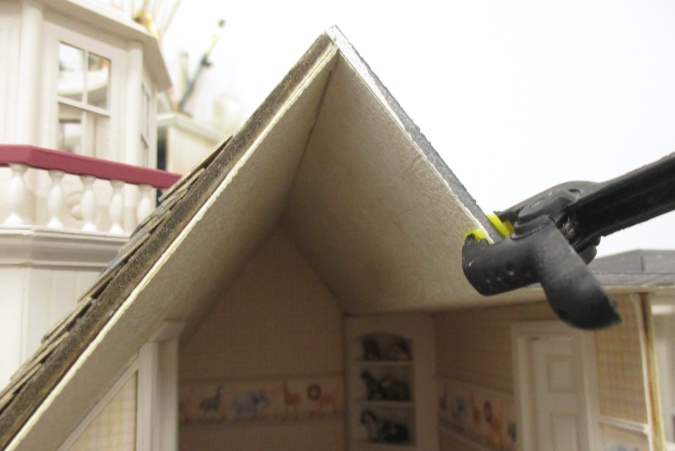
Then I glued in the sloped roof pieces. I did them one at a time, holding the roof piece in place with clamps while the glue dried.
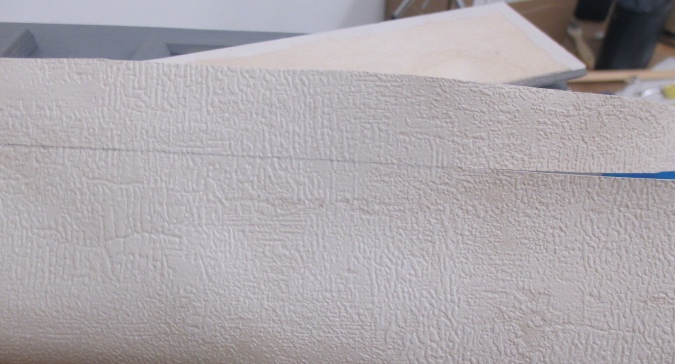
On the front there was a bit of a crack where the two pieces met. I glopped glue in there.
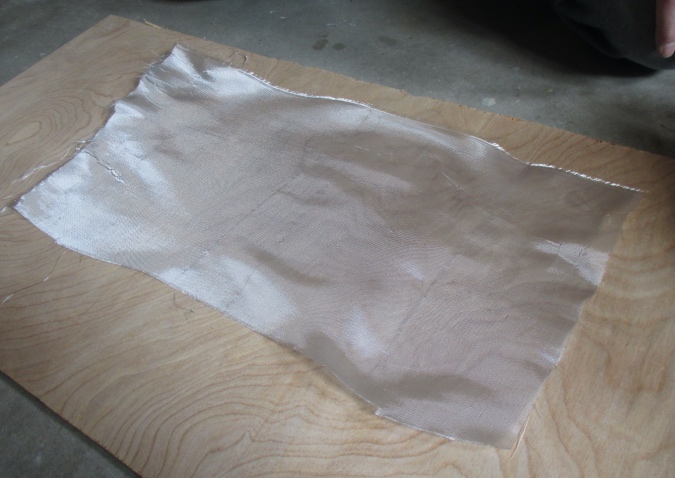
Even with my liberal use of glue, the joint where the two sloped pieces meet wasn’t super strong and Geoff suggested reinforcing it with fiberglass strips. Many years ago, when I built the Fairfield, Geoff was building a life-sized airplane and I did my dollhouse work in his hanger. Back then he helped me put together the Fairfield’s tower roof with fiberglass (I don’t think I have pictures, unfortunately). Fiberglass is not something I’d expect most people to have lying around, but he had some leftover from the airplane.
The fiberglass material looks like silky fabric.
He cut strips approximately 1.5 inches wide, so they would overlap 3/4 inch on both sides of the peak.
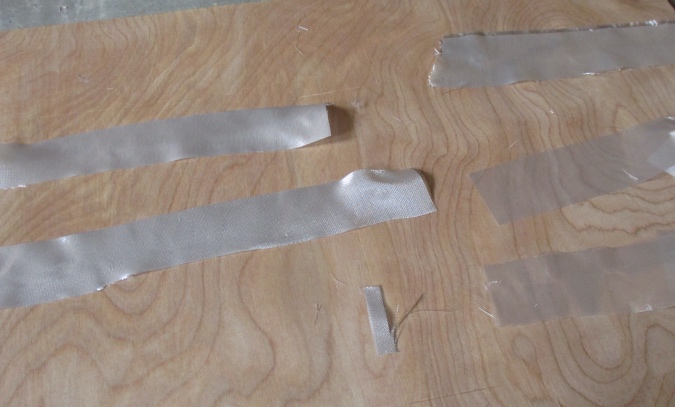
He used Gorilla Glue 2-part epoxy. The five minute set time was a little bit faster than he wanted, but otherwise we would have had to shell out for much bigger bottles of resin and hardener that we’d only use a small amount of.
He mixed the two parts with a stir stick, spread it on the fiberglass strip, and then draped the strip over the peak and added more epoxy on top of it. Rather than doing one long strip across the whole width of the house (which would have been harder to work with), he did one across the seam, and then a smaller piece on each side of this.
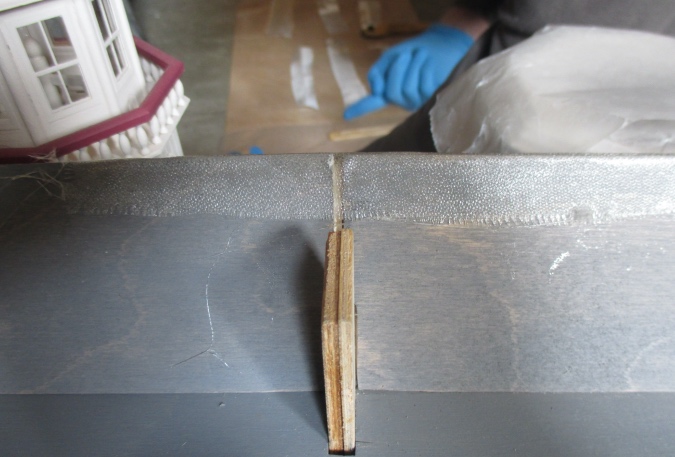
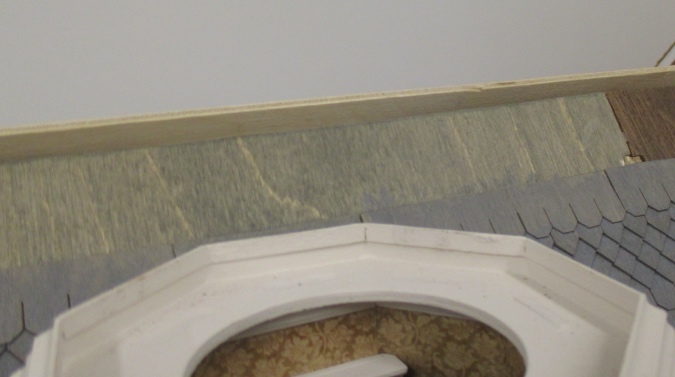
The next day when it was dry, he did a little sanding to take care of the rough edges. This will be covered up with shingles, so you’ll never know it’s there.
To be honest, the fiberglass might have been overkill, but at least now I can be confident that this roof isn’t going to pop apart!
Next I used a stiff bristle paintbrush to spread wallpaper mucilage on the underside of the sloped roof, and glued on the ceiling paper.
On the bedroom side, I attempted to cut the paper along the contour of the sloped roof and cut too far. I painted the wood, but you can see that the ceiling paper doesn’t go all the way to the edge. Damn.
I tried to fix this by adding a strip of ceiling paper along the edge.
That’s a little better, but you can still tell there’s a seam there. This is one of those things that I might forget all about once I’m not staring right at it, so I’m going to leave it alone for now. If it still bothers me later, I can add trim over it.
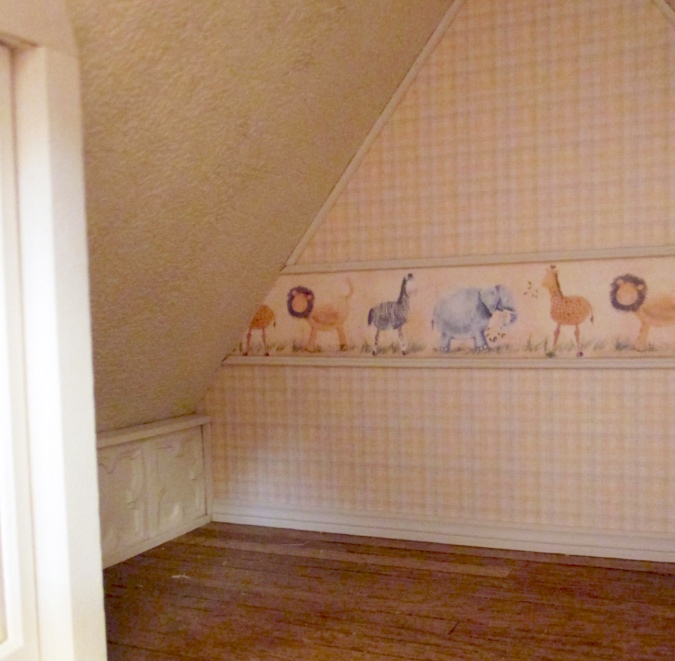
Speaking of trim. The seams between the ceiling paper and wallpaper were a little messy, so I added a small quarter round trim.
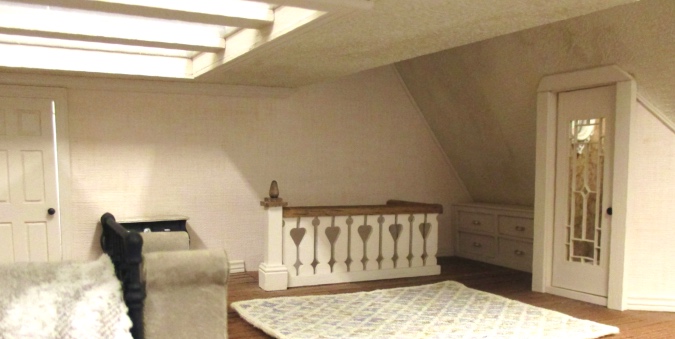
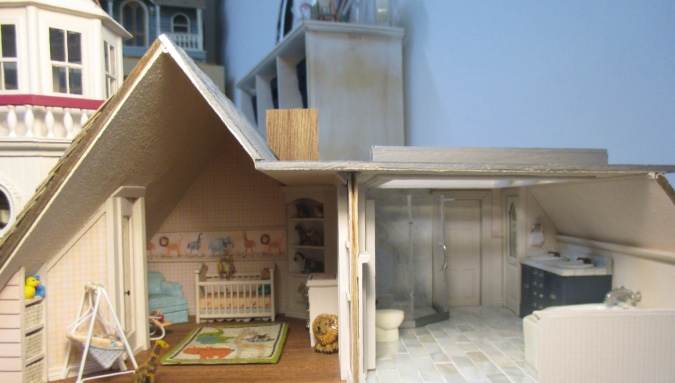
Here’s a view of the whole room. In hindsight I wish I’d beveled the edge of the flat roof where it meets the sloped roof for a more graceful transition, but I’m going to add trim to the edges of the roof pieces so I can fudge that.
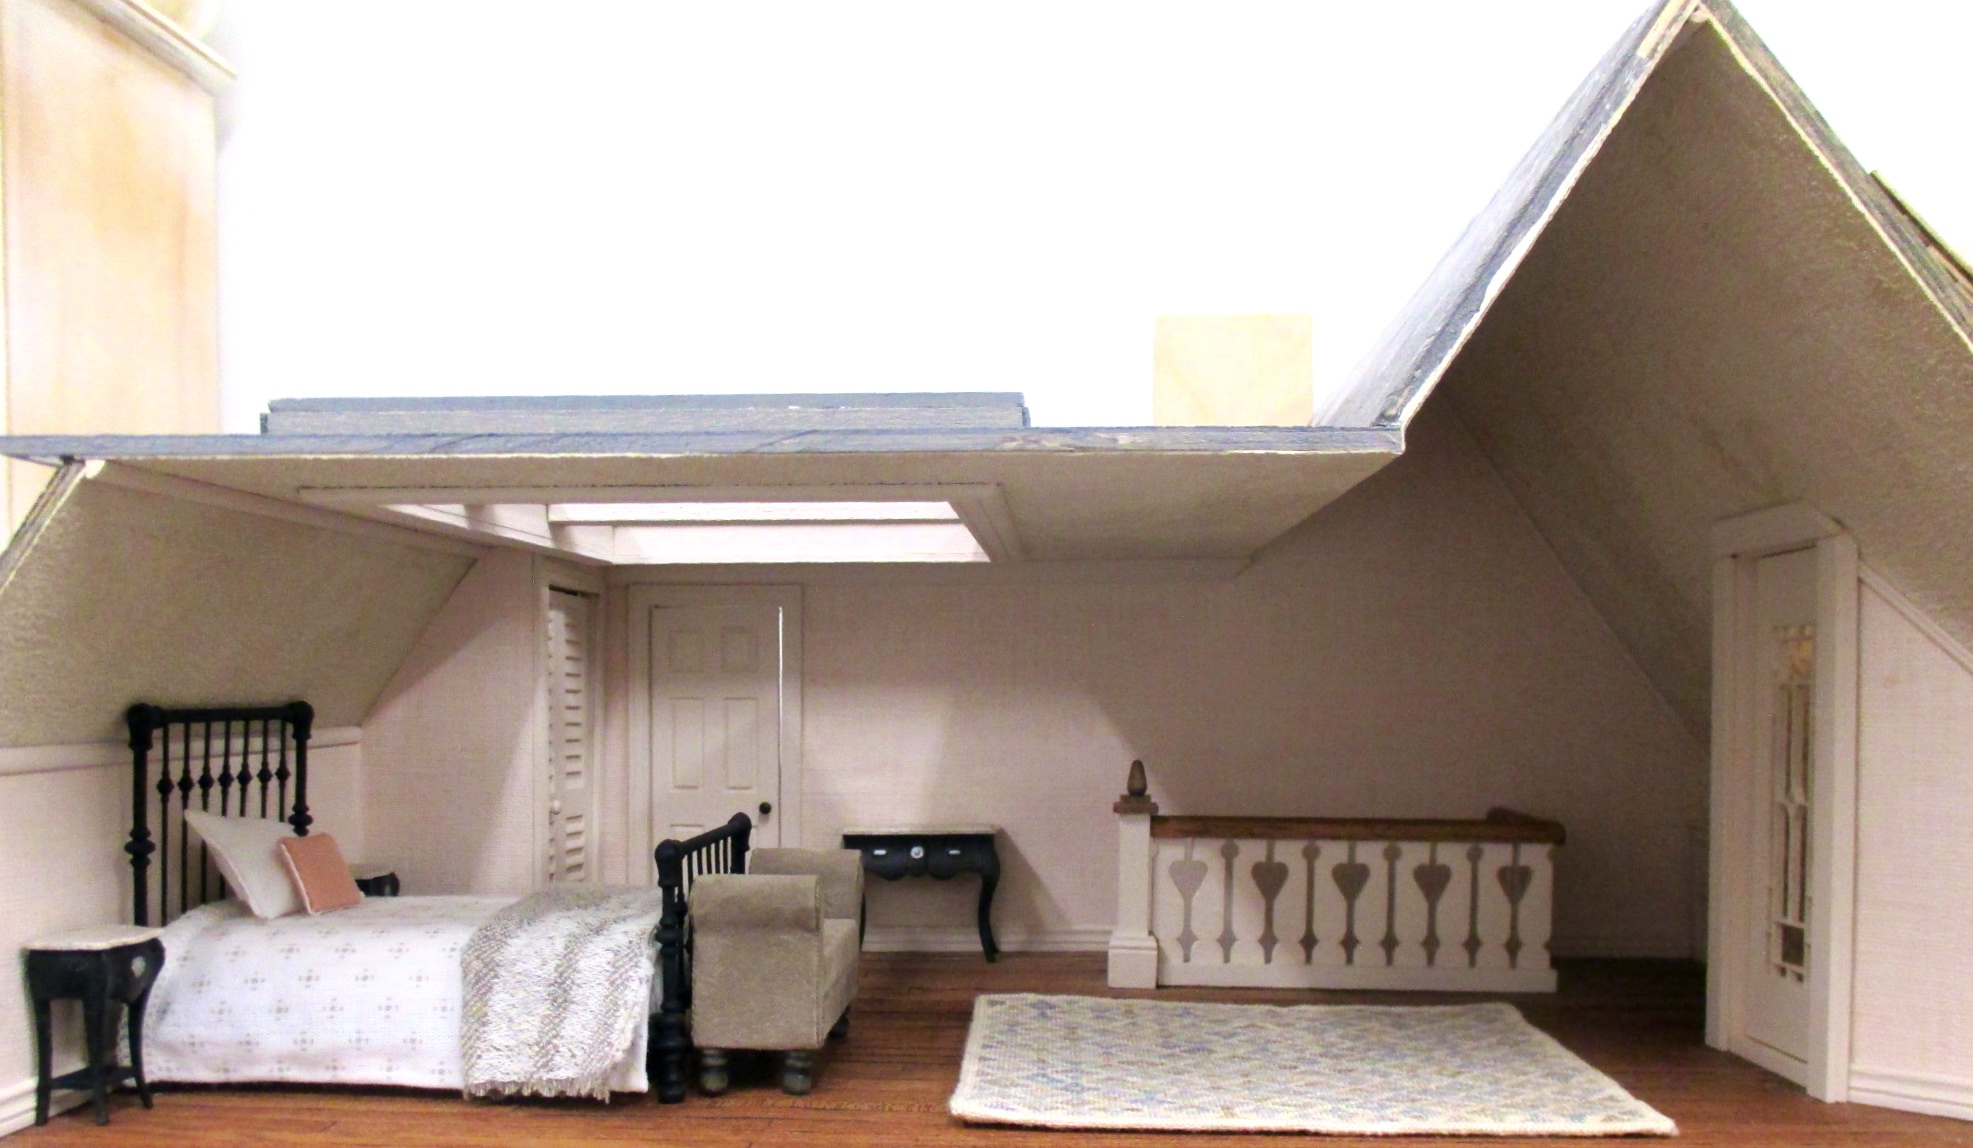
Sadly the area with the built-ins is pretty dark without skylights.
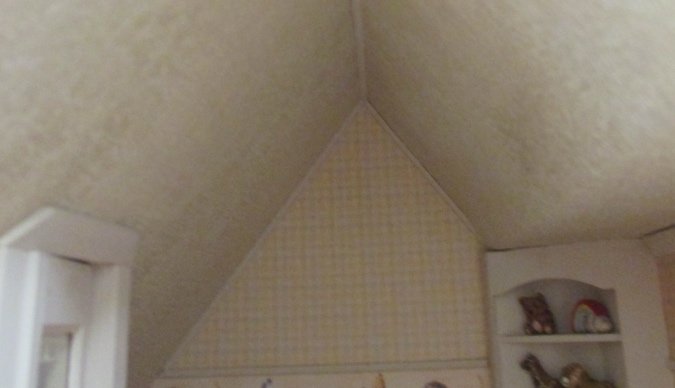
I added quarter round to the seams in the nursery as well.
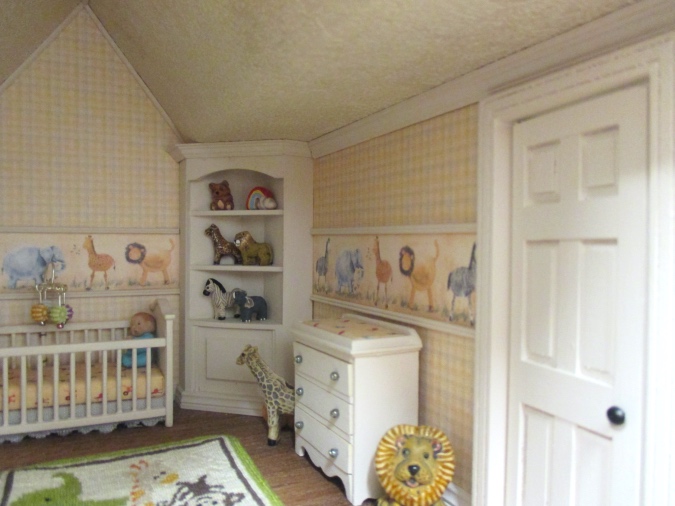
Then I glued in the crown molding that I prepared back in 2017. (I’m pretty proud of myself for keeping track of it all this time!)
I stopped the quarter round where it meets the trim over the strip of safari animals. It was too hard to get my hands in to do the part at the bottom.
With the chair in place, I think it looks okay? Again, if this really bothers me someday, I can fix it.
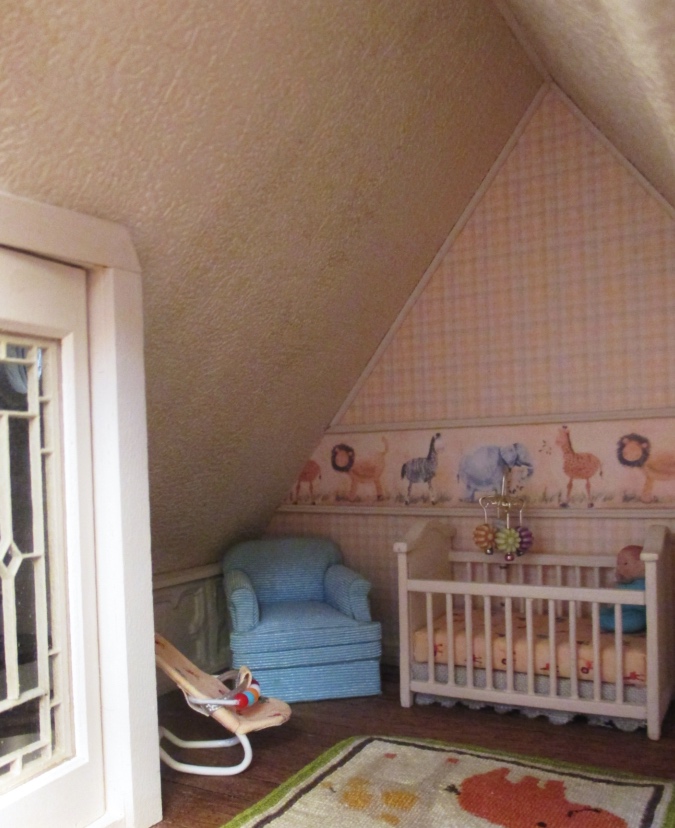
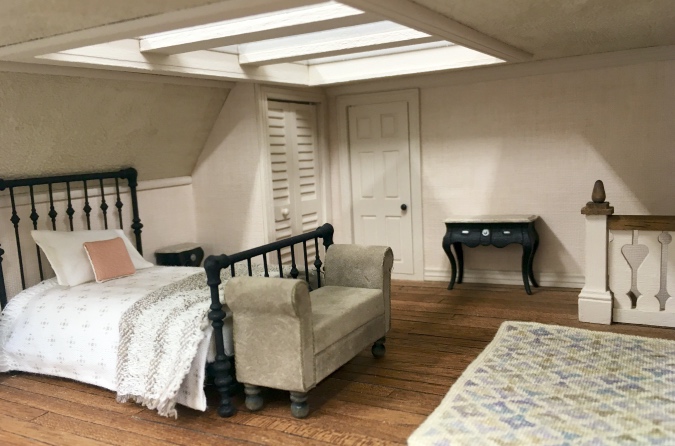
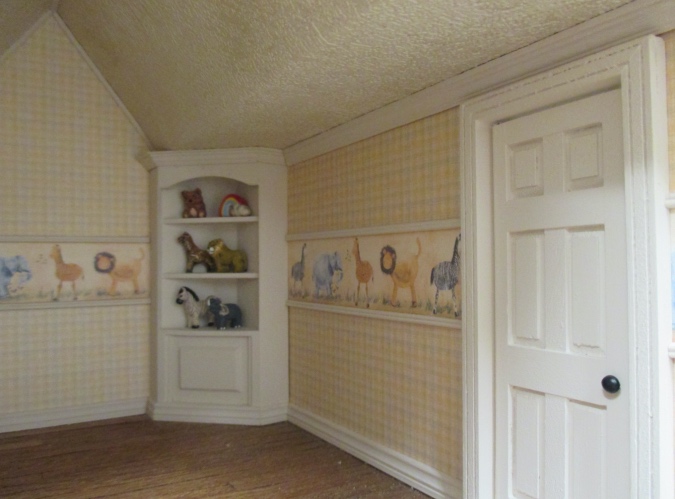
I’m not going to spread all the toys around right now, but here’s how the nursery looks with its furniture. It’s also dark. I’ll try to take pictures with better lighting once the house is completely finished.
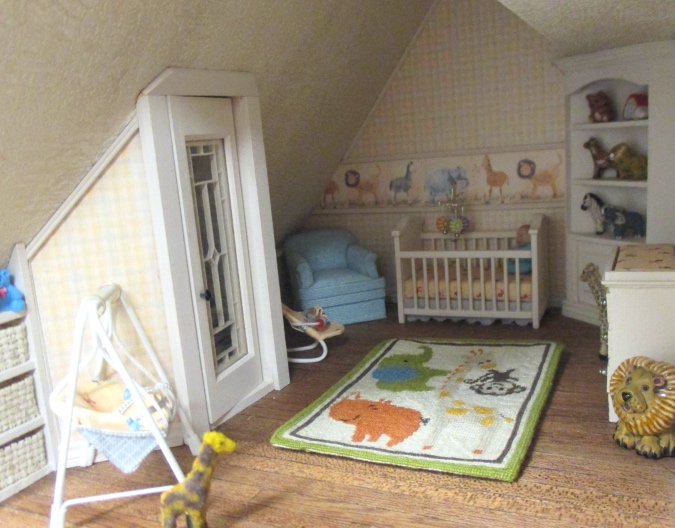
I wish the flat part of the ceiling extended to the edge of the cabinet — the crown molding with no ceiling above it looks a little funky — but getting this roof to work was so complicated. I can live with a funky cabinet top.
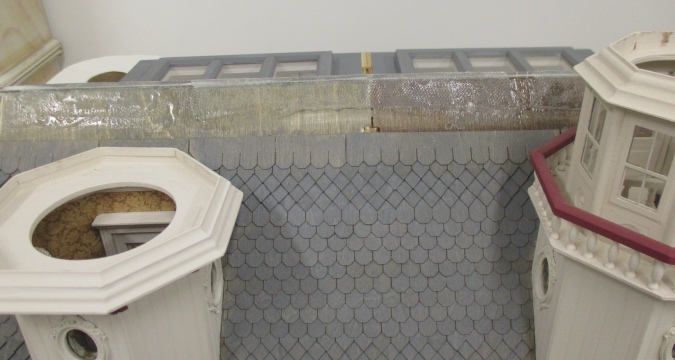
And here’s how this whole side of the house looks now that the roof is finished. My next task will be to finish the shingles.
 Emily is a freelance writer, miniaturist, and adventure game enthusiast.


This is such a great house. I know, the little things always bug you but it does look good. The skylights were a great idea. Love the nursery theme!
Thank you! I’m sure I’ll find another use for those skylights one of these days.
Love it, Emily. It really looks great.
Thanks! :)
Perhaps I–we– should invest in a company that manufactures lumber for dollhouses! I’ve used a lot of trim to cover up boo-boos. The trim actually gives a room a finished look, and yours looks very nice. I call on my husband, too, to help problem solve, but your’s has gone the extra mile. In the end, we never know secrets what a house–any house–holds until we go to remodel! I doubt that your roof will leak. Hurricane ready. I commented on my blog yesterday that I’ve done social distancing quite well since I retired. I don’t need a virus to send to my basement where I can work for hours, isolated and alone. As bloggers, we will keep each other company. Great work, Emily.
I have to talk Geoff into helping me, but he usually comes up with a brilliant idea I never even though of. :)
I work from home, so it’s not too much of a stretch for me to stay home all day, but I think I will be spending more time in my workshop to take my mind off the news. San Francisco’s mayor announced today that we need to shelter in place until April 7. I wonder if I can finish the Victorianna by then?!
I think it looks great! I love that bedroom with that elegant bench at the foot of the bed.
Thanks! I want to add some more furniture, maybe a dresser along the open wall, but I have to find one that looks good from the back. It’s a big room but kind of awkward for furniture placement.
It is lovely Emily. You should be proud.
Thank you. :)
Great!…I admire your attention to detail!! I especially love the nursery with all the tiny details and toys and loved your past post on the master bath!
I first found your blog after researching Tomy houses( so glad I did!!), as I had recently treated myself to one at the time and I have since remodelled mine with alot of inspiration from alot of your creativity with your other projects. I look forward to getting your emails…and especially in these times…having an escape into a hobby is important to keep us all grounded!!
Thank you for stopping by, I’m glad you found my blog, too! I’d love to see pictures of your remodeled Tomy house. I redid the living room and kitchen in mine and then stalled on doing the upstairs rooms. I’m eager to finish the Victorianna after all this time so I can move on to some other projects with a clear conscience. :)