Each fall the HalfscaleMinis group holds a vote for the annual swap’s theme, and then we send in our swap items in February and get a box in the mail in March with the items everyone else made. This year I suggested Local Souvenirs as a theme, and it came close to winning, but in the end it was beat out by Cottages. I had no idea what to make for a cottage and had already started thinking about local souvenirs so I decided to do that anyway. Luckily the theme is only a suggestion.
I first had the idea for a local souvenirs swap last summer when I was making dozens of jars of jam and jelly out of the unexpected plum bounty from the yard of my new house.
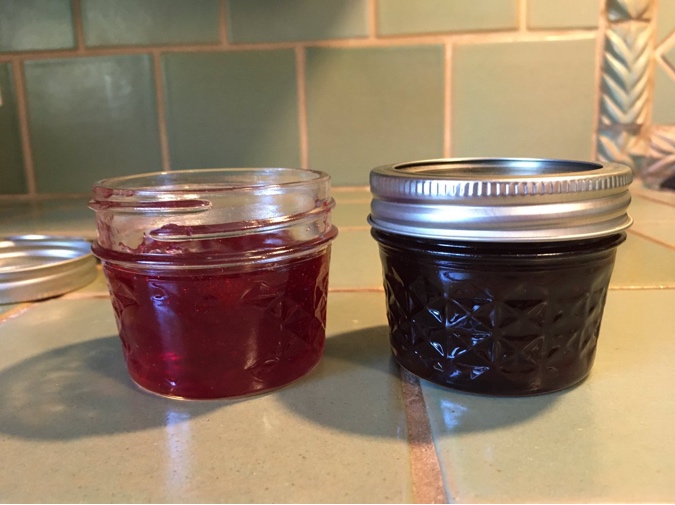
I enjoyed giving homemade jam to friends and thought it would be fun to do that in mini, too. I asked Geoff if he could think of other Northern California themed gifts and he suggested wine. And a neighbor who works for a local bakery kept coming over with little gifts from the bakery. All of these ideas combined into a Northern California gift basket.
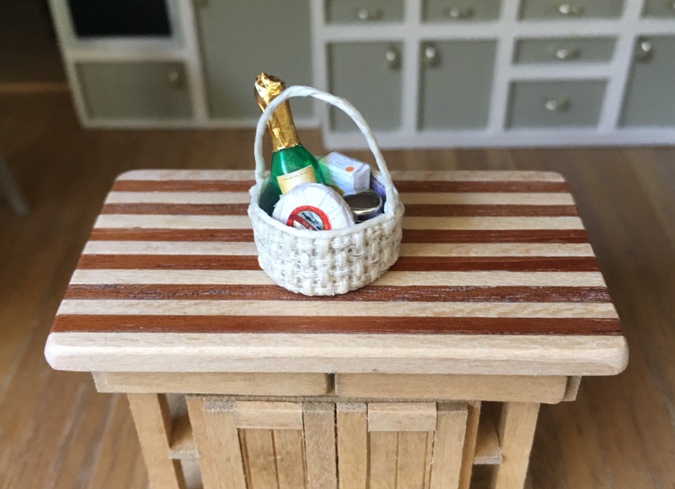
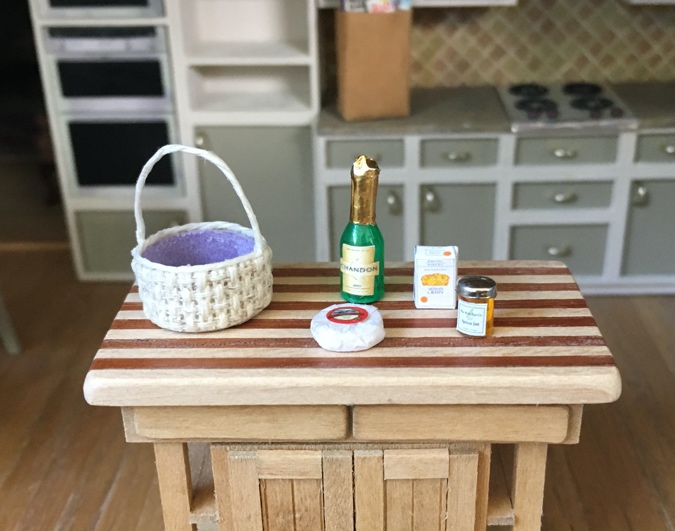
Here it is unpacked. I’ll show how I made the basket in this post and the goodies inside the basket in a future post.
I found a lot of tutorials online for making real wicker baskets, which didn’t seem *that* hard, but I needed to make 28 for the swap and the food items had a lot of steps already, so I couldn’t embark on anything that was too labor intensive per basket.
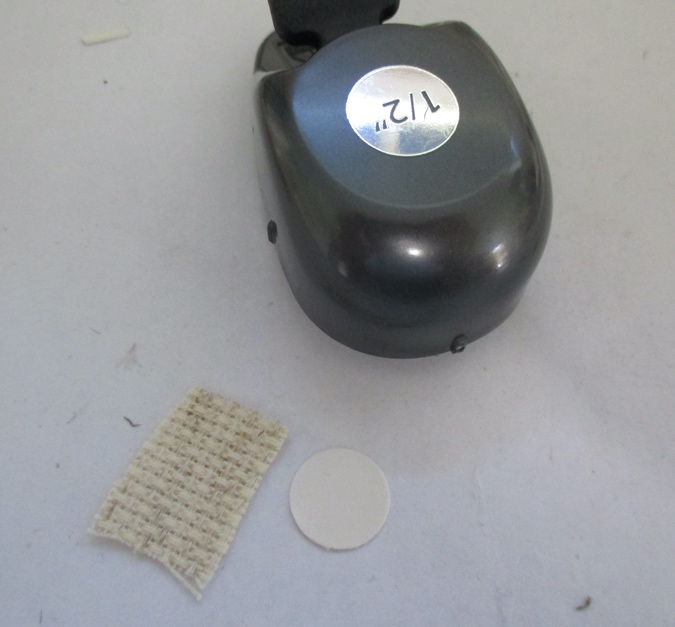
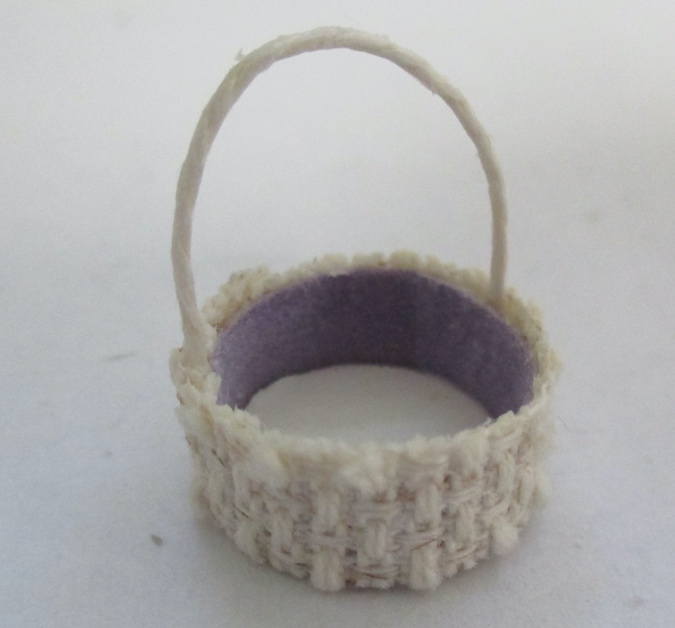
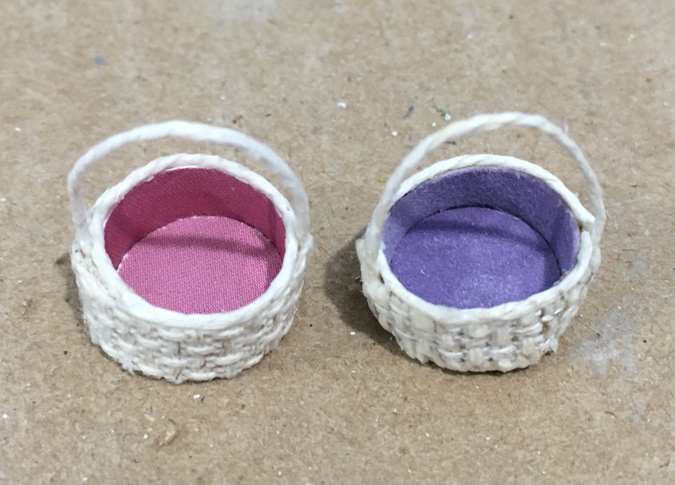
The design I came up with is made from fiddler’s cloth fabric (similar to Aida), 0.5mm hemp twine, stiff paper, and suede scrapbook paper.
This is a 1:24 scale basket, but it could also be a small basket in 1:12 scale or you can double the dimensions to make a 1:12 version. Here’s how it looks in a 1:12 setting.
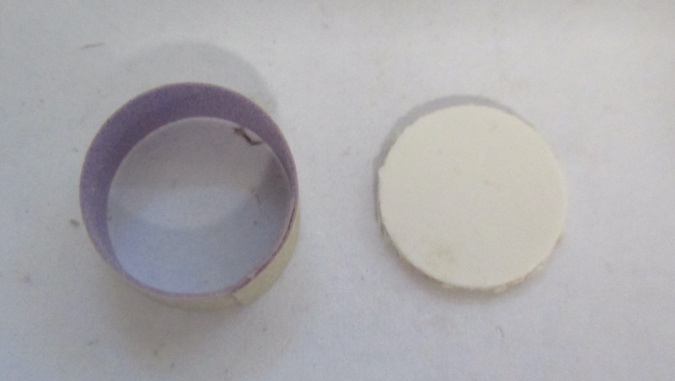
I started by cutting a piece of stiff paper with my 1/2″ circle punch, as well as a piece of fabric large enough to cover it.
I glued the fabric to the paper circle with tacky glue.
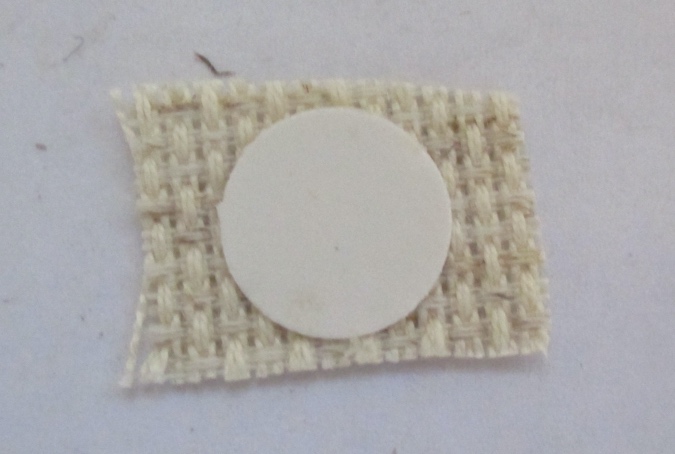
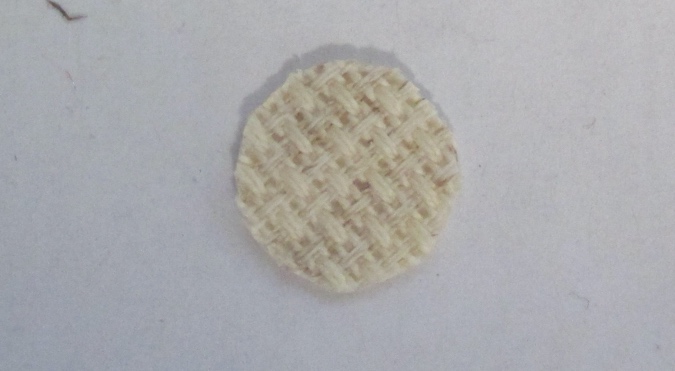
Next I used sharp scissors to cut away the excess fabric.
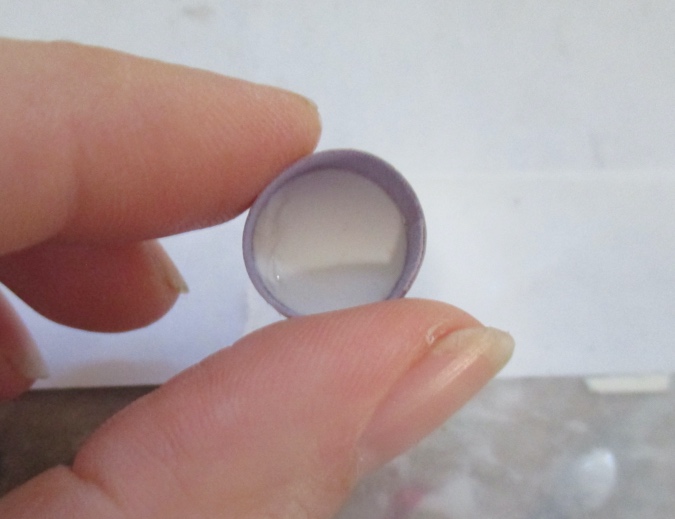
I used the paper cutter to cut a 1/4″ strip of suede scrapbook paper and then cut this down to a piece about 2″ long. The 1/4″ height is about the same as four rows of my fabric. I wrapped the strip of suede paper around a 1/2″ dowel with the suede side facing in, and glued the ends together.
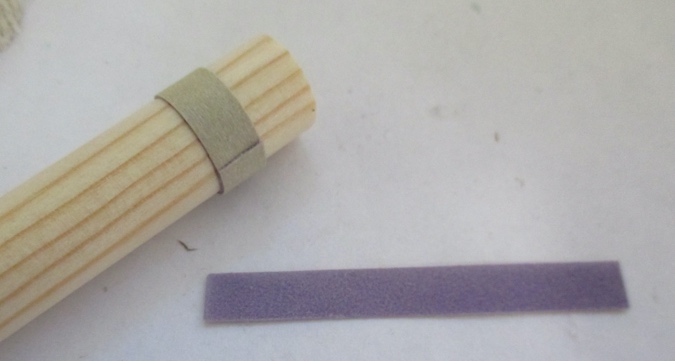
When the glue was dry, I slipped the paper ring off the dowel. It’s just the right size to fit over the bottom of the basket.
I glued the basket bottom into the paper ring with tacky glue, fabric side down.
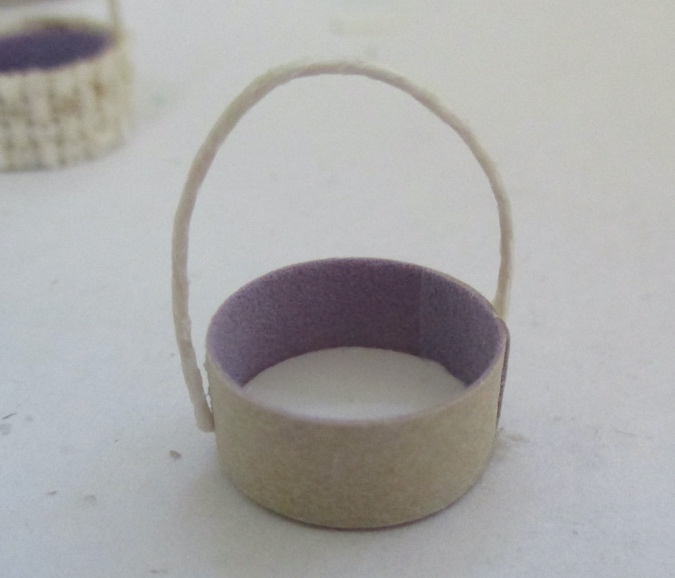
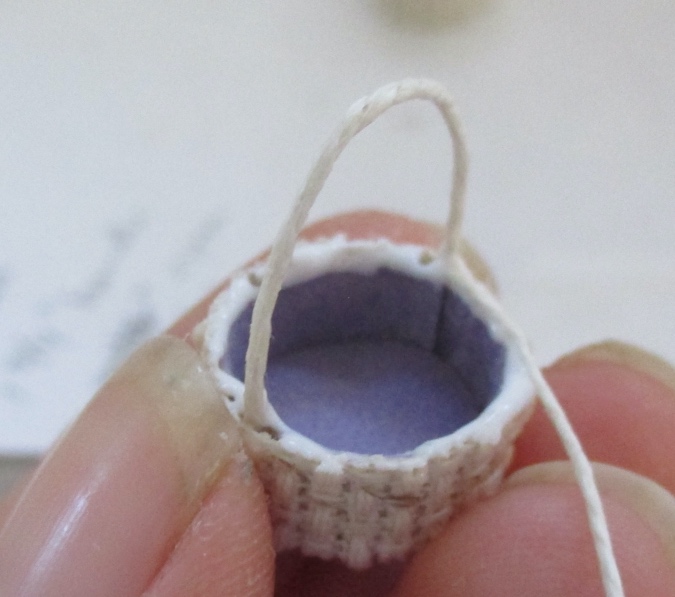
Next I cut a 1 3/4″ piece of hemp twine and glued the ends to opposite sides of the basket to form a handle. These didn’t want to stick with tacky glue so I used The Ultimate, but tacky probably worked if I’d been more patient and let it dry.
I cut a strip of fabric the same height as the paper strip and approximately 2″ long, and smeared it with tacky glue.
I glued this over the paper ring, covering the ends of the handle.
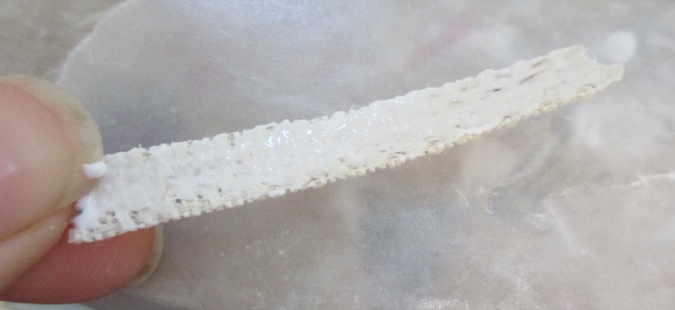
Notice that the Aida looks fuzzy. I noticed halfway through my 28 baskets that the fabric had a right way and a wrong way. When I cut in one direction, I got these fuzzies. When I turned the fabric 90 degrees and cut in that direction instead, it was much flatter. It must have to do with which threads are under and which threads are over in that orientation. The fuzzies can be tamed with a bit of glue.
Next I cut the suede paper with the circle punch and glued the circle into the bottom of the basket.

Finally I cut another 1 3/4″ piece of twine, added tacky glue to the top edge of the basket with a toothpick, and glued the twine around the top edge, starting at one side of the handle. Once I got the twine all the way around the basket, I snipped it so it would end on the other side of that handle.
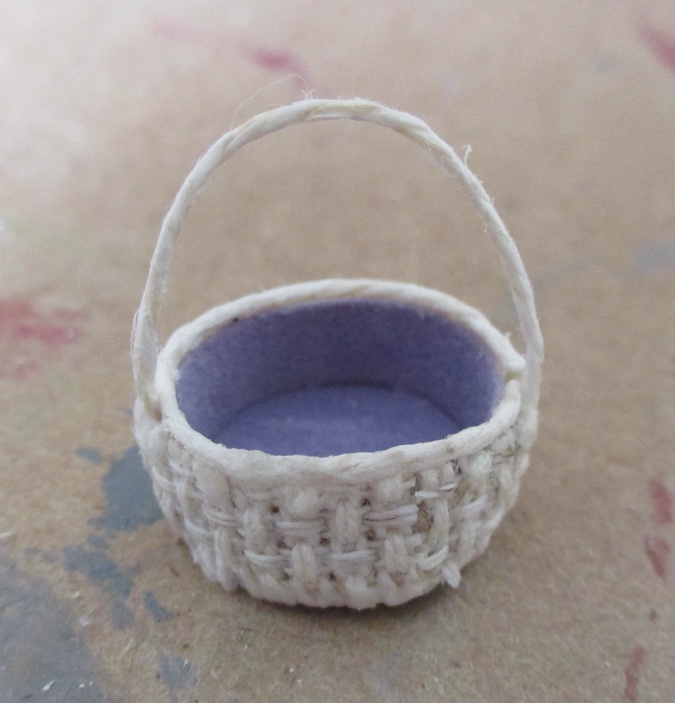
Voila! If your basket has fuzzies like some of mine did, at this point you can thinly spread tacky glue over the fuzzy parts to stick them down.
I should mention that I used the suede scrapbook paper because its texture makes the basket look like it’s lined with fabric, and because this paper doesn’t have a white edge when you cut it. I made the first few prototypes with regular scrapbook paper and they didn’t look as good to me.
If you don’t have access to suede paper or you want to get a little fancier, you could cut the 1/4″ strip out of the same stiff paper as the bottom circle, and then glue fabric over it before wrapping it around the dowel. In this case you would have to cut the fabric for the bottom of the basket by hand, since the circle punch won’t work on fabric.
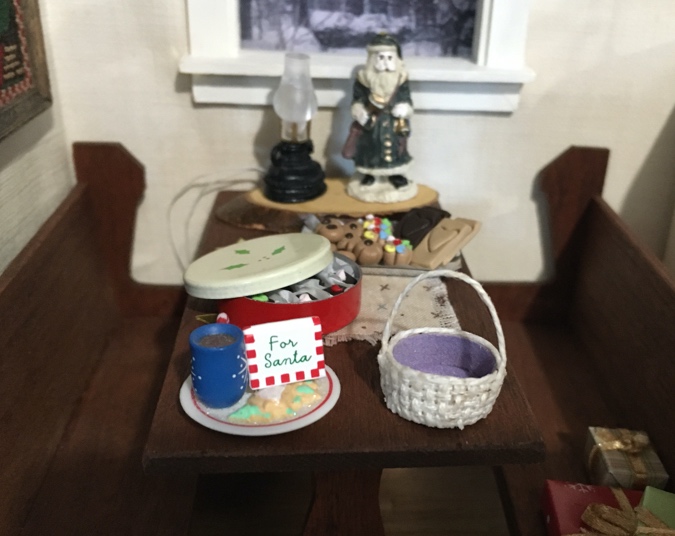
In a separate post I’ll show how I made the goodies in the basket. Until then, feast your eyes on these goodies that I received from the swap!
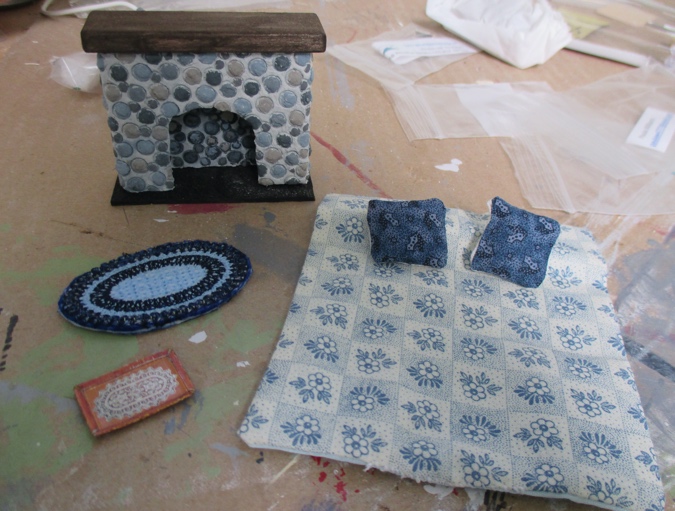
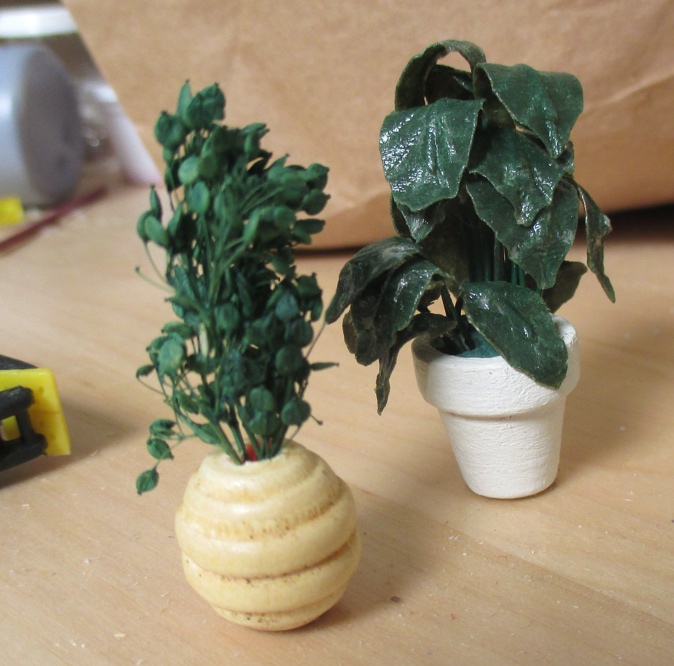
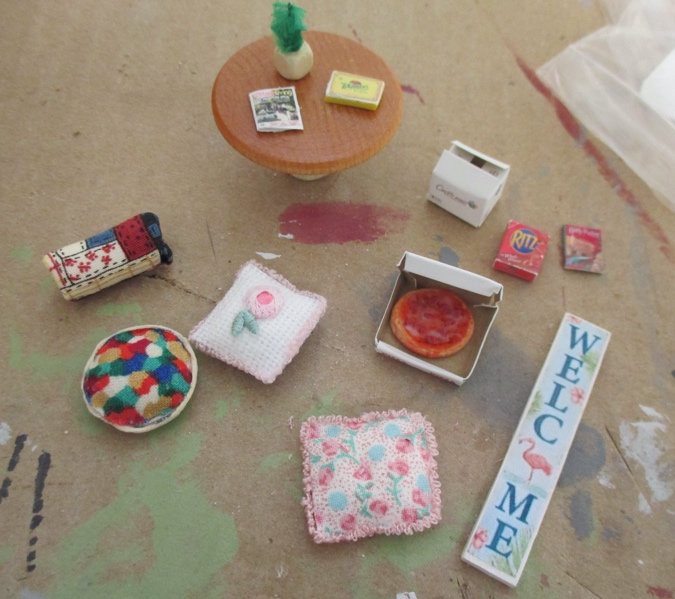
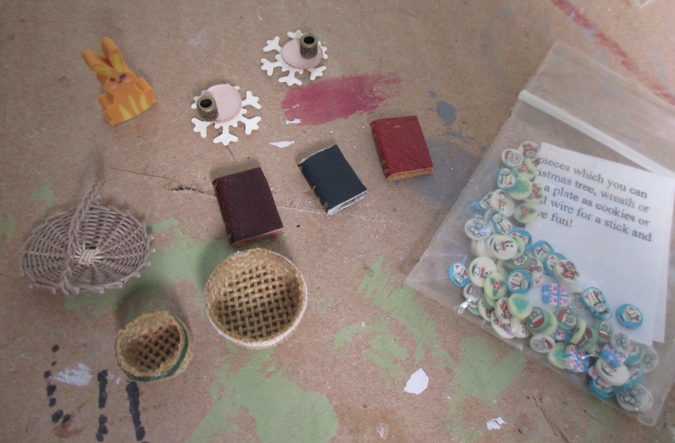

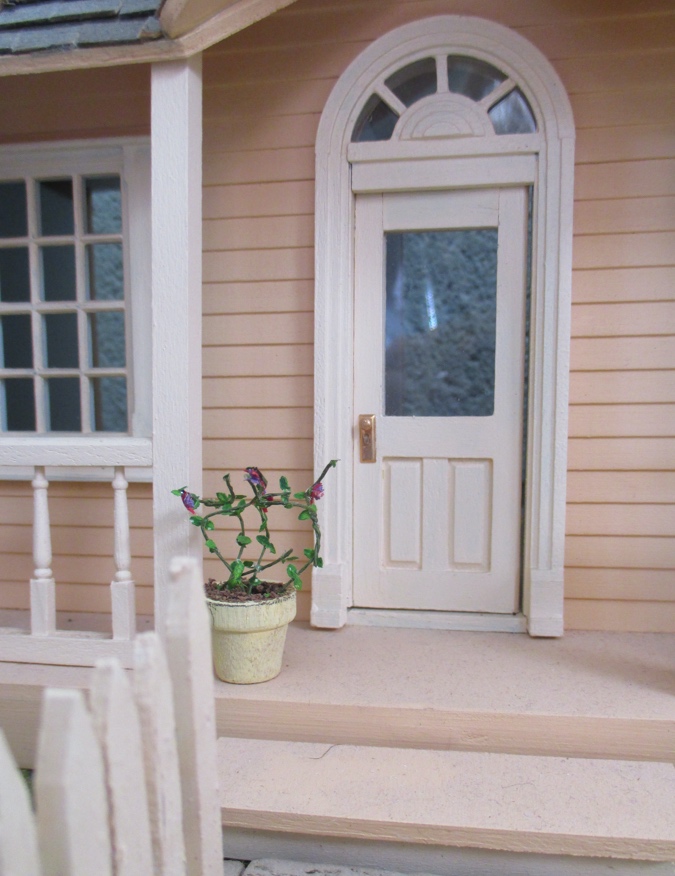
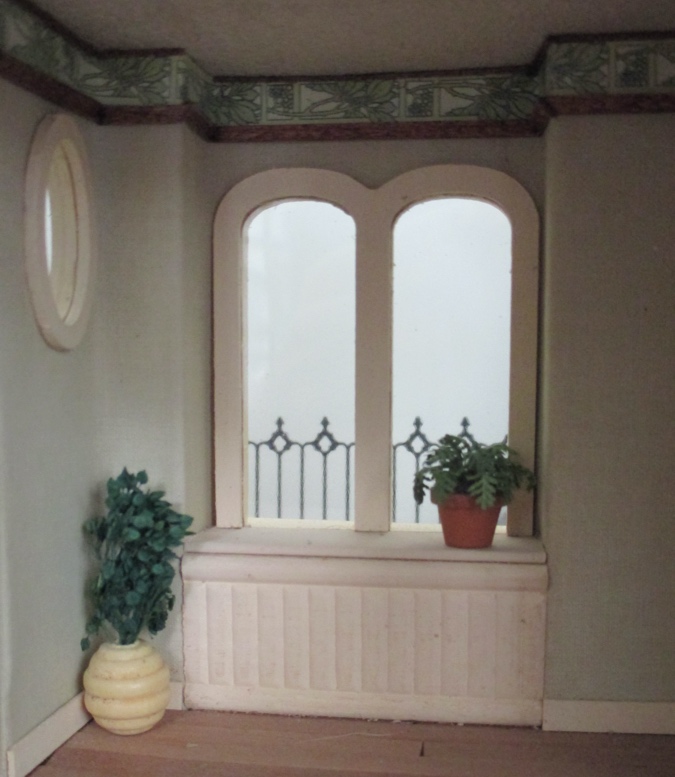
Usually I like to spread the items around in my dollhouses and take pictures, but I still haven’t set up the furniture in most of my houses after my move last year. In the meantime, here are a few of the plants.
 Emily is a freelance writer, miniaturist, and adventure game enthusiast.


I love the basket with goodies you made. I made the tropical fern. The laser cut leaf sheet came from Tropical Miniatures on EBay (Mary Kinloch).
Marilyn
I love the fern! I’m so happy when I get plants in the swap because I love having them in my houses but I don’t enjoy making them.