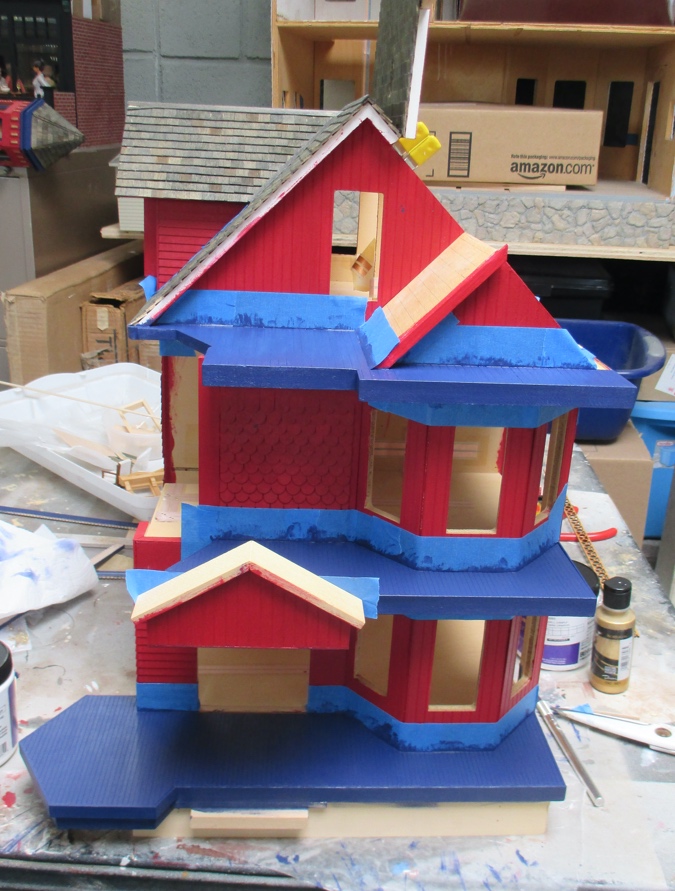
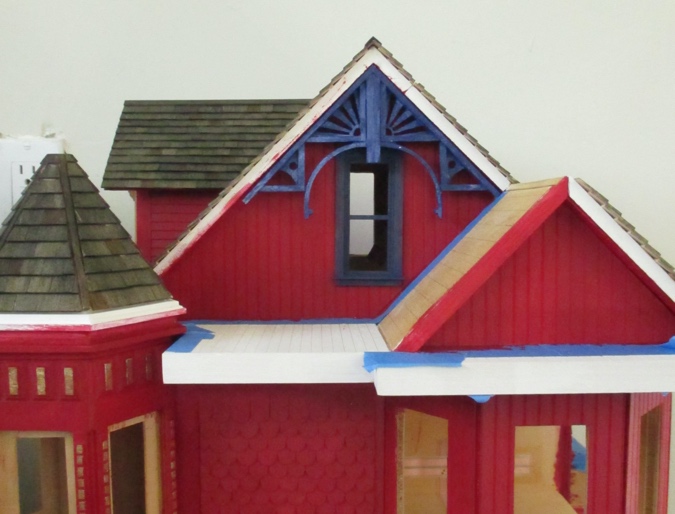
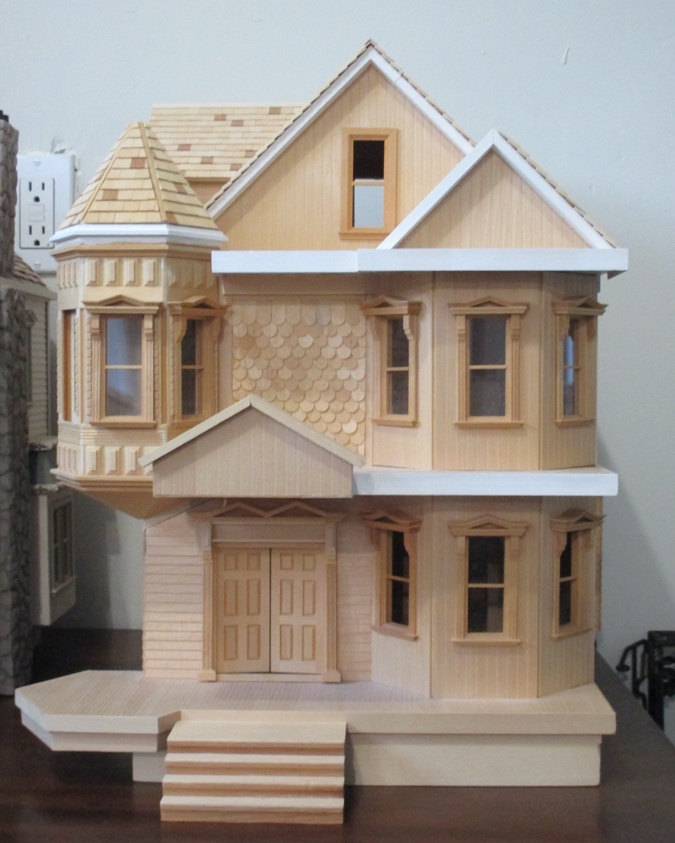
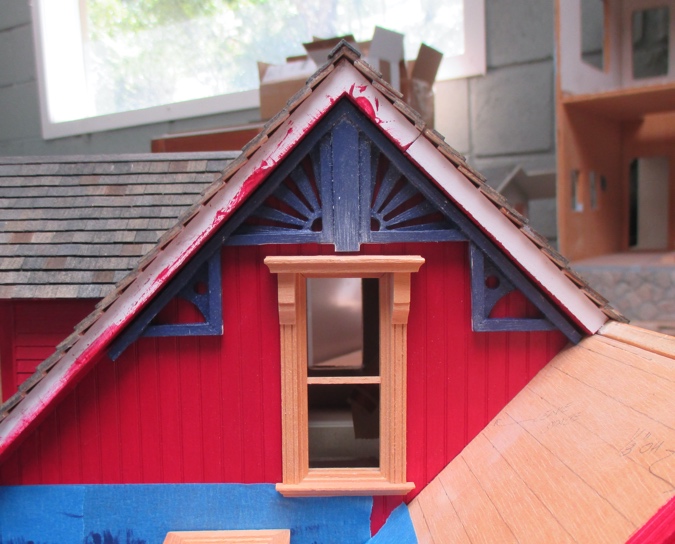
The past few weekends I’ve continued to paint the Turret House. I’ve also spent a small fortune on various trims and components to dress up the exterior. Here’s how it looks right now.
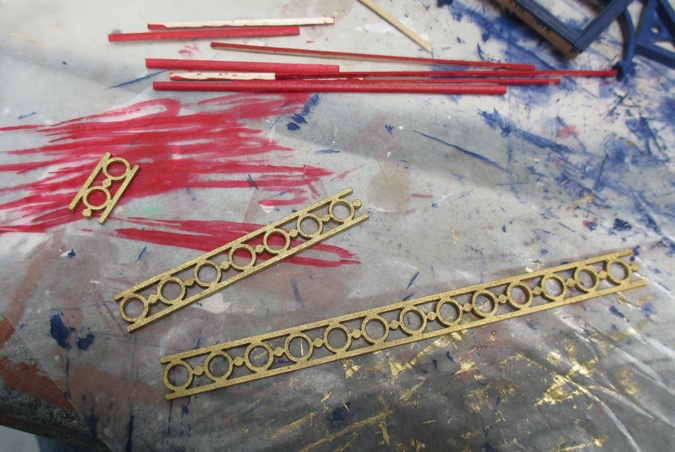
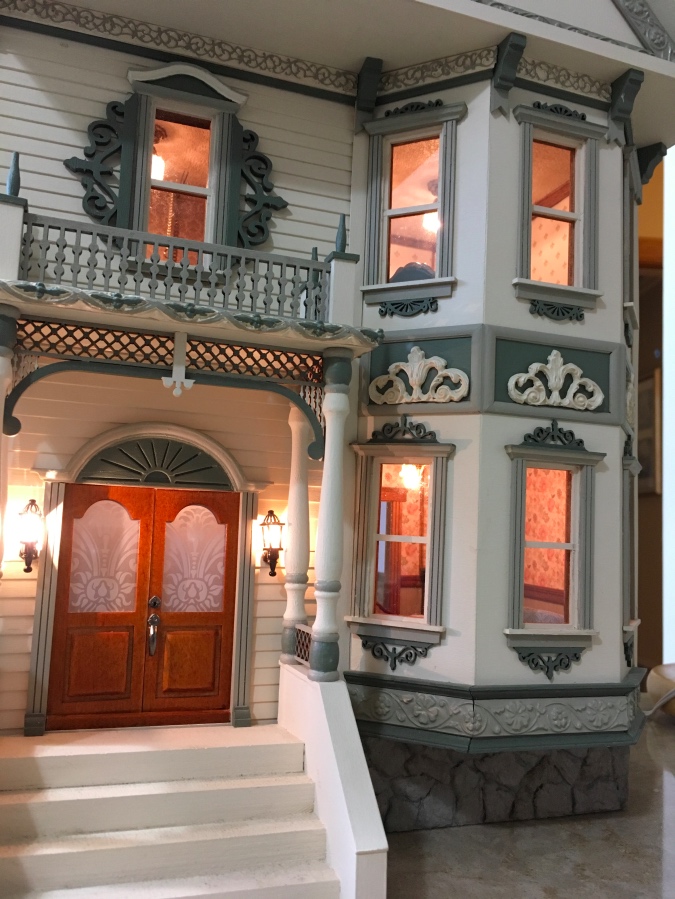
And a sneak peek of some of the trim. More details to come in a later post!
Many years ago I bought two pieces of Lawbre apex trim from the now (sadly) closed Shellie’s Mini Mania in San Carlos, CA. These are also available from Lawbre’s website. They’re 1:12 scale, but they work with this big gable.
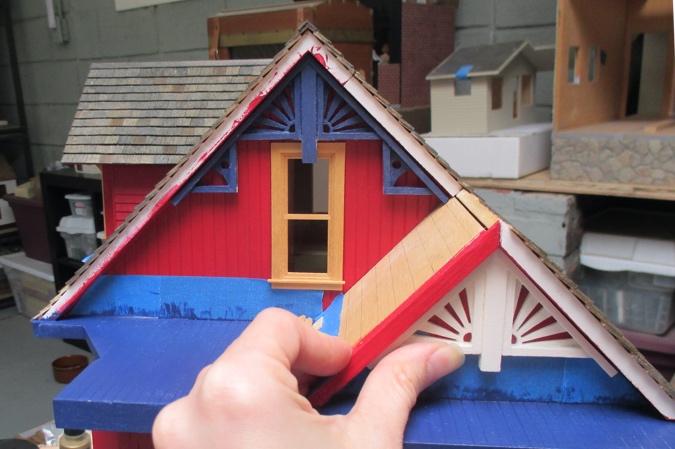
My original idea was to tuck these under the shingles, which overhang the eaves by 1/4″. It didn’t occur to me until after I’d started down this path that this wouldn’t work, for two reasons. One, the right side of the roof opens, so the apex trim can’t be attached to the roof edge.
And two, when the roof is open there would be a big gap between the apex trim and the side of the house. Too precarious.

But the apex trim is slightly too big to fit under the eaves — the right edge bumps into the gable. I decided to cut off the end of the trim to make it fit.
I traced the trim onto a piece of paper, put the paper under the eaves, and folded the edge where it bumps into the gable roof.
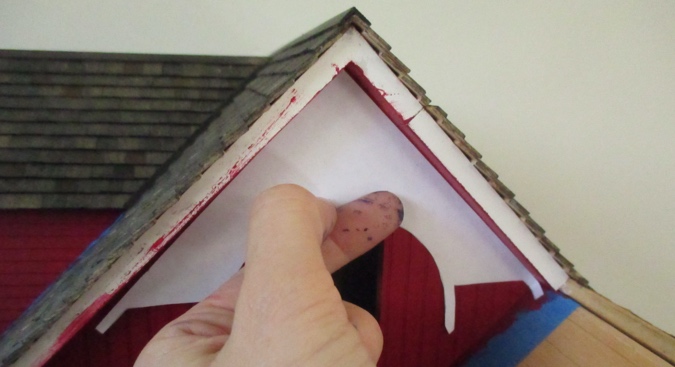
Then I used this as a guide to cut the apex trim. I’ll need to cut it a little more once I’ve added shingles to the roof, but I don’t want to take off too much, so I’ll leave it like this for the time being.
However, this piece of apex trim is warped and doesn’t fit snugly under the eaves. (The other piece, which I’ll use on the back of the house, doesn’t have the same problem.) I already don’t have a lot of surface to glue this to, since I can’t attach it to the part of the roof that opens, plus if it’s flush with the front of the roof there will still be a gap between the trim and the house whenever the roof is opened.
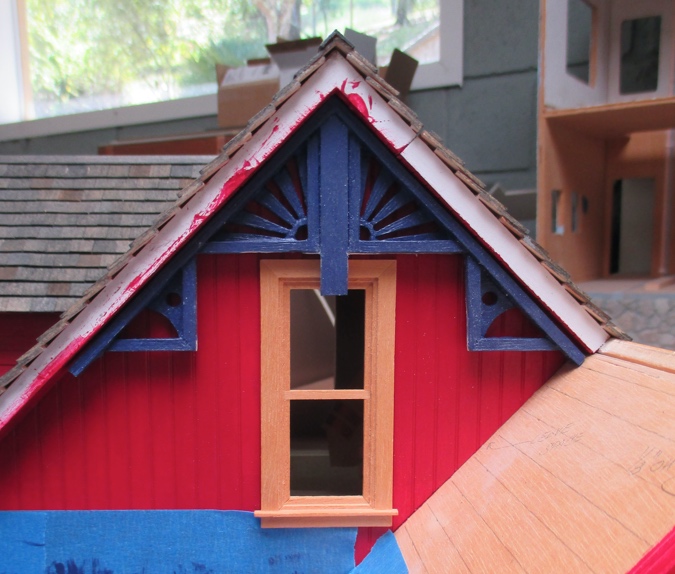
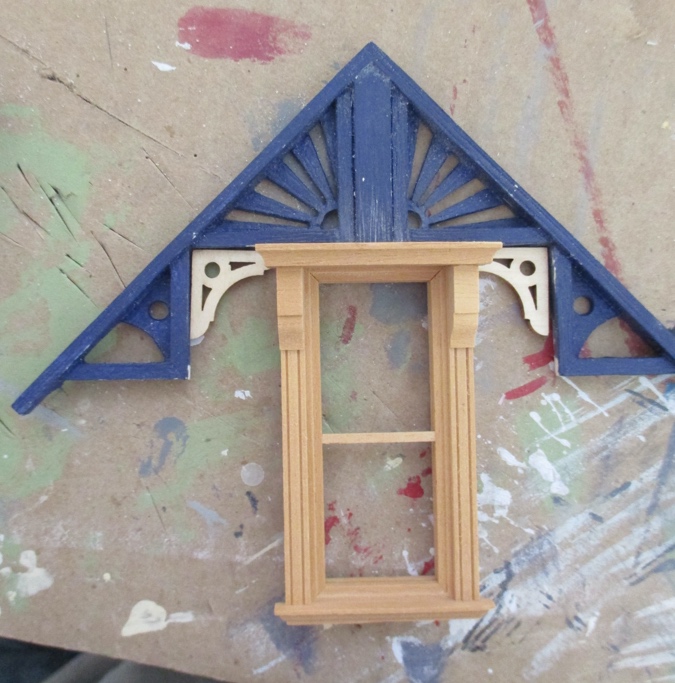
The solution seemed to be to push the apex trim all the way back so it’s snug against the siding. But this creates some new problems. It can’t be totally snug against the house because the window gets in the way. Also, in this position it’s very clear that the window is slightly off center (more on that farther down).
And it just looks cramped. When the trim sat under the shingles the window had space to breathe, but when the trim is right up against the window, the curved part looks out of scale and sloppy.
I tried flipping the window around so the trim is on the inside. Now there’s no trim sticking out, so the apex piece can be flush against the siding. But it still looks cramped (and off center).
I decided to remove the curves. Using a utility knife, I first cut off a section of the curve.
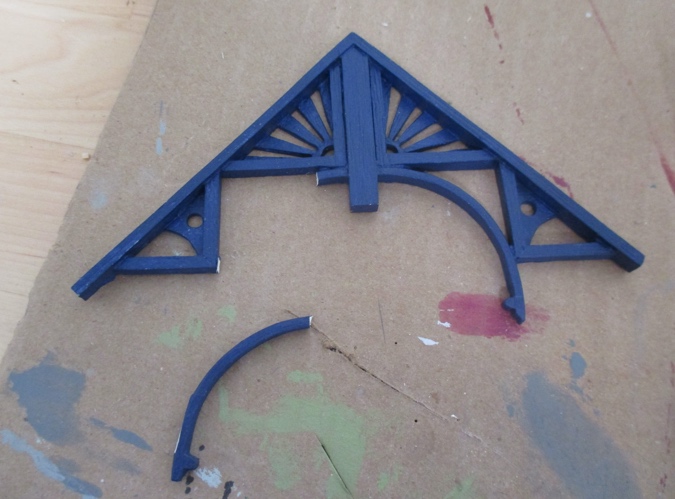
Then I carefully cut off the small remaining piece. Not a perfect break, but nothing a little paint won’t hide.
I sanded the cut points with an a metal file and a block of wood wrapped in sandpaper until I was happy with them. The apex trim is still bumping into the window, but this already looks cleaner.
While I was working on this, my order from Lawbre arrived. One of the things I bought was a smaller version of this trim to go in the smaller gable.
The rest of the windows in this house have Victorian pediments, but the two in the gables are plain windows. These came with the house, so I hadn’t considered the fact that the plain window has nothing in common with the Victorian window — the trim is smooth instead of grooved and the window sills look totally different. In a real Victorian, even if the top floor window is slightly different than the others, they would share these common elements.
I thought briefly about swapping those windows with Houseworks’ 1:24 scale Traditional Windows (not to be confused with the 1:24 scale Traditional Non-Working Window, which is what the current windows are). My Queen Anne Rowhouse has these on the bay window, and they have the same grooved trim as the Victorian windows. But these windows still have different sills than the Victorians, and no corbels.
(Also, now that I’m looking at the Miniatures.com listing, the pictured windows have flat trim. I wonder if the design changed since I bought those windows for my Queen Anne Rowhouse nine years ago?)
I was staring at a Victorian window next to a Traditional window, wondering how I could make the Traditional window look more like the Victorian window, when it dawned on me — ditch the Traditional window idea and cut the pediments off some Victorian windows! Duh.
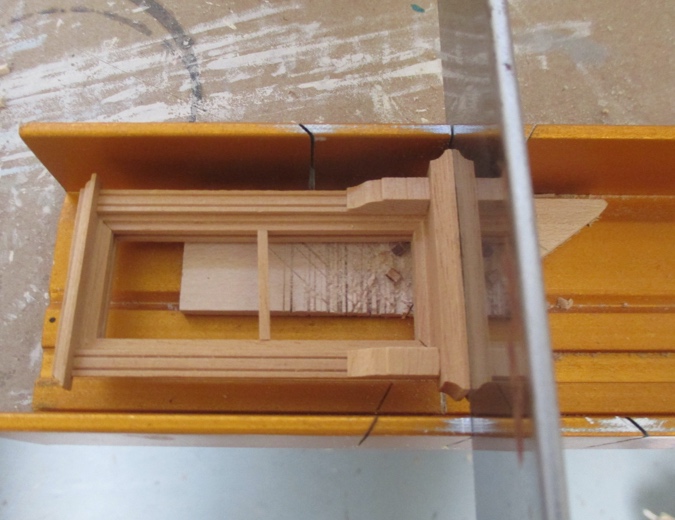
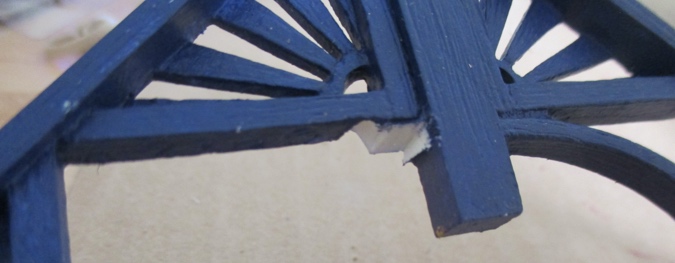
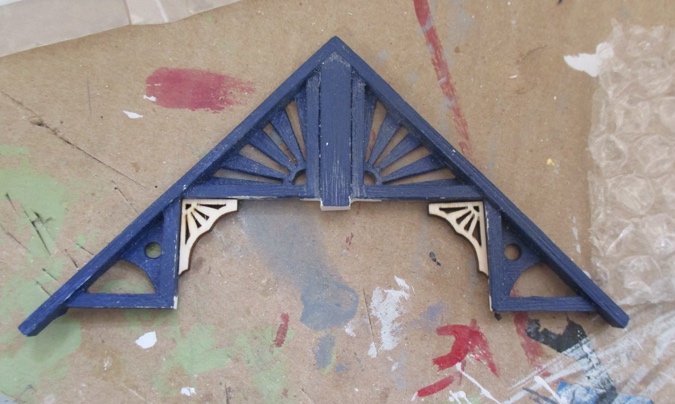
All right! Now I just have to cut that center piece down so it doesn’t overlap the pediment.
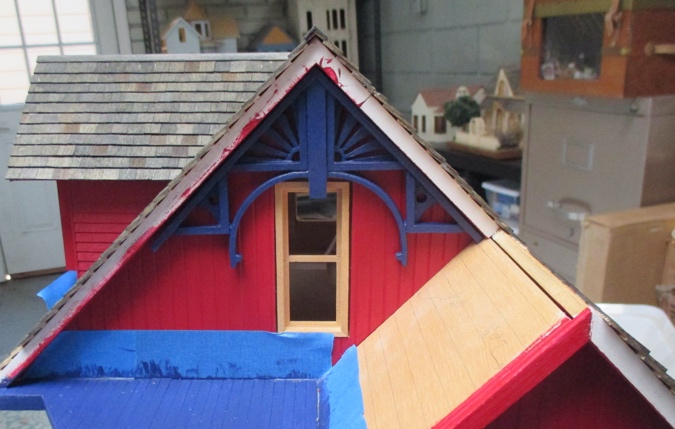
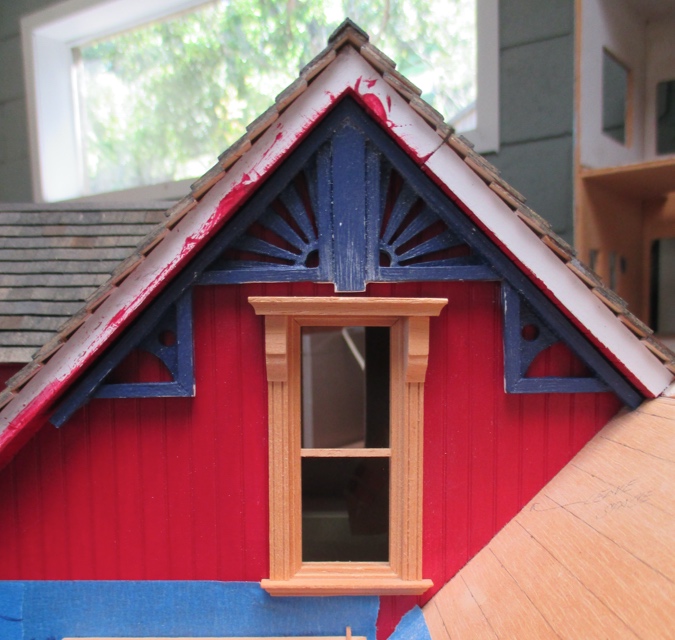
And there we go. Now the apex trim can sit completely flush against the side of the house, which will make the warped piece easier to glue in. And the top floor windows will be exactly like the rest on the house, just without the Victorian pediments.
I used a file to sand the right side of the window hole, to get the window more centered. The hole is slightly too large now, but the trim covers up the gap on the left side. (It might need a touch more sanding; it still looks a little off.)
The apex trim lost some elegance when I cut off the curves. It looks too boxy now. I thought about adding shutters on the sides to fill up that rectangular space, but a shutter won’t fit on the right side since it bumps into the smaller gable roof.
Somehow my brain knew that this was Eastlake style trim. I did some Googling and came across this picture on Pinterest.
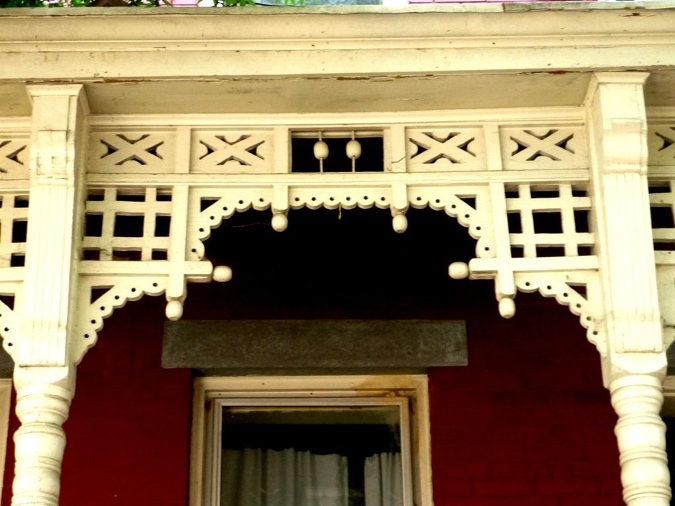
This gave me the idea to add brackets where the curves used to be.
That helps! And the circle cutout in the bracket even complements the circle cutout in the portion next to it. But unfortunately the brackets are slightly too wide for the window to fit between them.
These brackets are 3/4″ wide. I looked at a lot of brackets and most were this size or bigger. But Victorian Dollhouse Wood Works makes these, which are only 1/2″ wide, plus they have a sunburst pattern just like the apex trim.
Normally this store’s 1:24 trims are 1/16″ thick. I wrote the seller to ask if I could get the brackets in 1/8″ wood so they would work better with the 1/4″ deep apex trim, and he made them for me at that size.
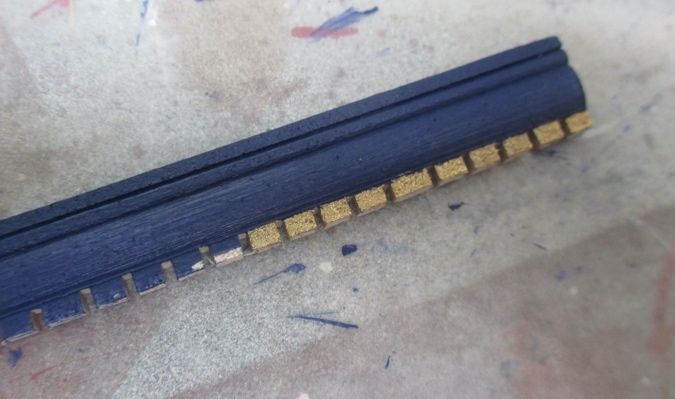
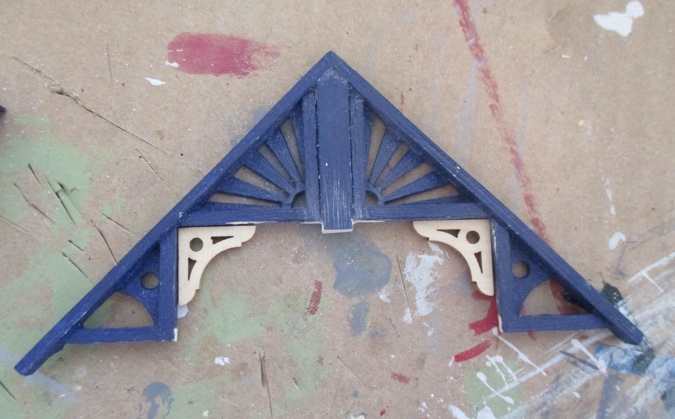
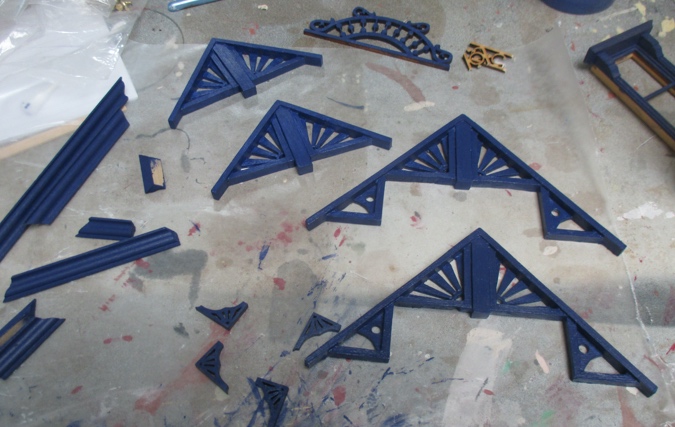
The apex trims had gotten dusty from all the cutting and sanding, so I did another coat of paint on those, as well as some other trim pieces. The paint scrapes easily off the resin, so I then did a coat of matte sealer hoping that will offer some protection.
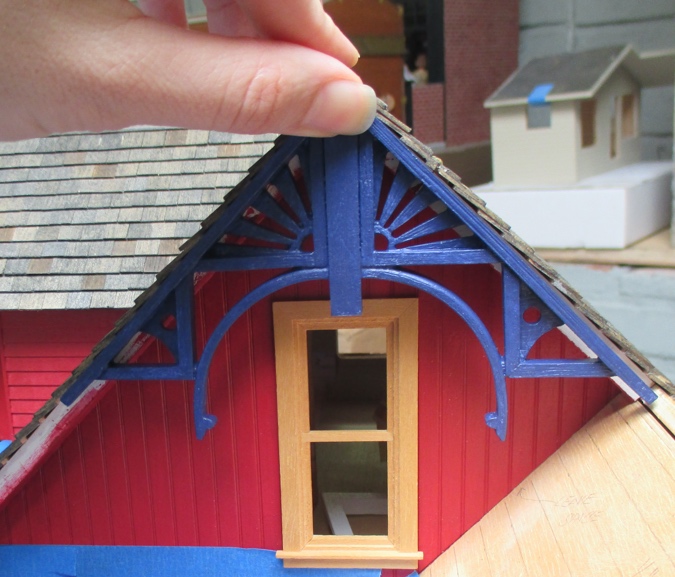
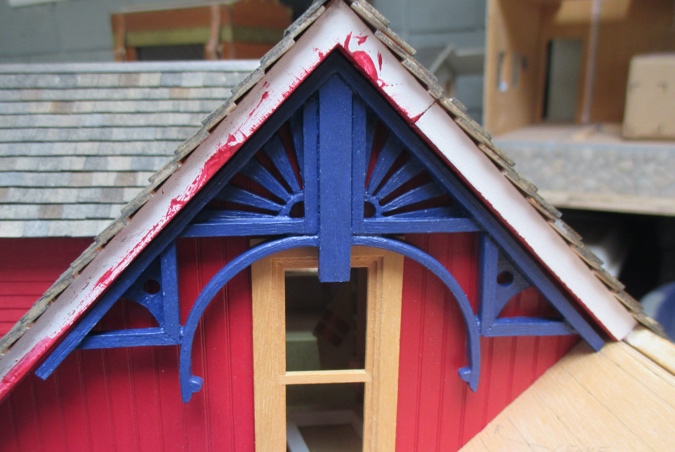
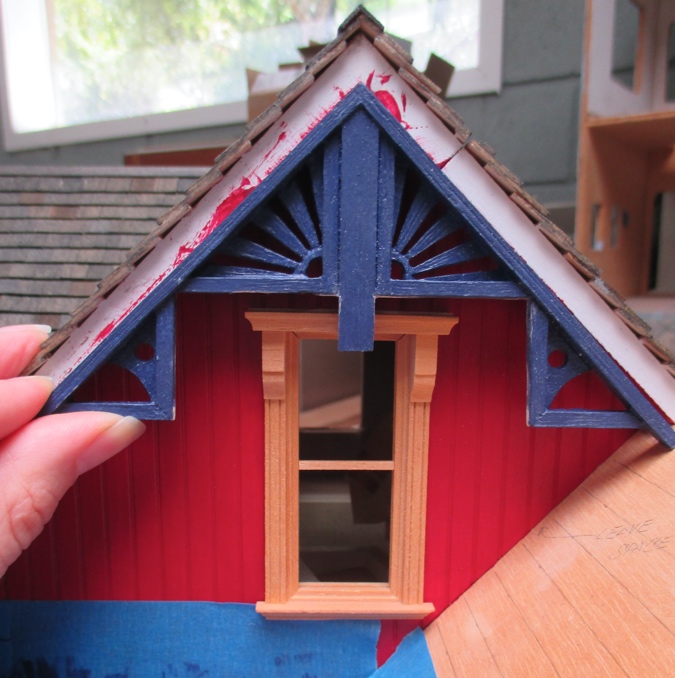
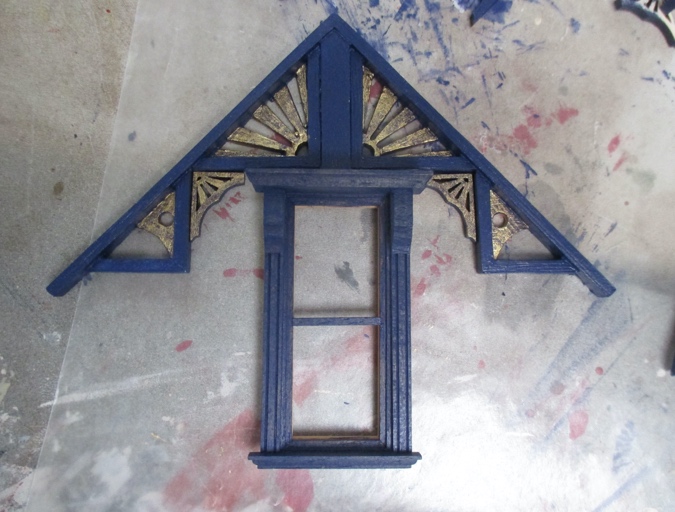
Next I painted the accents gold. I did this after the matte sealer because sealer would dull the gold and take away its metallic sheen. The brackets look like they were always supposed to be there!
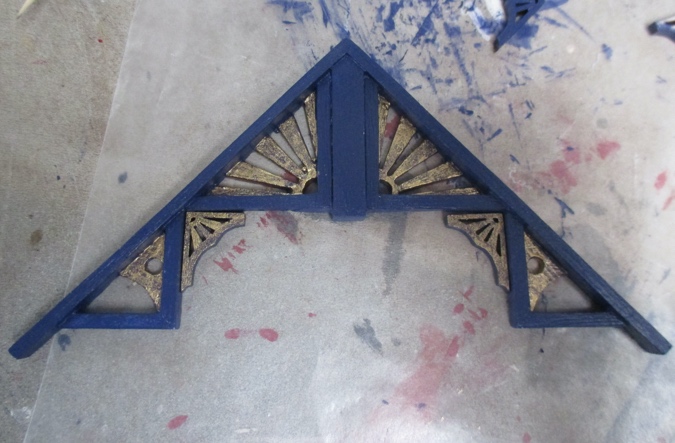
Here’s how it’ll look with the window. I’ll probably do another coat of gold, but this does have an interesting antiqued feel with the blue showing through. The corbels on the window will be painted gold as well.
More fiddly trim coming up soon! This house is going to have tons of it…
 Emily is a freelance writer, miniaturist, and adventure game enthusiast.


Wow! That came out beautiful!
Love the colors on this! It’s really a nice design, too.
Oh the corners that we back ourselves into. Actually it does my heart good to read that others have the same problems that I often face and they (you) teach us how to work through those problems. I love the Victorian trim and am pondering if I should substitute the kit trim for the Victorian farm house I’m working on. The interior is defiantly 21 1st century, but I wanted to stay true to this kit. We shall see. I’ve got all new laser trim for the Fairfield and I’ll be ordering the Miniatures.com non working window for it to replace the old kit windows at quite an expense, but they will look much better, but they have been out of stock. I’m enjoying watching you work.
You have worked and reworked a negative situation until it shines with ingenuity…looking so lovely now! This has been inspirational as you illustrate how keeping on with a problem can give a beautiful solution!
Wow! I love your work arounds. I don’t think I’ve ever put that much thought into trim in my life!
It turned out beautifully.
Beautiful, Emily, and worth every penny and contemplation!
It may have been a bit of a winding process but what a fabulous result!
The addition of the ‘new’ curves is just perfect and what a lucky find with the sunburst pattern.