I like how resin trims and appliques can be used on dollhouses to emulate the accents on Queen Anne Victorians. These are the Four Seasons houses, located at Waller and Masonic in San Francisco (image credit Wikipedia).

I tried to do something similar on my original Queen Anne Rowhouse, using resin trims from Unique Miniatures and 1:12 trims from Victorian Dollhouse Wood Works.
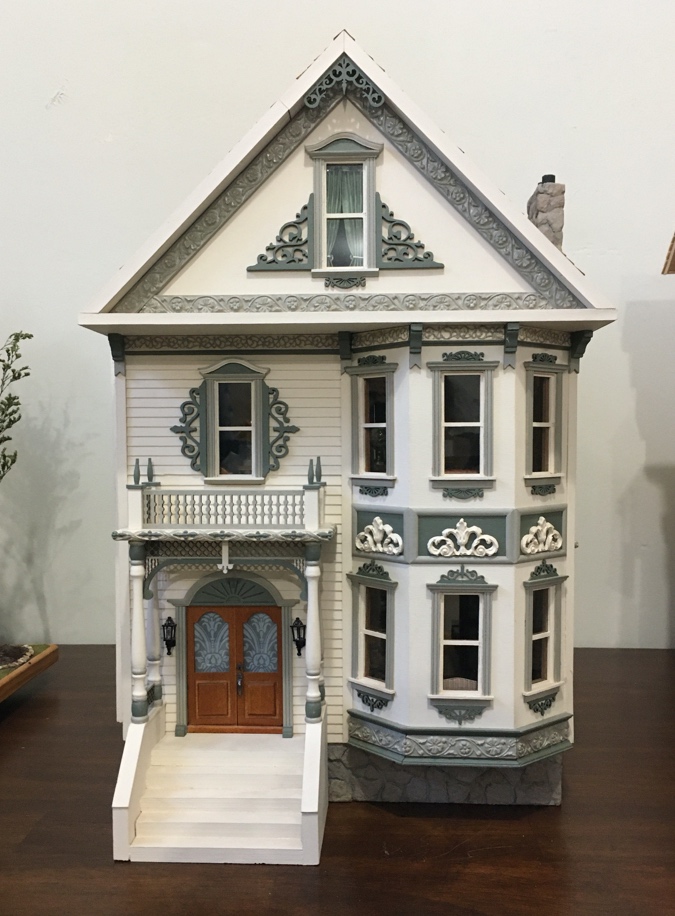
It doesn’t have the delicacy of the trims on the San Francisco houses (or the Little Belle, for that matter), but I like the idea and was thinking about this when I picked out trims for the Turret House.
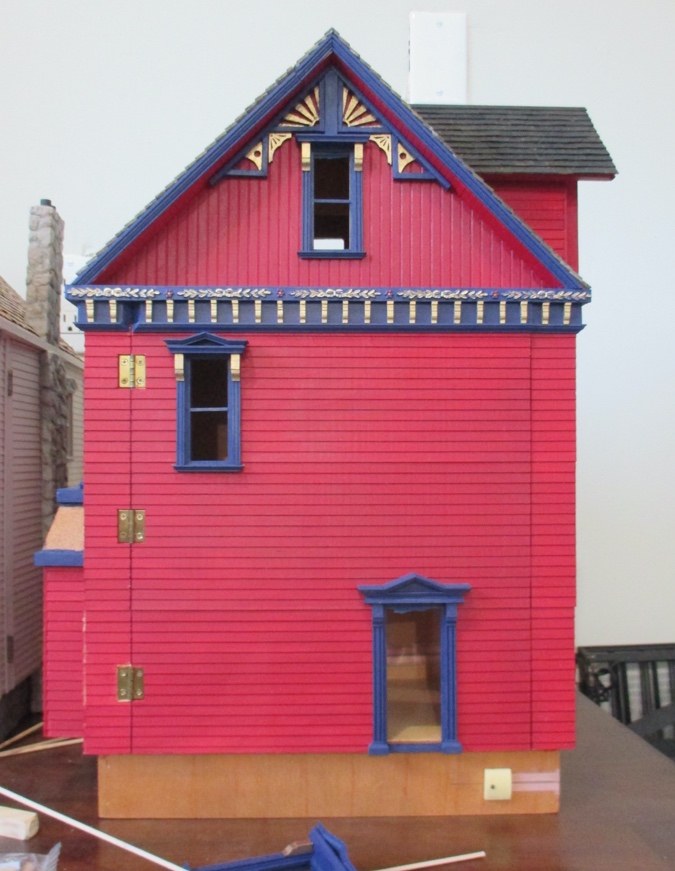
I wanted to use a resin trim on the 1/2″ front surfaces of the porch ceilings, but I couldn’t find anything I liked that was the right size. (The flower and vine trim on the Queen Anne Rowhouse’s gable is 1/2″ tall, but I couldn’t find it in stock anywhere.) I ended up using laser cut trim with gold paint behind it.
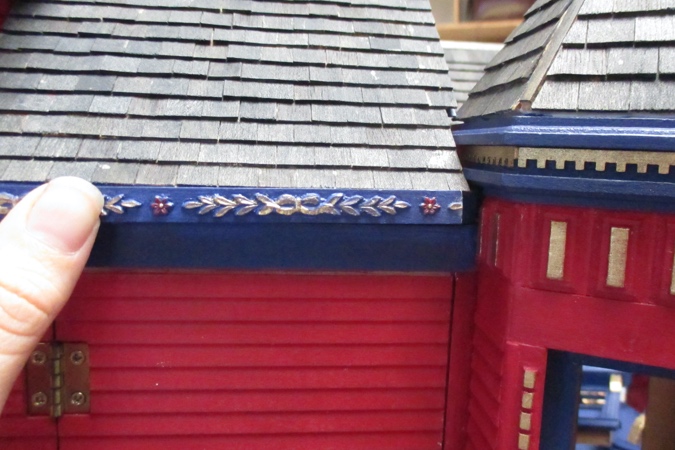
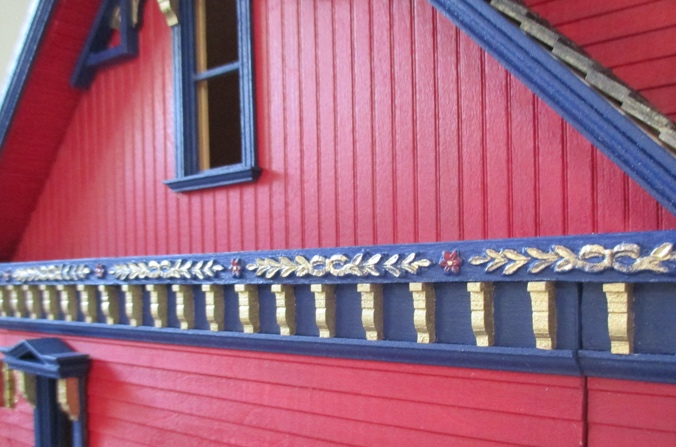
On the sides of the house there’s a 5/16″ strip under the roof, overhanging a larger piece of 1/2″ trim.
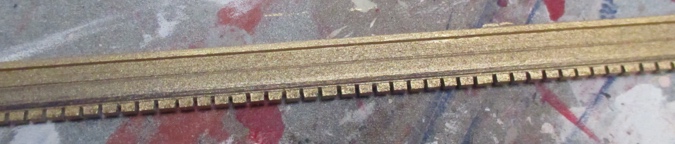
Lawbre carries this 5/16″ resin trim. It comes in a package of three.
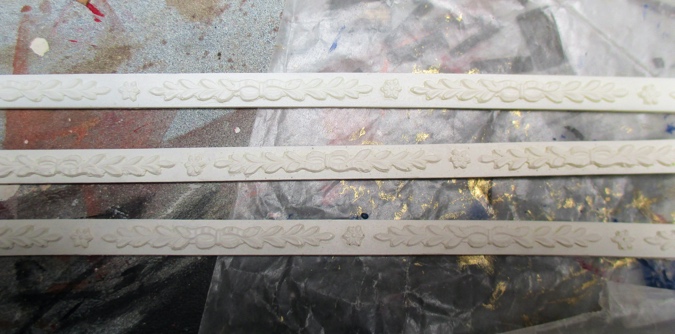
When cutting it, I couldn’t make the cuts just anywhere — I had to be careful to make sure the design would be nicely centered and not abruptly cut off at the edges. The three pieces gave me *exactly* enough trim to use under the roof on the sides and back of the house, above and below the roof of the dining room bump-out, and above the front door.
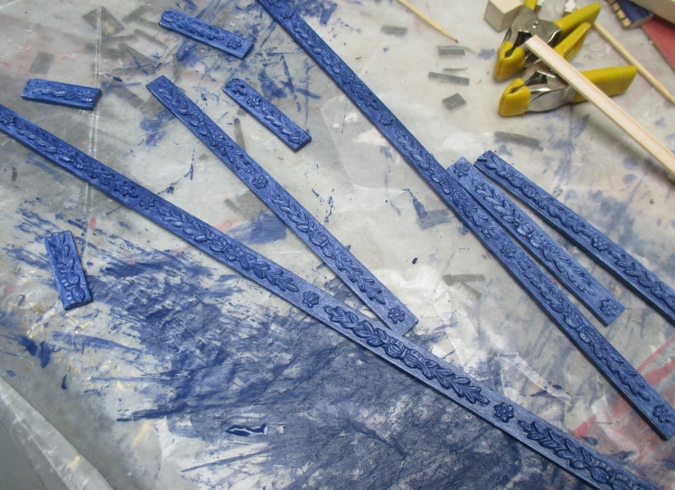
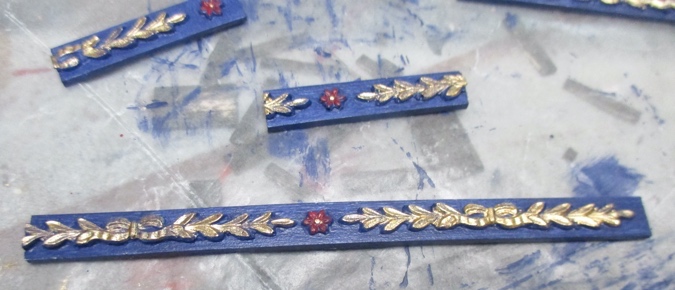
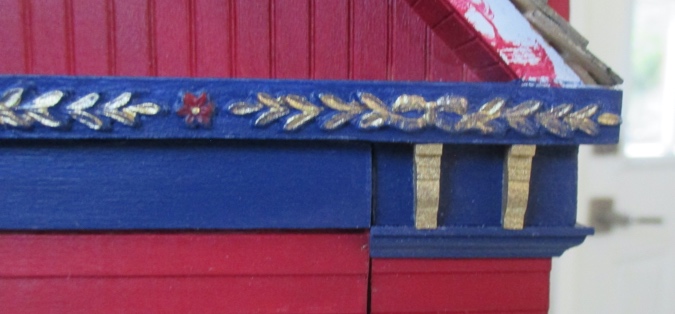
After painting it blue, I went over the details with red and gold.
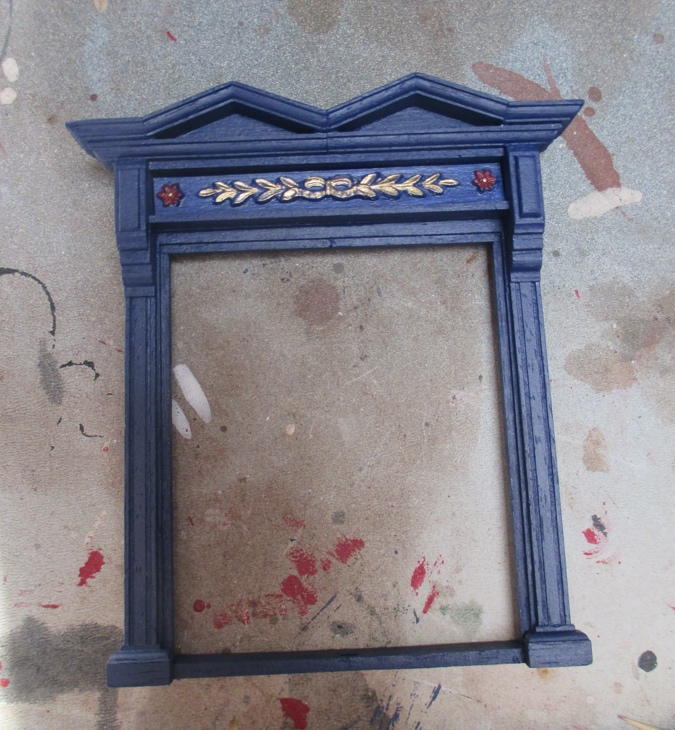
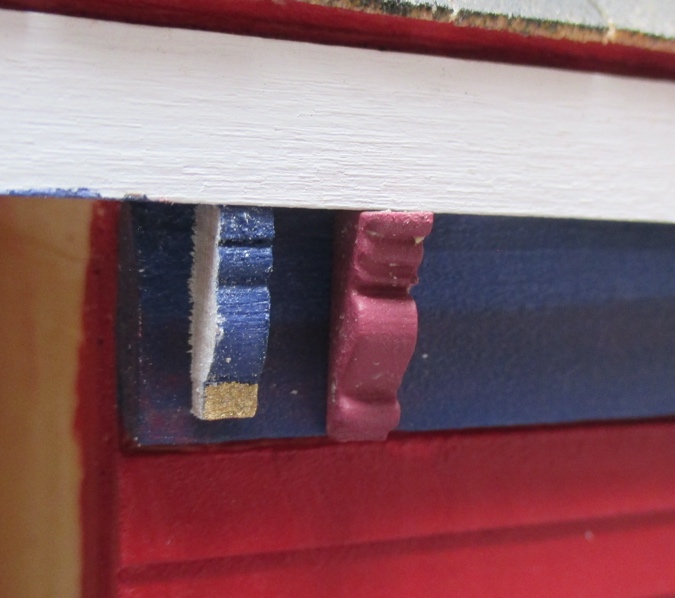
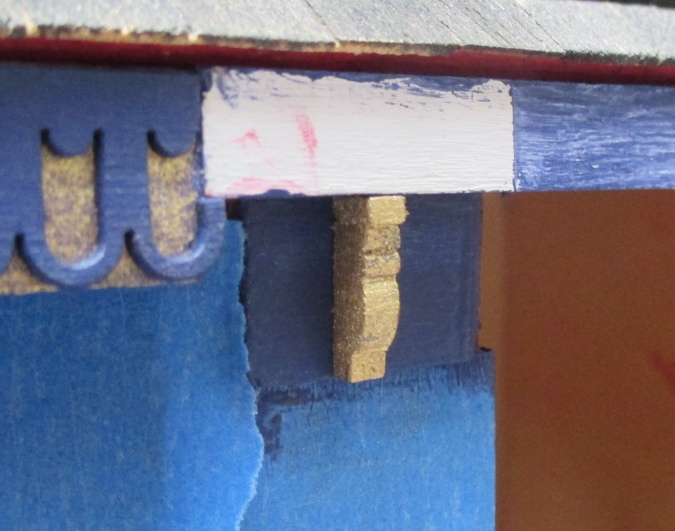
Here’s how it looks on the front door. This space is slightly taller than 5/16″, but the crack at the top is camouflaged by the shadow.
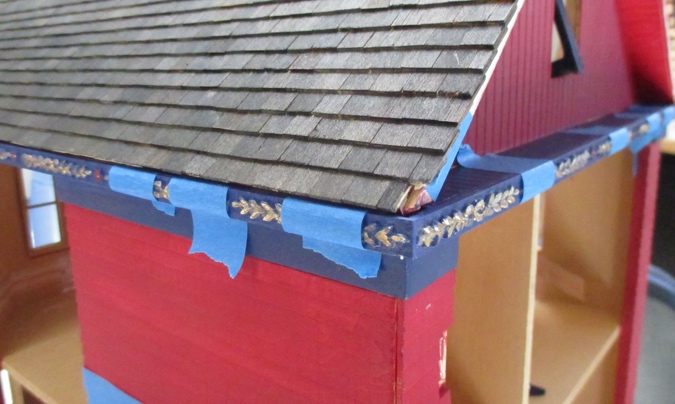
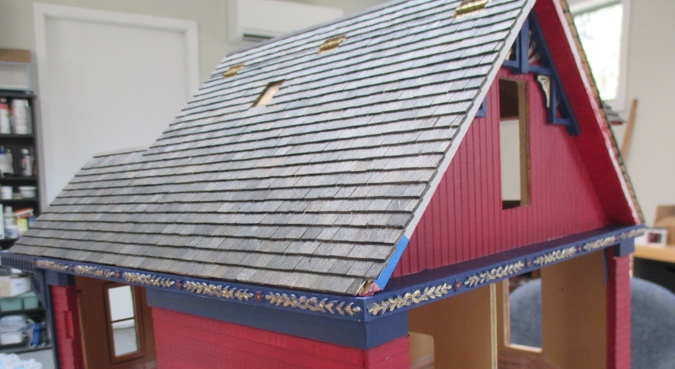
I glued on the back piece and one of the sides using The Ultimate glue, as well as dots of super glue. The resin trim is flexible and not quite straight, so the super glue and tape kept it from popping out of place while the other glue dried.
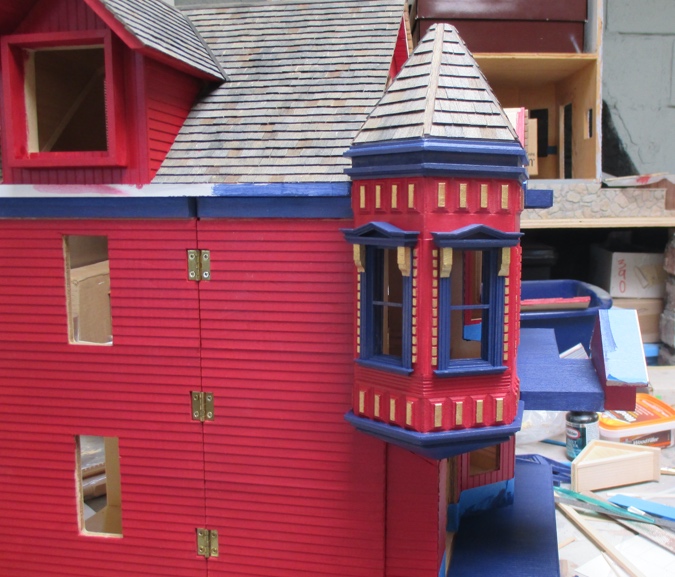
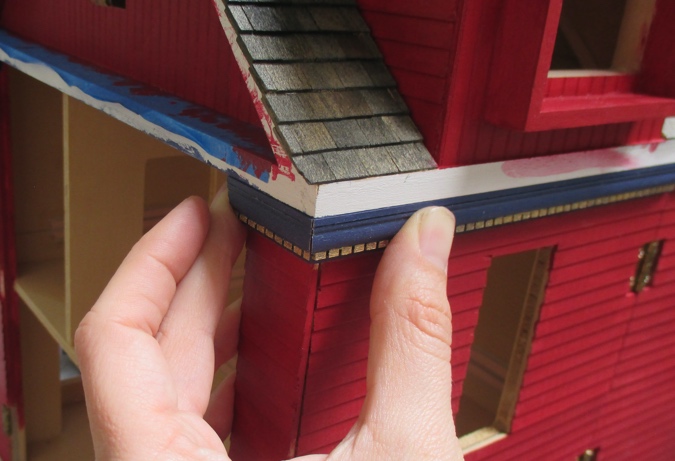
On the other side, I had left myself a little extra trim at the edge so I could cut it exactly to fit, but I still messed it up. The trim it goes on top of is curved to accommodate the turret swinging open, and I made the mistake of cutting the trim to where the curve starts. It should have been cut to the edge of the shingles (which still gives the turret space to swing out). So much for having *exactly* enough trim!
This trim costs $18.75 for three pieces, plus around $13 in shipping, so this wasn’t cheap to replace. Luckily I had already decided to buy another pack so I can add it the turret, to cover up the dentil trim I’m not crazy about, so I was planning to order another batch anyway. I’m still annoyed at myself for messing it up, though.
(You’ve heard the saying “Measure twice, cut once”? For me it’s more like, “Measure once, cut, then swear profusely.”)
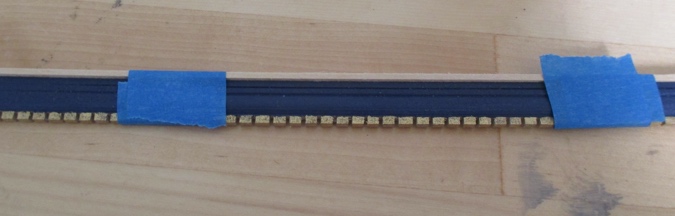
Here are the first two pieces glued on.
For the larger blue trim underneath, I had been planning to use dentil cornice, which at 3/16″ deep is exactly the right size to fit underneath the roof overhang.
But after ripping the dentil cornice off the front of the house, I wasn’t feeling it for the sides anymore. What could I do instead?
I had originally wanted to use Unique Miniatures’ resin dentil molding, but it’s 1/2″ deep, which would jut out too far below the roof. I got the shallower dentil cornice instead, but it doesn’t have the same look.
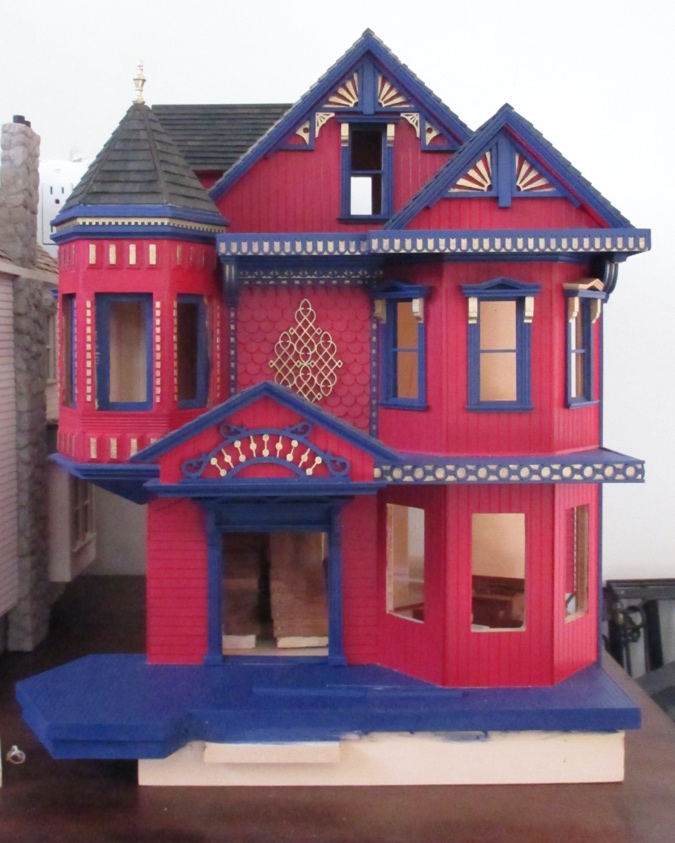
As a reminder, here’s my inspiration house. The rows of little gold corbels are what I’m trying to emulate.
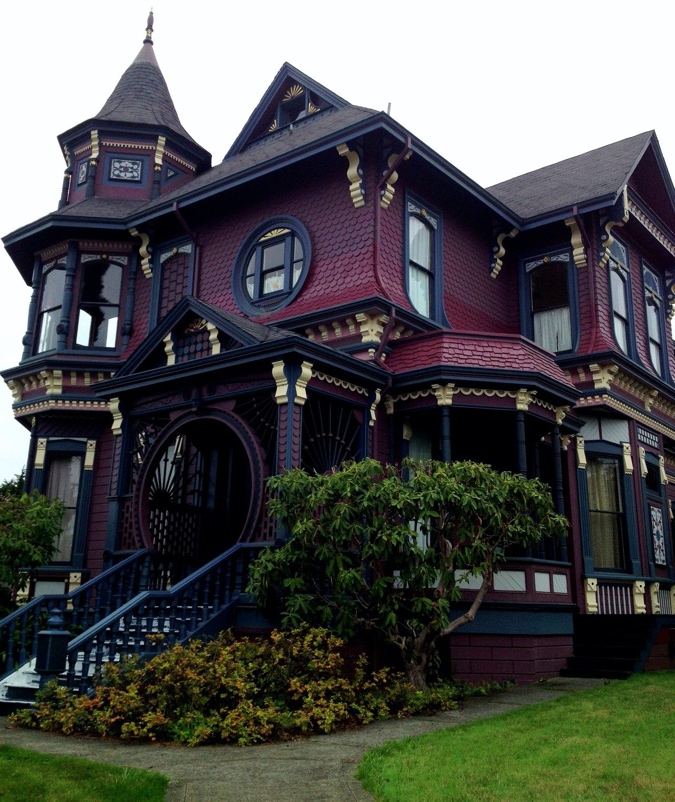
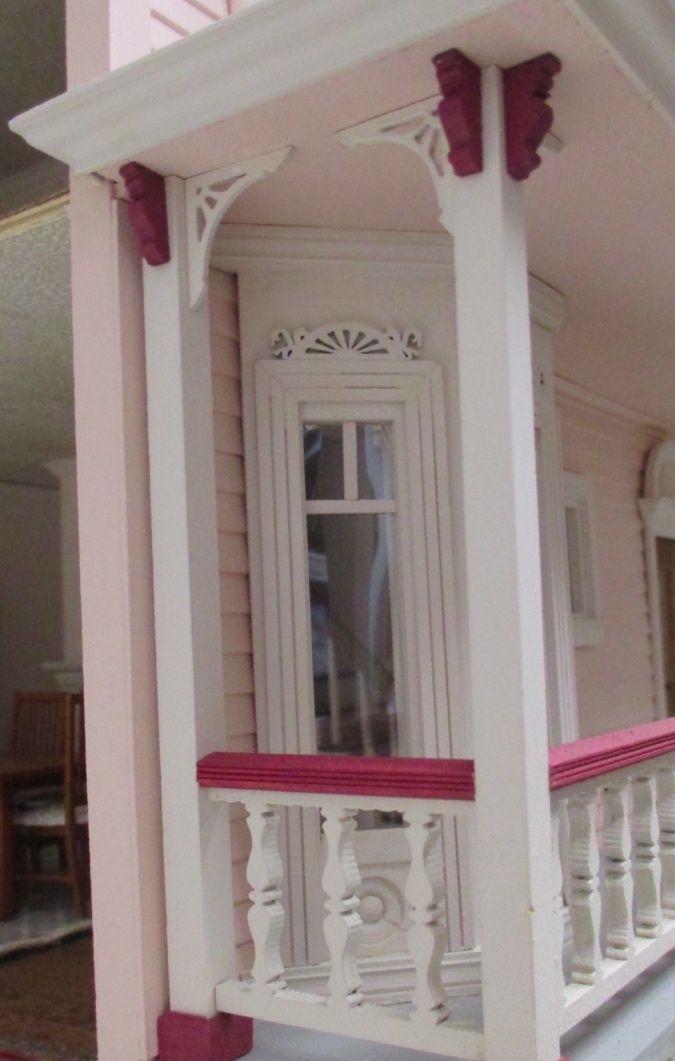
Okay, then, why not use actual corbels? Easier said than done! There aren’t many corbel options to pick from in half scale. I’d already tried these brackets on the front of the house — too chunky, and even if they had looked good, at $7/pair they would have been too expensive to go all the way around the house.
I needed something like the corbels I used on the Victorianna. I bought these from Heritage Laserworks, which is now out of business.
Slices of crown molding look a lot like corbels, except the 1:12 crown molding I had was 1/2″ deep and I needed something 3/16″ to 1/4″ deep, more like the dentil cornice. Okay… since I wasn’t planning to use it anymore, anyway, why not cut the dentil cornice into corbels?
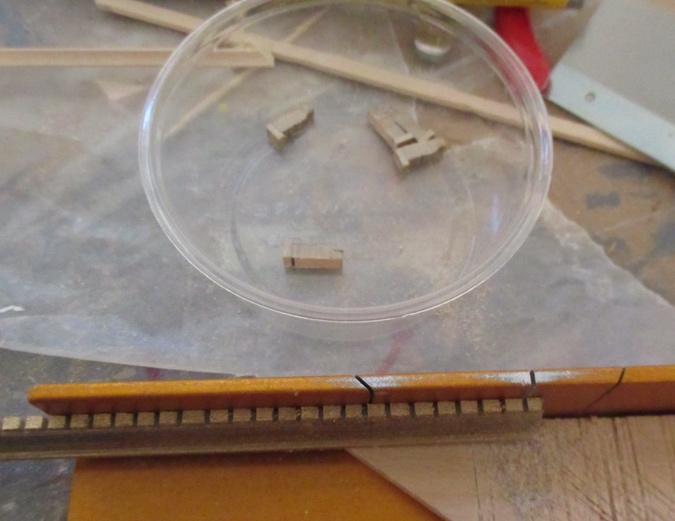
Here’s a slice of dentil cornice next to the one corbel I have left over from the Victorianna. It’s about 1/16″ too short.
I glued a little piece of strip wood to the top to make up the difference.
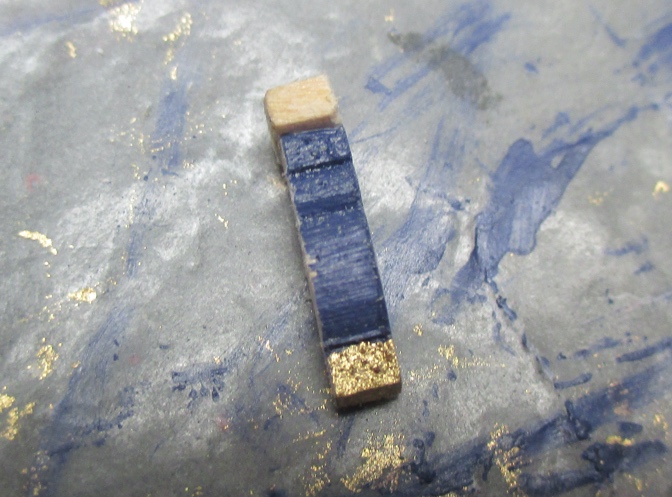
Hey! That looks a lot like a corbel!
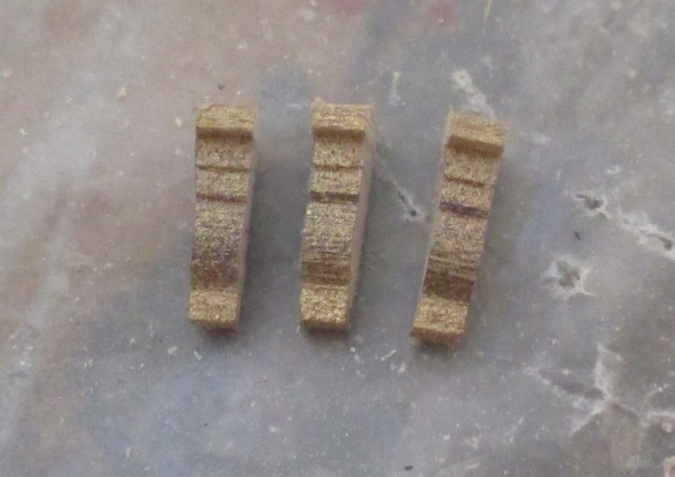
Encouraged by my prototype, I glued a strip of basswood to the top of a piece of cornice.
Then I painted the whole thing gold.
And I sliced it up. The dentil nubs make it easy to cut slices into a mostly uniform size (the nubs themselves aren’t all uniform).
Then each slice got another coat of paint, to cover up the sides.
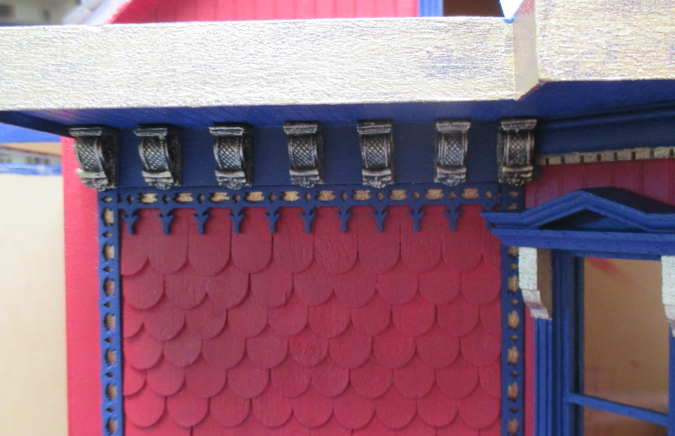
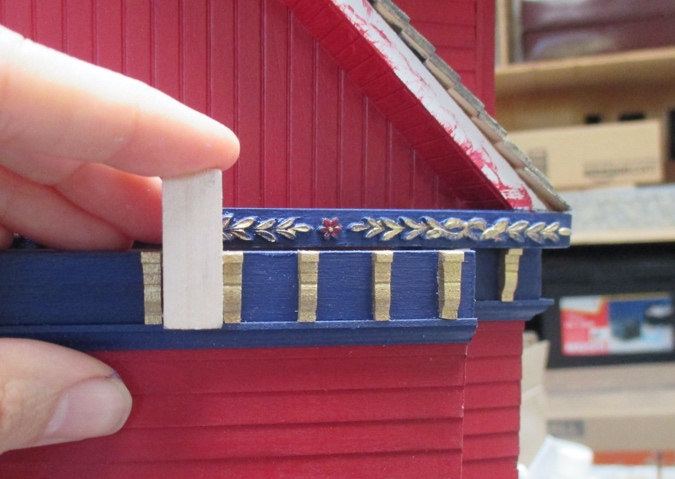
Before gluing in the corbels, I added half scale crown molding underneath the trim. This hides a ugly gap where the siding meets the trim, with the added benefit of creating a little shelf for the corbels to sit on.
I used a piece of 3/8″ square basswood as a spacer between the corbels. On the hinged panel, I had to sand the tops of the corbels to prevent them from catching against the underside of the resin trim when the panel swings open. (Not pictured: I also had to sand the bottom of the resin trim a bit to prevent the panel from catching on it.)
Somehow I managed to glue these in so they’re nicely centered under the floral design that’s centered under the window. It wasn’t intentional, but I’m glad it worked out this way! In hindsight, I could have guaranteed this by centering the spacer under the window to start, gluing in the two corbels under the window, and then working out to the ends.
I’ve only completed this one side so far. I have to cut a bunch more corbels out of the dentil cornice before I can do the other sides.
 Emily is a freelance writer, miniaturist, and adventure game enthusiast.


This is going to be gorgeous when you are finished! Love following along on your journey. Thanks for sharing.
Thank you for following along!
I certainly can relate to “measure twice, cut once, use profanity seldom uttered.” We all make those mistakes. I’ve become quite adept at covering them up and have a stash of stuff that didn’t exactly work the first time I cut it. The corbels are exactly the best look.
Haha! Yeah, the silver lining is I’ll now have leftover resin trim for another project. (Or, at least I’ll have plenty to spare if I mess up cutting it for the turret! Which I probably will…)
I measure twice, cut and still mess it up. lol Love how you made your own corbels. Looks great!
Once again you’ve triumphed! The corbels look wonderful. Just the right touch.
I had the thought as I was reading about your resin trim that maybe you might look at ribbon/lace trim. There are some that are thicker, not quite out of yarn but more like embroidery thread that could be the correct scale. And if you keep an eye on the sales they can be cheap. Stiffen them up with gesso and you could have some very cheap paintable trim for your houses.
It looks great! The trims are turning out beautiful.