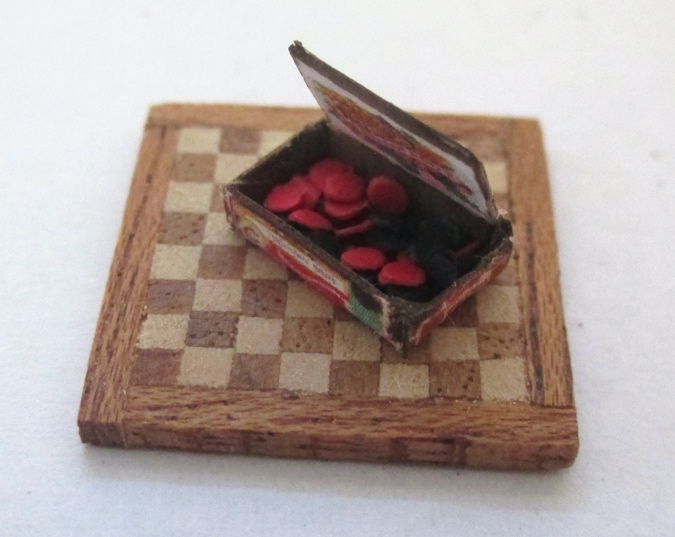
The theme for this year’s half scale swap through the Half Scale Minis Group was Antiques, and my contribution was a checker board with checkers in a cigar box. As usual, I put these together over the holidays and took pictures then, but I didn’t write anything down, so let’s see how much I can remember…
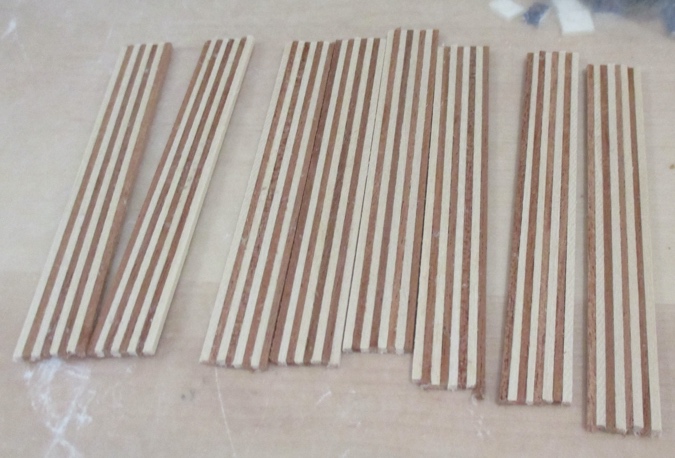
Checkerboards have 64 2-inch squares. I bought 1/16″ x 1/16″ strips of basswood and mahogany from Balsa Wood Shop, which makes my squares 1.5″ in 1:24 scale. The next size up would have been 3/32″ strip wood, for the equivalent of 2.25″ squares… which probably would have been fine? I’m not sure now why I decided on 1/16″ x 1/16″. The math seemed to work out at the time.
Anywho, I started by cutting up the 24″ pieces of strip wood into 4″ lengths. (I needed to make 22 checkerboards for the swap. If you’re just making one or a few, you could cut smaller lengths.) I glued these together, alternating light and dark, with eight lengths per piece and eight pieces altogether.
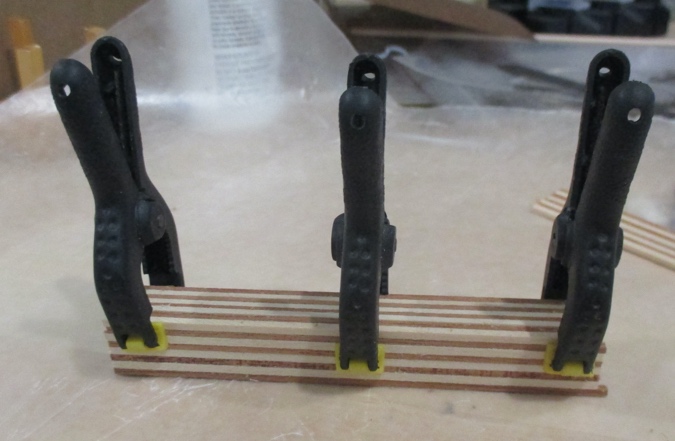
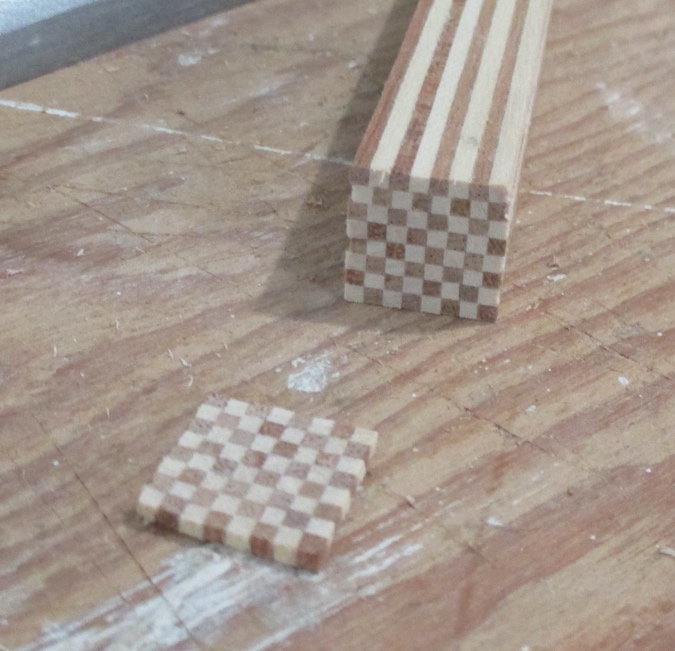
I glued the eight pieces together to form a cane, again with the squares alternating between light and dark.
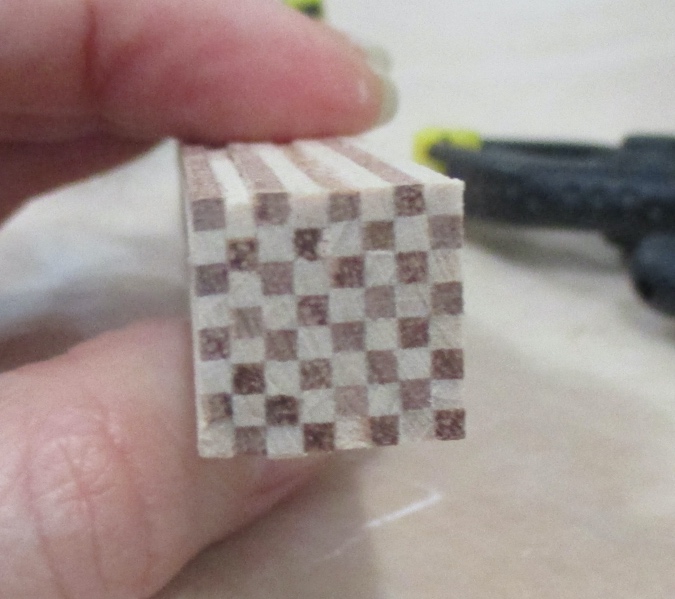
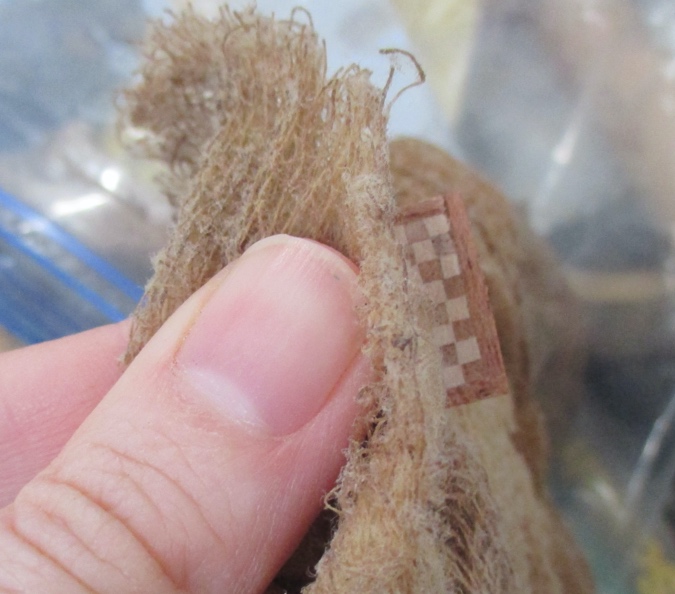
Here’s how it looks on the end. Although they were supposed to be 1/16″ x 1/16″, some strips weren’t a uniform width, so some of the squares don’t quite match up where they should.
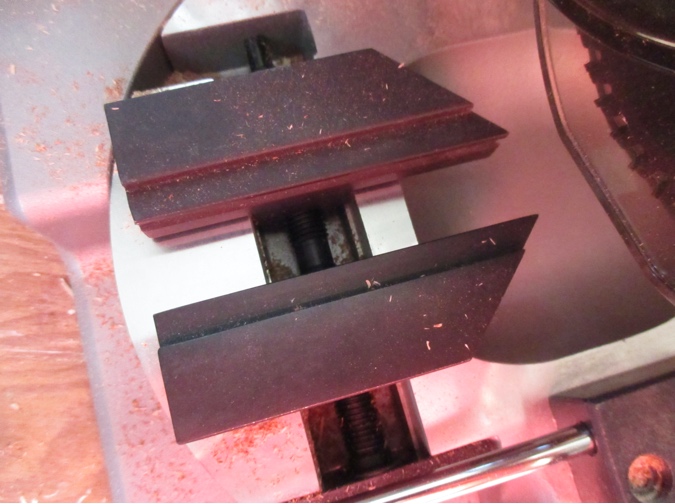
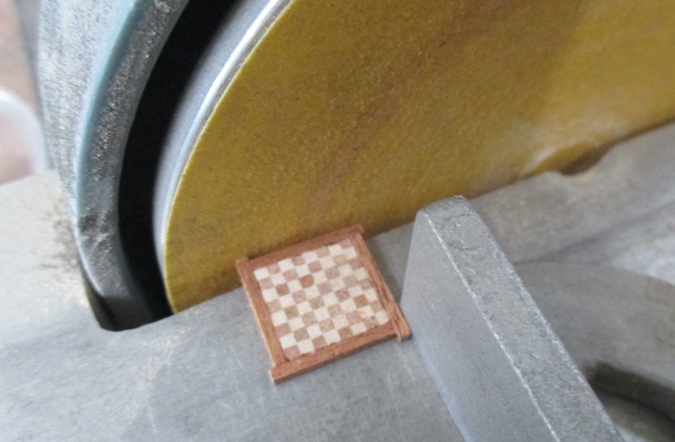
The checkerboard cane is 1/2″ square and my cheap Harbor Freight table saw wouldn’t cut all the way through it, so I splurged on a Proxxon Mini Chop Miter Saw from Micro-Mark with a Black Friday coupon.
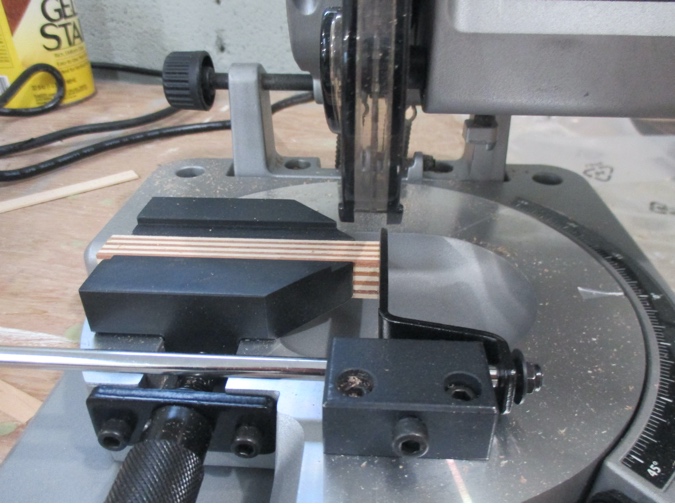
This saw can cut through 1″ of material and it has an adjustable stop, which made it easy for me to cut multiple checkerboards of the same depth.

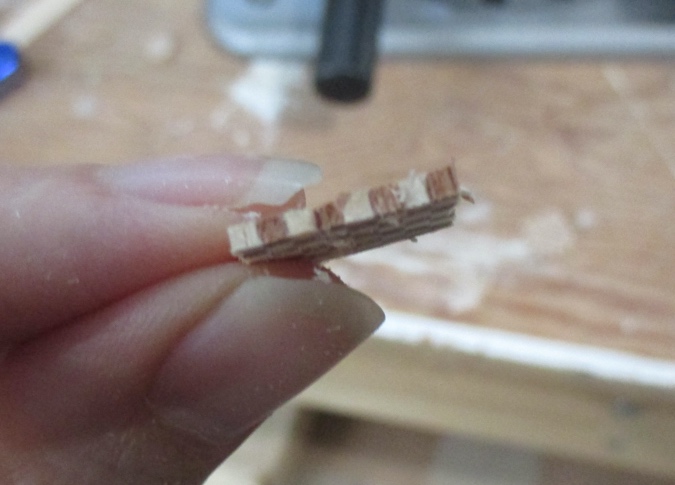
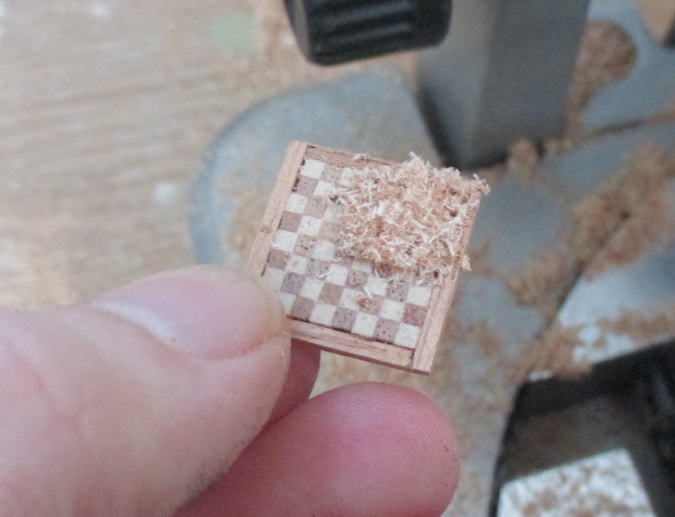
I cut the cane into 1/16″ slices. I like the saw a lot, but the small, cut-off pieces do have a tendency to go flying. I’m not sure how well it will work for small pieces of trim.
The blade that comes with the saw has 24 teeth. In a perfect world I would have bought a blade with more teeth, to result in a smoother cut, but additional blades were expensive and I decided to try my luck with the standard blade first. The edges were a bit ragged, but easily cleaned up with an emery board.
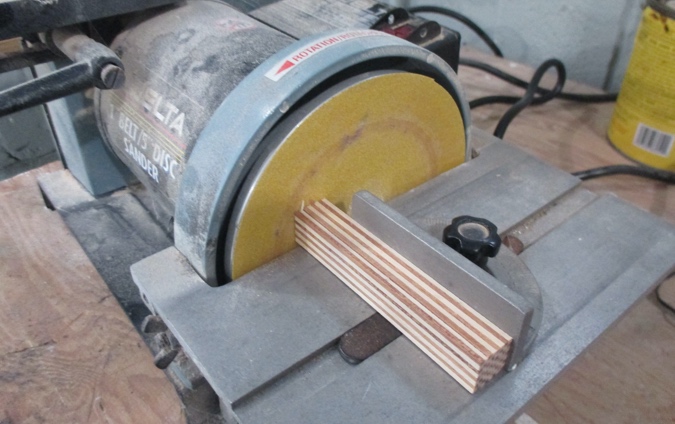
In between each slice, I sanded the front edge of the cane on the disc sander.
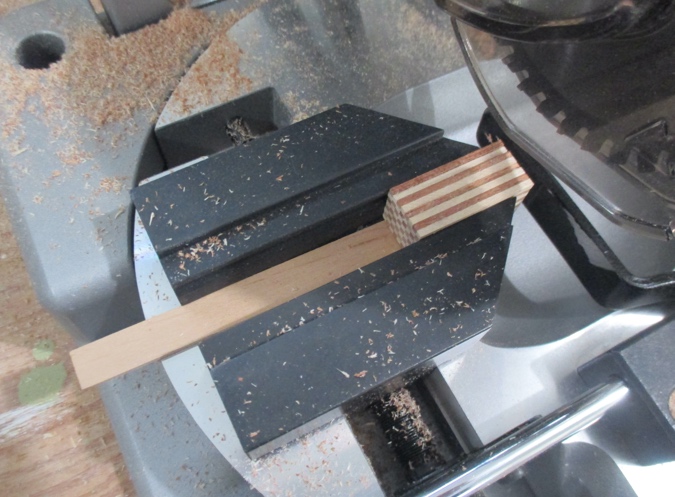
As the cane got shorter, I ran out of space to rest it on the saw. The area underneath the blade has sloped sides, so I couldn’t put a block of wood down for the end of the cane to rest on.
I dealt with this by putting a flat strip of wood under the cane, which gave it something to sit on as it got out beyond the saw’s support piece. I wasn’t able to cut the entire cane this way, but I was able to cut just enough for the 22 swaps. (In hindsight I should have glued together 6″ lengths rather than 4″ to give myself a little more cane to work with.)
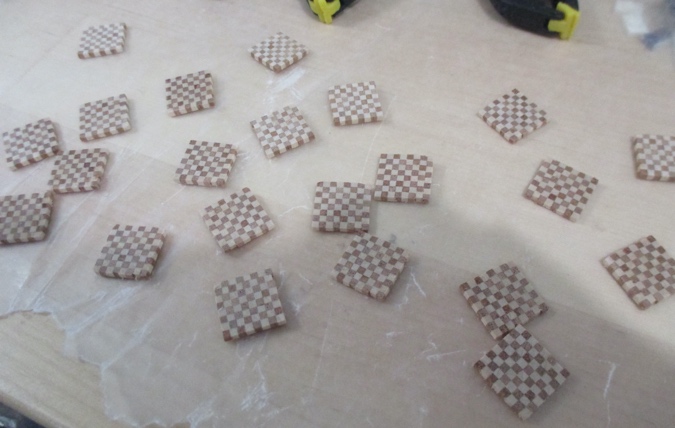
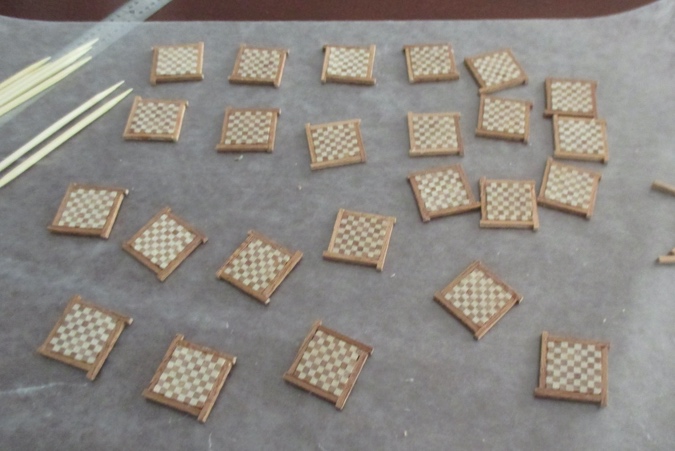
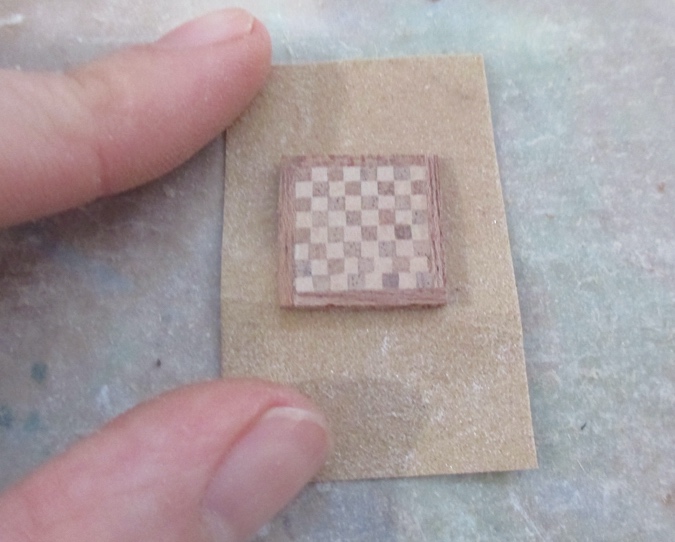
Here are all of the checkerboard slices. In addition to sanding the edges with an emery board, I lay each checkerboard down on top of fine grit sandpaper and rubbed to make the surfaces smooth.
Each checkerboard is 1/2″ square. I cut 1/16″ x 1/16″ mahogany strips into pieces slightly longer than 9/16″. I wish I could have cut these with the new saw, using the guide to achieve uniform lengths, but the little pieces went flying everywhere so I used my hand saw and miter box instead.
I glued these to the edges of the checkerboards.
Then I cleaned up the too-long ends on the disc sander. This was quicker than cutting the side pieces exactly 9/16″ would have been, especially with so many to do.
Here’s how it looks so far. I wasn’t happy about those gaps where some rows are a little too short.

I used sawdust off the saw to fill them in.
Next I rubbed the checkerboards on fine grit sandpaper again.
Then I wiped them off with a tack cloth to get rid of dust and sawdust crumbs.
I waxed the checkerboards with Minwax finishing wax, which gives them a smooth coating and makes the colors of the wood richer. In the picture below, the ones on the left haven’t been waxed yet and the ones on the right have been.

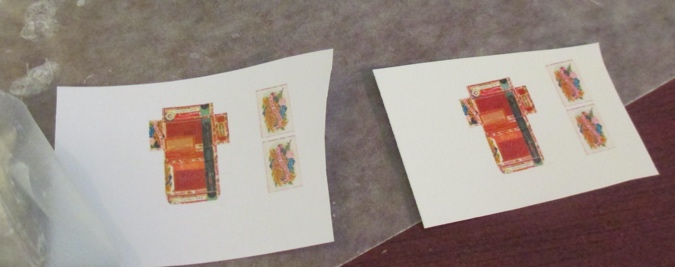
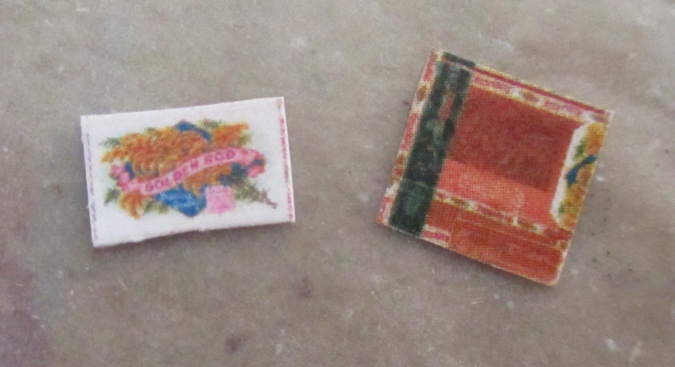
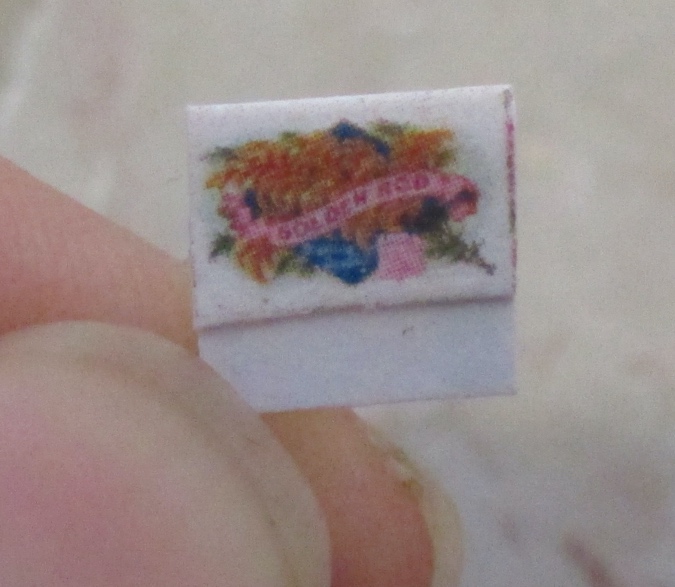
Next up, cigar boxes. I found this template online, which is made from scans of a real cigar box. It’s sized to hold gift cards, but I reduced it further in Photoshop.
The ink cartridge on my color printer was dried up and I was feeling grumpy about buying a new one when I so rarely print in color. (The damp paper towel trick didn’t work this time.) Instead, I took my file to a local copy shop and had it printed on their color laser printer, which only cost a few dollars. I wasn’t sure which paper I’d want to use so I had them print it on three different types: coated cardstock, regular laser printer paper, and matte cardstock.

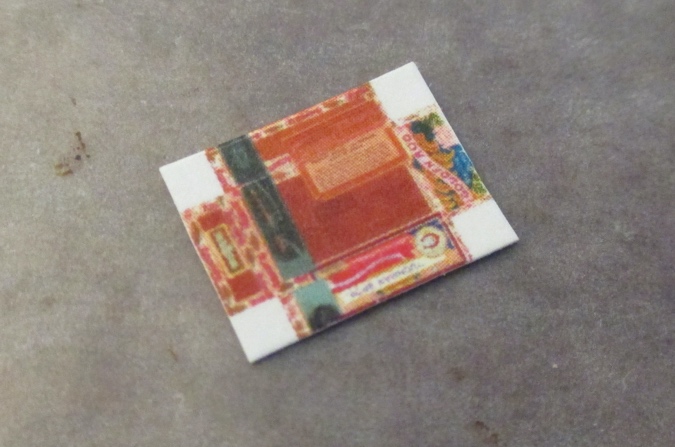
After trying out a few prototypes, I ended up using the coated cardstock and the regular paper. The matte cardstock worked best for scoring the edges without the design cracking where it was folded, but the marker I used on the back of the paper bled through.
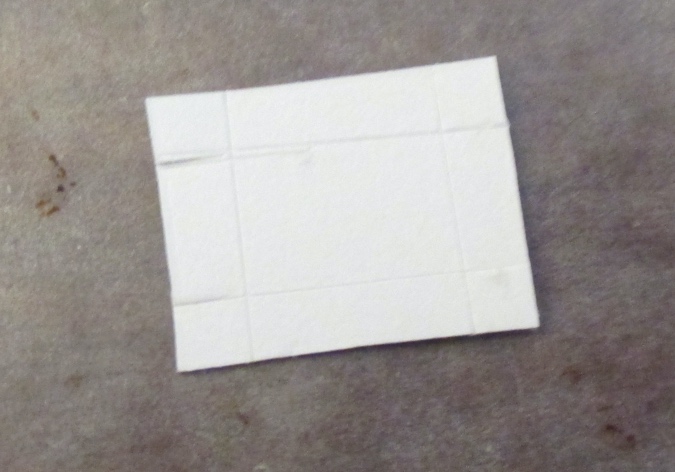
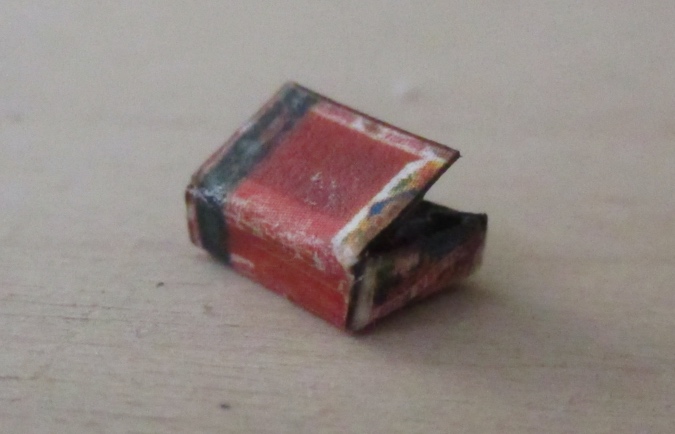
The first step was to cut the bottom of the box out of cardstock, leaving squares of blank paper at the edges to serve as tabs for gluing.
I used nail scissors to cut the tabs along the long ends of the box, and then flipped it over and scored with an Xacto knife and a metal ruler, using the cut pieces as guides for where to score.
Then I folded along the score lines.
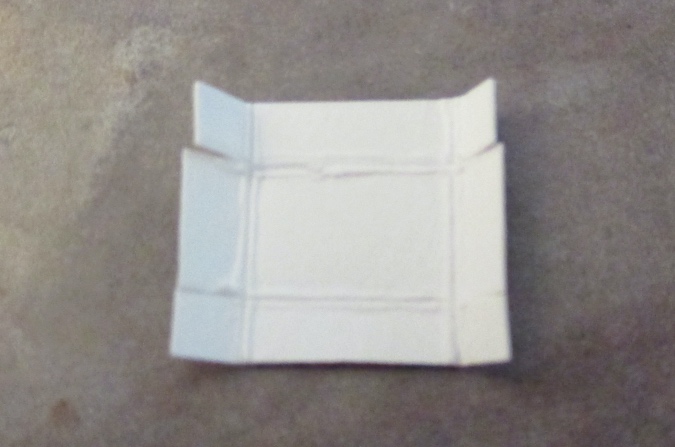
I cut the corners off the tabs so they wouldn’t stick out when the pieces are folded.
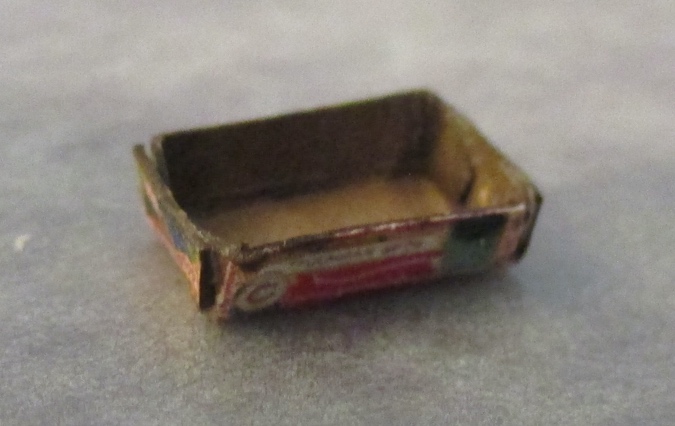
I colored the inside of the box and the white edges with a brown art marker, to look like wood (this is what bled through when I tried to use the matte cardstock), and then folded and glued the box.
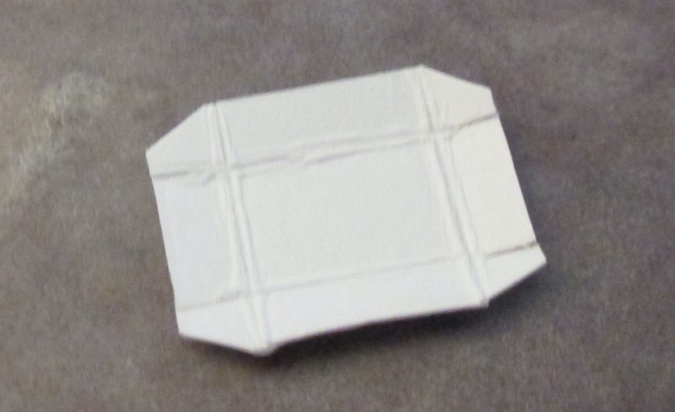
Next I cut the lid piece out of the thinner, regular paper, with the inside of the lid cut from cardstock. The lid piece includes a repeat of the back side of the box.
I glued the cardstock piece to the inside of the lid.
Next I folded the lid along the bottom edge of the cardstock piece. This forms the hinge for the top of the box. Originally I tried to make the lid out of cardstock and the inside of the lid from the regular paper, but the fold was too bulky and you could see where the design had cracked out.

I glued the back edge of the lid over the back edge of the box. There’s still a little cracking along the fold, but not as bad as it was when I tried making the lid out of cardstock. Anyway, it’s an antique!
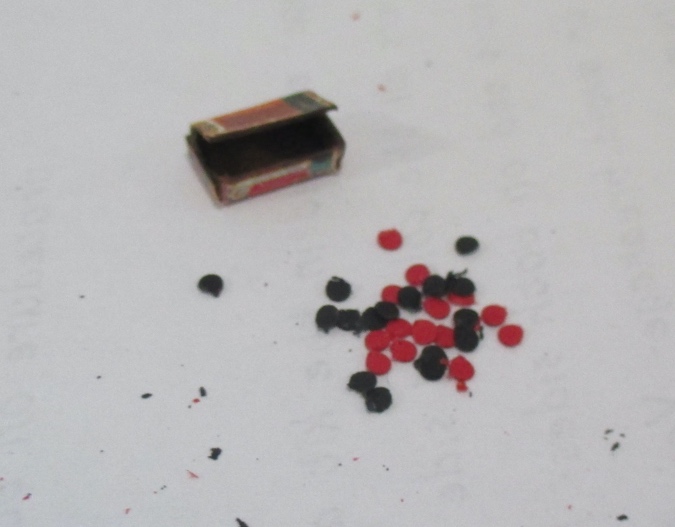
I used a 1/16″ hole punch to cut the checkers out of red and black scrapbook paper. (Teeny tiny!) Checkerboards come with 12 checkers of each color, but I included a few extras in each box just in case.
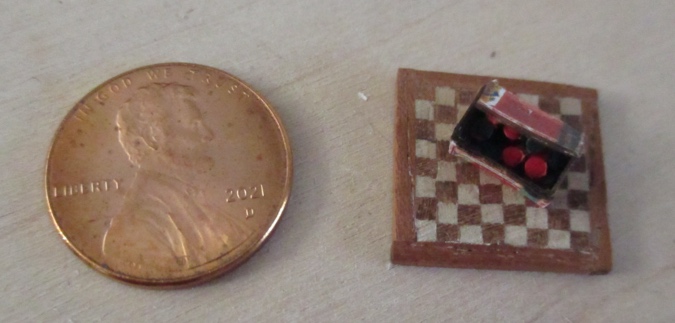
Looking at close-up photos, it’s easy to lose sight of how small things are. Here’s a picture with a penny for reference.
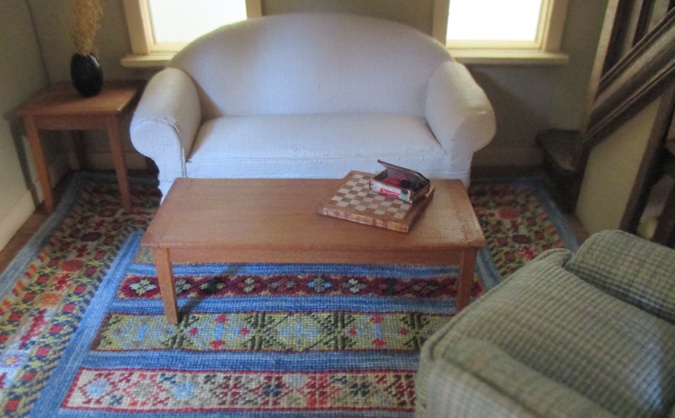
And here’s the antique checkerboard on the coffee table in the Rosedale, ready for someone to sit down and set up a game.
 Emily is a freelance writer, miniaturist, and adventure game enthusiast.


Cool!
Double stick tape and scrap wood can be used to hold small pieces when cutting on a power saw, etc. If necessary, cut the scrap as well as the piece and then separate them.
King me!
Love, Dad
Wow! Great job! They are really cute!
Very neat! Thank you for sharing.
Also, your Dad is awesome!
I love how you made the checkerboard. I can imagine a checkerboard butcher block. Now I know how to make one. My dad collected cigar boxes years ago when he delivered eggs them to cafes and restaurants in Denver. He used them for storage. I saved a few of his collection and will make some for the Manchester. Thanks for the tutorial on how to make them. Love that your dad joins the group with sound advice.
These are completely wonderful!