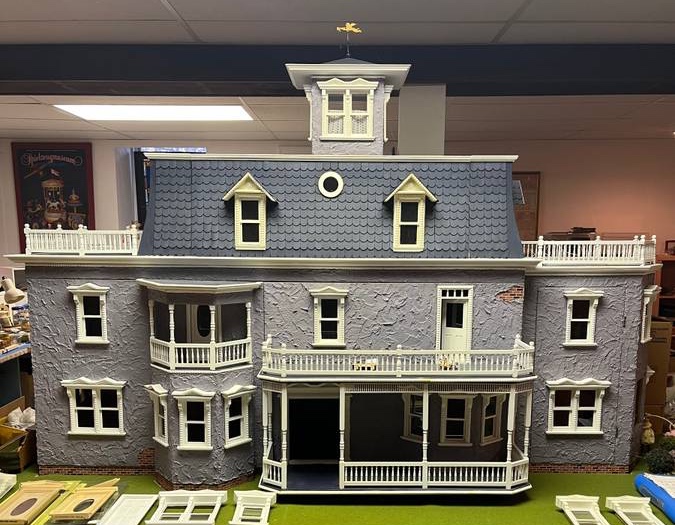
Now that the Craftsman bungalow is finished, I’m going to dig in to the Bauder Pine Mansard Victorian shell I bought earlier this year. The house came with two side additions that I decided not to use. I don’t like how much they stick out, or the flat roofs. They don’t look like natural extensions of the house to me.
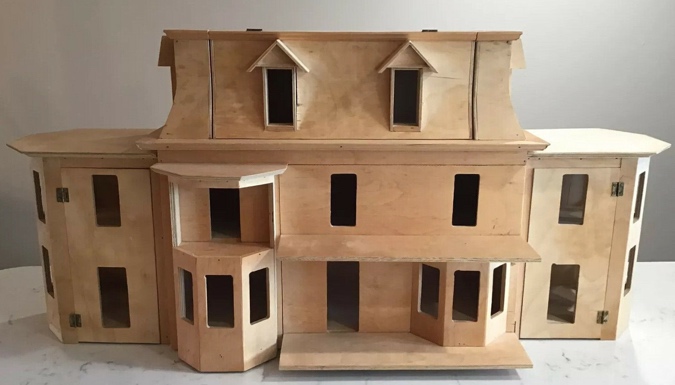
That being said, I did want to add *something* to the side of the house, to enlarge the footprint. I have several pieces of Bauder-Pine furniture that I want to use in this house, and I was having trouble making it all fit. In particular, the living room, dining room, and kitchen were giving me trouble.
There’s easily enough space to divide the first floor into three rooms, but the front door is centered on the house. It makes the most sense for the door to open into the living room, except that would put the living room in the middle.
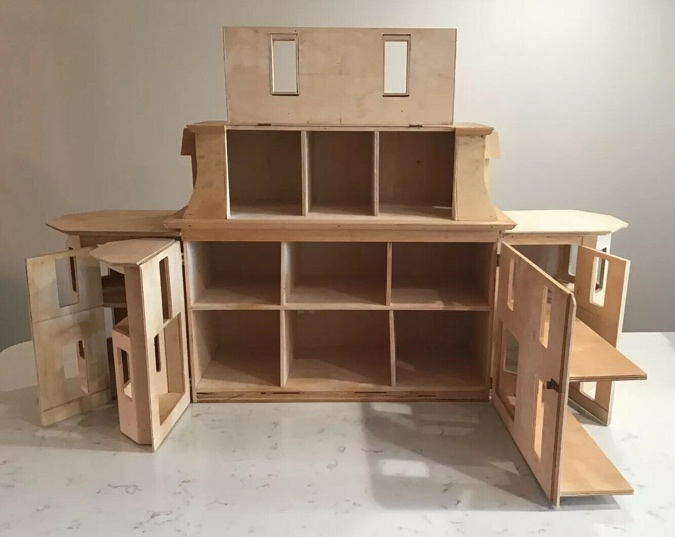
I know dollhouses are unrealistic places with missing walls and sometimes no stairs or bathroom, but I just couldn’t reconcile the idea of a living room between a kitchen and a dining room!
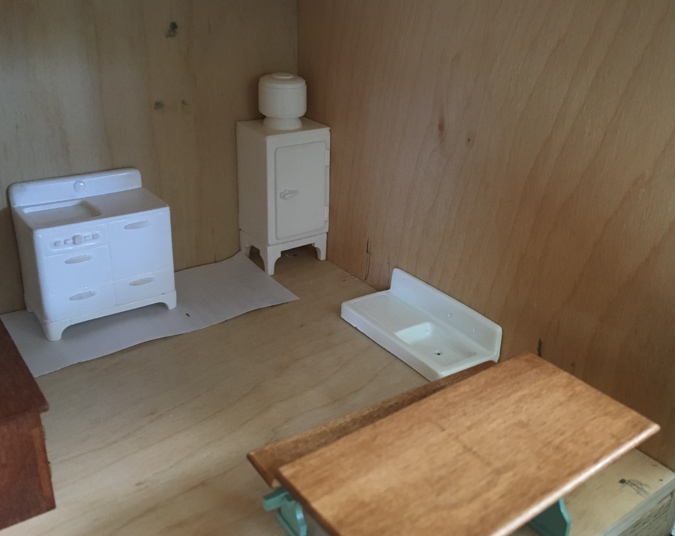
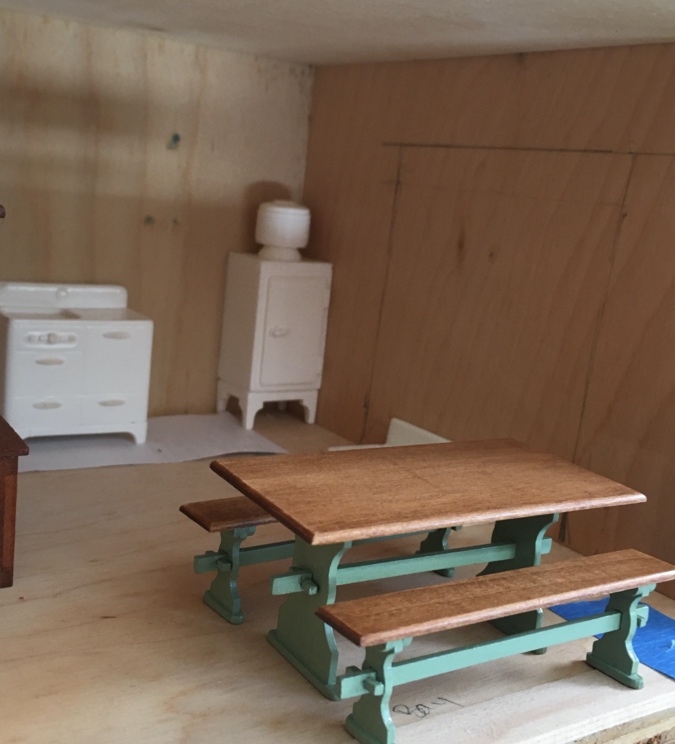
Here’s the furniture I’m trying to accommodate:
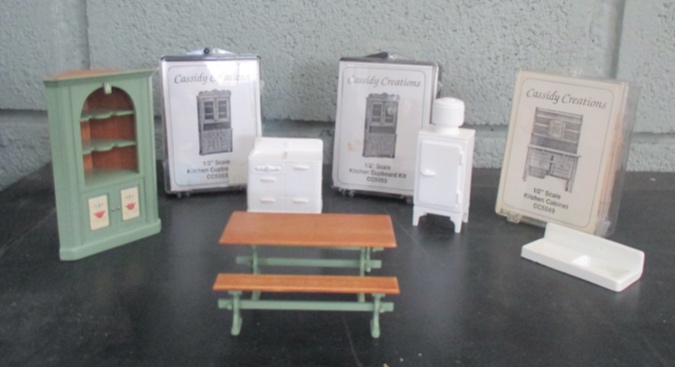
I thought about combining the kitchen and dining room into one, but the bay windows were getting in the way. Either I wouldn’t have enough wall space for all of the appliances, or a corner for the cabinet, or a big enough space for the table and benches.
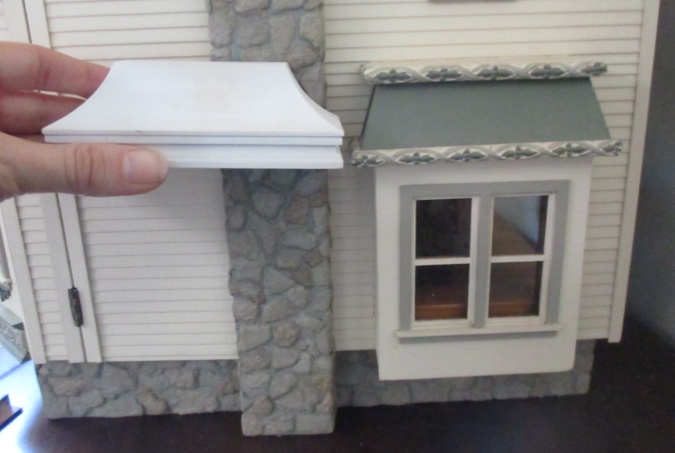
I bought this Lawbre French canopy years ago thinking it would make a good bay window roof whenever I got around to building the Queen Anne Rowhouse kit I have in my stash. (Which may now never happen, seeing as I already have a normal Rowhouse and a heavily bashed Rowhouse… how many rowhouses does one person need? Um, can I get back to you on that?)
An early idea was to build a bump-out on one side of the Mansard Victorian, like the one on the Rowhouse. I planned to bash a side-by-side window into a smaller piano window that could have the Cassidy Creations player piano underneath it.
When I couldn’t find a good way to arrange the furniture, I started thinking about adding another addition to the other side of the house. I liked the idea of a bay window, just not one as sticky-outy as the extensions that came with the house.
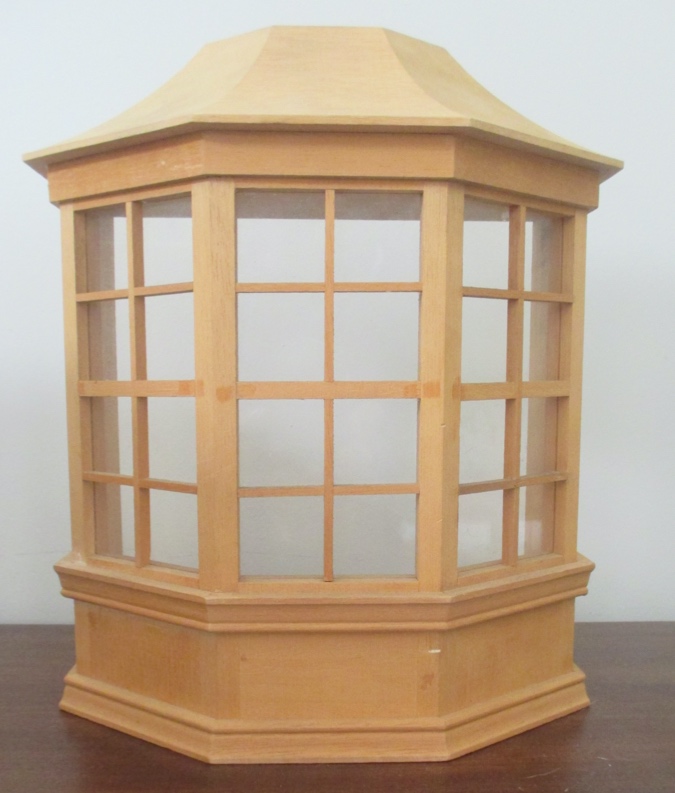
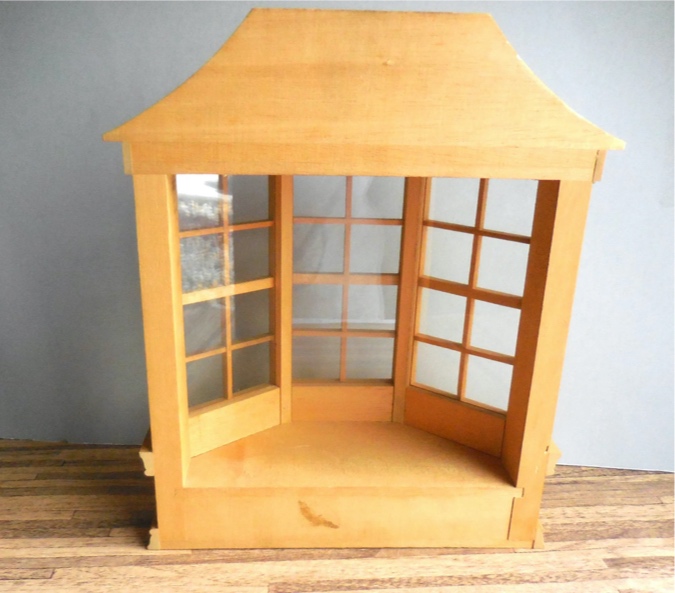
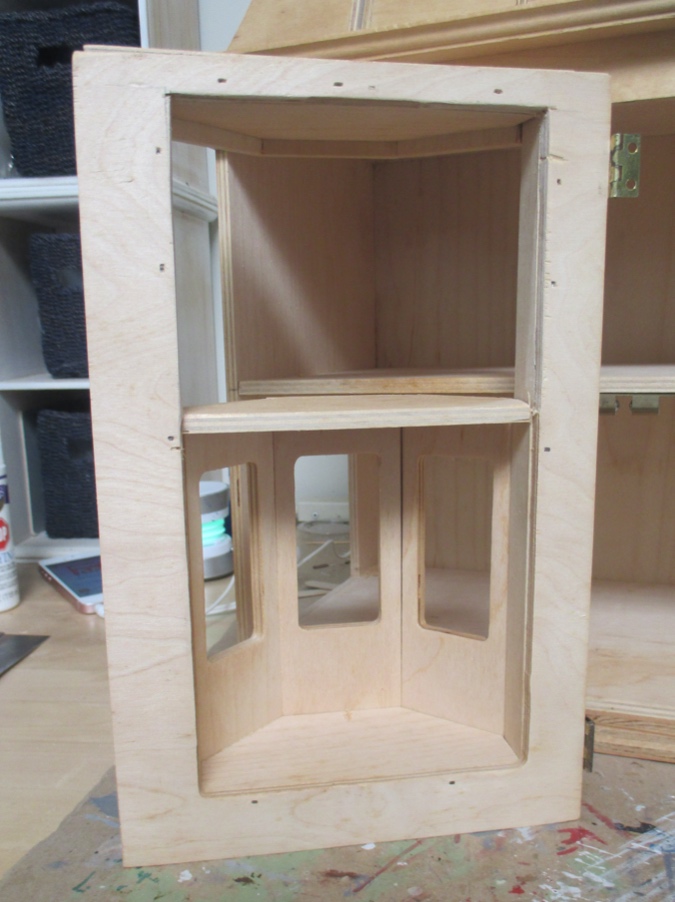
I searched for 1:12 bay windows to see if I could find something to bash into a 1:24 addition, and look what I found!
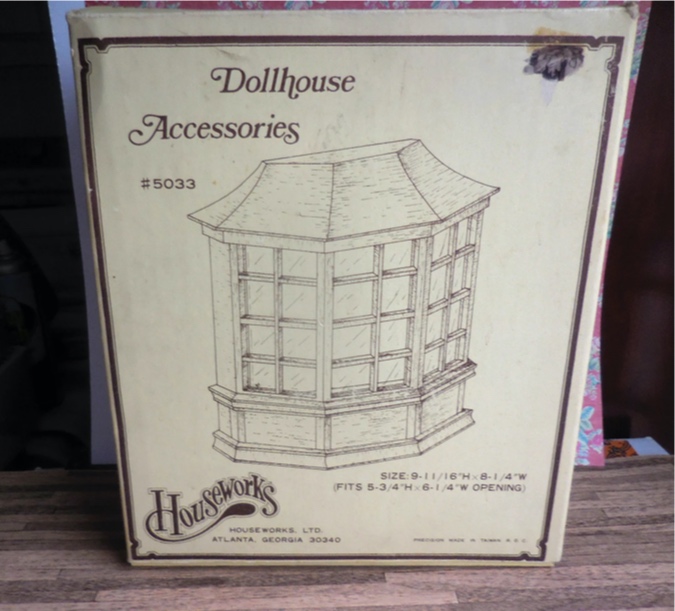
The ceiling is 6.25″ tall, which makes for a nice high 12.5′ ceiling in half scale. It really doesn’t give me that much extra floor space, but I liked the mansard roof so much that I was determined to make it work.
The addition is 8.25″ wide, and the side wall of the house (including the depth of the front wall panel) is 7.75″.
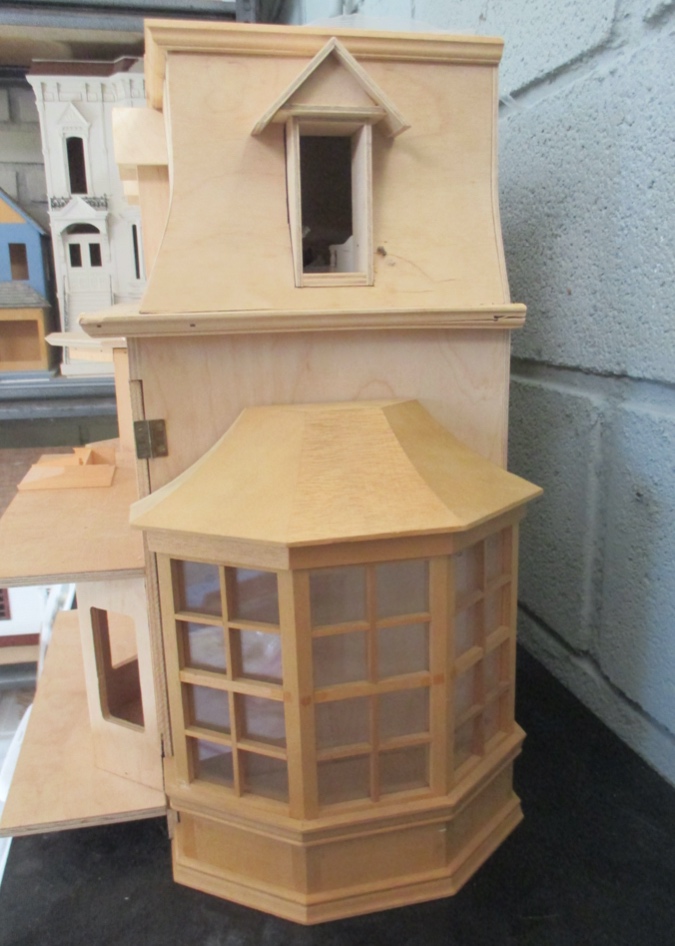
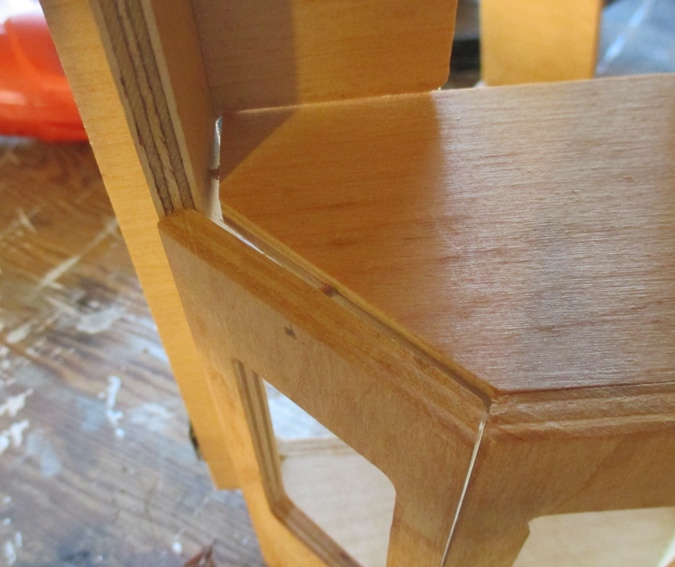
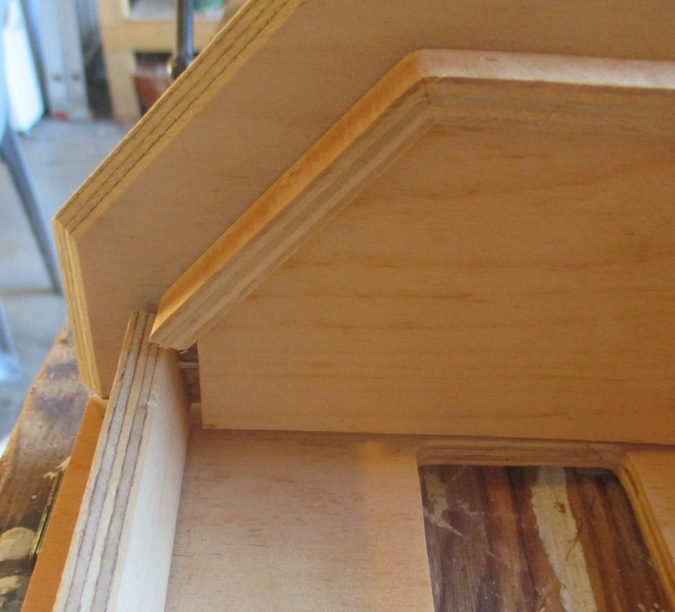
The structure itself just fits, but the roof sticks out a little bit.
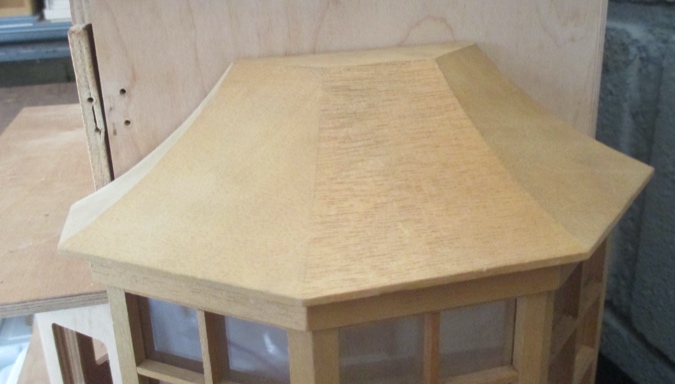
Fortunately the Mansard Victorian has a deep crown molding around the base of the roof. This means I can add 1/2″ strip wood to the front edge to make the addition fit.
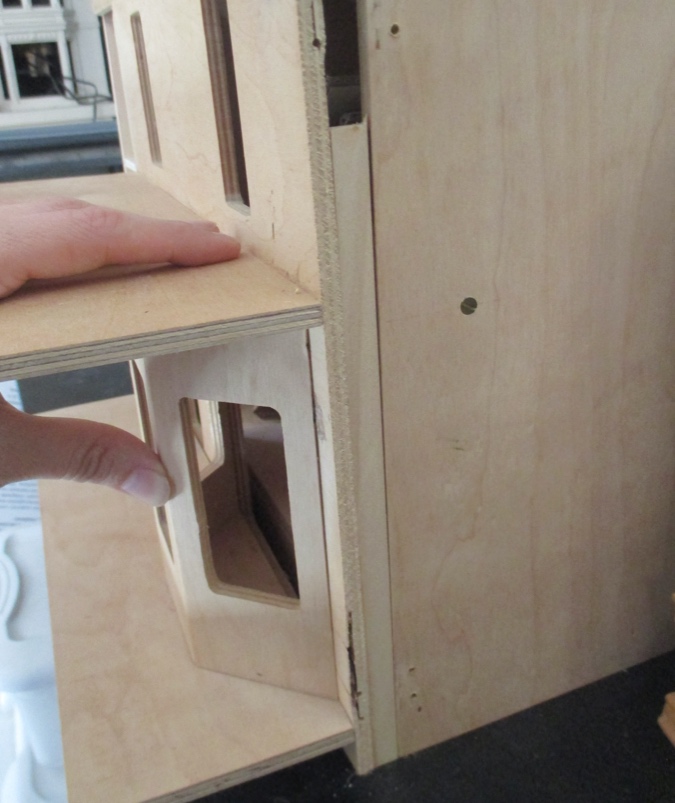
The other problem is that the hinged panel will bump into the addition when it swings open. I decided to remove the hinges and attach the front panels with magnets instead.
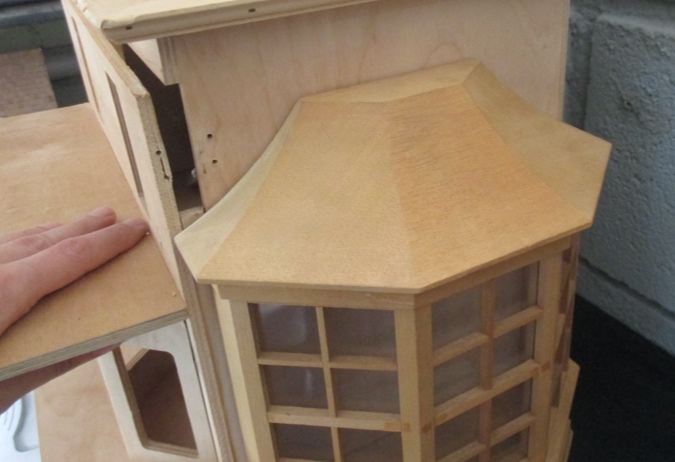
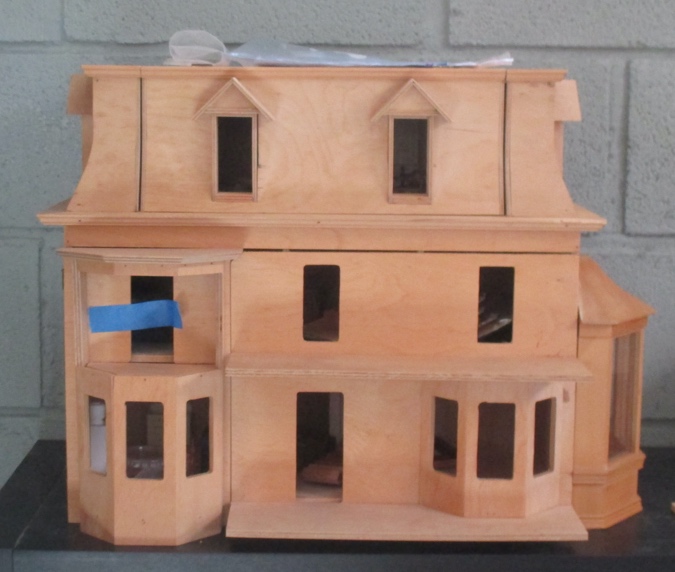
Next I had to decide which side to put the addition on. Here’s how it looks on the right.
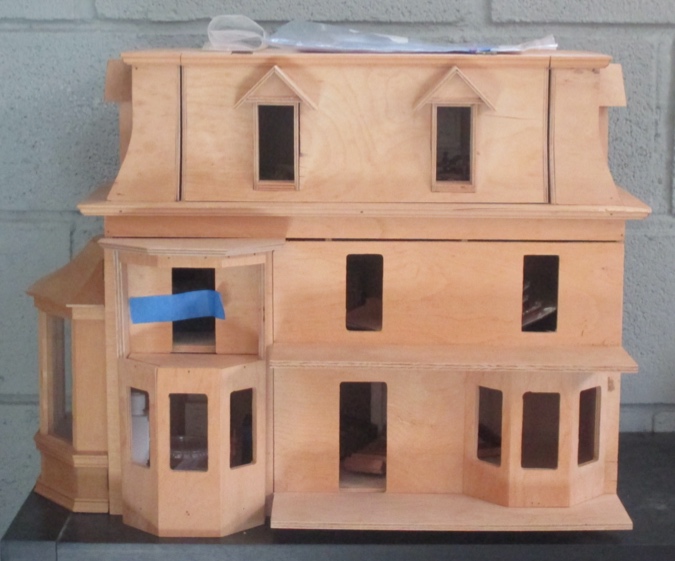
And on the left. This position, next to the tall bay instead of the short bay, looks more balanced to me.
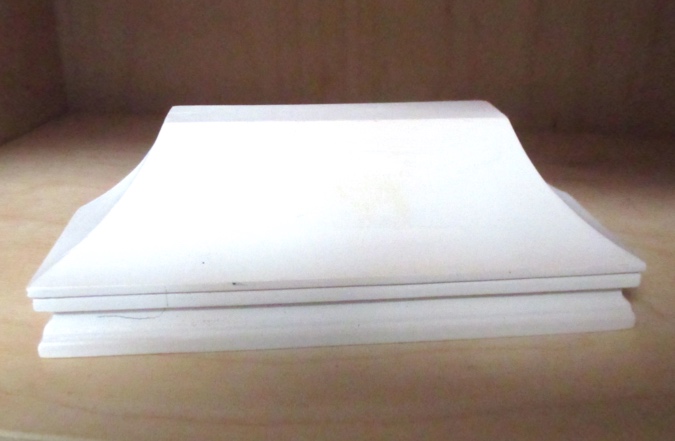
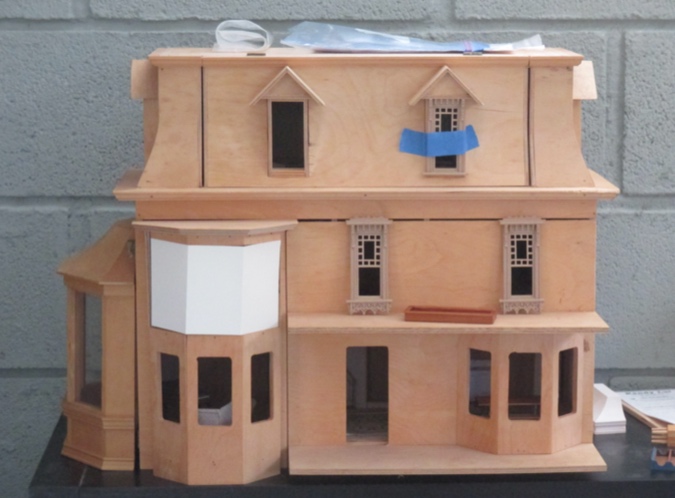
As I was staring at this, I started questioning the balcony over the bay window. It seems unnecessary to have that balcony when there’s an upper porch right next to it. Could the balcony be closed in to create another bay window?
I folded up some paper to get an idea of how it would look. Sure, why not?
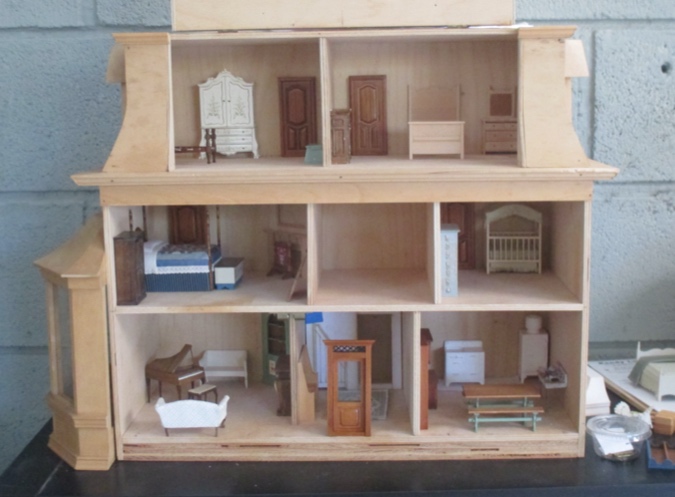
All along I’d been envisioning the living room on the right and the kitchen on the left, but the bay window addition wouldn’t help with the kitchen layout, so I decided to swap their positions. I have more to say about furniture in a future post, but here’s a sneak peek of what I came up with.
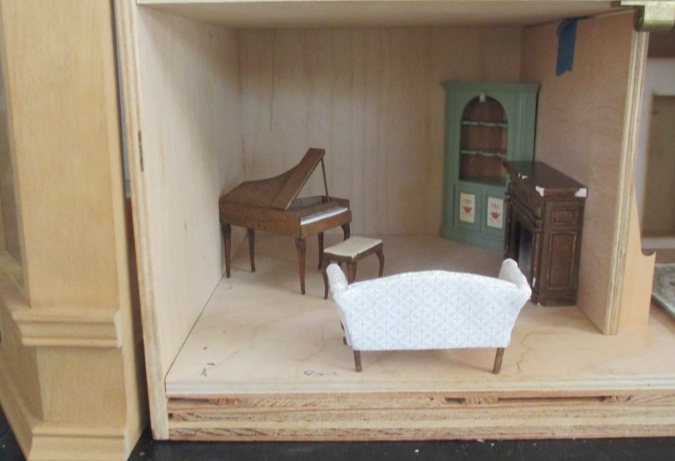
I’ll use the Bauder-Pine corner cabinet in the living room, along with a grand piano made by Sue Holtege. This will work better with the bay window addition than the Cassidy creations player piano, and it has the same 1990s artisan vibe as the Bauder-Pine furniture.
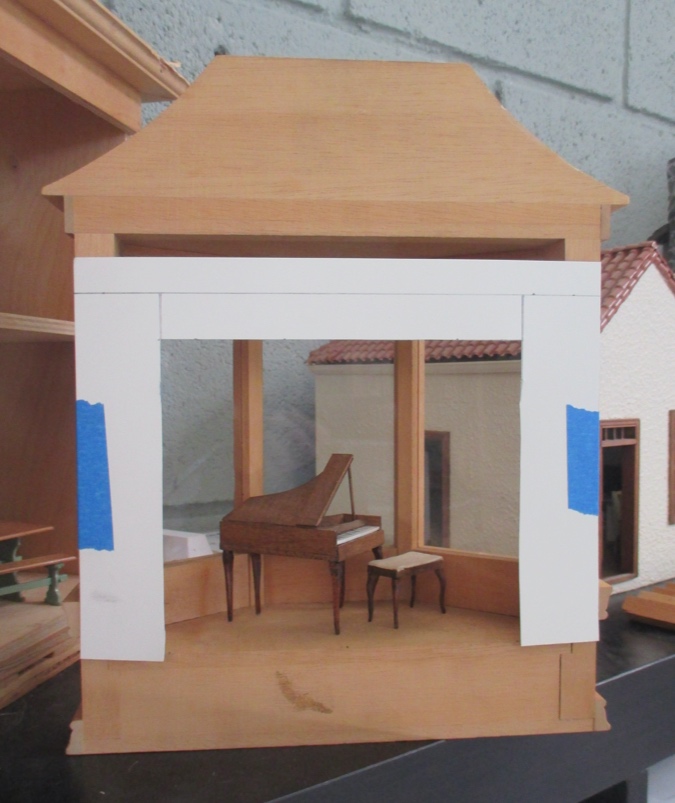
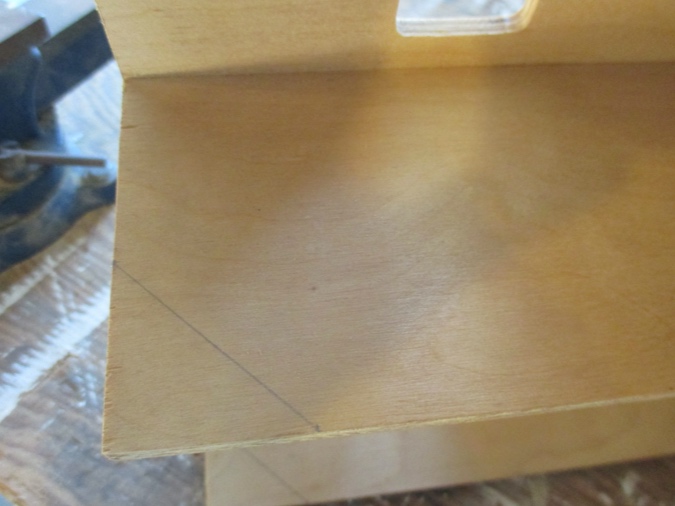
I made a paper template to decide how big the wall opening should be. The horizontal line near the top of the template represents the ceiling.
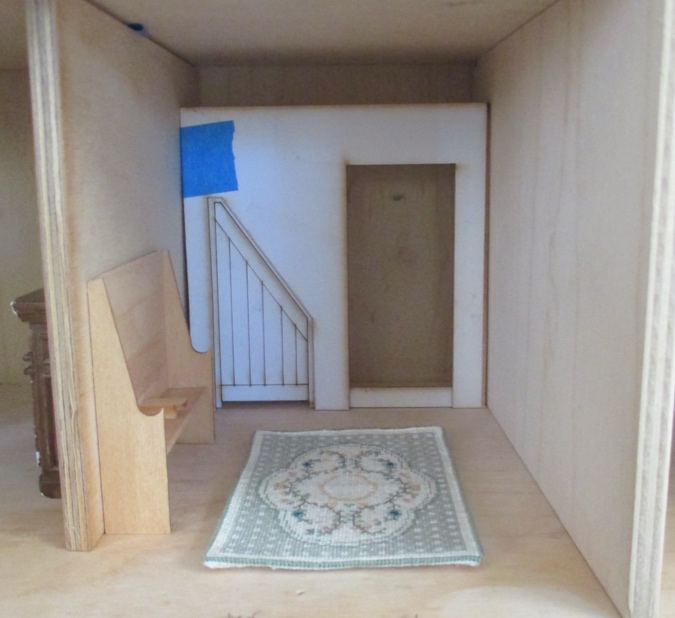
The center downstairs room, with the front door, will be an entry with a Petite Properties cupboard staircase hiding the fact that there’s no stair hole in the ceiling.
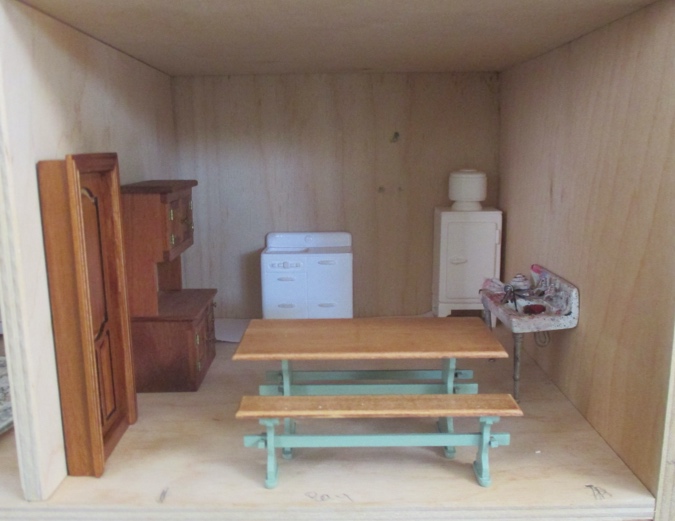
And here’s what I came up with for the kitchen. (Some of this furniture is placeholder — there won’t be a messy artist’s sink in the kitchen!) There will be cabinets on either side of the stove. The table and benches are centered on the bay window that’s part of the front panel.
Once I laid out the furniture in this room on the right, I realized I can put the sink in the bump-out.
Here’s where the opening will be.
I’ve distilled all of these decisions into one blog post, but in reality it took months of thinking about what to do with this house to get to the point where I was ready to cut some holes. I don’t trust myself with power tools (at least not the ones that can cut off fingers), so I enlisted Geoff’s help.
Back in June, I posted about a 1:12 Mansard Victorian that was listed on Craigslist. I liked how the porch on this one had diagonal corners and wished mine was like that.
Well, why not?
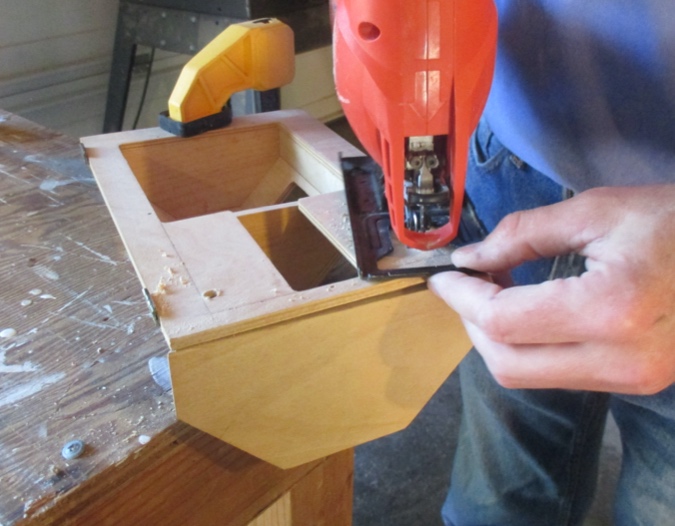
Geoff clamped the panel to the table and used a jigsaw to make the cuts.
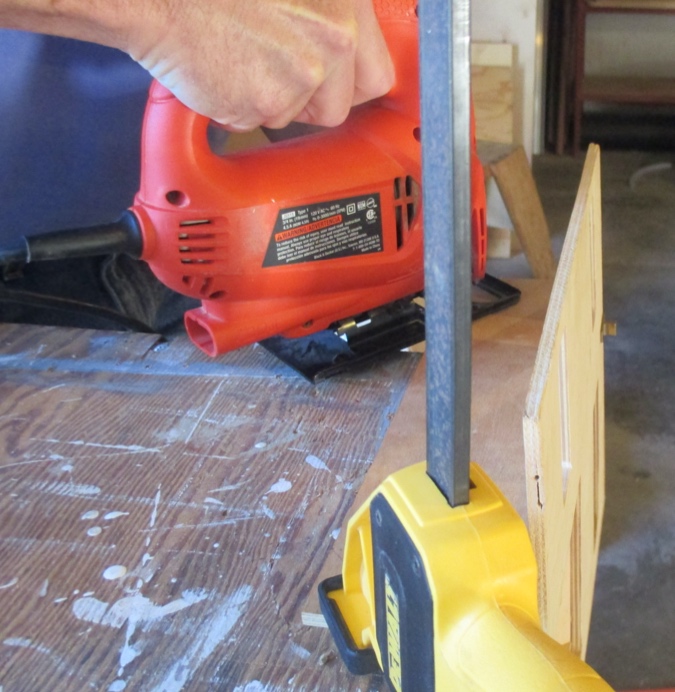
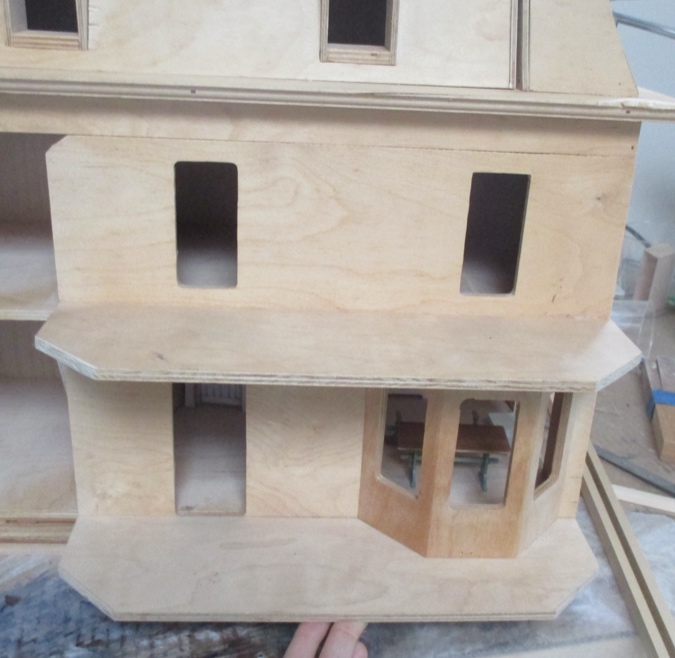
Here’s how it looks. Should the triangles have been a little smaller? I might end up gluing on strip wood to fill in some of what got cut off.
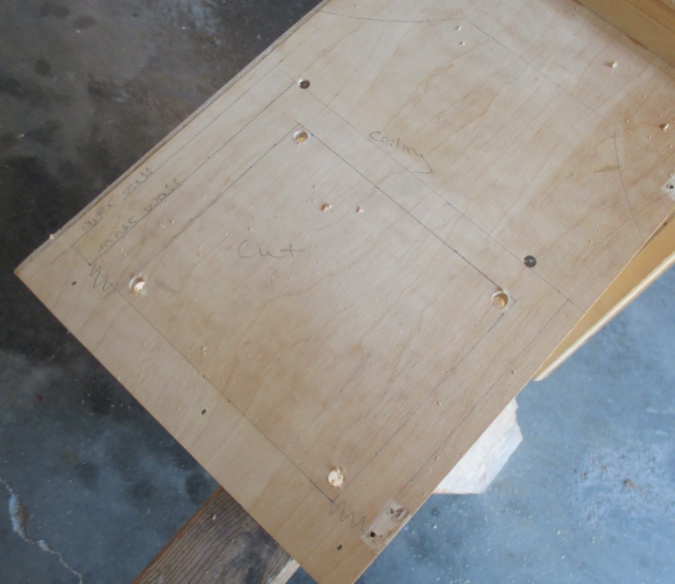
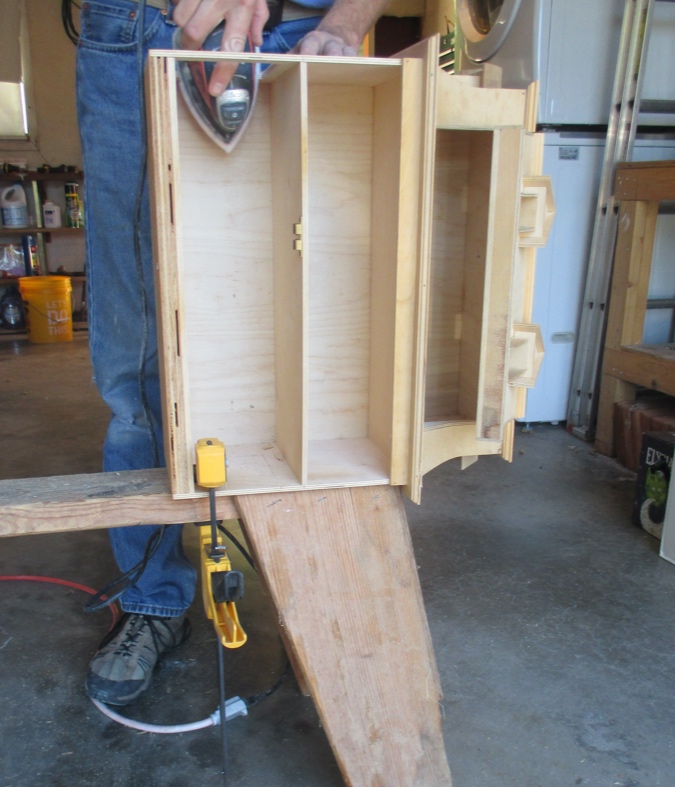
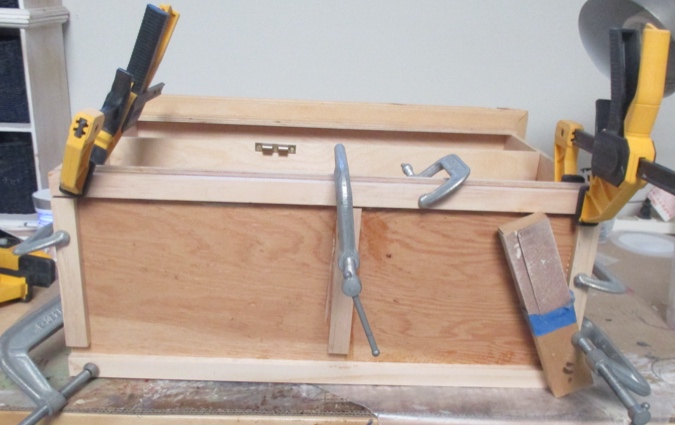
Next we turned the house on its side and clamped it to a sawhorse. Geoff drilled holes in the corners of the square that needed to be cut out.
Then he again used the jigsaw to make the cuts. Watching this, I think I could have done it myself, but I was happy to let him do it.
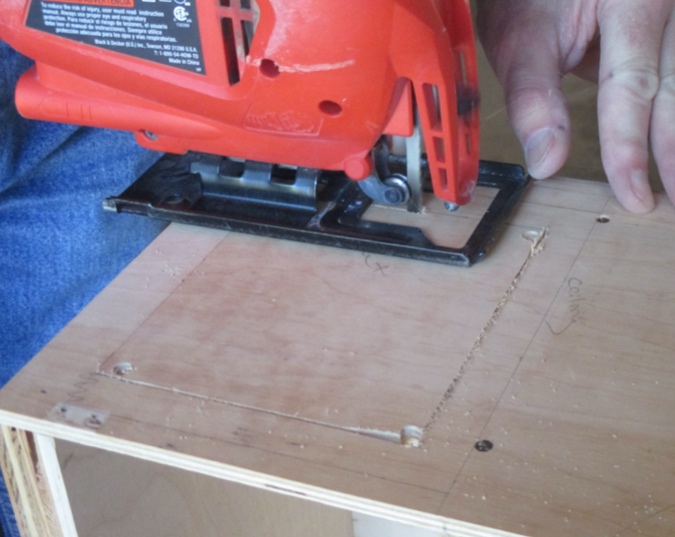
He cleaned up the cut edges with the mouse sander. I was concerned that it would be hard to cut right up against the floor, but the sander made that transition nice and smooth.
With the holes cut out of the side walls, we moved on to the balcony that will become a bay window. This bay window was messed up to begin with — here you can see that the walls aren’t flush against the floor
The top piece was also loose, and the side piece was popping out.
Geoff used the jigsaw again to cut away the wall around what would have been the balcony door. He had to switch to an oscillating multi-tool (not pictured) to make the cuts right up against the ceiling.
Then he shot in a bunch more nails to secure the pieces that were loose.
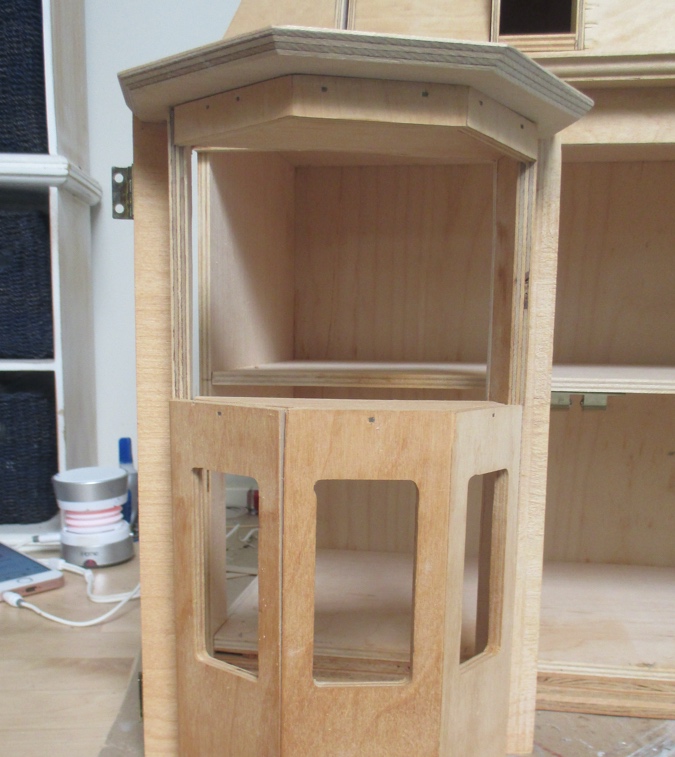
Here it is from the front. I’ll close in the big gaping hole so it has windows like the other bay windows.
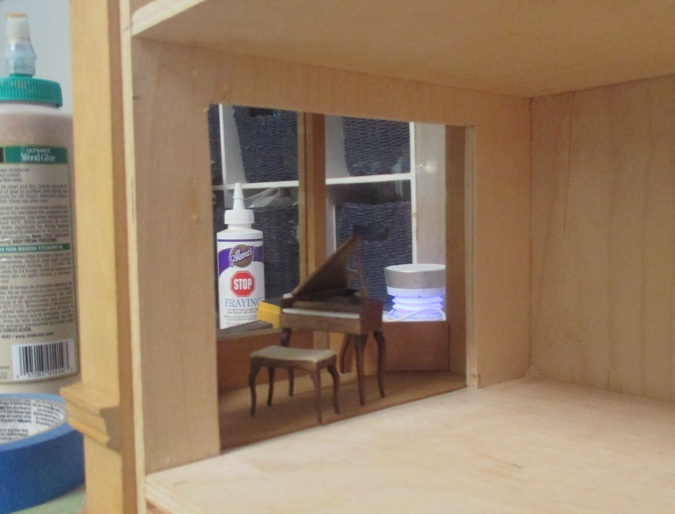
Here’s the view through the living room opening. The floor of the bay window addition is 3/8″ higher than the floor of the house.
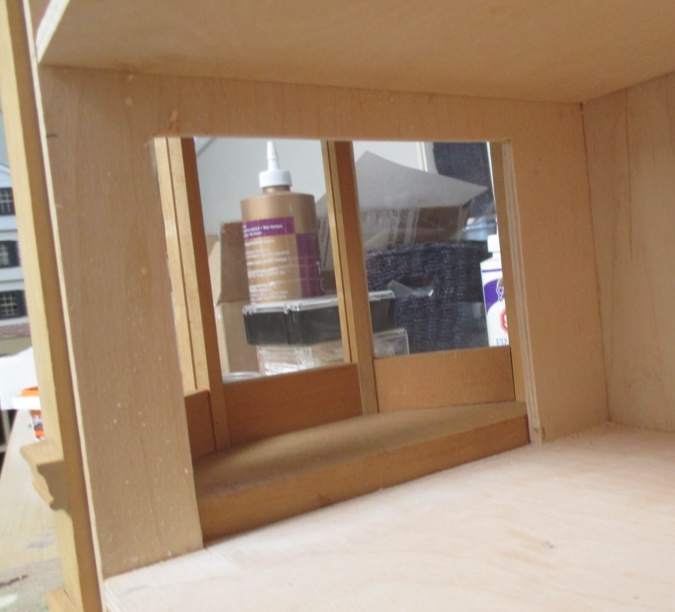
I fixed this by gluing 3/8″ tall strip wood around the base of the house
Here’s how the piano works in the addition. In the end I gained very little floor space, and the room would have been fine without it, but that bay window with the mansard roof was too perfect not to use it on this house.
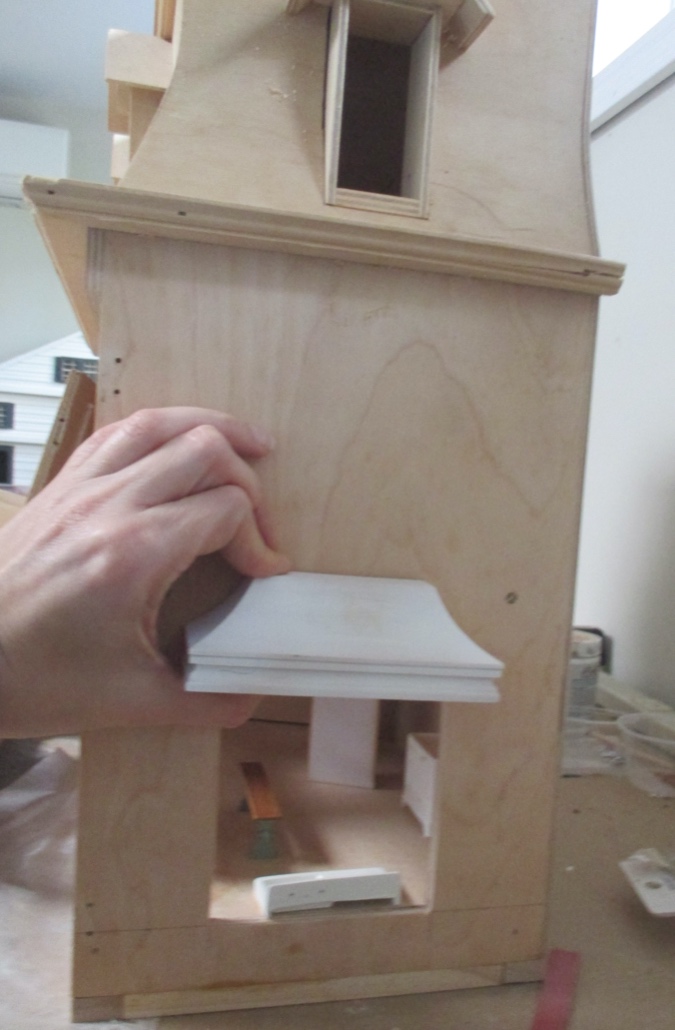
And here’s how the French canopy will look on the other side.
 Emily is a freelance writer, miniaturist, and adventure game enthusiast.


This is a great house. It may not bea lot of extra room but the piano looks perfect there! I know how that planning phase goes – it takes forever! Look forward to watching the progress on this!
Looks great!
Great project. I love what you’ve done so far.
Always enjoy seeing how you tackle alterations to the miniature builds you do…quite inspirational and informative at the same time. This will be the perfect home for the collection of Bauder pine furniture you have collected!