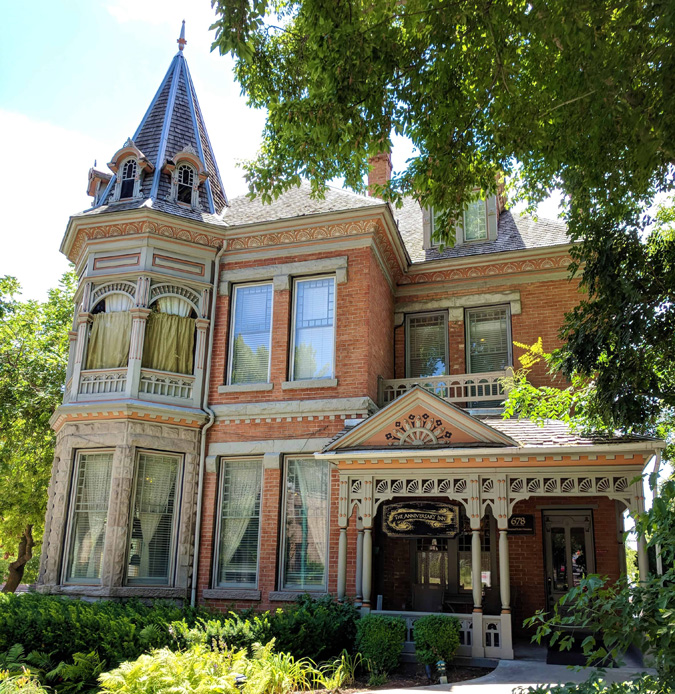
This is my inspiration house for the Mansard Victorian. It’s the Emanuel Kahn mansion in Salt Lake City, Utah (more pictures here).
I realize I’m setting myself up for a lot of tedious work with a brick exterior. When I did the Victorianna’s brick foundation, it took so long that I swore I would never do egg carton bricks again. I’ve used brick paper and Magic Brik on roomboxes, but they don’t have the realism I want for this house. So, egg carton bricks it is.
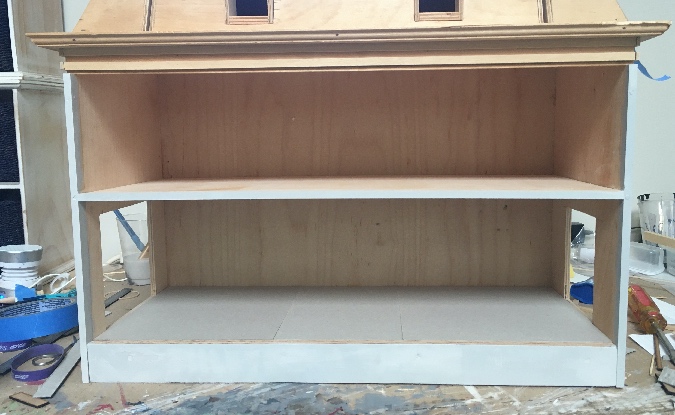
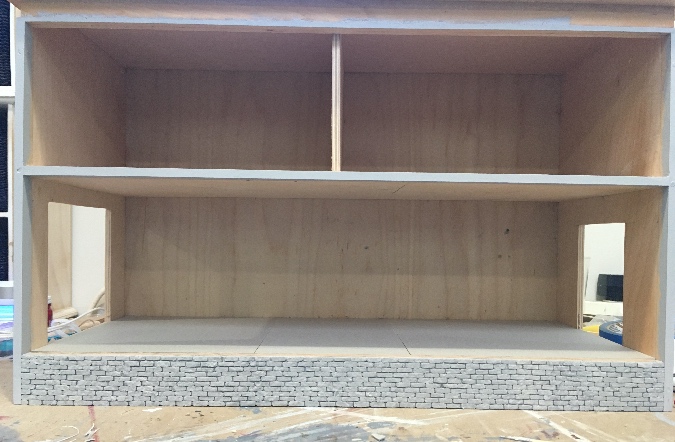
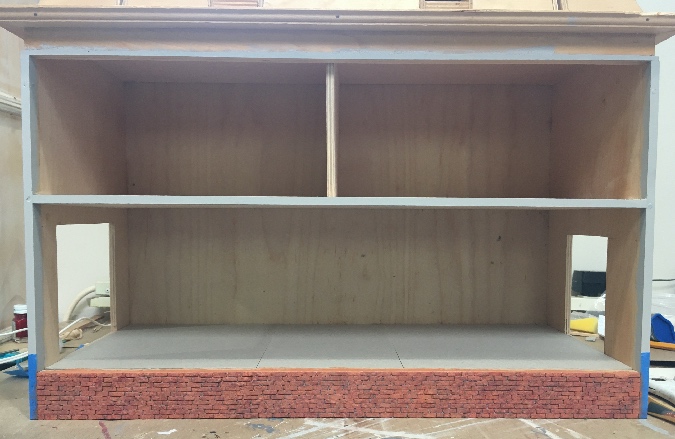
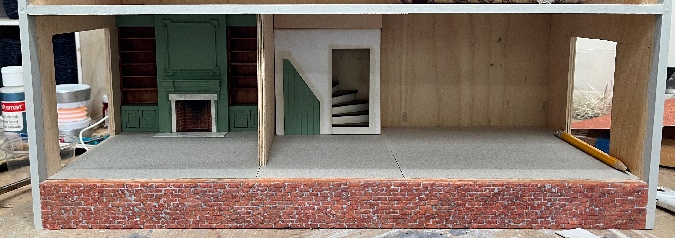
I’m ready to start finishing the interior, but first I need to cover up the front foundation piece, since I don’t want to be painting and grouting when the wallpaper and flooring is already in.
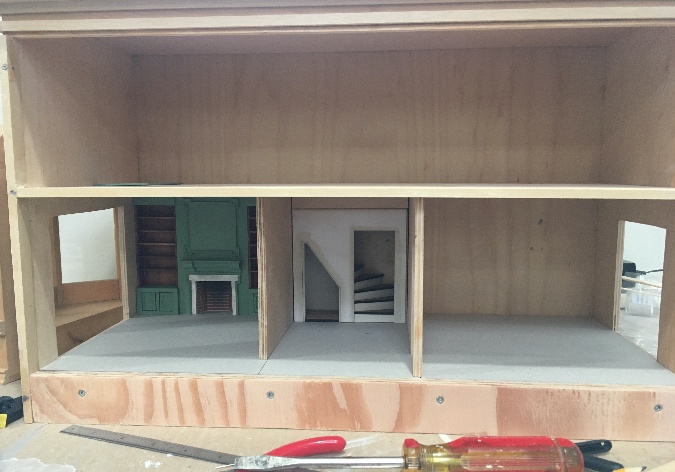
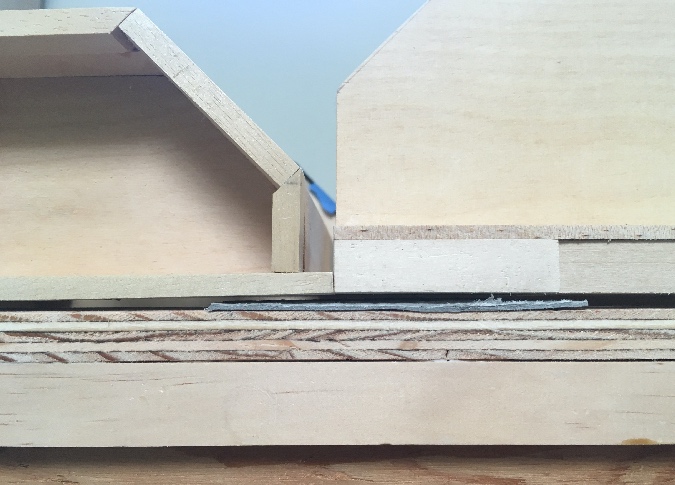
Before I got started, I turned the house on its back so I could see how much space there is between the front of the house and the foundation piece. I didn’t want the thickness of the bricks to prevent the front from standing up against the house.
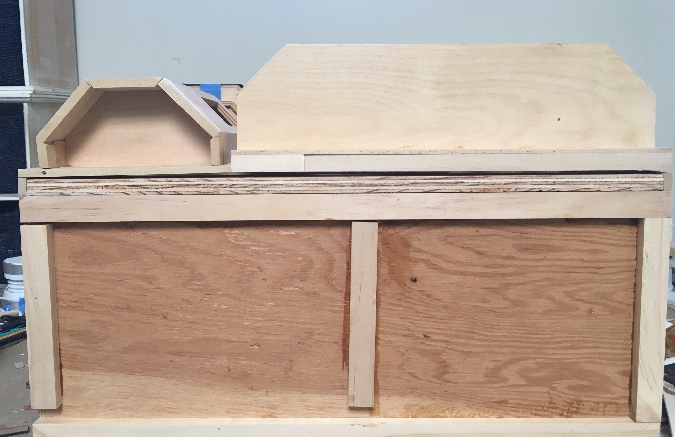
Not only is there a gap, but the front piece is slightly bowed where I glued the two panels together. I put a piece of egg carton material in to see how it fit, and there’s plenty of space for it.
I started by filling in the screw holes on the foundation piece with wood filler.
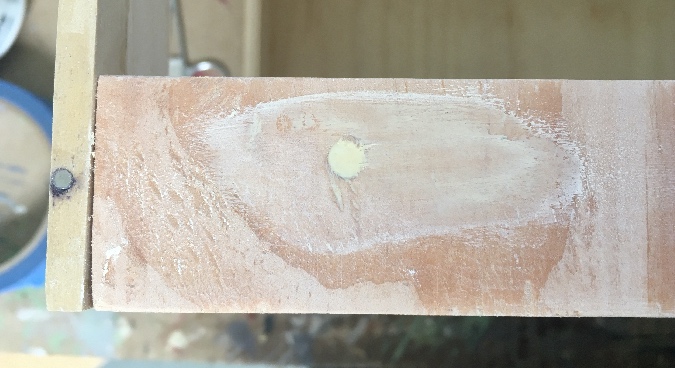
Then I painted the foundation piece and the front edges of the walls and ceiling. My bricks will be orange with gray trim, like in the inspiration picture, but I didn’t have the orange paint yet. I grabbed a gray off my paint shelf, knowing I could paint over it later if I needed to.
I cut several egg carton strips. The strips are 3/8″ wide, and I then them into 1/8″ pieces to make the bricks.
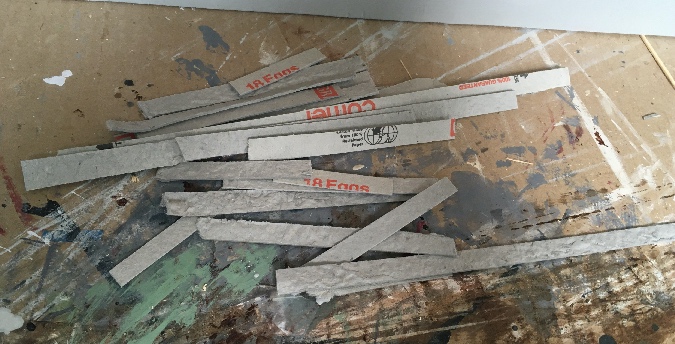
This is going to take a loooong time.
Each brick gets its corners clipped off with nail scissors before I glue it on.
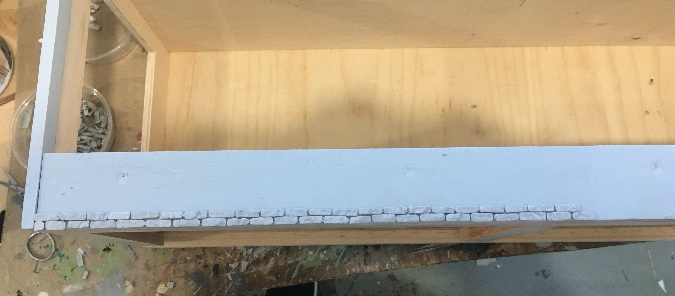
This is how far I got the first weekend… back in January.
Little by little, I kept going, until last weekend when I finally finished. Slow and steady wins the race (or so I’ve heard).
Meanwhile, I had gone to Home Depot and bought these paints for the bricks and trim. Why is the Moroccan sky orange, I wonder?
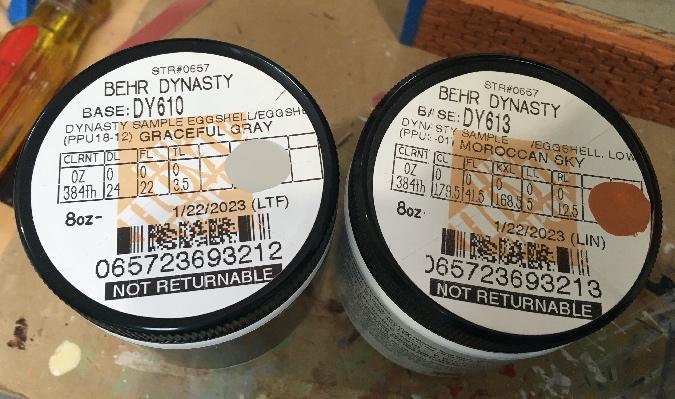
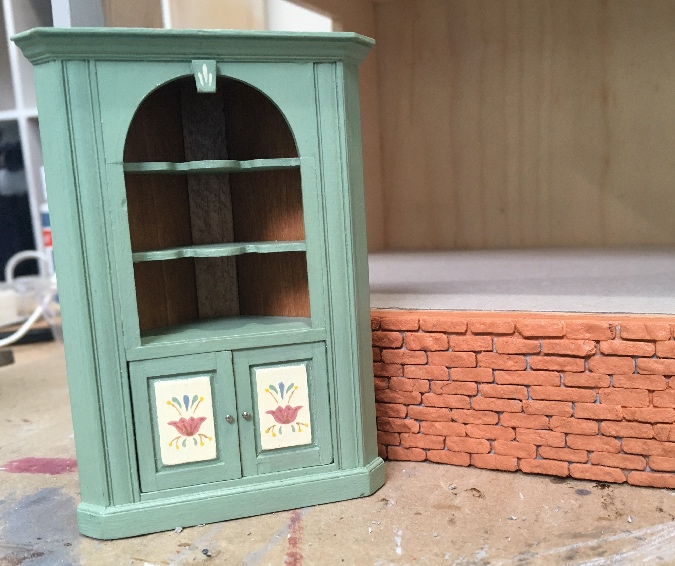
I’m planning to use this green a lot inside the house, and I brought this cabinet with me to Home Depot when I picked out the paint colors to make sure the orange would complement it.
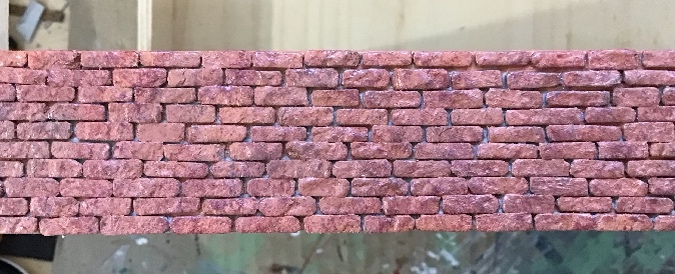
After painting the bricks orange, I used a dry brush to apply Craft Smart Brick Red paint (which is what I usually use as a base coat for bricks). This involves dipping a stiff bristle paintbrush in paint, and then dabbing most of the paint off on a paper towel before dabbing it on the bricks.
I then repeated that process with black, brown, wine red, and finally the orange again because I thought I’d covered up too much of it.
They’re grungier than the bricks in the inspiration photo, but I think it works. In hindsight, maybe I should have used the gray trim color rather than black. That’s something I can play with when I do the rest of the bricks. (And there will be plenty of them to play with!)
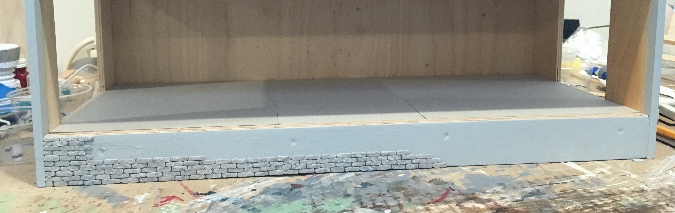
Next I added a coat of matte varnish.
And when that was dry, I added grout.
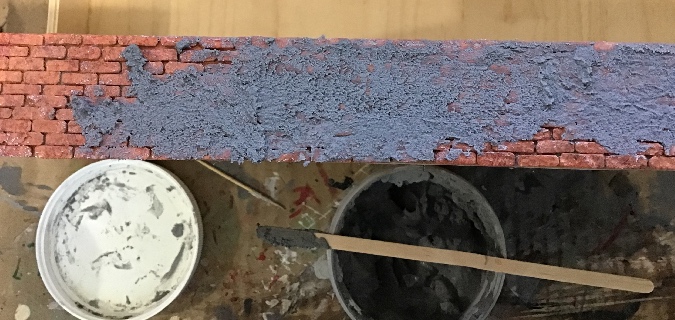
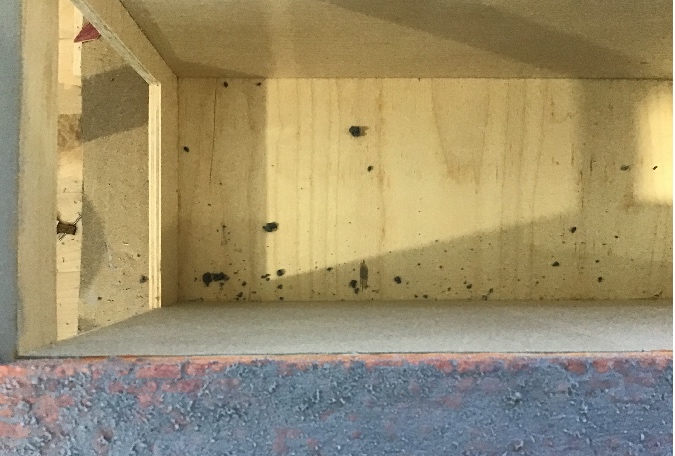
It’s a good thing I haven’t done anything inside yet, because crumbs of grout fell into the house (it was lying on its back).
Next I sponged off the grout with a damp sponge brush.
And then I blotted it with a paper towel to remove more of the wet grout. (Rubbing can cause the egg carton layers to separate.)
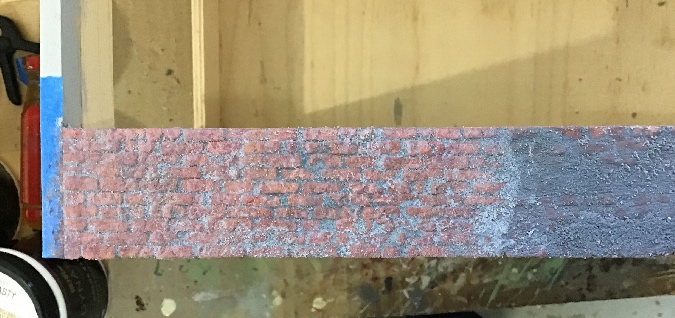
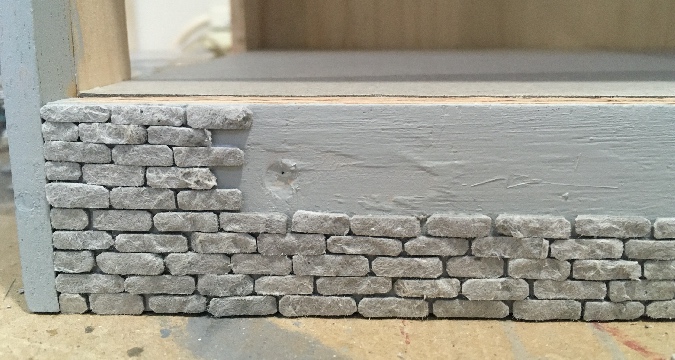
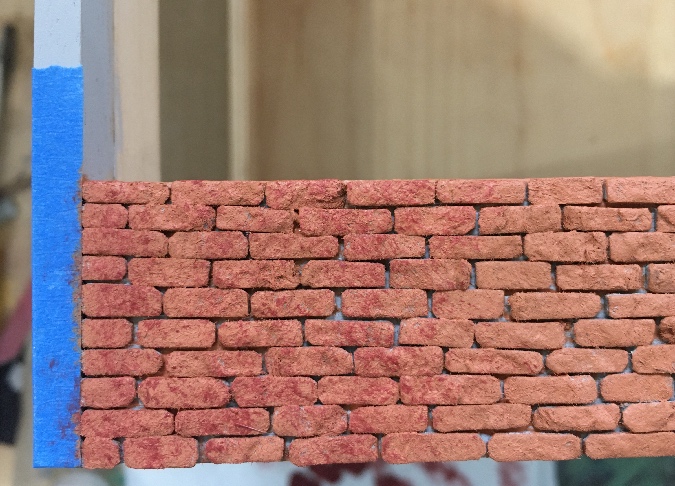
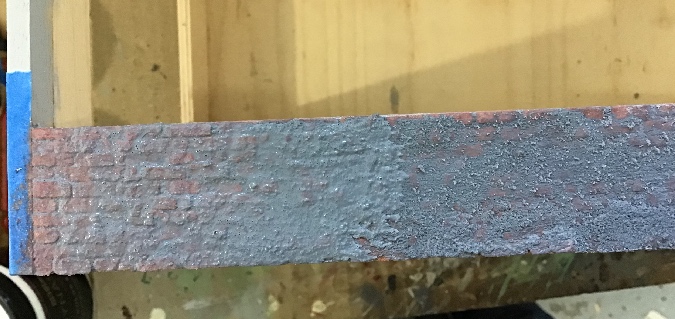
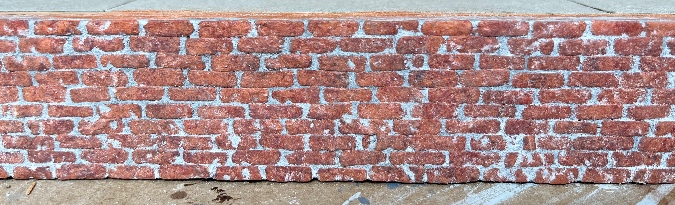
Here’s how it looked once the damp bricks and grout dried. I could have done a better job of digging some of the grout out of the cracks and pits in the egg carton material. This isn’t horrible, but I might be a little more sparing with the grout when I’m working on the house exterior. I do really like the color though.
In the lower right corner, the top layer of egg carton rubbed off a few bricks when I was wiping up the grout. I covered these spots with a little bit of orange and a little bit of black, again using the dry brush.

Then I added another coat of matte varnish. Maybe it’s my imagination, but this seems to bring out the paint colors that get muted during the grouting process. I like the color of these better than what I ended up with for the Victorianna’s bricks.
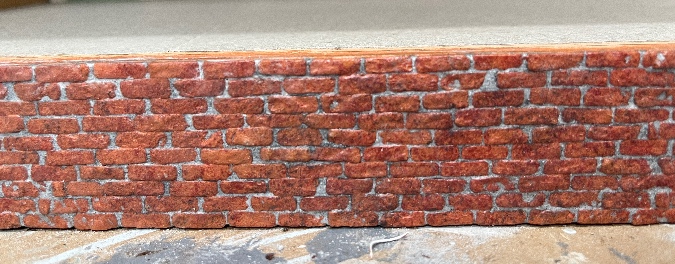
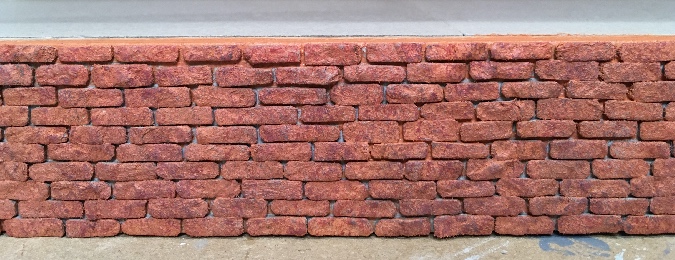
And here’s the finished foundation. Okay, so it took a while, but doesn’t it look good?!
 Emily is a freelance writer, miniaturist, and adventure game enthusiast.


You have expert skills and the patience of Job (as my grandma used to say). Thank you for continuing to share your amazing projects/accomplishments!
WOW!! Platinum Gold Star for details!!! Gorgeous!!!
I so admire your skill and dedication It looks fantastic!
I appreciate hearing about how you applied different paint colors to the brick to get the final product. It looks really nice and you should get a medal for patience!
It looks really nice and it’s quite a lot of work. I commend you for sticking with it and getting it done. Thank you for showing us how you did it, I have been wanting to try it myself.
This is just gorgeous and you would never know it is egg cartons!
Em it is going to be stunning!!!
Hugs,
Sharon