When I mentioned that my next task in the Mansard Victorian would be to add lights, both Geoff and my dad said, “I thought you were never electrifying a dollhouse again?” It’s true, I’ve said this many times. Miniature lights (especially 1:24 scale!) are delicate and finicky and expensive and something always goes wrong.
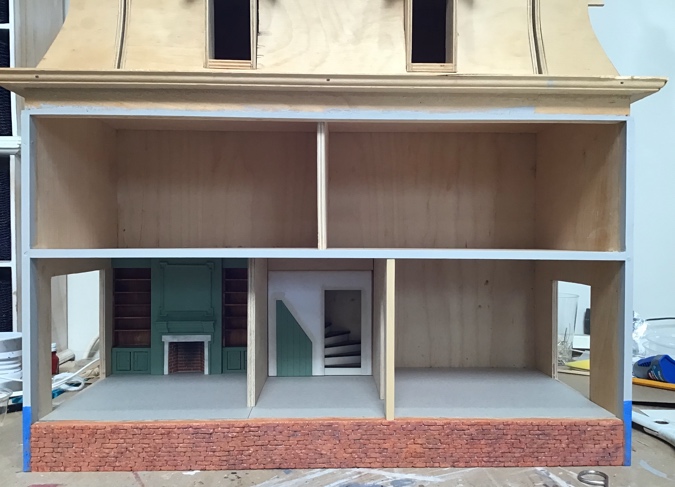
But the Mansard Victorian is deep and only has windows on the front panel, which makes for shadowy rooms. It also has a flat back that will be up against the wall, which gives me an easy place to hide cords and plugs. And maybe I’m kind of a masochist? Whatever the reasons, I’m electrifying this dollhouse. God help me.
My first time electrifying a half scale dollhouse was with the Fairfield, and I splurged on a bunch of pricey Lighting Bug fixtures that don’t have removable bulbs.
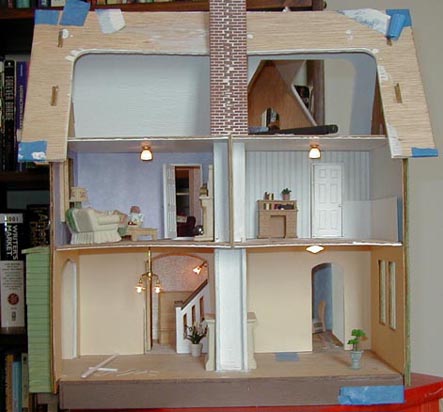
Before too long, one of the bedroom ceiling fixtures stopped working. I had wired these directly to the tape wire, which was now covered up by the flooring of the room above. Whether the bulb burned out or the connection to the tape wire went bad, the only way to fix it would be to tear up the finished room.
I never did fix that light, but this experience (and others) made me paranoid about 1) installing lights with non-replaceable bulbs, and 2) installing lights in a way that the connection can’t be checked/fixed later. With the Mansard Victorian, I want to be able to easily jiggle the connections or replace bulbs, if needed.
(Side note: the Fairfield was the first half scale kit I built, and I cringe to look at it now. Look at those awful bricks on the chimney! Frankly, tearing up this room to fix the light wouldn’t be the end of the world. But that’s not the point.)
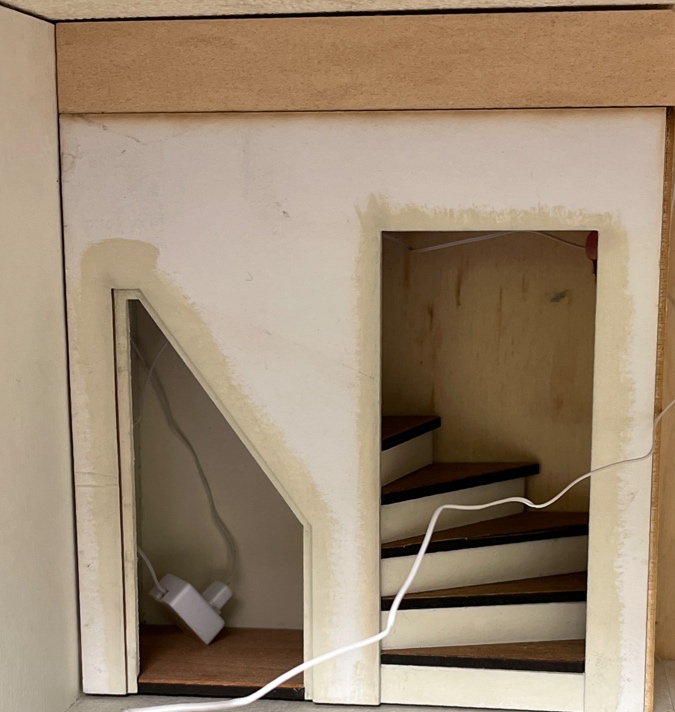
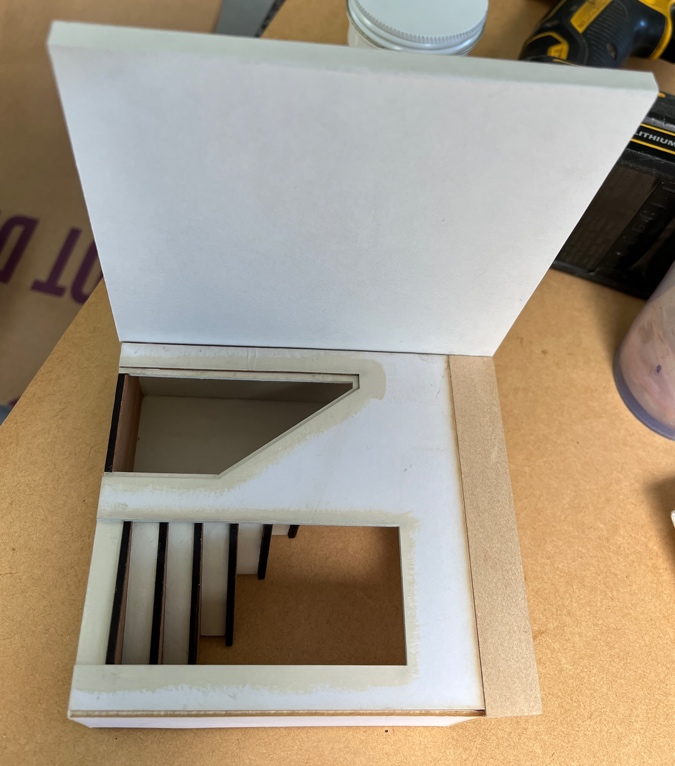
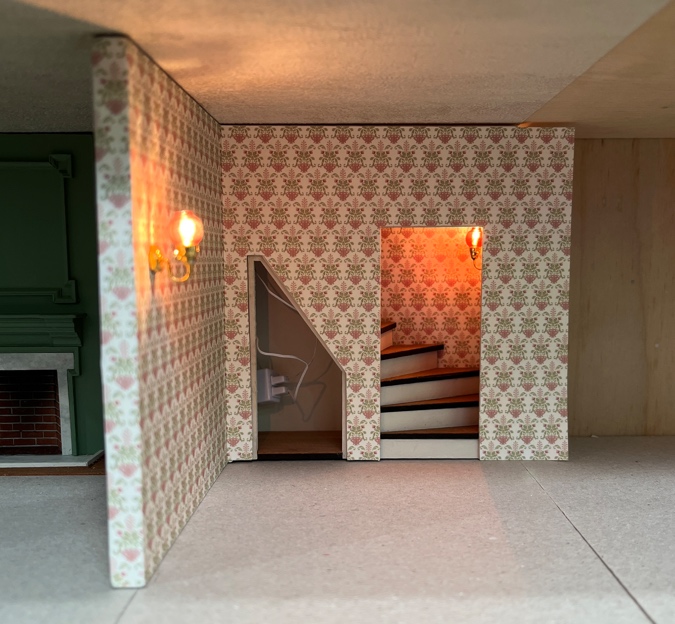
Plugging lights into outlets is more reliable than connecting lights to tape wire, but then the outlets and plugs need to be hidden. The cupboard staircase I’m using in the Mansard Victorian gives me an opportunity to stash sockets inside the cupboard. I’ll put a couple in here and plug (most of) the first floor lights into these.
In the Queen Anne Rowhouse, I hung a cranberry lamp in the stairwell. I loved it, but had to sacrifice it when I redid the staircase rooms. (That was another time when I had to get creative with electricity because I couldn’t easily fix what was broken. Why do I keep electrifying dollhouses?!)
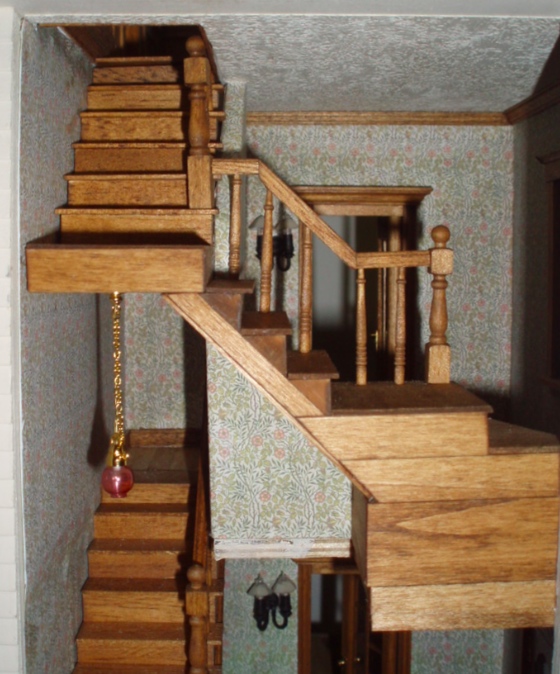
I envisioned using the same type of light in the Mansard Victorian staircase, but when I held it in there, it looked like you’d bump your head on it going up the stairs.
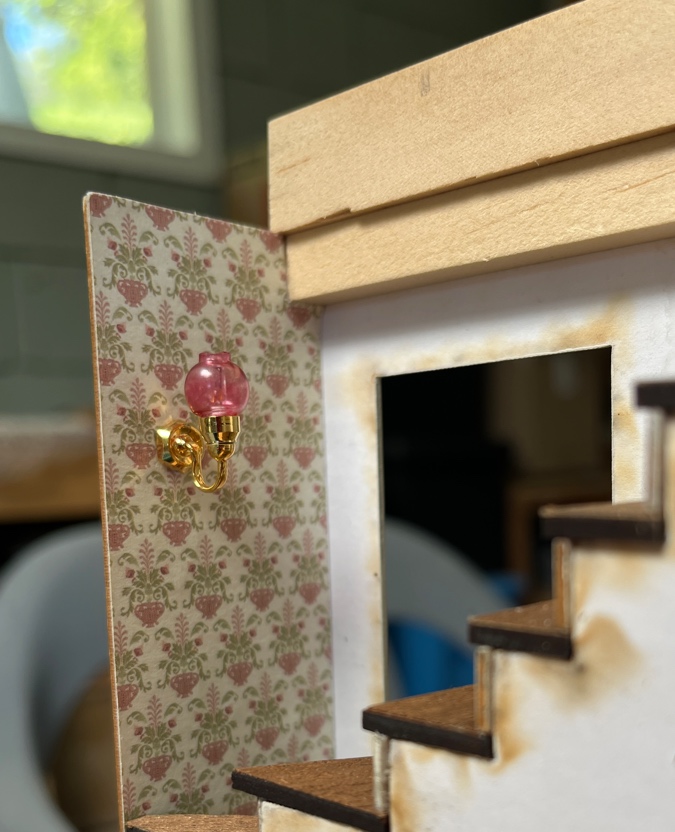
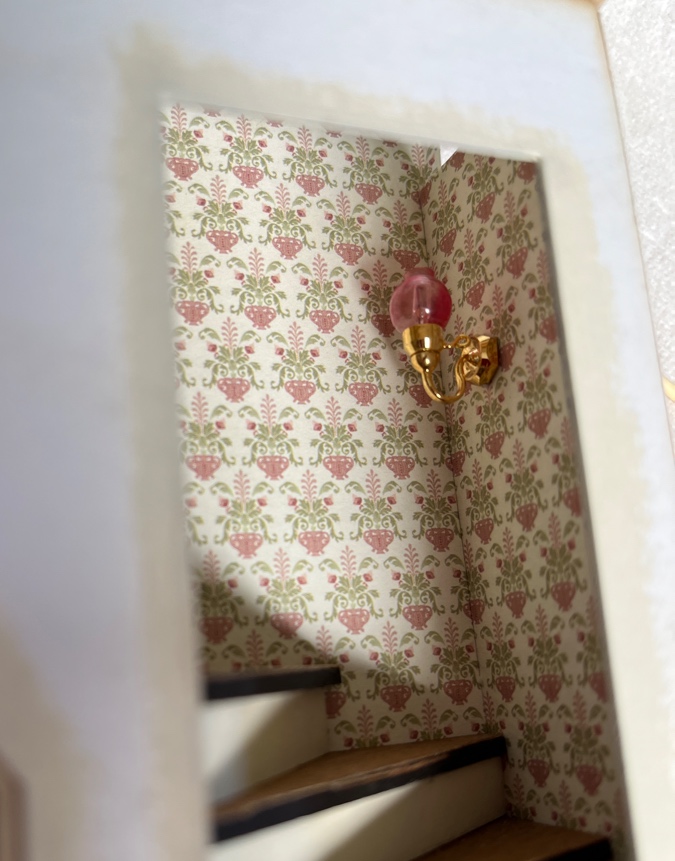
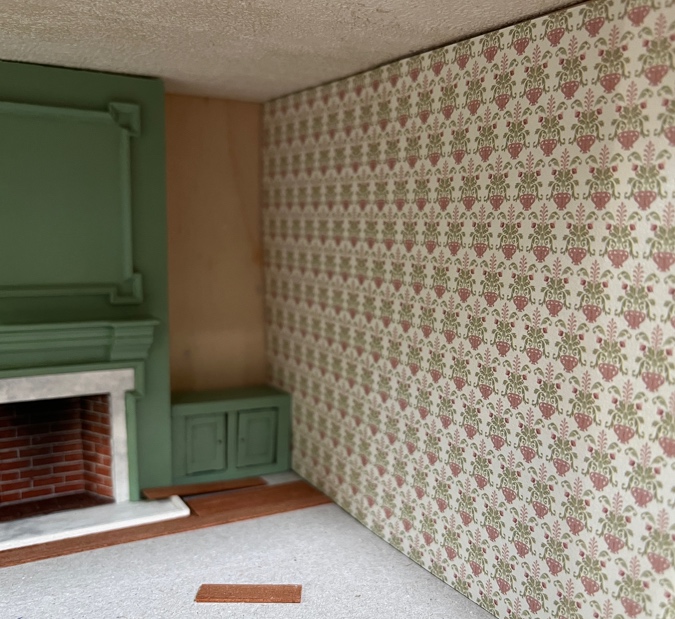
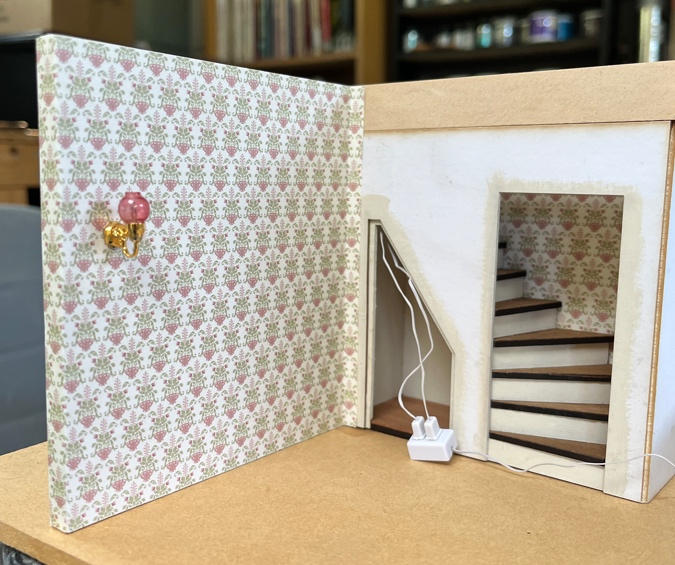
I decided to do a wall sconce instead. This is a Houseworks globe sconce, with but with the cranberry shade on it. I like the pink with the wallpaper.
(Another side note: half scale lights have become impossible to find. Houseworks seems to have discontinued all of them when we weren’t looking. I scrounged up a few of the cranberry lights at stores that still had stock, and two globe sconces that I bought secondhand. Houseworks 1:24 scale windows and doors also seem to be disappearing from the internet at an alarming rate. Not good!)
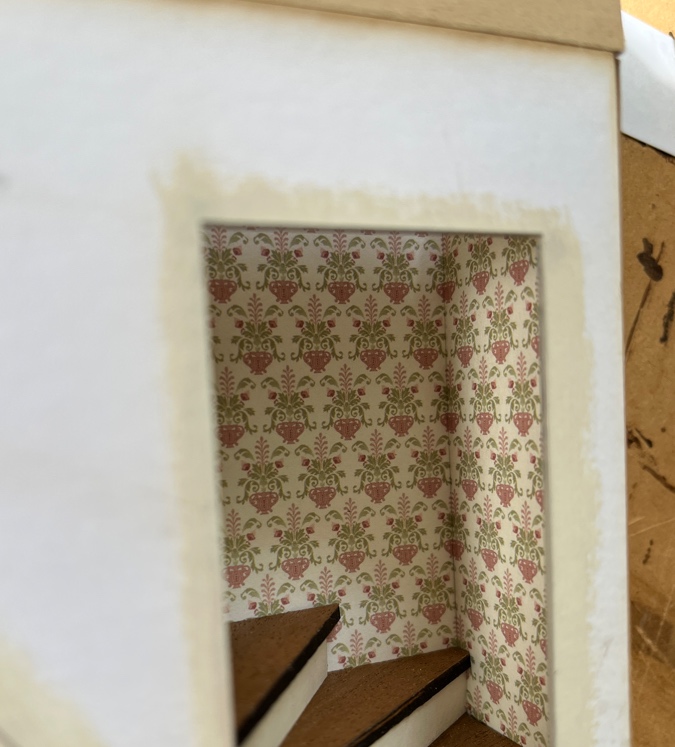
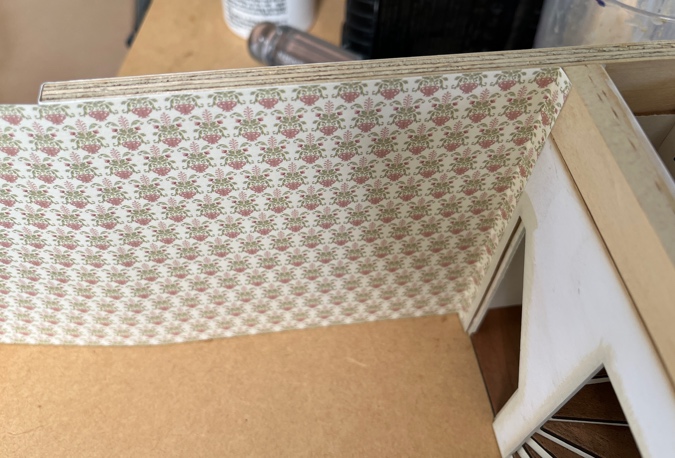
The cupboard staircase has an open back, and I spent a while trying to figure out exactly how to position wallpaper on the wall so the pattern would meet up with the side wall. I finally realized it would be easier to enclose the back. I started by taking the piece I’d cut out of the living room wall and sliding it around until the design matched up.
This much stuck out on the side.
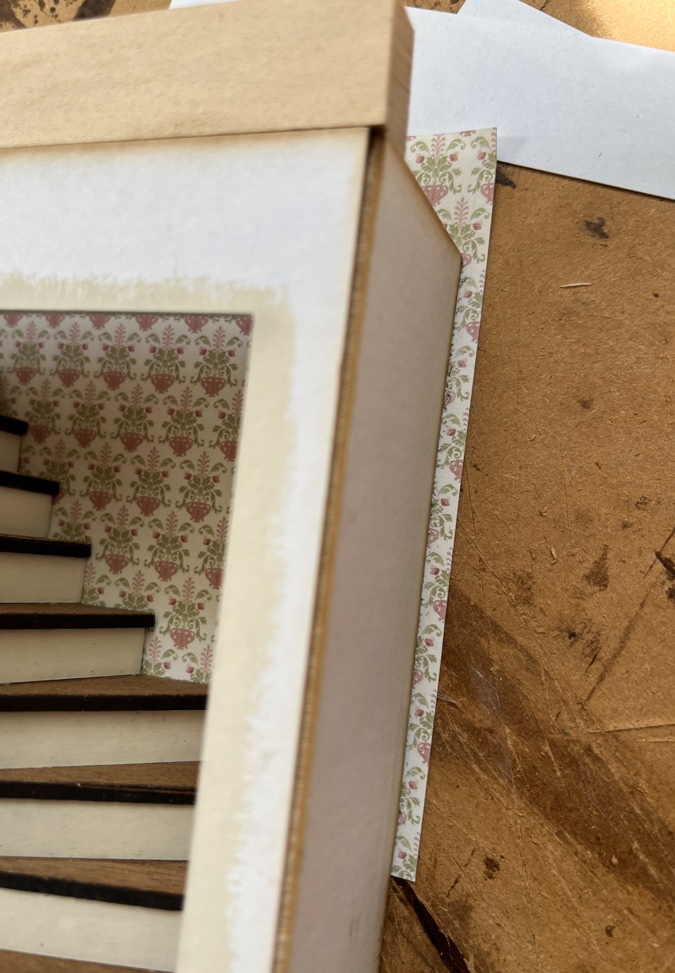
I lightly ran an Xacto knife down the outside wall of the staircase, to score the paper, then folded the paper along the score line. That piece will wrap around the outside of the staircase.
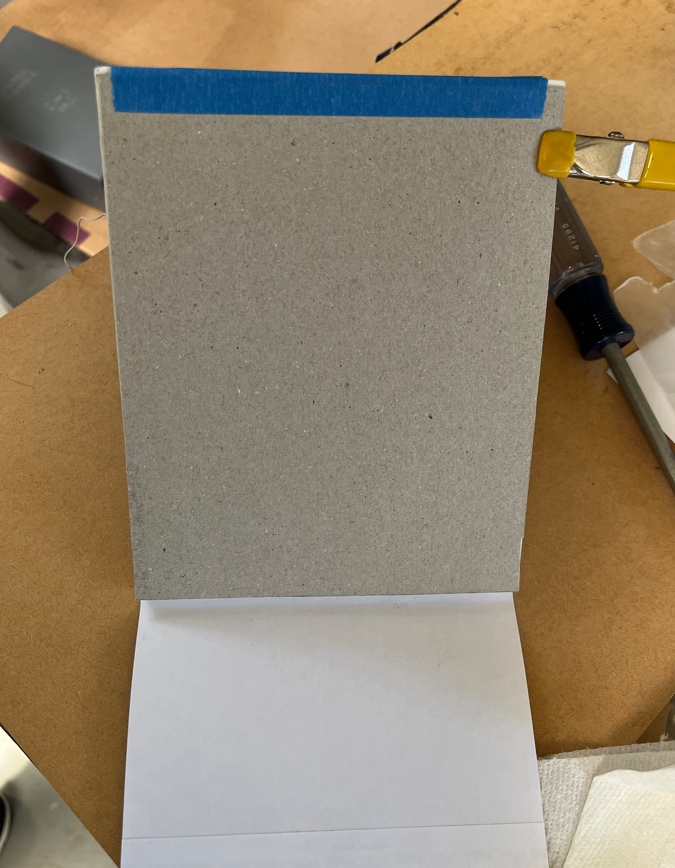
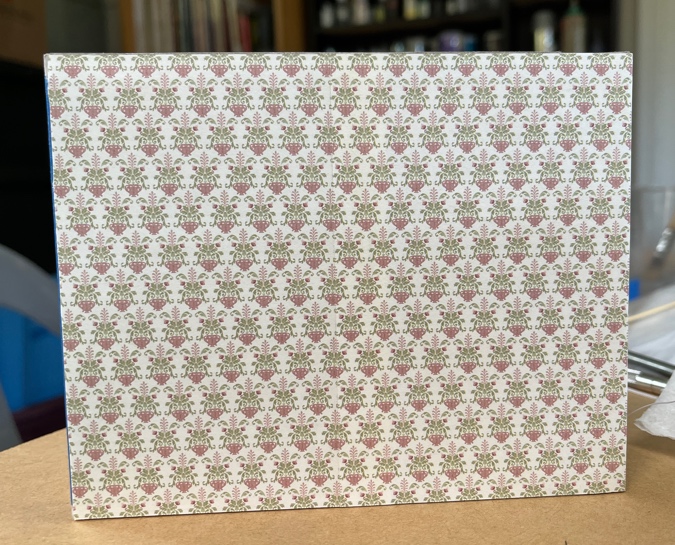
Next I cut a piece of cardboard to fit across the back side of the staircase, and glued the wallpaper to it.
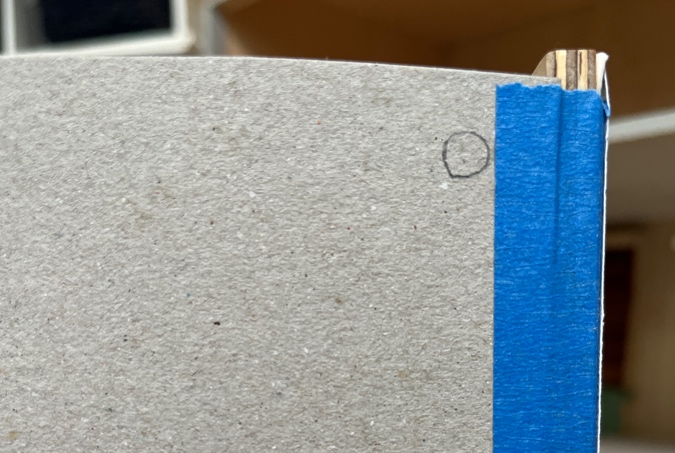
(Side note #3: this piece of cardboard had writing on one side of it. It came off the back of a notebook, and I had written on the cardboard with a rollerball pen when I ran out of notebook paper. I intended to assemble this with the written-on side on the back, but of course I glued the paper down over the writing without thinking about it. You can’t see it, but having that dark ink fade into view over time is just the sort of thing that would happen to me. Anyone want to take bets?)
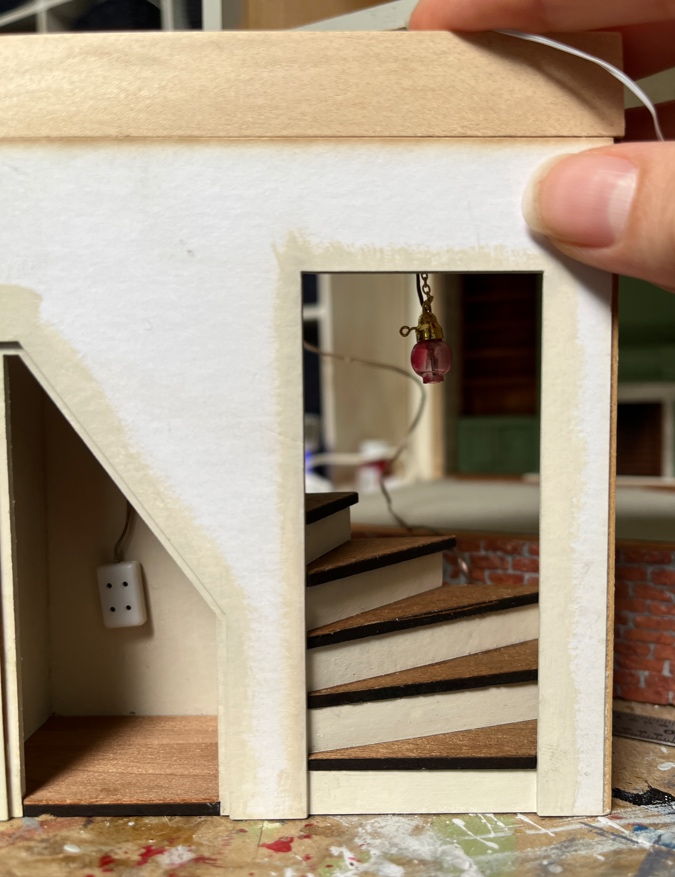
With the light glued in place, I enclosed the staircase with the wallpapered cardboard.
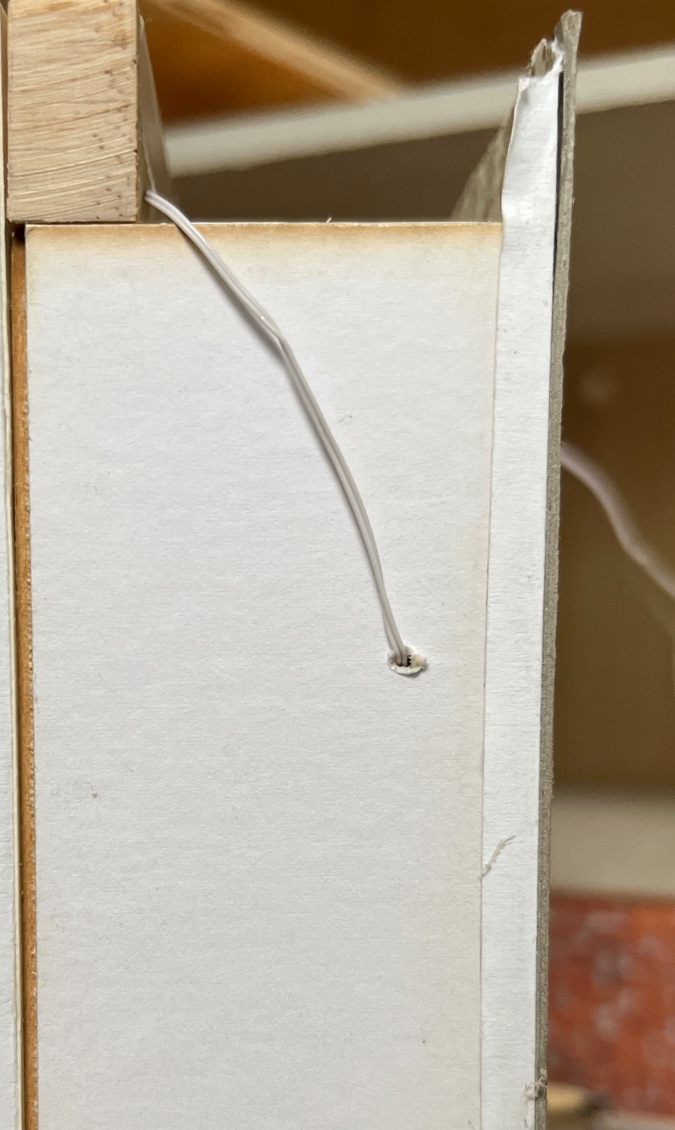
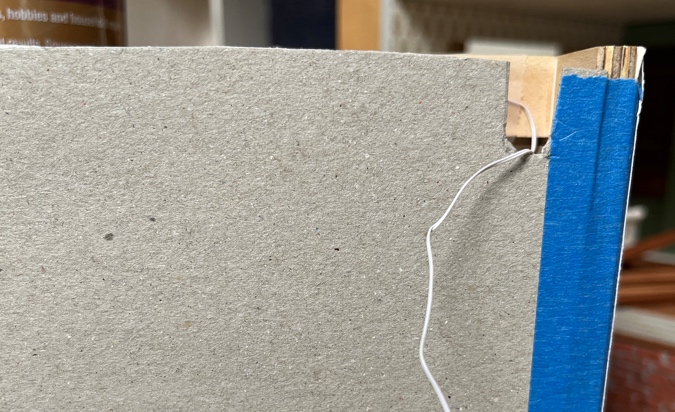
The wire for the light comes through the wall, and then I taped it to the wood at the top of the staircase and dropped it down through the hole where I’d left off the top step, and into the cupboard area.
Before all of this, I had glued the living room wall to the side of the staircase. This wall is covered with paper to prevent the wallpaper from touching the wood directly, in case that would cause discoloration. On other walls I’m using scrapbook paper; on this one I used a scrap of Minigraphics wallpaper turned inside out.
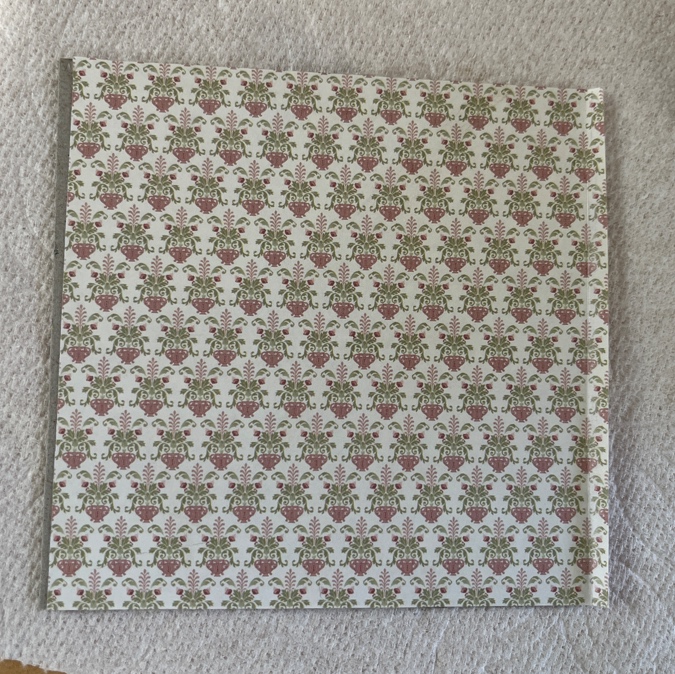
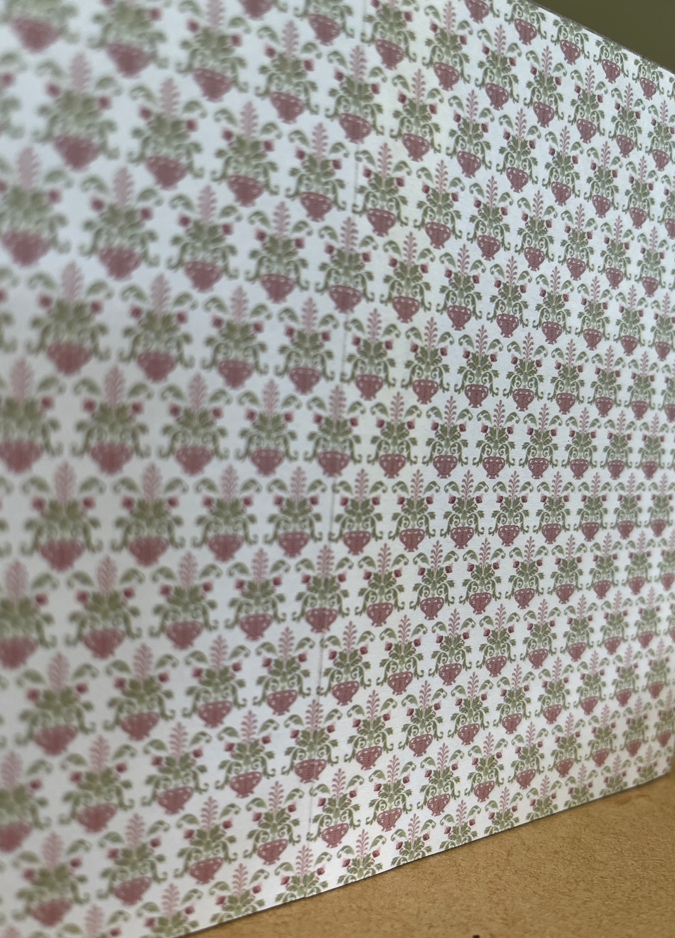
This wall doesn’t reach all the way to the front of the house, and I wanted to wrap my wallpaper around it rather than having an exposed wood edge. The Brodnax paper I’m using isn’t long enough for that, so I had to piece two sheets together.
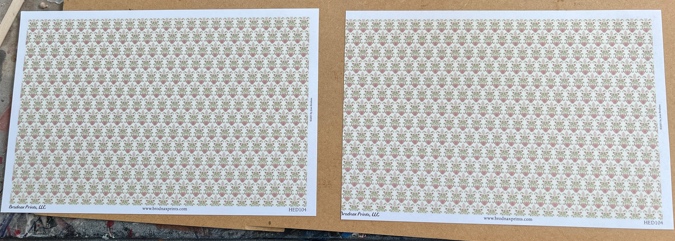
I cut the white border off of one of them and glued them together where the design matched up.
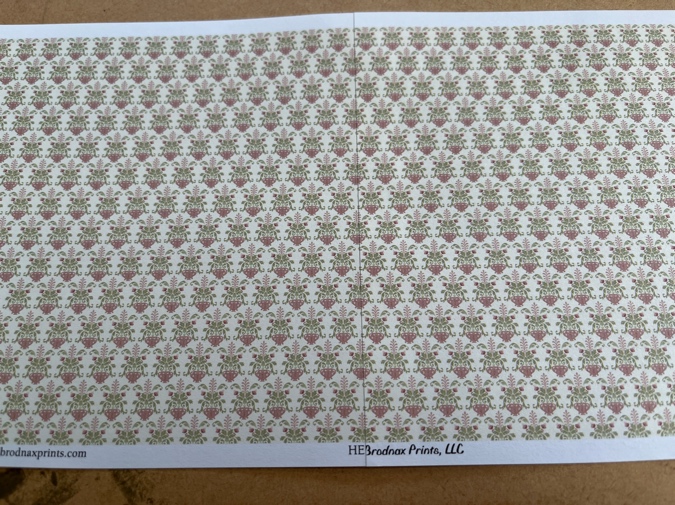
Once the glue was dry, I cut off the rest of the borders. The folded portion will wrap onto the front of the staircase’s exterior wall.
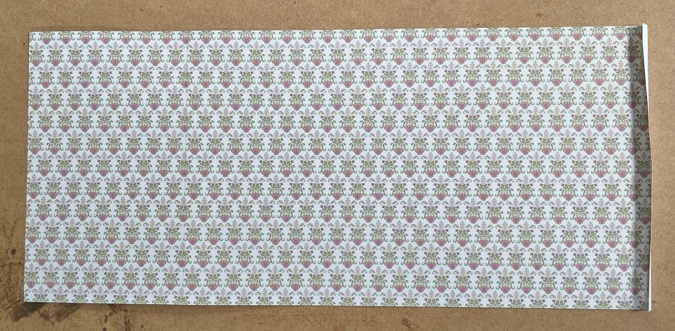
I purposefully glued these together so the piece that’s closer to the front of the house is on top. This puts the seam farther back into the room, and when you look at it from the front you can’t see it at all.
The sconce in the stairwell doesn’t provide enough light for the whole room, so I decided to add another sconce to this wall. I started by gluing the wallpaper just to the hall side of the wall, leaving the rest loose.
Then I drilled a hole through the wall and glued in the sconce. I glued another hole at the edge of the wall and stretched the wire between them so it comes out at the top of the staircase.

(Side note #4: For both of these sconces, I had to remove the plug in order to thread the wire through the wall. I’ve never been able to reuse half scale plugs — little wire pieces get caught in them and won’t come out — so I cut the plugs off and then replaced them with new 1:24 plugs, which are also becoming nearly impossible to find.)
The bulky wire would have made a lump under the wallpaper, so I glued on a piece of cardboard.
And then I glued the wallpaper down on top of the cardboard. Can you see the seam?
(Here it is.)
Great, so that’s two sconces installed. Of course, I tested these to make sure they worked before I installed them!
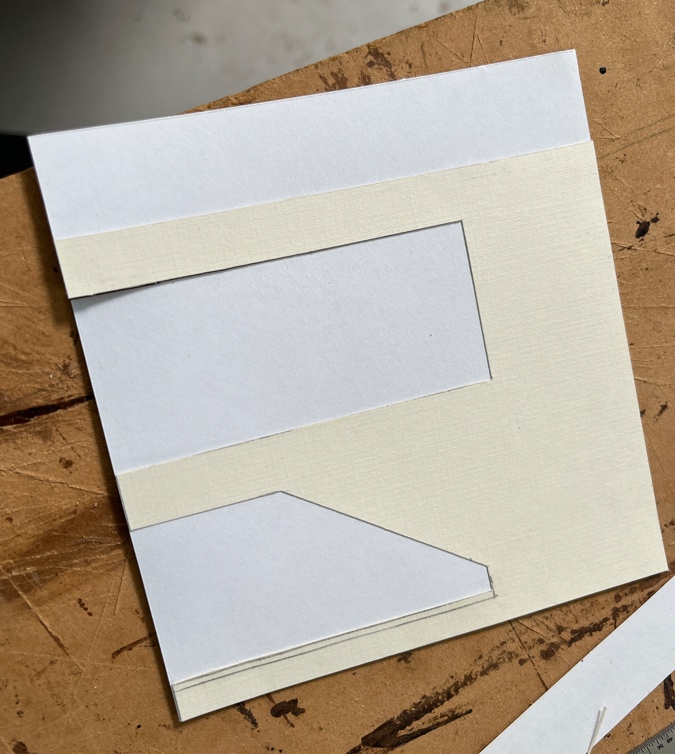
I had previously made a scrapbook paper template of the front of the staircase. Now I glued wallpaper to the front of this.
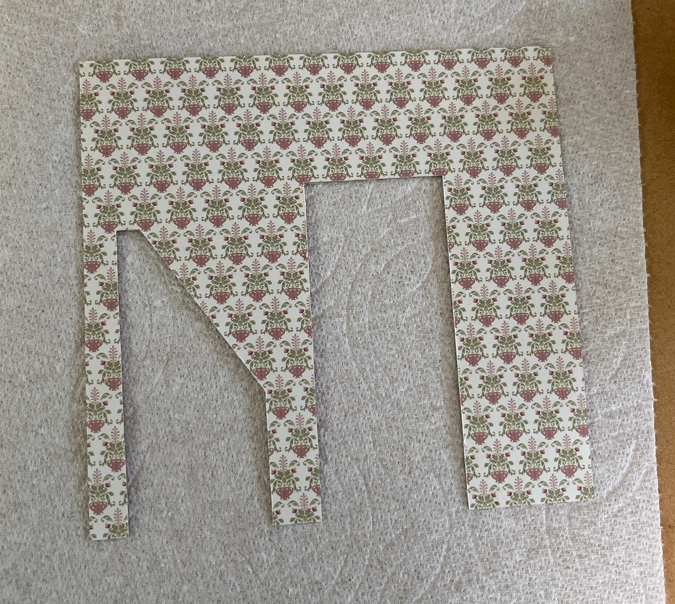
I cut out the openings with an Xacto knife. I haven’t decided yet if I’ll add trim around these, so it was important to keep them neat. (Not shown: I always spray the wallpaper with Krylon UV-resistant sealer and let it dry a day or more before gluing it in. That might be overkill, but I’m superstitious about it.)
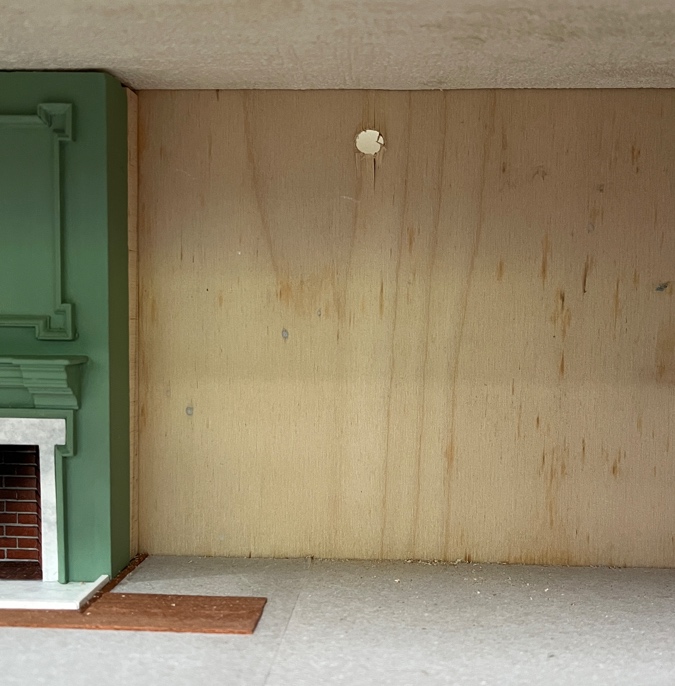
I drilled a hole in the back of the house, to feed the wires for the outlets through. Replacing the plugs is a pain and this hole won’t be visible, so I made it big enough to fit the plugs through.
I put the staircase in place and traced the hole through the back of the house.
Then I cut a notch out of the cardboard backing, for the wire to pass through.
The wire comes out the back and plugs into a power strip. Eventually I’ll attach this to the back of the house.
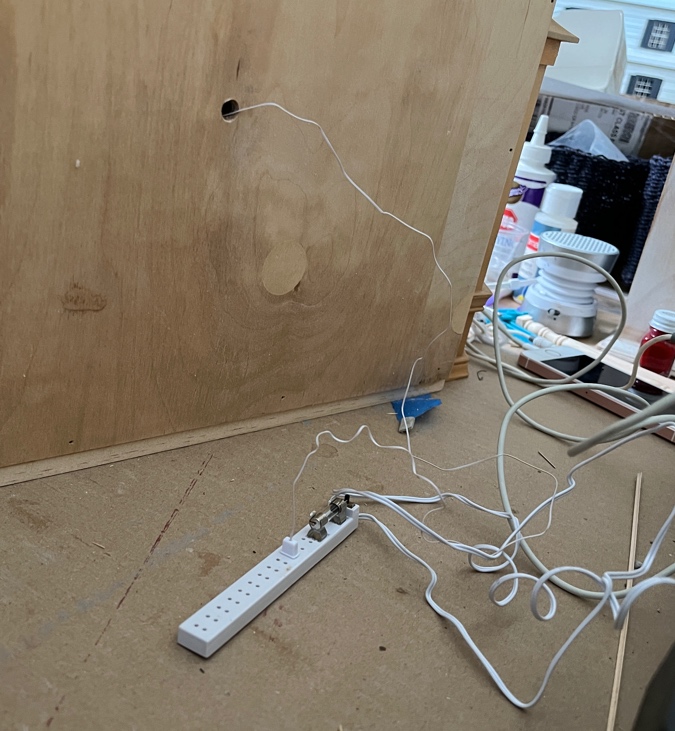
Woohoo! They work!
At this point I realized that, while I can reach the sconce inside the stairwell, it’s very difficult to unscrew the shade and even harder to screw it back on. Removing the bulb is possible… putting in a new one, maybe not. I started thinking about whether I could leave this entire section removable, in order to fix the staircase light if it becomes necessary. This was on my mind as I went back to the flooring.
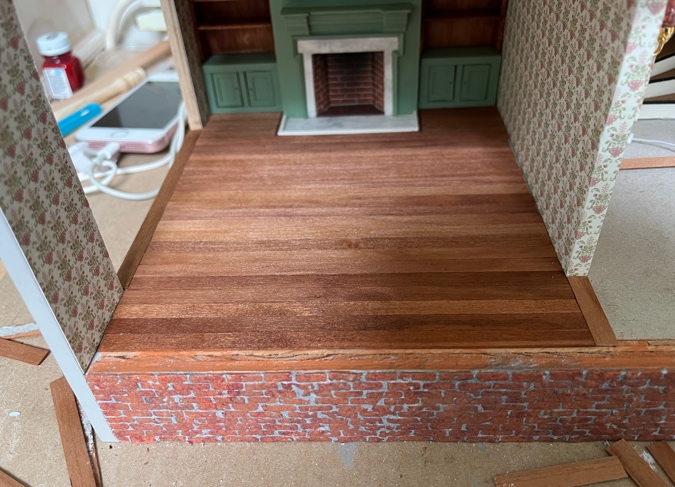
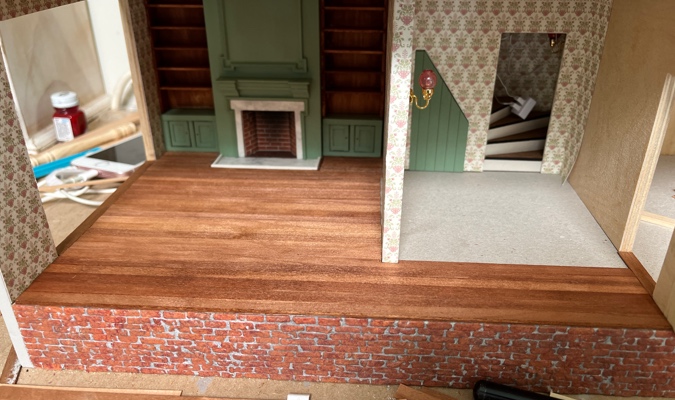
Back in the living room, I pulled up the floorboards that had been too short and redid them.
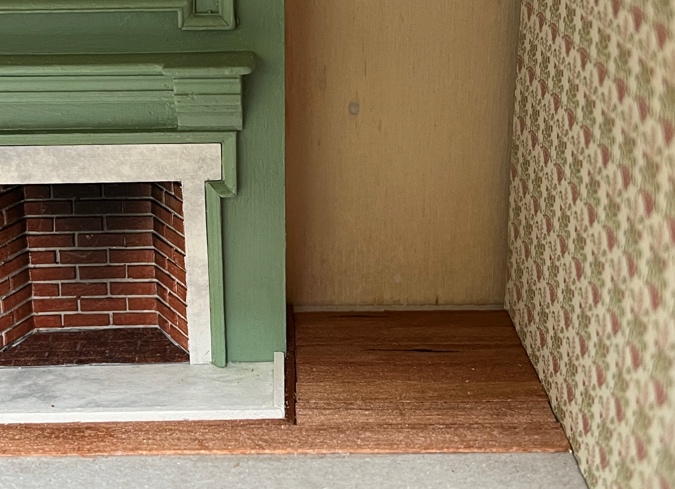
I’d been planning to run floorboards straight into the addition. I’m not ready to glue in the addition yet, so this would have meant leaving some floorboards out near the entry so there wouldn’t be a dumb seam at the doorway.
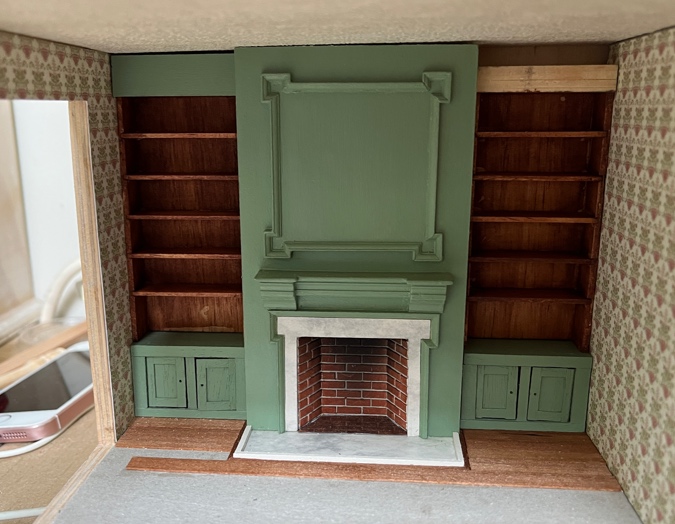
(The top of one of the bookcases broke off during this process. I’ll fix it later.)
I decided adding a floorboard across the entryway is a better way to handle this transition. When I add flooring to the addition, I’ll do something fancy with the octagon shape so the one floorboard turned the wrong way doesn’t seem out of place.
Looking pretty, isn’t it? I love this LittleWonders Lumber flooring. It’s 1:12 and a bit out of scale, but I’ve used it in several 1:24 houses and I just love the look of it.
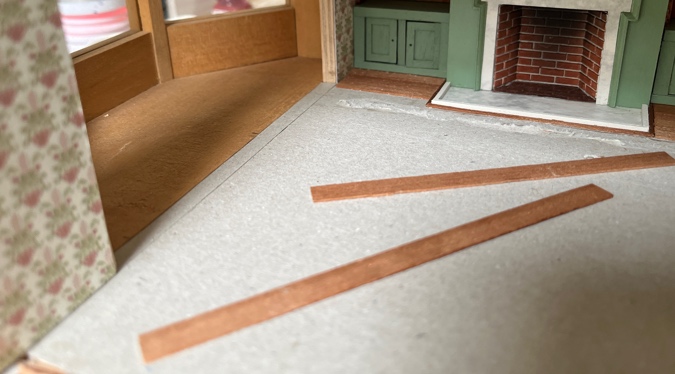
I had previously laid out the floorboards, and I thought I’d worked it out so there would be a full floorboard at the front of the house. But when I got to the front, there was a little sliver left. Ugh.
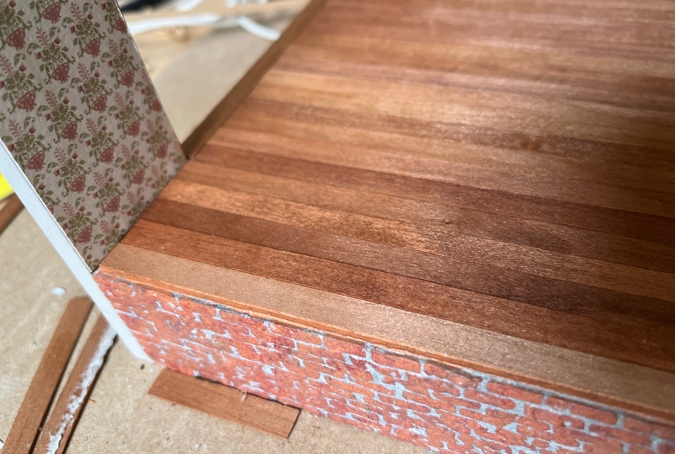
These floorboards are cherry wood, with cherry stain. The cherry stain doesn’t really show up on basswood, so I couldn’t just find a piece of strip wood to fit into that spot.
I got out a piece of mahogany left over from making checkerboards for last year’s swap. This was a 1/16″ x 1/16″ piece, but it had been cut badly and was skinnier than 1/16″ at one end. I aggressively sanded it until it was close to the depth of the floorboards.
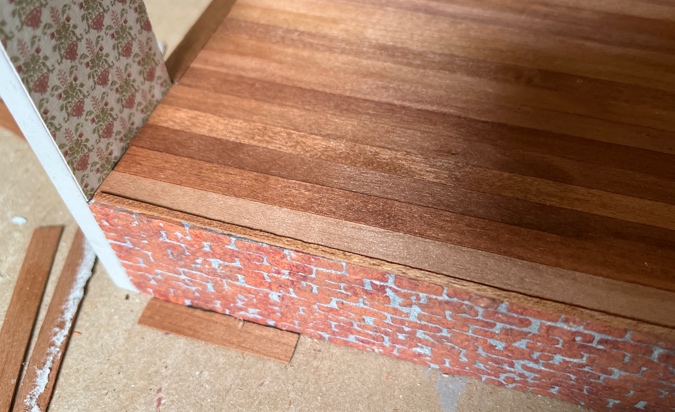
The mahogany looked closer to the floorboard color when it wasn’t stained. Staining it brought out the grain and made it darker. But oh well. It more or less blends in.
I had added a little floorboard turned the other way next to the wall, the same as in the doorway to the addition. The idea here was that I could not glue this in, and that I’d then be able to remove it and somehow slide out the wall and staircase if I ever needed to fix the light. But it didn’t work in reality like it did in my head, and I didn’t like how it looked.
I tried one more time to remove the globe on the stairway sconce and then put it back on. I managed to do it, and took this as a sign that I should just glue the stairway in and not worry about the light. Of course I’ll be able to fix it if it stops working. What could go wrong?! (Sigh.)
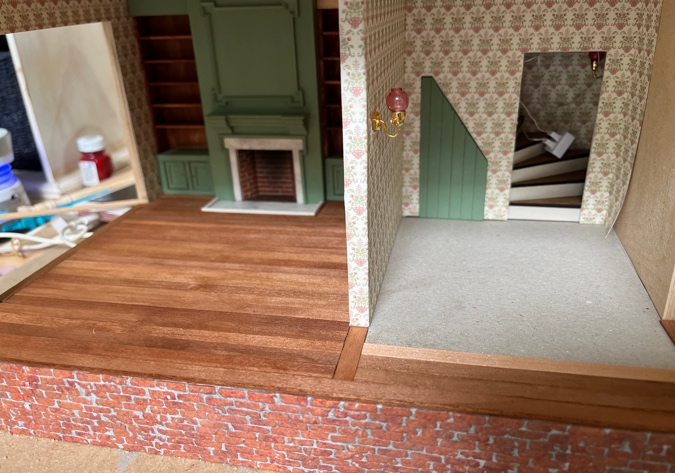
I cut and stained the rest of the floorboards for the foyer, but haven’t glued them in yet. The kitchen lighting will also feed into an outlet under the stairs, so I need the stairs to be removable until those are installed. But here’s how it’ll look.
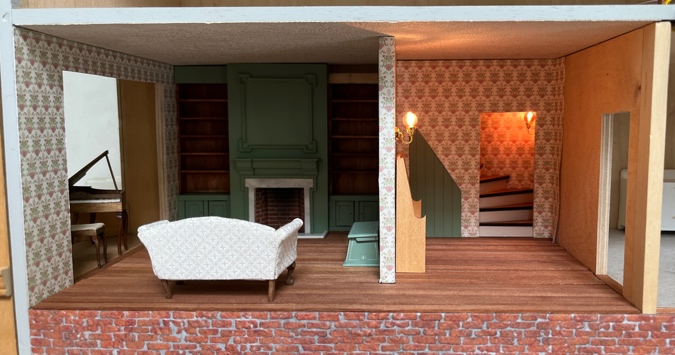
Seeing this now, I’m thinking I should add trim around the stair doorway, but leave the cupboard door untrimmed. I’ll also leave it unhinged, so it’s easy to get in there to access the outlets.
 Emily is a freelance writer, miniaturist, and adventure game enthusiast.


Your skills and expertise are amazing! Thank you for continuing to share your experiences.
I’ve always loved your Fairfield. The lights add so much to the house! I was never able to light my houses. Fingers crossed that these lights stay lit for you!
I’m glad it is not just me with half scale lights. I had issues with my Victoriana, and in fact have the cranberry hanging lamp in the upstairs hall. It no longer works. And like your Fairfield, I would have to tear up the flooring in the attic to repair.
So with the First Lady, I think I am omitting working lights or only use table lights (if I can find any). I may have a few half scale lights in my stash I have forgotten about.
As usual, I am following your work (and yes, it is amazing) for ideas and problem solving as I move forward on my builds.
I didn’t electrify my Victorianna, which was nice from the standpoint of not having to figure out how to do it (especially with the complex bash I did), but it’s bad because some of the rooms are *very* shadowy. (Especially the nursery, where I had intended to put skylights but ended up not doing it because it was giving me a headache.) I wish there were some good battery-powered half scale lights, but I’ve never found one I liked.