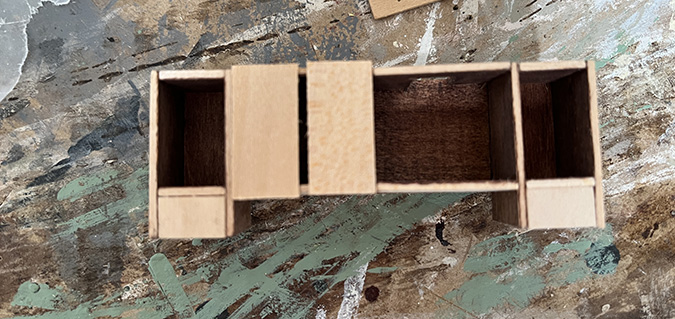
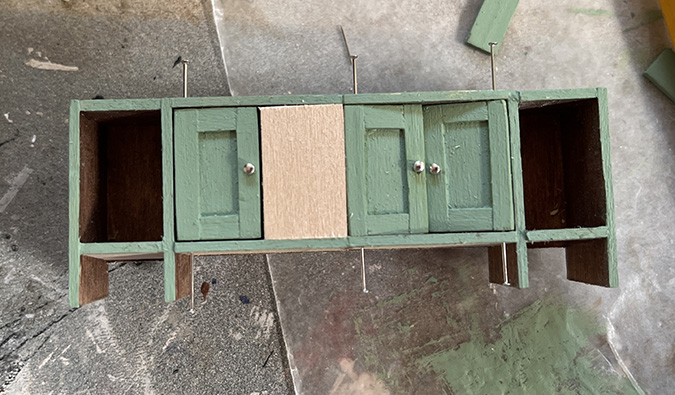
Let’s get back to the sink cabinet bashed out of two Cassidy Creations washstands. Here’s where I left off:

Normally, the sides of the washstand are made by attaching long skinny pieces to thin rectangles.
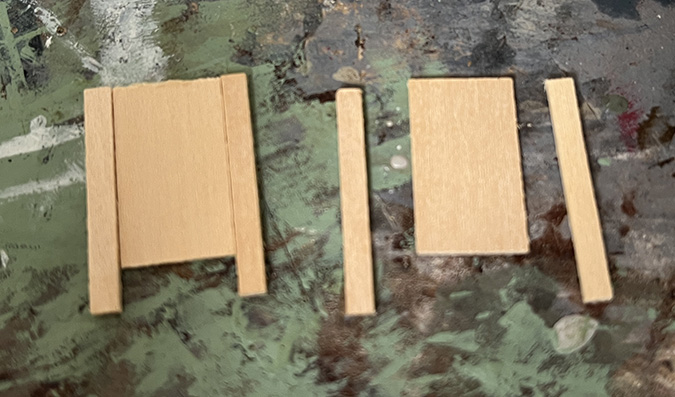
I had planned to use the thin rectangles for the cabinet doors, but since they’re slightly too long, I decided to hold on to those pieces and cut my own doors. I have something in mind for the leftover washstand pieces. I’ll leave you guessing for now.
I have two of these washstands that I bought assembled, and in both of them the pin hinges split the wood when they were inserted into the wood. I used thicker wood for the doors to avoid this (1/16″ rather than 1/32″).
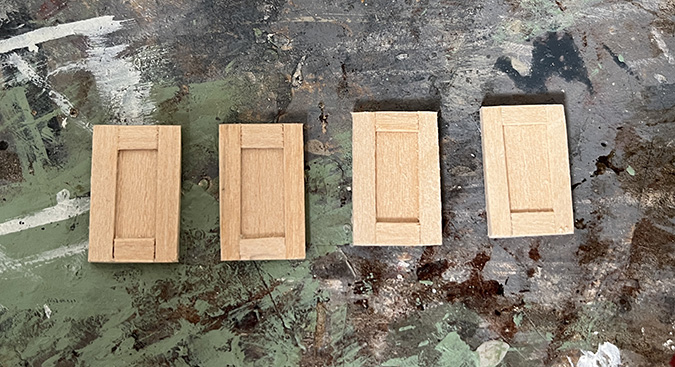
Here are the options I had on hand for the slats on the doors: 1/8″ x 1/32″, 3/32″ x 1/16″, and 3/16″ x 1/32″. The 3/16″ is what I used on the other lower kitchen cabinets, but these doors are narrower — the slats would have taken up most of the door. The 3/32″ looks perfect, but the 1/16″ depth would have been too bulky on the doors. What to do?
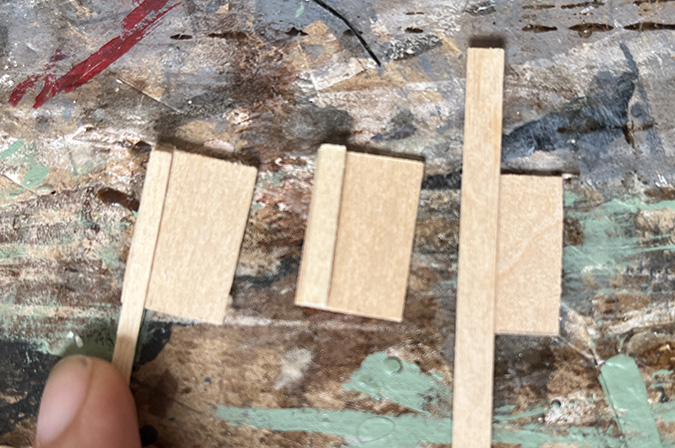
Rather than buy some 3/32″ x 1/32″ strip wood (and pay more for shipping than for the wood itself), I decided to cut down the 3/16″ strip wood. I used a piece of the 3/32″ x 1/16″ wood as a template and cut off the excess with a utility knife.
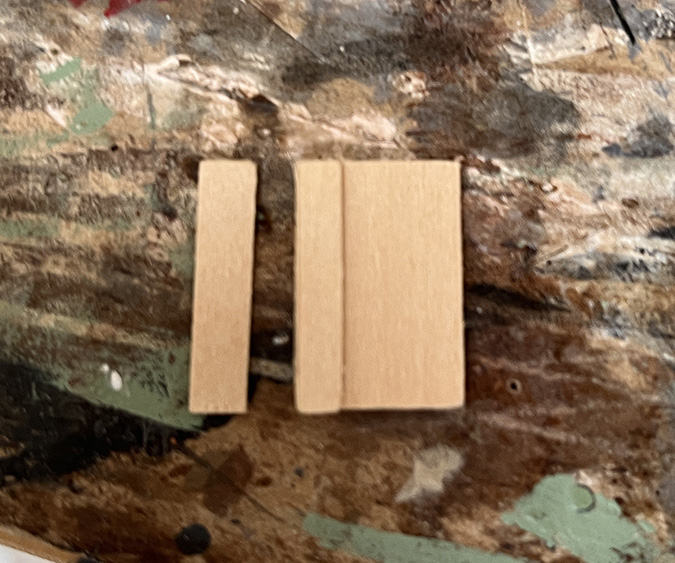
I glued on the vertical slats with the utility-knife-cut edges facing out, so the lines forming the panel would be the straight “factory edges.” Then I measured and cut the horizontal slats to fit between them, again cutting down the 3/16″ strip wood.
Next I painted the cabinet, doors, drawer fronts, and decorative trim.
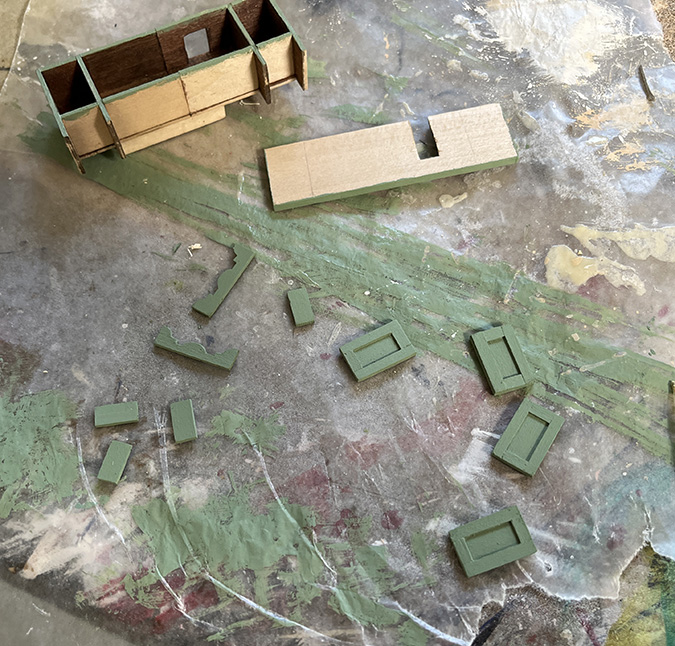
While the paint was drying, I stained the drawer pieces with a Minwax Red Oak stain pen. At this point I just did the lower drawers, since the skinny ones at the top will need modification.

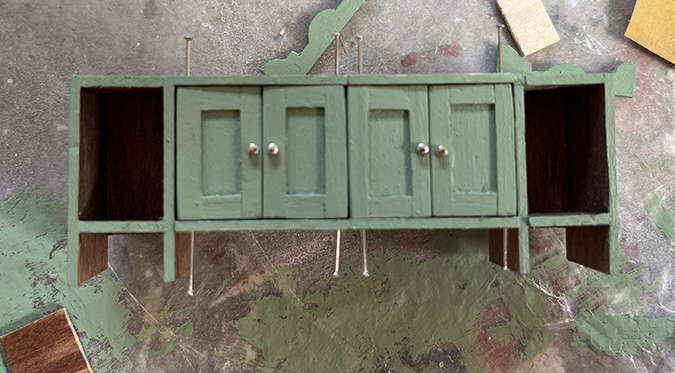
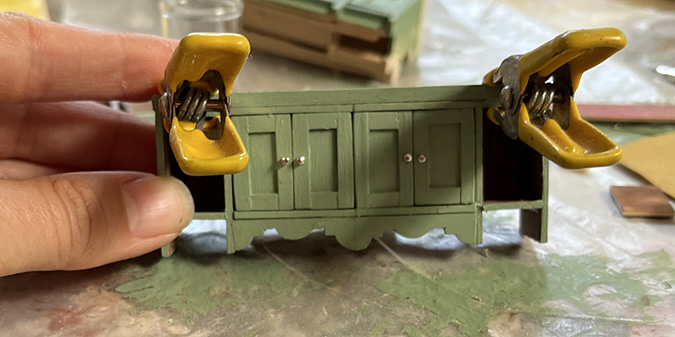
I used an emery board to round the outside edges of each door and then painted a second coat. Next I added the pulls, which are made from a silver bead with a pin stuck through it. Then I carefully pin-hinged the doors.
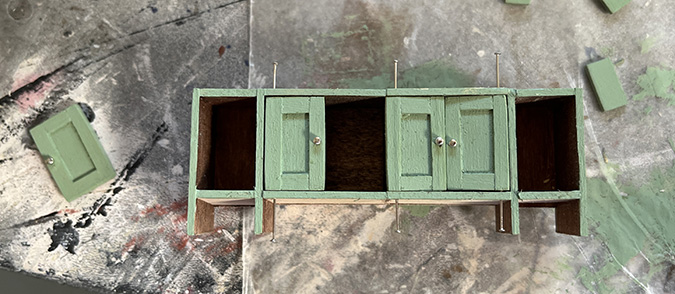
The spacing of the doors was determined by the holes for the pin hinges. When it came time to add the fourth door, it was too big.
I attempted to sand it and it didn’t go well. I ended up making a new door, this time starting with a piece of wood I knew would fit.
Woo! And they all open, too!
In the other kitchen cabinets, shelves keep the doors from swinging inward. I didn’t want to add a shelf to this because it would have had to go all the way across, and I wasn’t sure if the back edges of the doors would bump into it when I tried to open them. The shelves in the other cabinets are notched at the ends to prevent this, but in this double-wide cabinet it would also have to be notched in the middle, which just seemed weird.
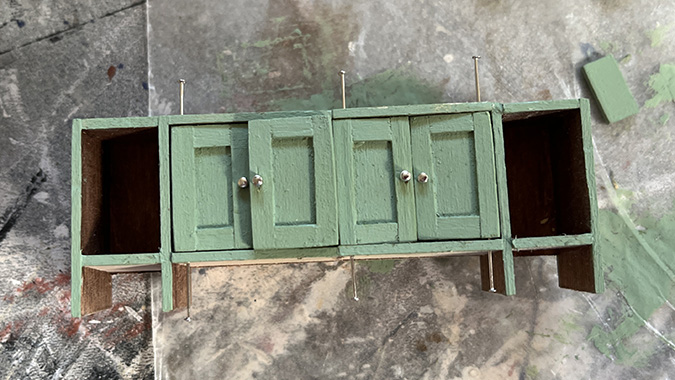
Instead, I added a piece of wood to the top of the cabinet. (I stained it after taking the picture.) The doors bump into this and can’t move any further.
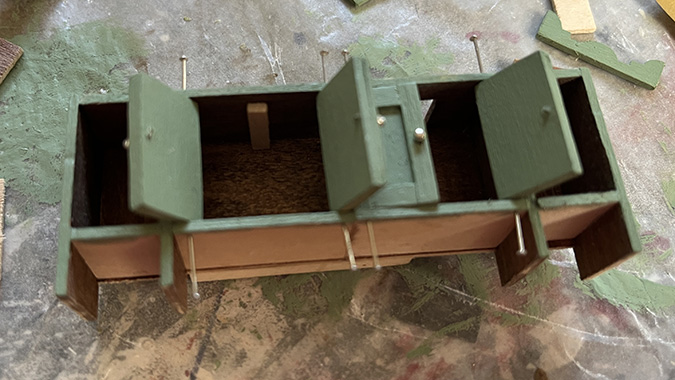
I couldn’t do that on the other side because of the hole for the drainpipe, so I instead glued a piece right up against the front of the hole.
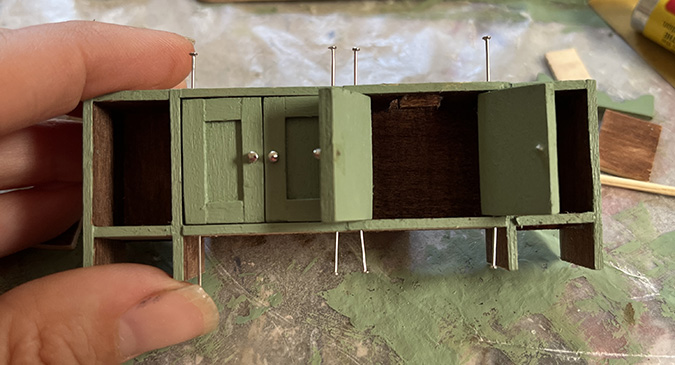
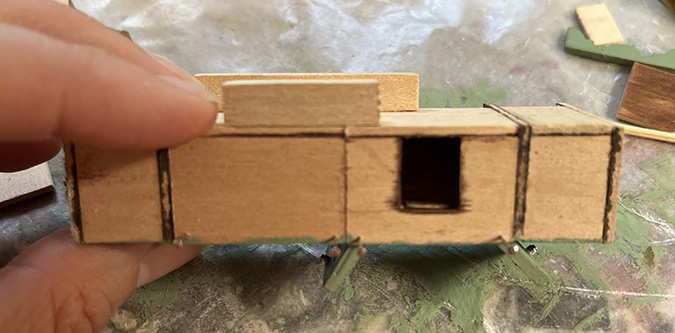
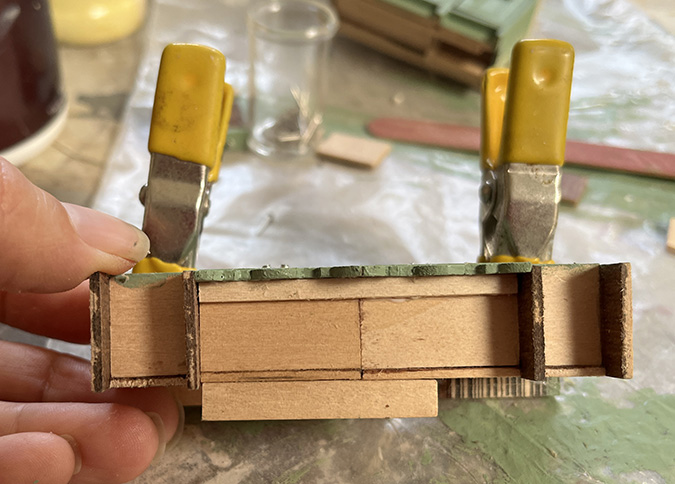
I cut off the tops of the pins, and then glued on the top piece and the decorative trim.
I put a piece of strip wood behind the trim to make it more secure.
And that’s what I have for now. I will be going over the cabinet with wood filler and another coat of paint, as well as finishing the drawers.

 Emily is a freelance writer, miniaturist, and adventure game enthusiast.


Wonderful work. I love that all the doors open.
A great idea to use two washstand kits to create the size of cabinet that you needed…well done to get all the doors to open. This unit creates the perfect cabinet for the kitchen sink!