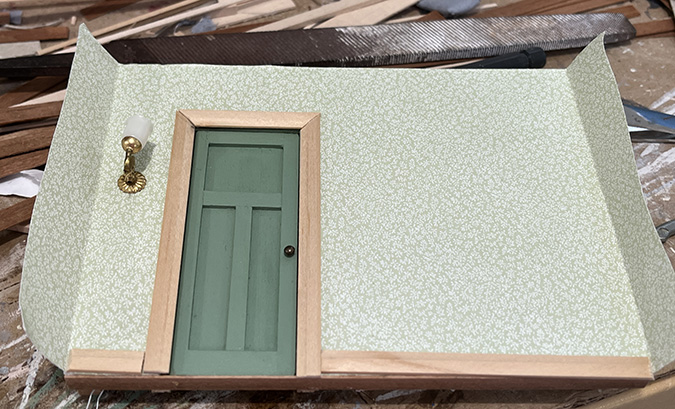
The Mansard Victorian has a flat back, and I’m using false walls to give the illusion that there’s a hallway back there. One benefit of this is that I can prepare the baseboards and door trim while the wall is outside of the house.
I definitely wouldn’t be able to touch up the corner seams like this if I had to reach all the way into the house. First I added wood filler to the cracks.
And then painted over it.
Before installing the false wall, I added paper to the side walls. I’m doing this on all of the walls to put a barrier between the raw wood and the wallpaper. I don’t know for a fact that the paper barrier is doing anything to protect my wallpaper but it can’t hurt, right?
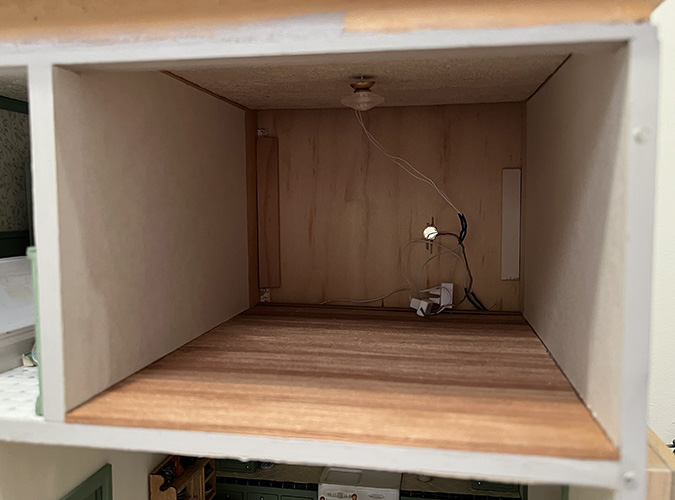
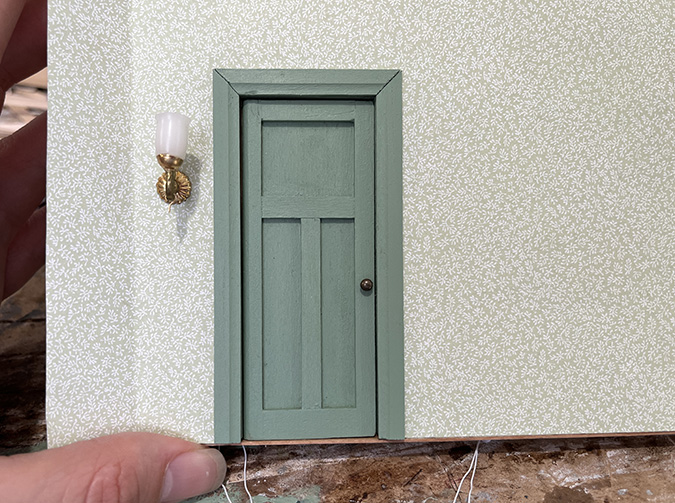
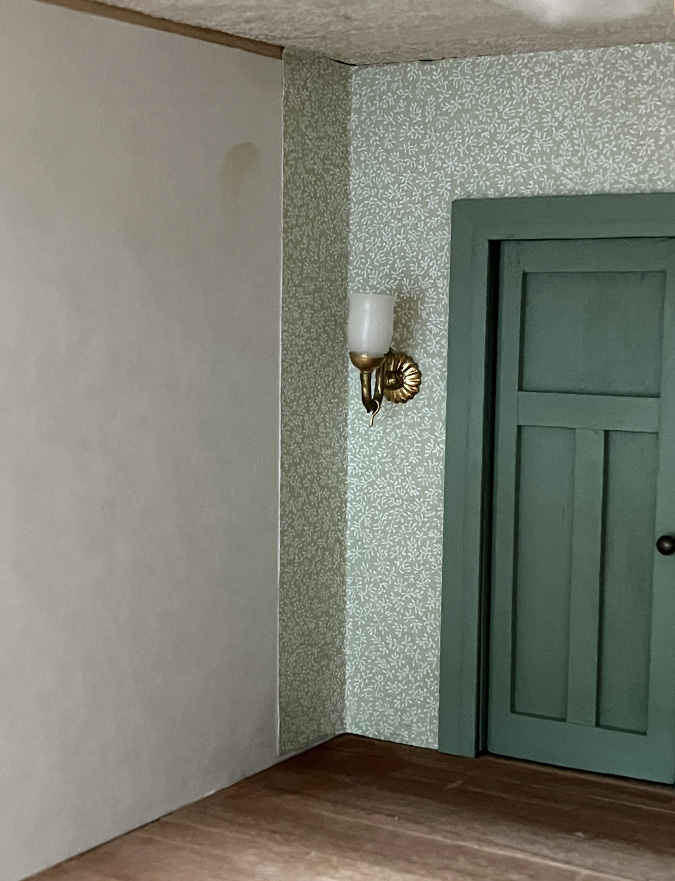
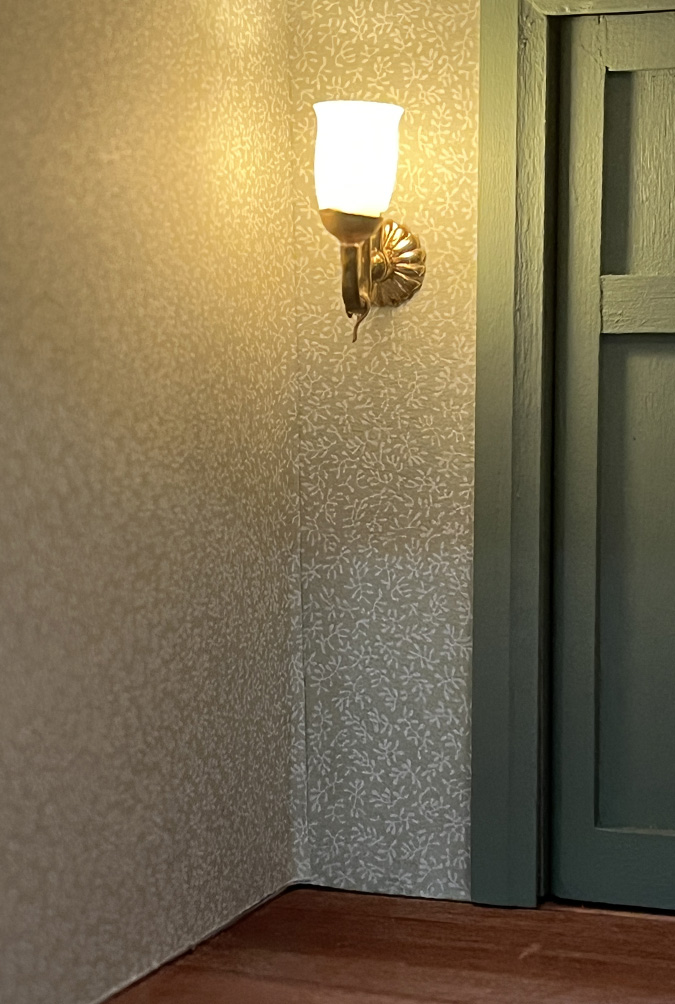
The base of the sconce is cupped and my attempt to glue it to the wall didn’t work, so I pulled the wire tight through the hole and then taped it down. This seems like it will hold the sconce in place. (Famous last words?)
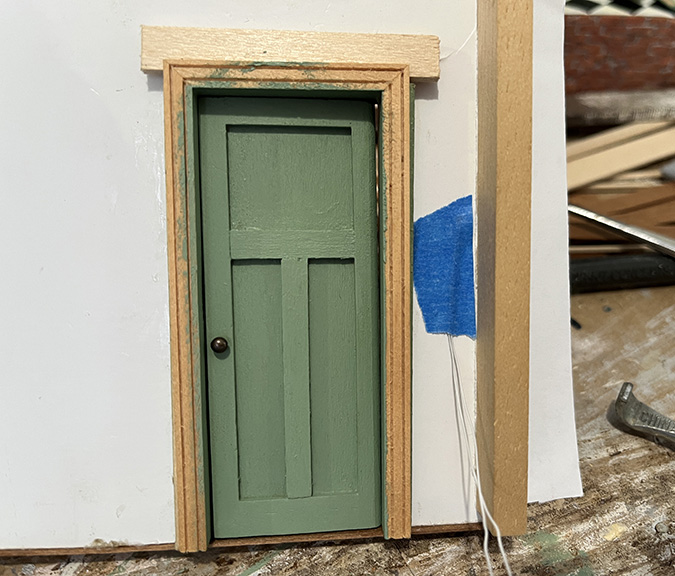
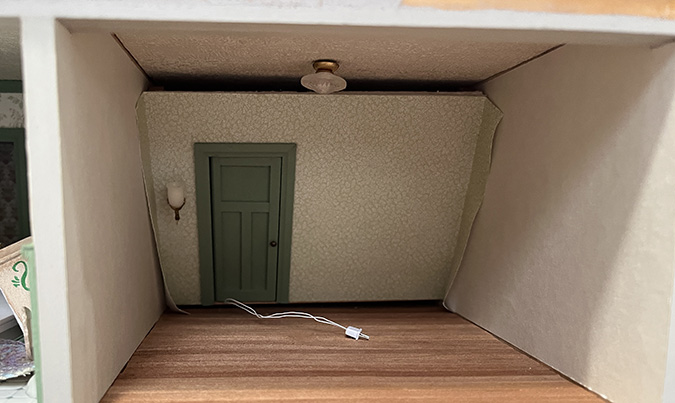
I only put glue on the shims, to prevent smearing glue on the floor as I pushed the wall into position. I fed the sconce plug through the door and then closed the door on it so it would be easy to access.
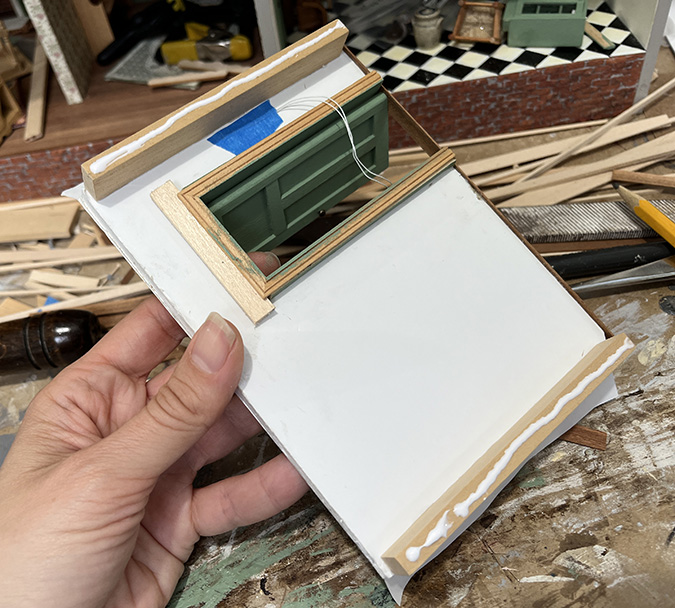
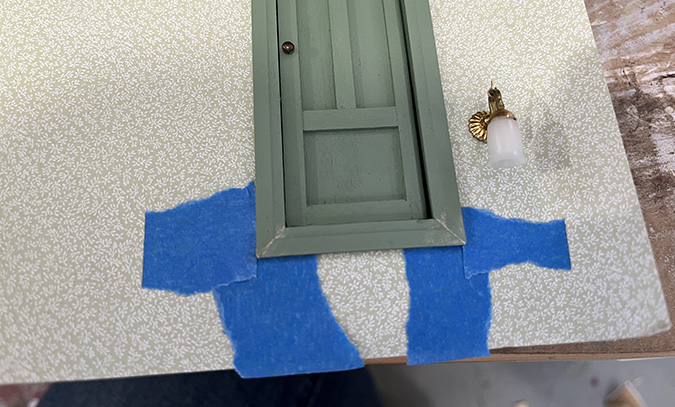
I put the two outlets on top of the closed door.
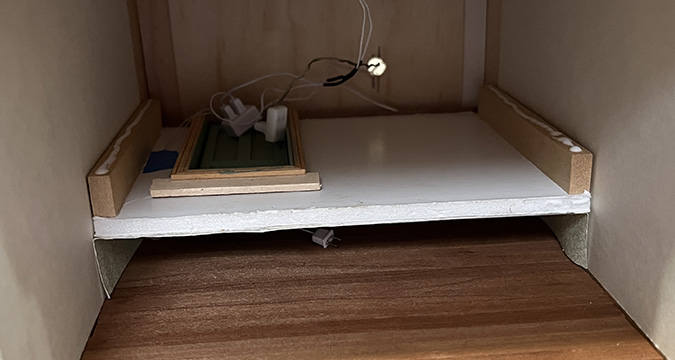
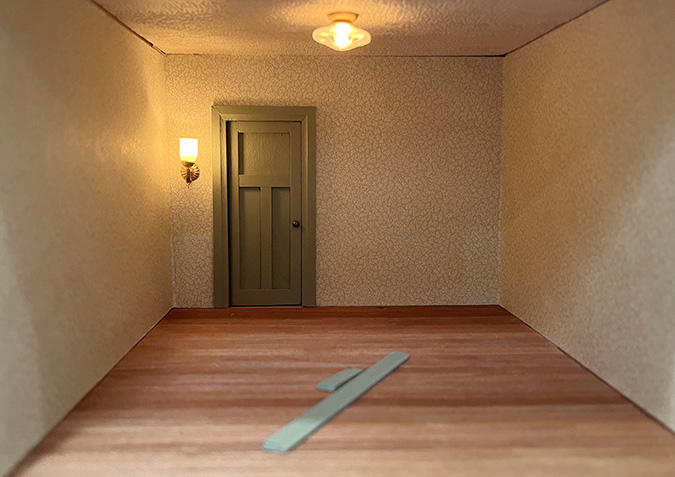
I pushed the wall in past the ceiling light and then carefully tipped it up and pushed it back until the shims hit the back wall.
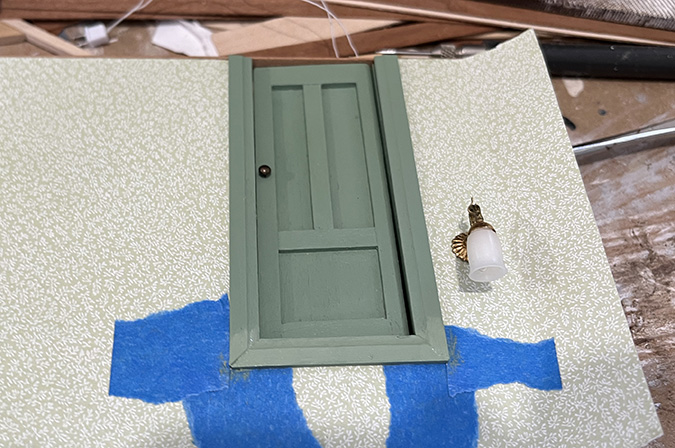
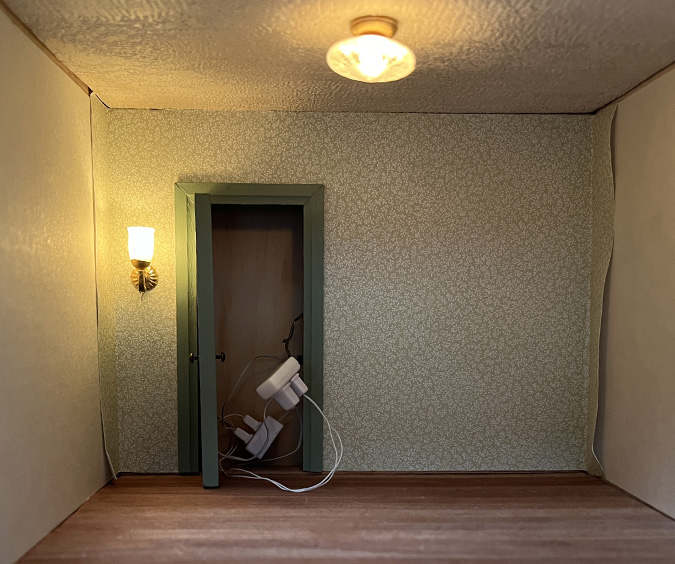
When I opened the door, the outlets were right where I wanted them. I plugged in the sconce and checked that the lights still work.
There was still a floorboard missing, since I wouldn’t have been able to fit the wall in if it had been there.
The space was a little bigger than the floorboard. I pulled the board up to be flush with the board in front of it, leaving a small crack behind it. This will be hidden by the baseboard.
Next I glued down the wallpaper flaps at the corners. I use Minigraphics wallpaper mucilage, which comes in a little tub, and spread it with a coarse paintbrush.
To do these flaps, I folded the flap away from the wall, reached in with the paintbrush, and spread glue on the wall. Note to self: This works better than trying to spread glue on the back of the flap.
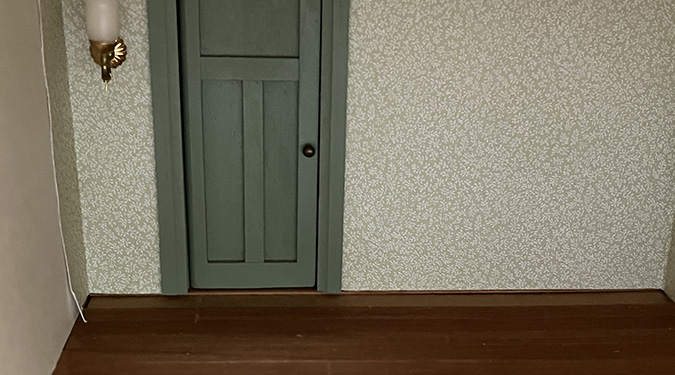
Now it was time to add wallpaper to the side walls. This pattern is so busy, it doesn’t really matter how it meets up with the corners, so I didn’t bother trying to line up the design. When I was preparing the pieces, though, I noticed a little brown dot on one of the wallpaper sheets.
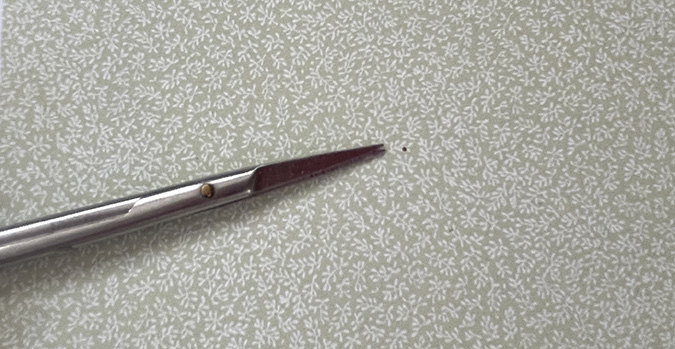
Remember that Seinfeld episode where George gives Elaine a sweater with a red dot on it? That’s what this felt like. I got comically obsessed with this dot.
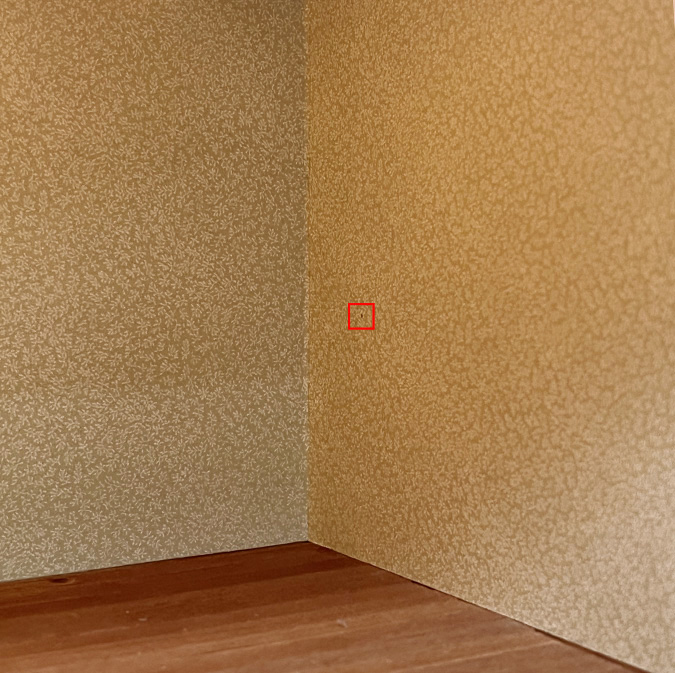
I decided to use this wallpaper on the right wall, where the dot would be near the back, and I made a point of cutting the excess wallpaper off the bottom rather than the top, so the dot would be lower down on the wall.
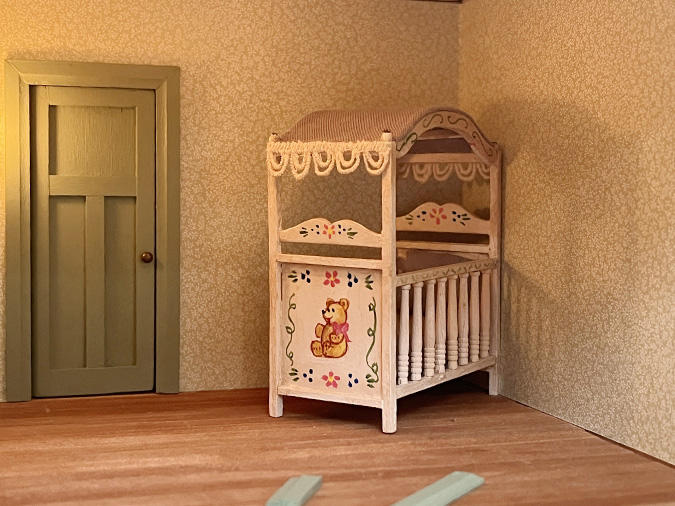
Obsessing over the dot paid off, because it’s hidden by the crib.
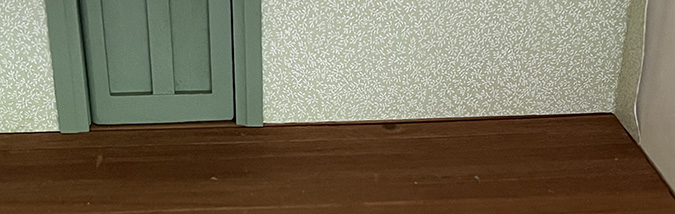
On the other side, I didn’t notice until too late that the side piece was a smidge too long, so it wrapped around the corner. I don’t love that, but again you’re not going to notice it when the furniture is in.
This really is a simple room. Why did it take me two months to finish it?!
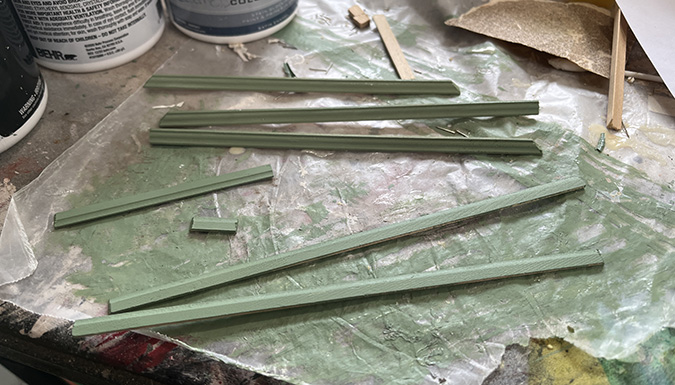
Next I cut and painted the rest of the trim.
And then glued it in. I actually didn’t glue the crown molding on the side walls because they’re a very snug fit. I can always glue them later if it seems necessary.

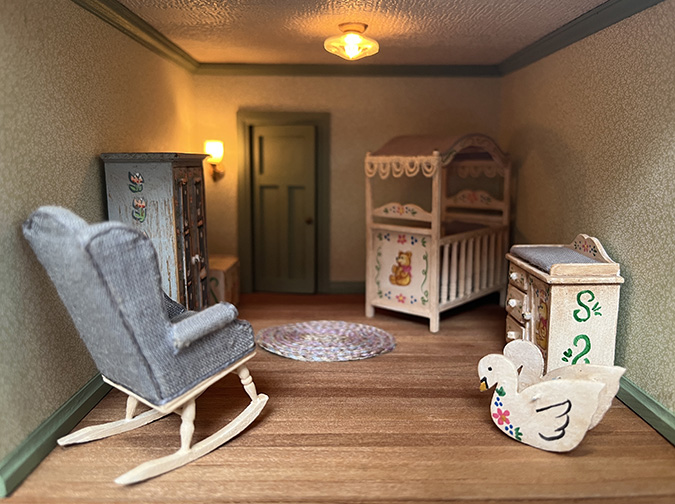
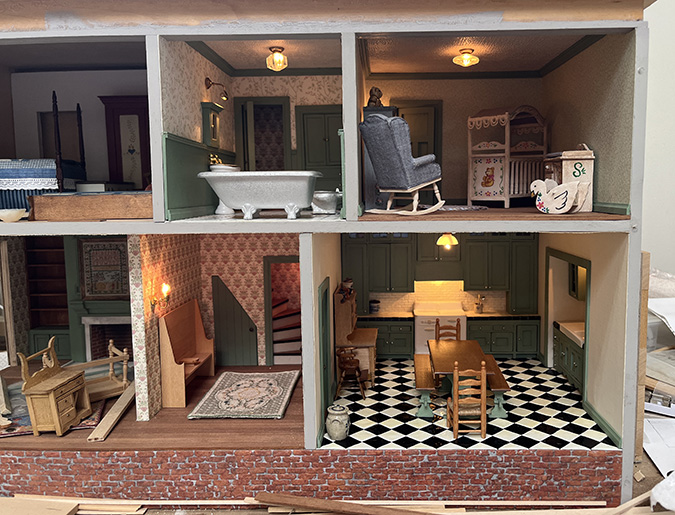
Here it is with the furniture in. I can’t decide if I want the wardrobe and changing table in these positions, or if I should swap them.
So that’s four rooms (almost) done. I’ll tackle the living room and bedroom on the left before moving up to the third floor.
 Emily is a freelance writer, miniaturist, and adventure game enthusiast.


Very nice. Continuing on your electrical journey has paid off. I think putting the wardrobe on the other side will let the sconce be more visible.
Actually…. I didn’t include it in the post, but near the end of this process I had trouble opening the door and then ALL the lights went out. I got the door open and they came back. I thought “That didn’t really happen, everything’s fine” and closed the door again. And the lights went out…
There seems to be something wrong with the wiring on one of the outlets. I can jiggle the wire feeding into the outlet and the lights come back on, but I should probably swap out the outlet for another one — which of course will be difficult to do now that the hole is hidden behind the wall. But I have some ideas.
This is exactly why I’m using the outlets behind the doors, though… if I’d hardwired the lights it would be a different story (with a lot of R-rated language).
(That said, I’m not sure why bad wiring in one outlet would affect all of the lights, since the lights are connected to several different outlets that are plugged into a power strip. Maybe you can explain that to me!)
Beautiful! Your detail work is so impressive. I love how this house is coming along.
Thank you!
Everyone deserves cashmere! This post is genius…a celebration of the process.
“I see a very cheap man holding a sweater trying to get away with something.” :)
That dot would drive me crazy too, lol!