*Peeks in* Whew, it’s been a while…
Progress on the Mansard Victorian has slowed to a near standstill — hence the lack of updates all summer. It’s partly because I hate making miniature books. But I’m getting ahead of myself.
In my last update, in June, I was playing with my Bauder-Pine furniture with the intention of finishing the second floor bedroom next. Then I realized I needed to finish the living room electrical first, since the wiring will be covered up by the bedroom floor.
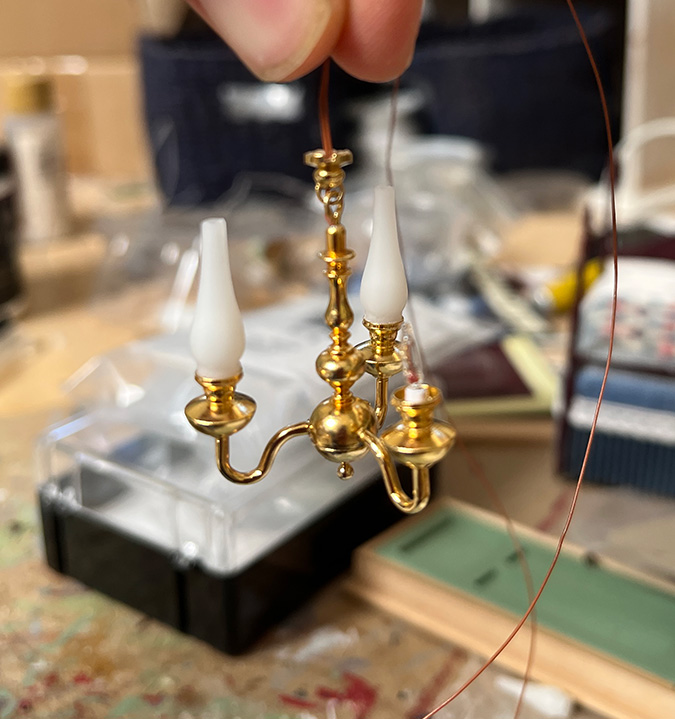
Several years ago, I bought this (discontinued) Claire-Bell Brass chandelier for the living room.
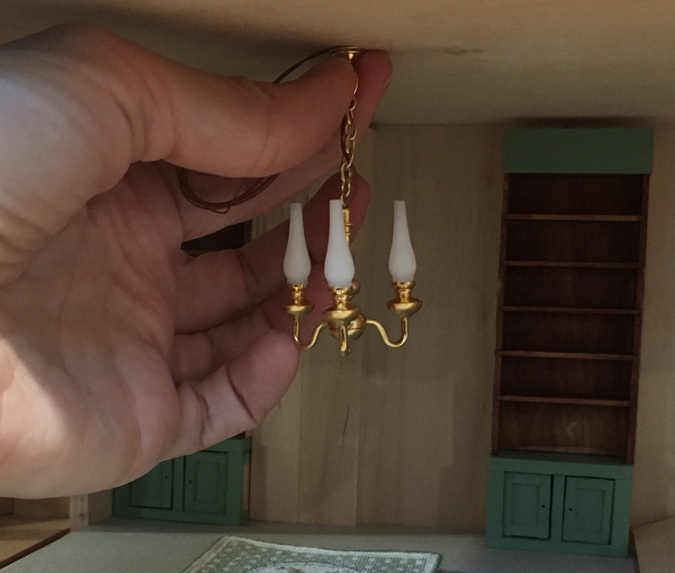
The chain made the light hang too low, so I removed it.
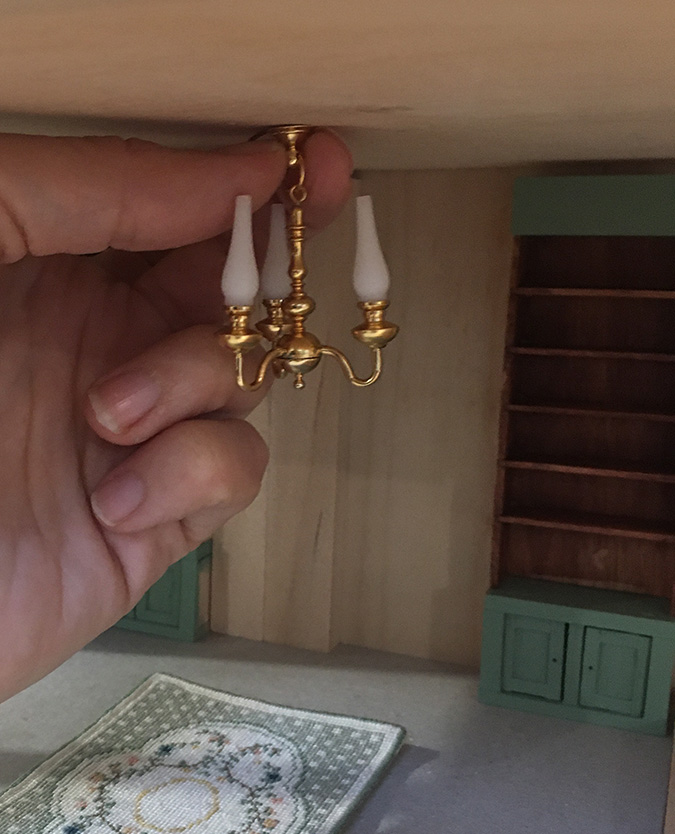
It’s hard to see in the picture because my fingers are in the way, but the top piece seemed way too big. It’s a half scale fixture, but I suspect that top piece is the same one Claire-Bell used in their 1:12 fixtures.
Because I’d repurposed the globes off a couple Houseworks cranberry hanging lights to make sconces for the foyer, I had some leftover hanging pieces.
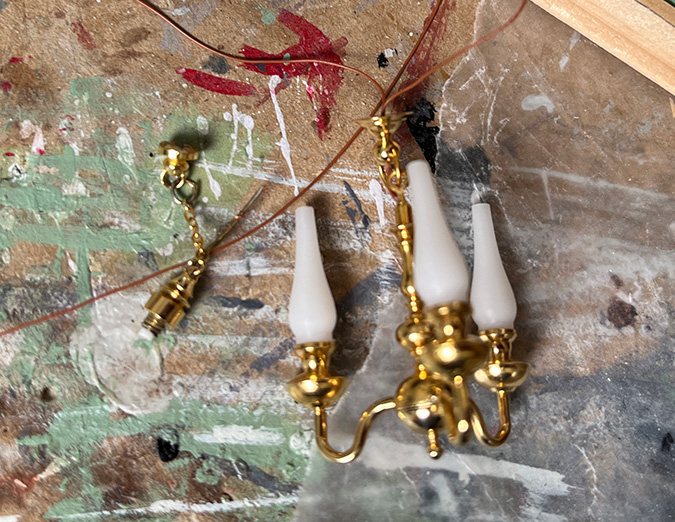
I removed the top off of one of them, cut the original top off the chandelier, and attached the Houseworks top. It’s not real brass like the rest of the fixture, but you can’t tell.
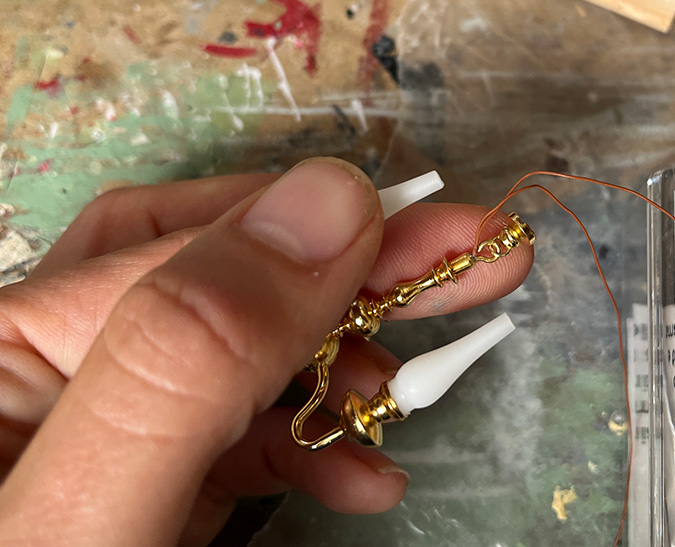
I threaded the wires through the Houseworks top, and voila! Much better proportions.
Honestly I don’t love this chandelier in this room, but I spent a lot of money on it (four years ago), and the sconces in the addition match, and after a lot of looking for an alternative, I couldn’t find anything I liked better.
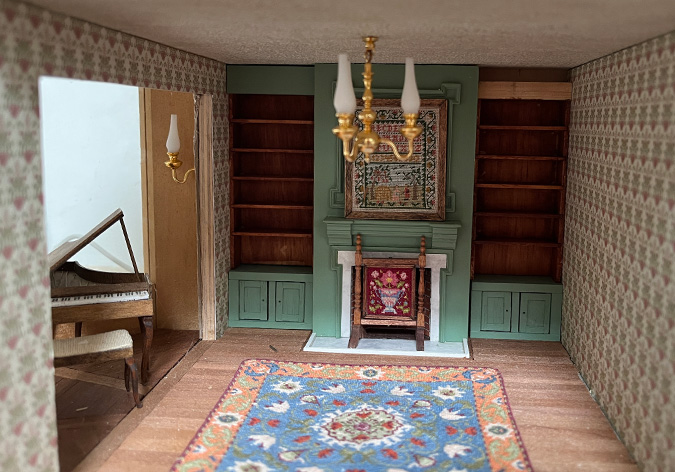
If I installed the chandelier before finishing the trim in this room, I would risk damaging it with my big clumsy hands, so I worked on that next. This includes finishing the bookcases.
These built-ins are Shenandoah cabinets with Houseworks bookshelves on top. (You can read about it here.) I never glued these in, thinking I would want to remove them to add the books, but they’re wedged in tight and I can’t get the left bookcase at all. Oops.
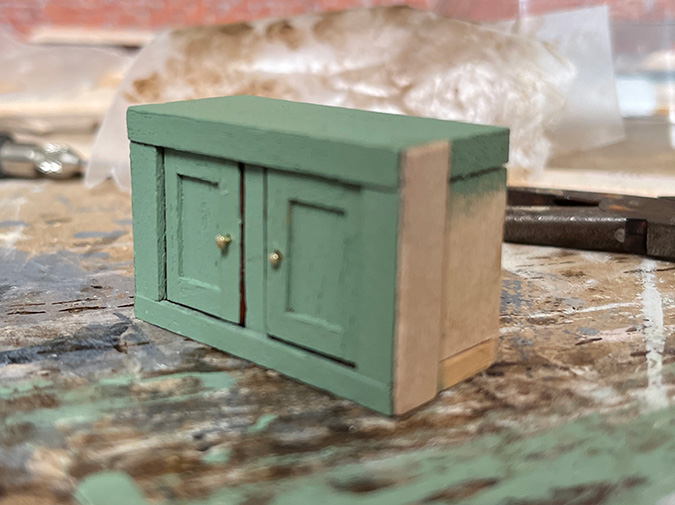
I was able to extract the cabinets, to add knobs.
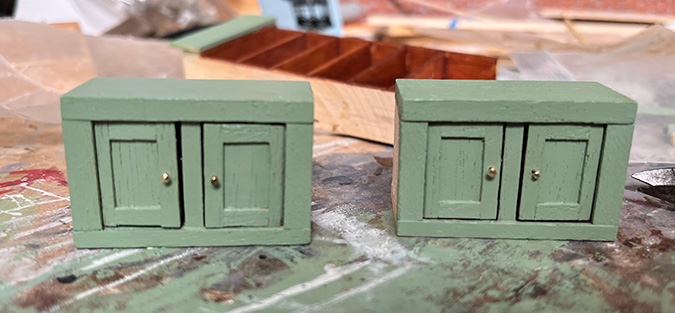
The left cabinet fits perfectly.
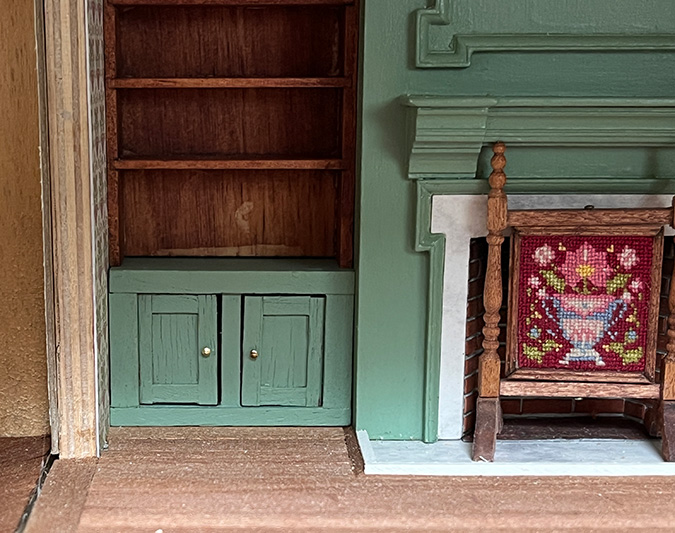
On the right, there was a small gap.
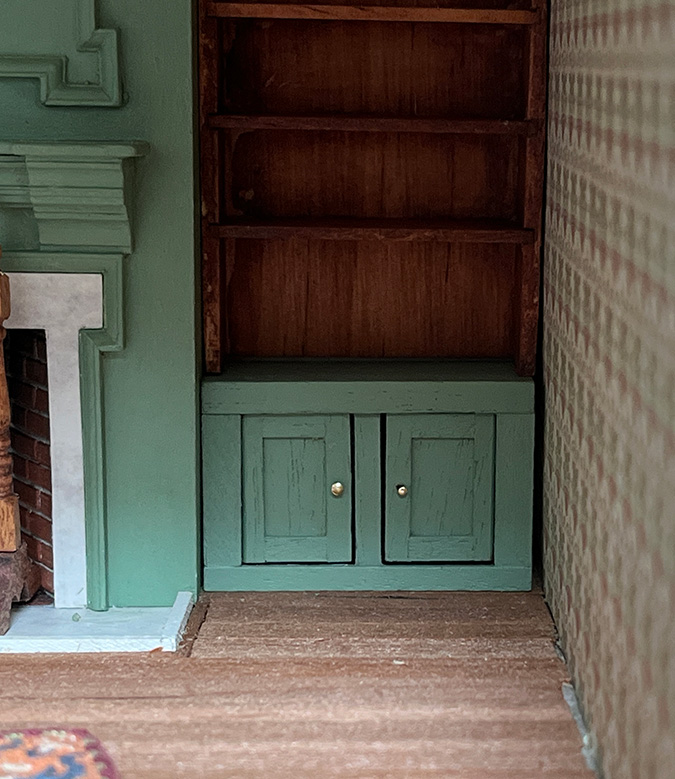
I glued a scrap of strip wood to the edge to fill this up.
Next I repaired the top of the right bookcase, which had broken off a while ago, and started cutting crown molding. I pulled a second Braxton Payne fireplace out of my stash to measure that section of molding — easier than reaching my hands in there.
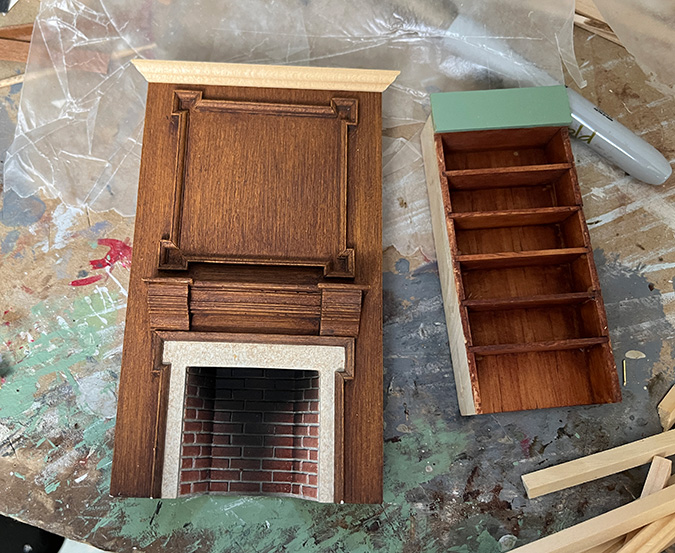
The crown will wrap around the bookcases and fireplace like so.
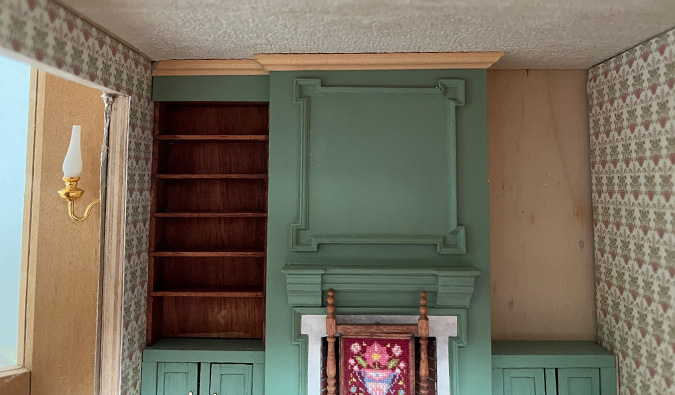
I just noticed in that picture that the molding on the fireplace is obviously crooked. I knew the ceiling was slightly warped (there’s a bigger gap at the top of the right bookcase than the left), but I hadn’t anticipated the crown looking crooked above the over-mantel trim. Something to obsess over when I glue it in.
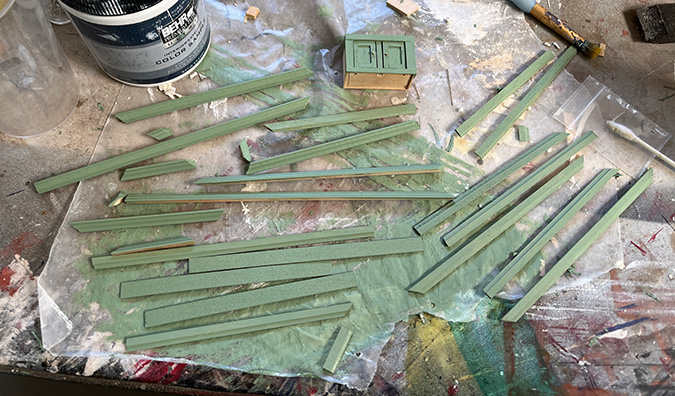
I also cut baseboards and trim for the doorway into the addition, then painted everything.
I trimmed out the big doorway with strip woods on the exposed edges of plywood.
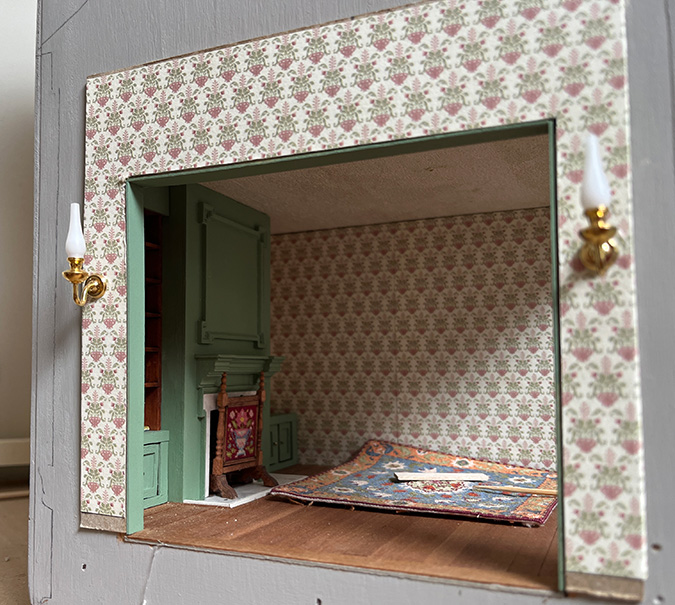
Followed by casing.
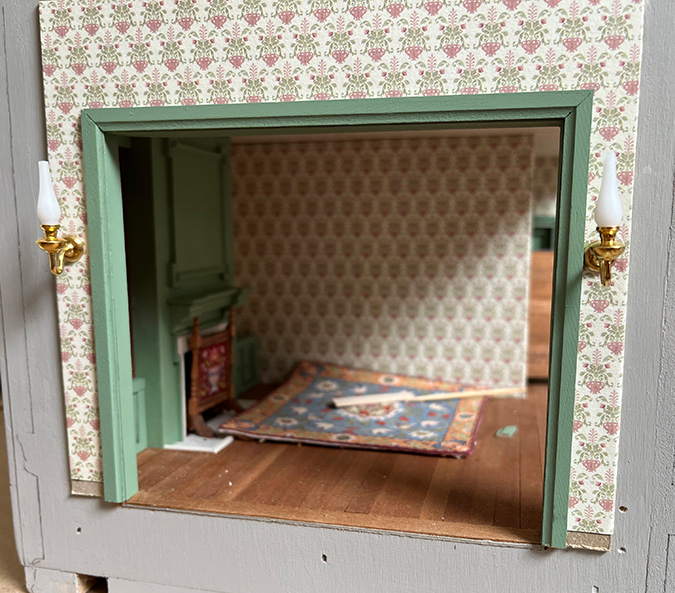
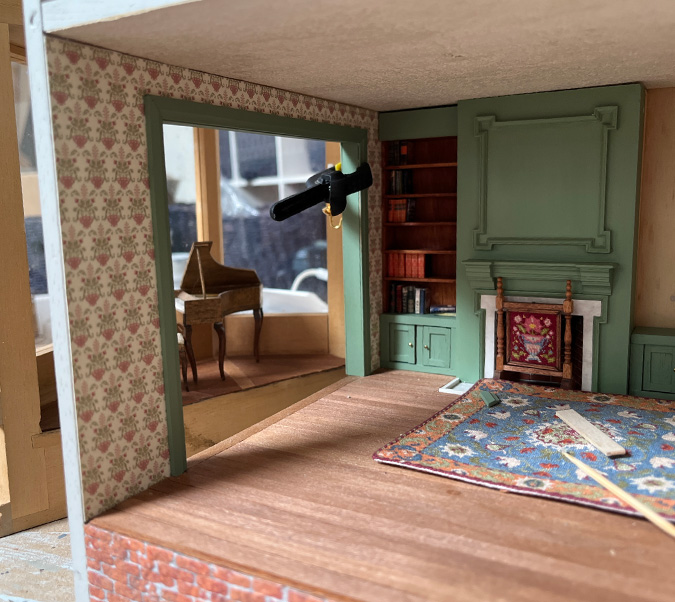
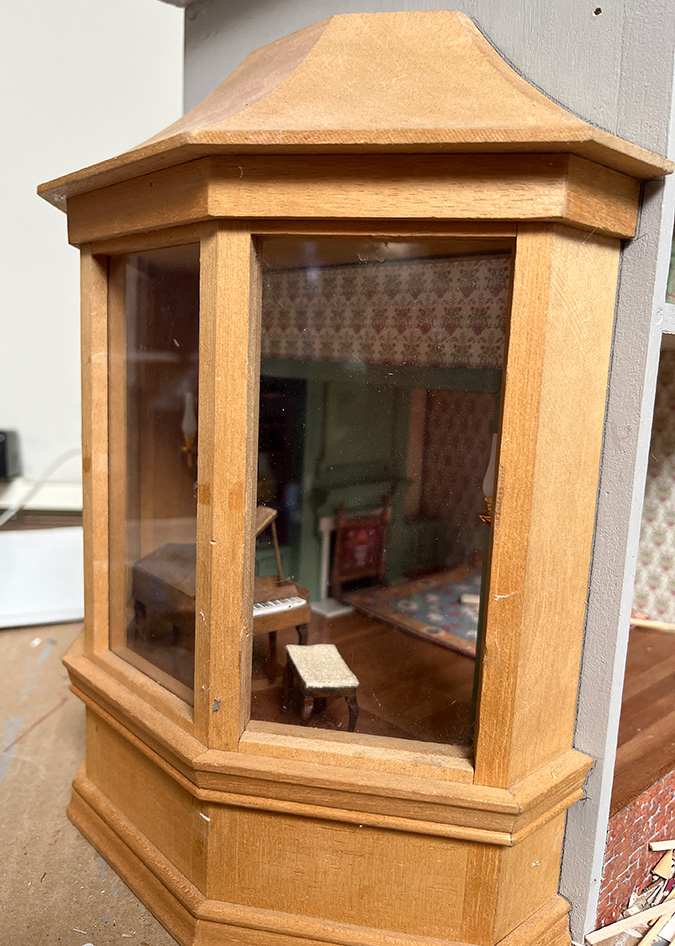
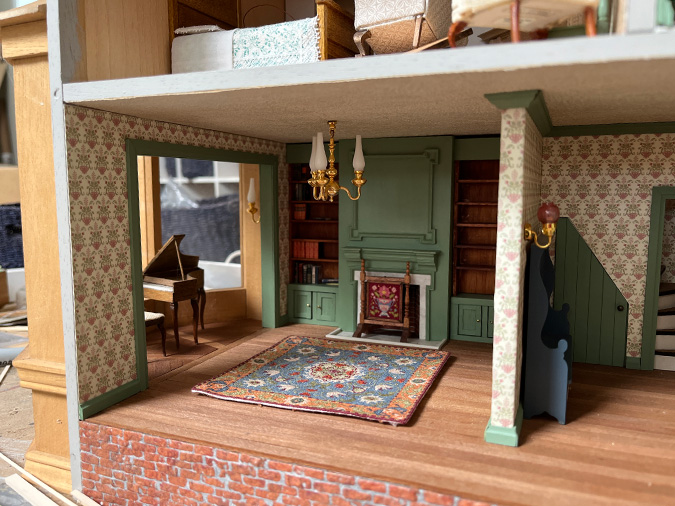
Here’s how it’ll look with the addition in place. There’s more to do there, obviously, but it’s not standing in the way of moving on to the second floor bedroom, so I’ll leave this part unfinished for now.
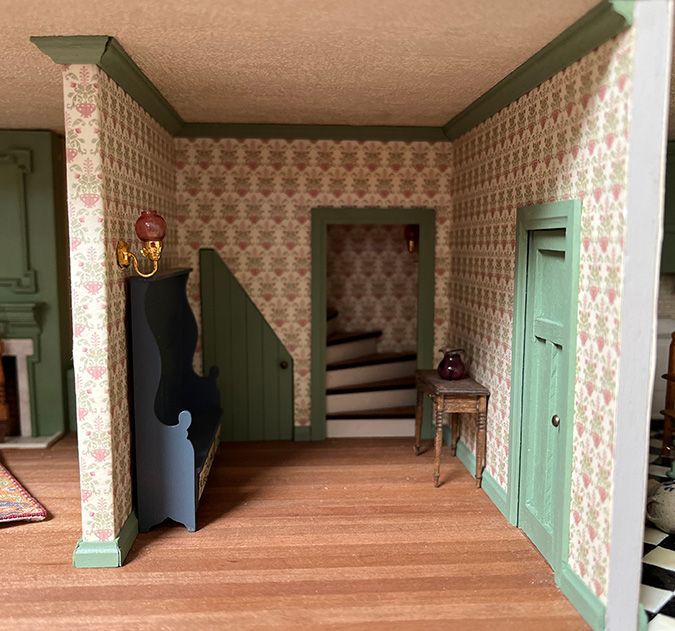
Then I added all the trim pieces that are not waiting on the bookcases, starting with the foyer area.
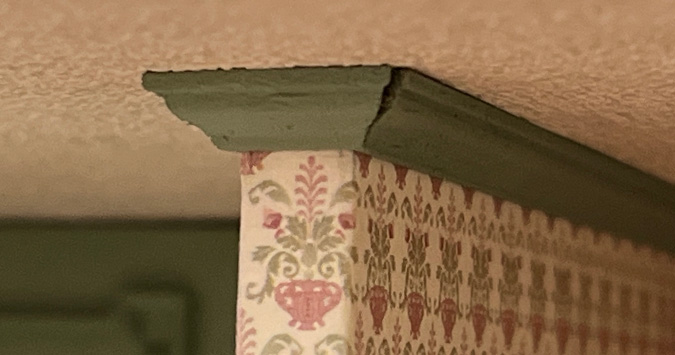
This joint will need some wood filler and touch-up paint.
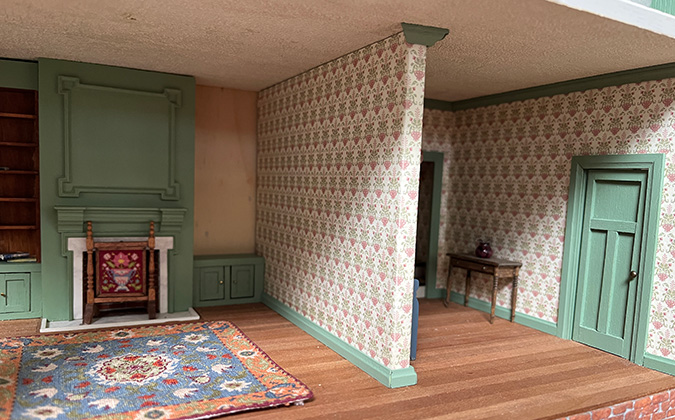
On the living room side, I glued in the lower cabinets and added baseboards.
And I’ve started making books.
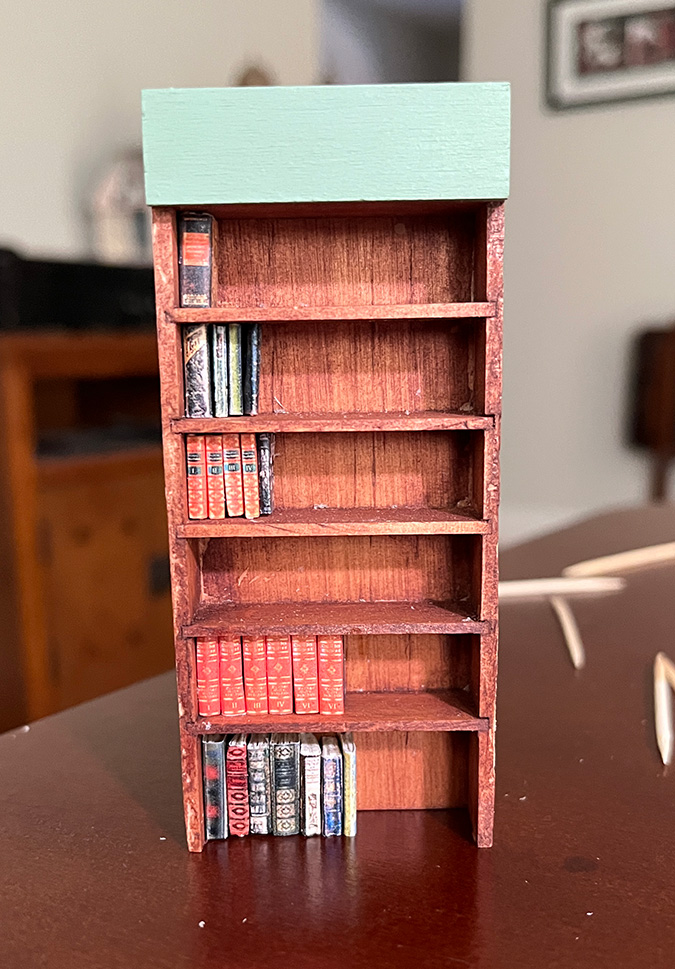
I have a lot more to say about books, but I’ll save it for my next post. Hopefully sooner than three months from now.
 Emily is a freelance writer, miniaturist, and adventure game enthusiast.


I love the realism of these books…your Encyclopedia set is missing no. 5 and has two copies of no. 6…a scenerio I can relate to. I’m hoping this teaser about books leads to some information about your full scale book as well. Wonderful photos of your progress. Thank You for catching us up.
Haha I noticed that too. Those were scanned and reduced from a 1:12 Mini Mundus kit and I must have messed up when I arranged the books to fit as many as I could on the page before printing.
Wonderful work! I love how each room flow together.
Thanks!
Lovely to see the progress you are making on this build…your work is of high standards and the overall appearance is lovely. Looking forward to seeing the rest of the build unfold in the coming months.
Thank you!
The fireplace screen looks awesome! This room is really coming together & will be so cozy. Your books definitely appear more realistic than many I’ve seen. Appreciate the updates on your progress!
Thanks! The fire screen is a Cassidy Creations kit. I posted about it here: https://www.emilymorganti.com/blog/?p=6183
Looking back at that post, I stitched the design on 56-count linen. I don’t think my eyes could handle that now!
Emily,
Have you figured out a way to miniaturize a person so that we might live in one of your houses? An AI job perhaps? I really want to live in one of your houses……