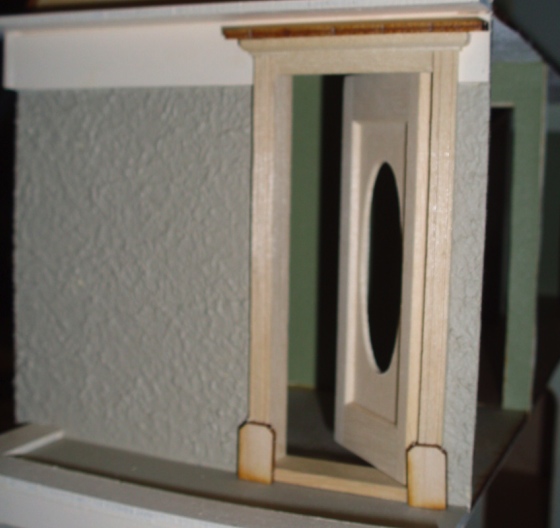
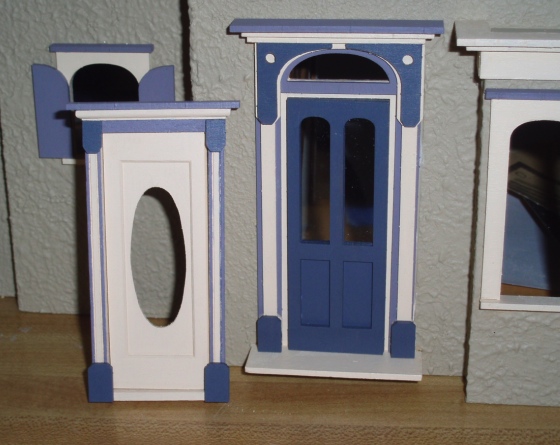
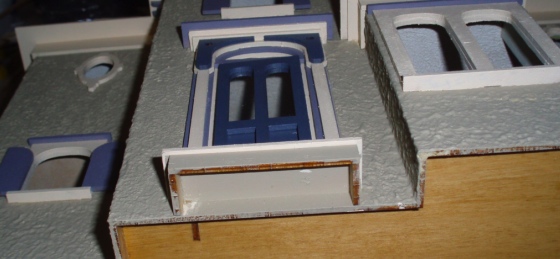
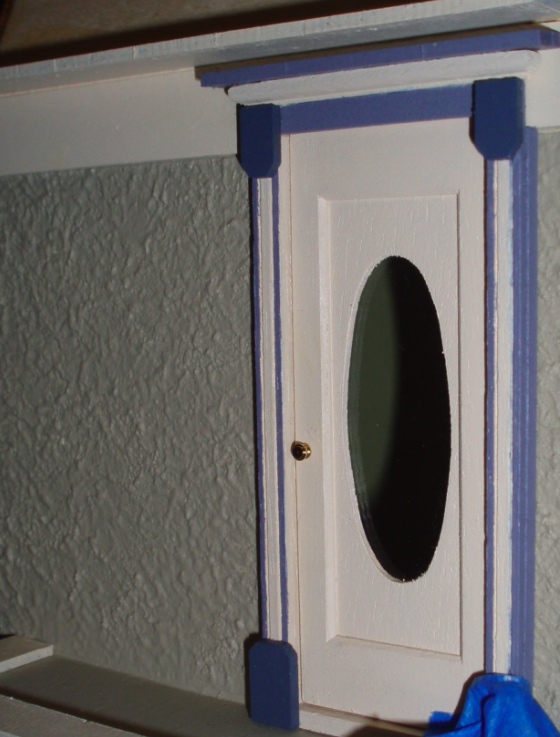
With the front door finished, I moved on to the porch door. This one is a Houseworks door and it’s a totally different style than the other door and the windows.
I’d already cut the pediment off the top, which left the door frame looking kind of plain, especially compared to the fancy front door. To dress it up a bit, I decided to add the bottom porch stoop piece from Kit B as a cap at the top, and the bottom trim pieces from Kit B. (Added bonus: adding trim to the top of the door hides the fact that the hole wasn’t quite square at the top!)
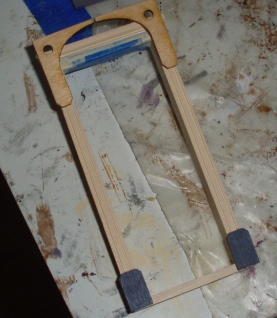
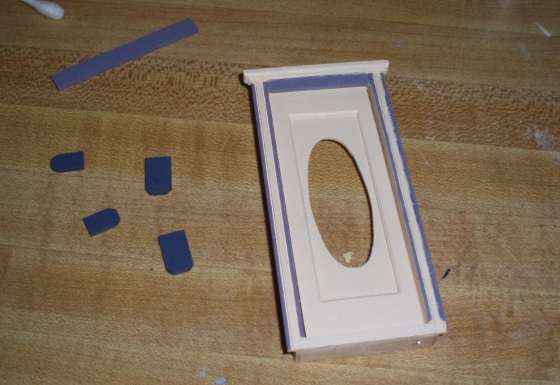
I also popped out two little square pieces that are supposed to go on top of the newel posts to use as trim at the top of the door. But partway through painting all the pieces, I got the idea to cut off the bottoms of Kit B’s front door corner trim instead.
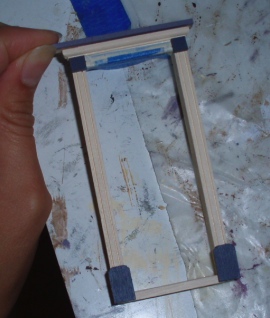
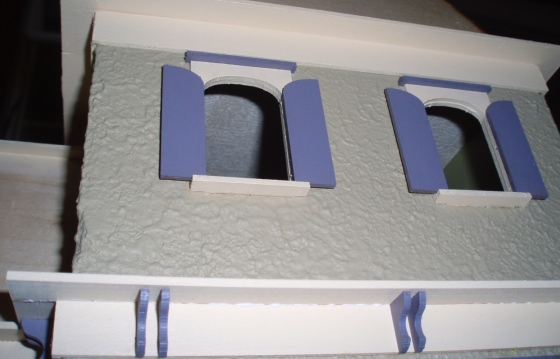
Here are all the pieces painted. The stripes aren’t perfect—especially the one furthest to the right, which I painted first. I tried to get purple paint into the crack between the stripes and it didn’t work out too well, so I was careful not to repeat that mistake for the other stripes. After a few rounds of touch-ups I decided that no amount of repainting was going to make it better and I can live with it. (This is a rare case where it looks worse in the pictures than in person. I hope so anyway!)
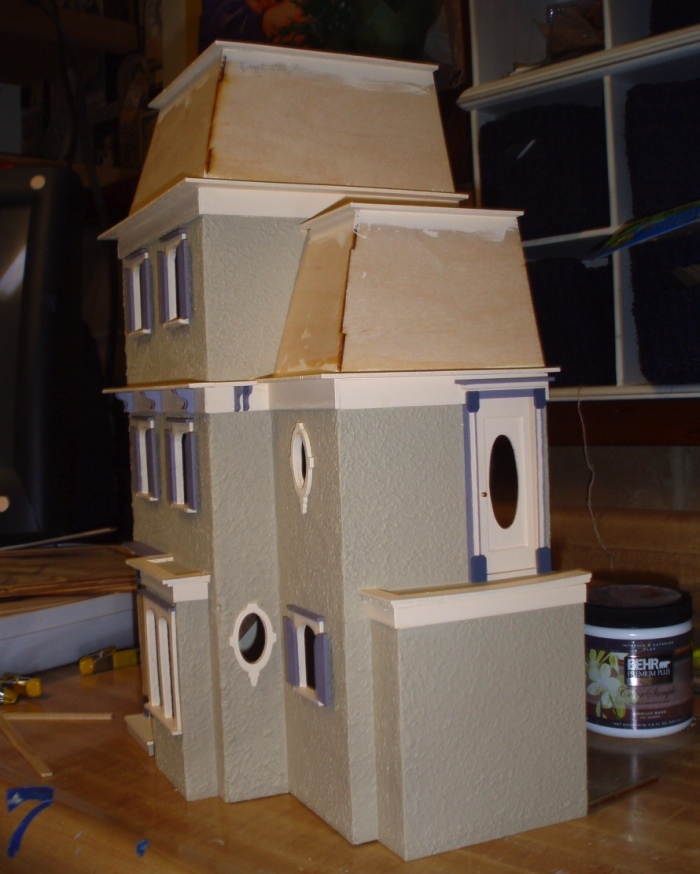
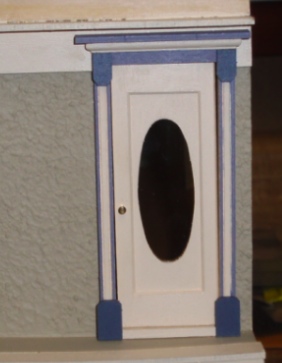
The two doors complement each other nicely. You wouldn’t necessarily know that one came with the kit and the other didn’t.
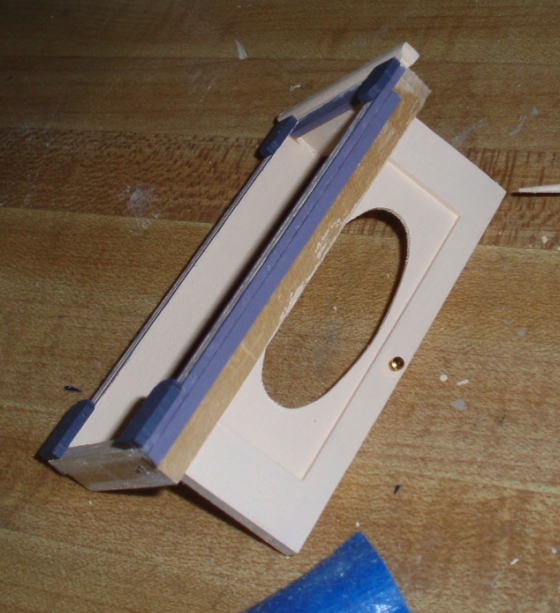
Since the top part of the porch door rests on the fascia, the bottom part had a gap where it met the wall. I cut strip wood to act as shims. This door is much fatter than the wall, so pushing it out on this side helps keep it from being too bulky inside the room, as well.

I painted the shims purple and glued them onto the door.
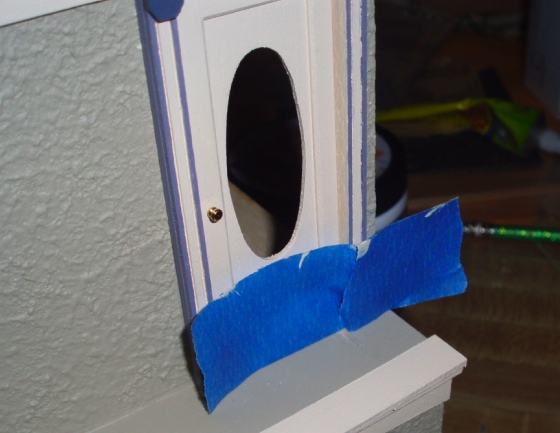
As I popped the door into and out of the hole while I was working on it, I scraped off some paint on the porch floor. After gluing the door into place, I masked off the bottom and carefully repainted this area.
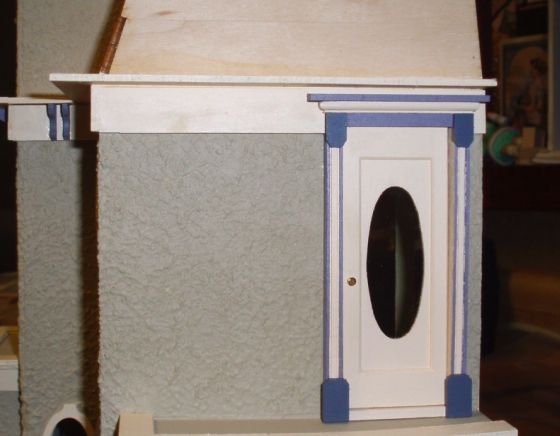
And here’s the finished product. It may be a teeny tiny porch, but at least it has a pretty door! (Here’s a side view that shows how the finished shim looks.)
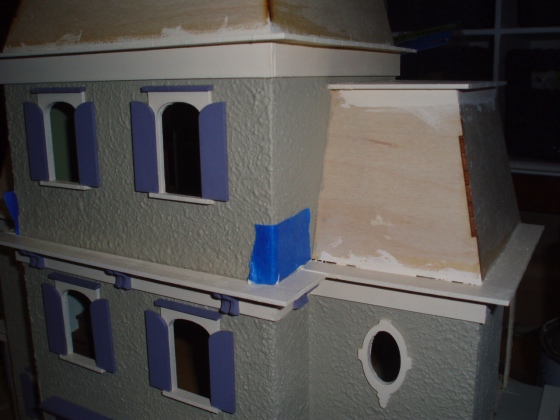
While I was waiting for the paint on the various door pieces to dry, I moved on to the brackets. There are a lot of these and there are few things I enjoy less than painting a bunch of trim pieces.
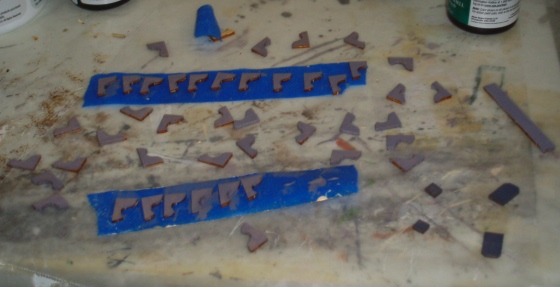
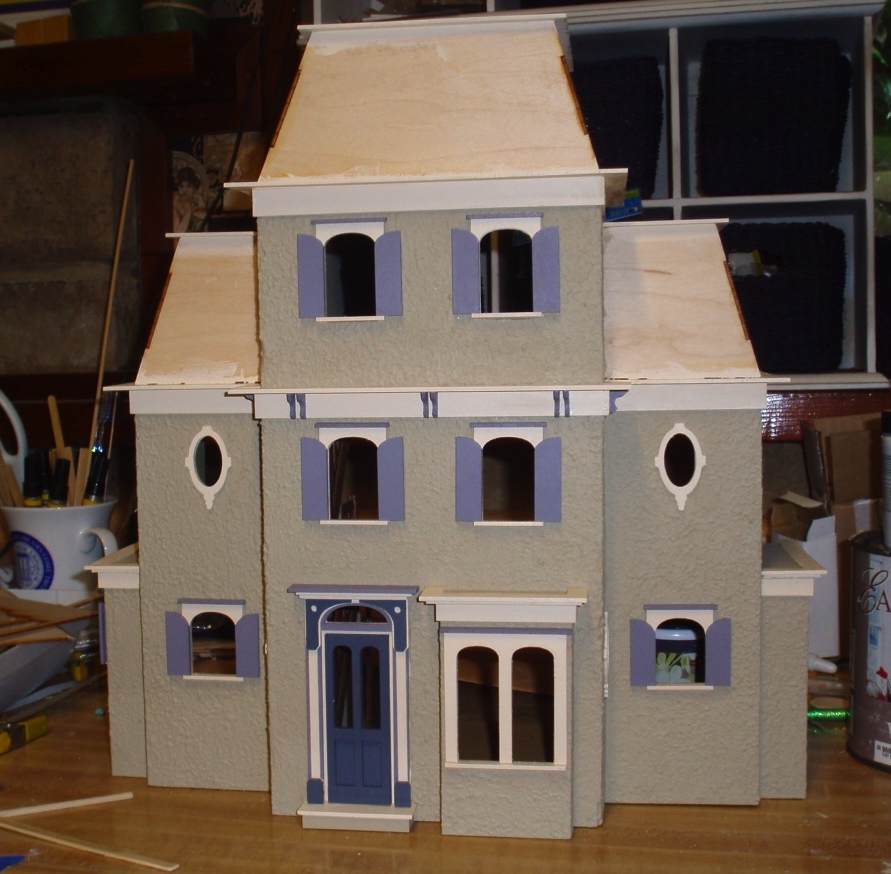
Knowing that the stucco would provide an uneven gluing surface, I had been waiting for the brackets to attach the final (makeshift) pieces of trim to the front of the house. Rather than space the brackets out evenly like the Rosedale model, I opted to group them in pairs. (I got the idea for this after seeing the Psycho house on TV recently…) I used a piece of strip wood to keep the space between the brackets roughly the same for each pair.
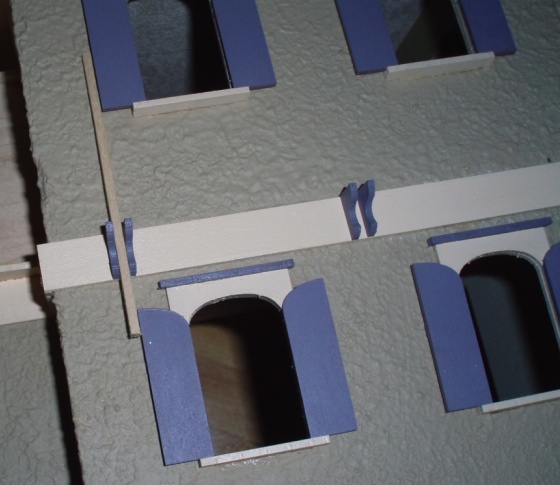
As you can see below, I had marked the house with a pencil where I wanted the brackets to be. I thought the pencil marks would be covered up by the trim, but they weren’t, so I had to dab paint on them before gluing on the trim.
I first glued the small pieces of trim to the sides. Since I’d applied stucco before deciding to add trim here, gluing the trim to the side of the house was tricky. That was the point of gluing the brackets on first—to provide another (flat) surface to attach to the trim.
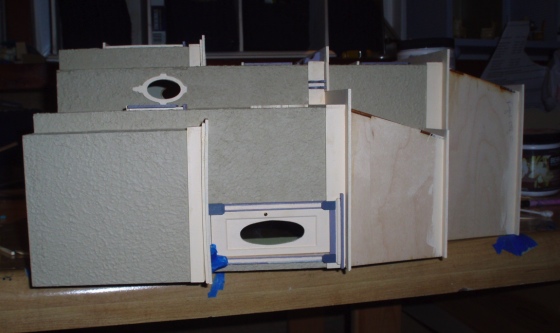
Here’s the “upskirt” shot. After taking this picture, I carefully wiped away the excess glue with a toothpick. Even though it dries clear, I didn’t want it to be gloppy.
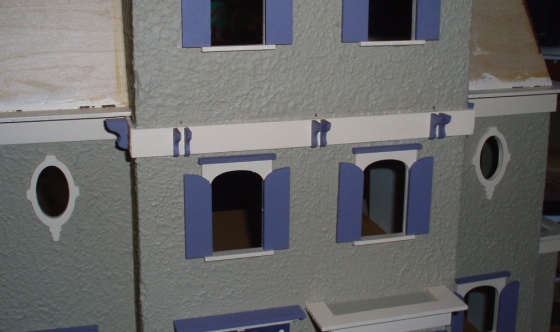
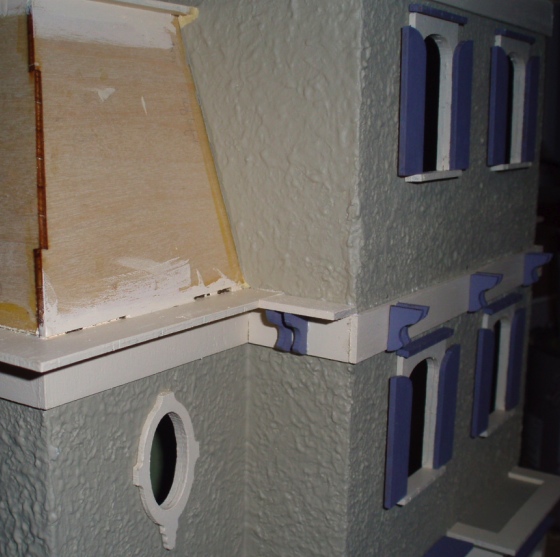
I spread wood filler into the seams between the trim pieces and painted over them. Even after two coats, the cracks are kind of noticeable. I might try another round of wood filler and paint at some point.
The last task of the day was painting and gluing in the front step.
And here’s the overall view. Once I finish the brackets it’ll be time to shingle!
UPDATE: I realize this is a bit OCD of me, but after seeing how wavy that stripe on the porch door looked in the pictures, I just had to fix it. It’s the sort of thing that would bug me forever. (Even though it really did look better in person than in the pictures!)
It was a delicate operation. I turned the house on its side and set it slightly over the edge of the desk. Then I knelt on the floor and used a chisel brush to dab white paint into the crack (painting over most of the purple stripe in the process).
Then I repainted the purple stripe.
I think it looks better now. (Maybe?) Before and after pics are below.

 Emily is a freelance writer, miniaturist, and adventure game enthusiast.


Love your paint job around the door–the house is
coming together good job!
glenda
I have been dreading painting my brackets. Putting them on painters tape is an another excellent idea!
The camera seems to pick up more flaws. I just started taking pictures as I work to see how sloppy I did.