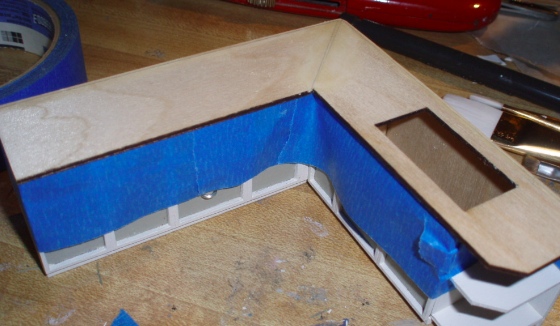
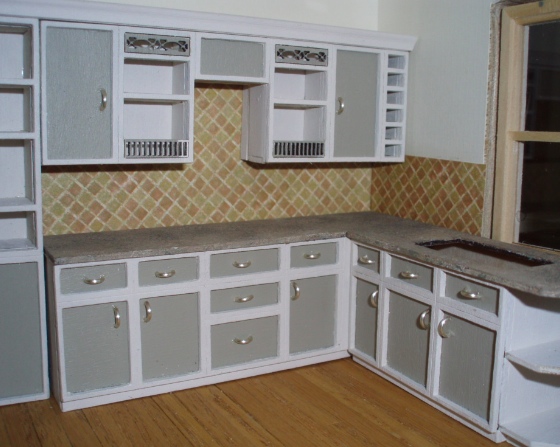
As part of my bash of SDK Miniatures’ modern kitchen kit I decided not to use the countertop backsplash that came with the kit and instead go with a more modern-looking tile backsplash on the wall. (I watch a lot of House Hunters… all the nice kitchens have tile backsplashes now!)
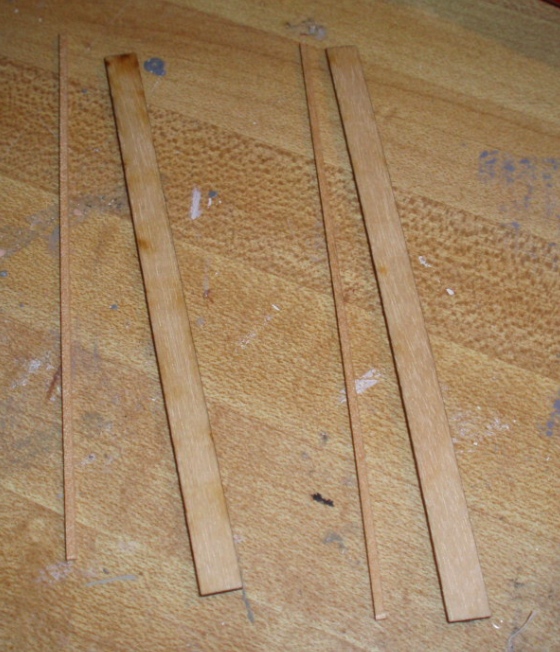
The backsplash is made from two strips of wood, and without these the counter doesn’t hang over the front edge of the cabinets. I got a skinny piece of stripwood to make up for this, the same width as the backsplash pieces.
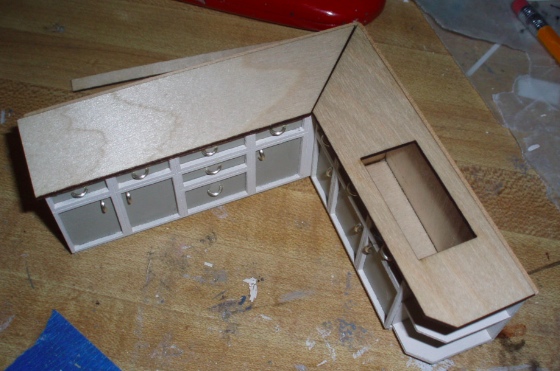
On the left, my cabinets are butting up against the cabinets with the oven etc., so I couldn’t have an overhang there.
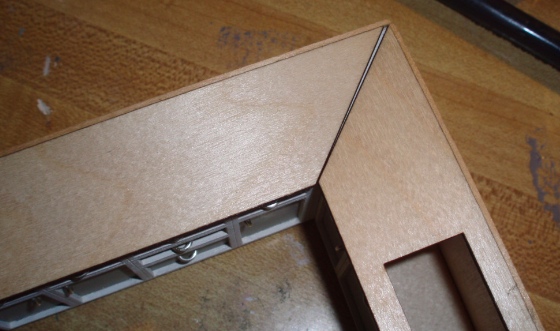
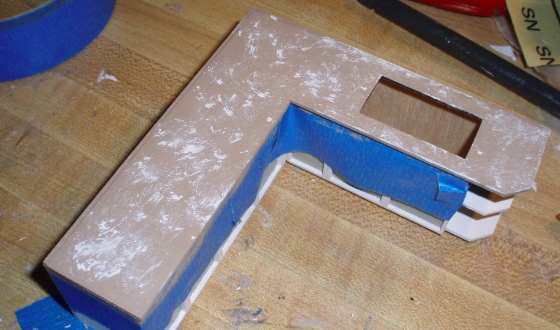
I sanded down that piece of the countertop so it’s flush with the edge of the cabinets.
When I glued the two base cabinets together, I ended up with an L that’s not quite square. I’m not sure how I did that… I initially placed them in the room to glue them but the room itself isn’t square, so I ended up just gluing them together at what I thought was a 90-degree angle. But apparently not, because my two counter pieces didn’t meet up like they should.
I filled in that gap with wood filler before painting.
I’ve painted granite-like countertops for the Fairfield and the Rosedale, and it’s always a crapshoot. I go in without much of a plan and heap on a bunch of different colors and the counter goes through a prolonged ugly phase before the colors suddenly pop into place. That was my experience this time, too.
I started with a brown base coat, then some smears of the Tuscan Beige I used on the cabinets. I used a toothbrush initially, wiping off most of the paint off the brush and then haphazardly sponging it onto the counter.
I added the two greens from the house’s exterior trim (one of which is also the green from the cabinets), and some other shades of brown. I wasn’t waiting between colors for the paint to dry so they blended together into a sort of a muddy taupe color. My goal was to make it complement the tile backsplash while also having some contrast with the tiles, and also looking good with the cabinets. And I was limited to the paint I had on hand.
Things started going south when I introduced “Autumn Leaves”…

It went downhill quickly after this, with a few different oranges and an almost neon green that I knew as I first applied it looked terrible but I couldn’t stop myself. I’ll spare you the carnage!
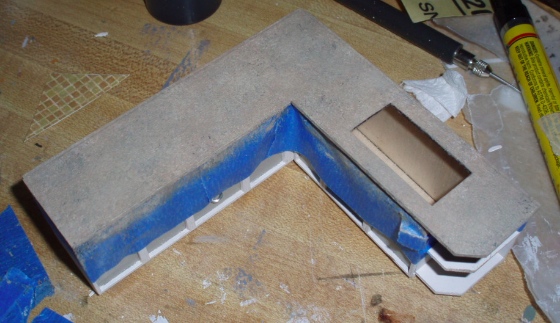
Eventually I decided it wasn’t working out and changed tactics. I covered up most of what I’d done with the brown from the base coat (still dabbing, not painting over it outright). Then I switched to a stiff-bristle paintbrush, still using a mostly dry brush. This allowed for finer speckles instead of the more obvious blobs from the toothbrush.
Here’s how it looked when I decided I was on the right track, but decided to put it aside and come back to it later.
As soon as I ripped off the masking tape, I got the idea to add black. I sprinkled this on with my dry brush and I think that’s exactly what it needed.
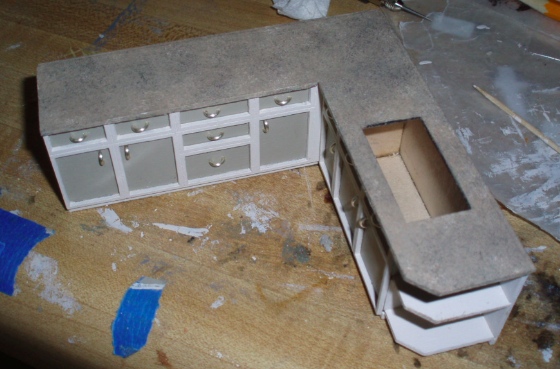
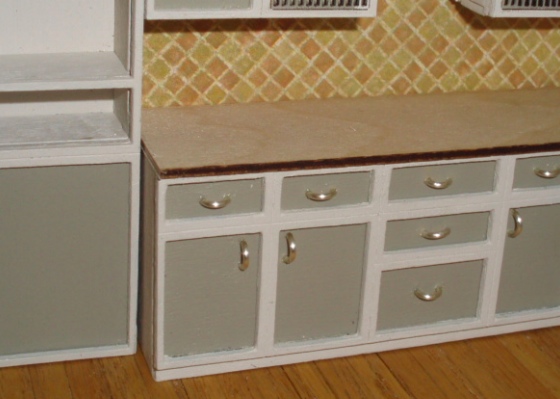
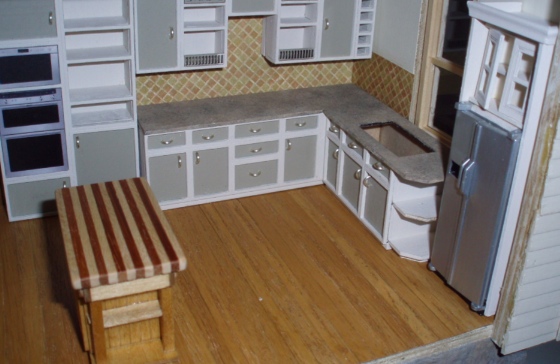
I think it goes well with the cabinets. And I’m more or less satisfied with how it complements the tiles… maybe not perfect, but I’m not sure I can achieve perfect without buying more paint and putting a lot more thought into it. But I’ll let it sit for a day or two before sealing it with gloss varnish, just in case I change my mind.
(If you’re wondering where the stovetop is, that’s coming! It’s going to go above the three drawers, but I don’t like the stovetop that came with the kit so I’m going to attempt to make my own. I needed to finish the counter first.)
The other thing I got done today was finishing the railing on the first floor stairs.
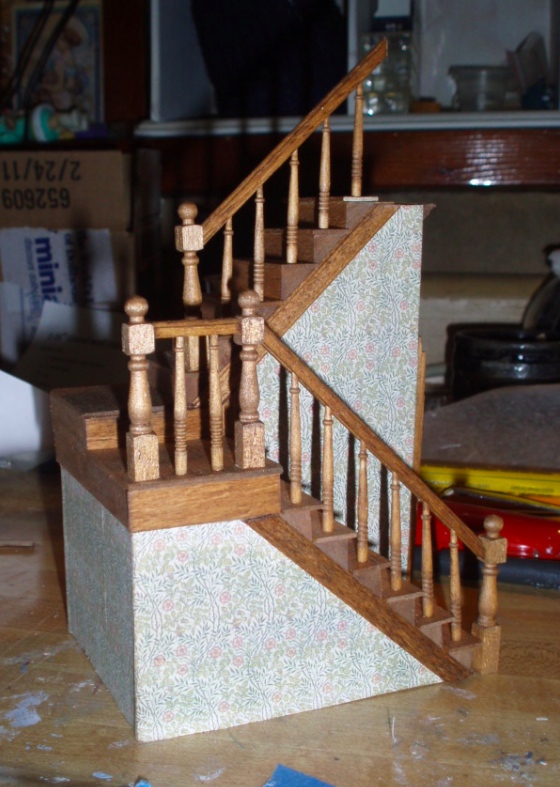
I’ve realized that once the stairs are in permanently it’s going to be pretty much impossible to get my hands into the room, so I’m not ready to glue them in quite yet. Gluing the bottom newel post to the floor will be especially challenging since with the stairs out I don’t know exactly where to put it, but with the stairs in I can’t reach where it needs to go well enough to hold it in while the glue dries.
Also I might need to fix the closet door slightly open, since when it’s completely closed you 1) can’t see it at all, and 2) can’t reach in to open it.
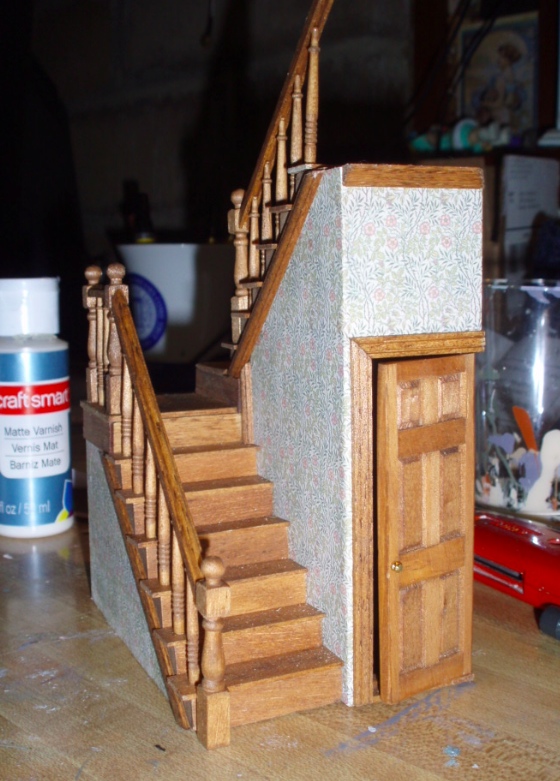
(The upstairs hall room is already essentially inaccessible… I can barely reach in there now and probably won’t be able to at all once the hinged wall panel goes back on. So as much as I hate the idea of gluing furniture, I think I’m going to need to in this case.)
 Emily is a freelance writer, miniaturist, and adventure game enthusiast.


Really like the stairs! I think the countertop will look great when you’ve given it a seal coat. All the granite counters I’ve looked at are fairly shiny. Is that what you plan?
Thanks! Yeah, I’m going to use gloss varnish on the counter.
I really like the countertop; thank you for posting the steps you took, it is really helpful. I also really like the staircase.
Thanks for describing the method you use for the counter, it’s similar to the way I do mine and I also find that it’s a process of trial and error – you certainly achieve a lovely result. Your stairs are great too.