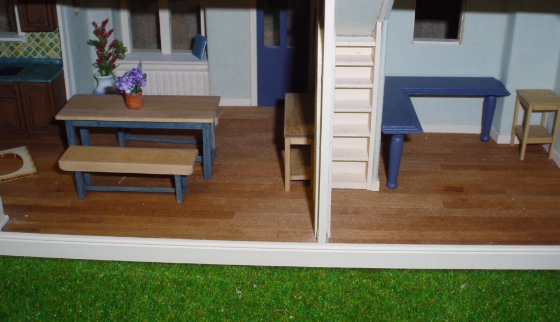
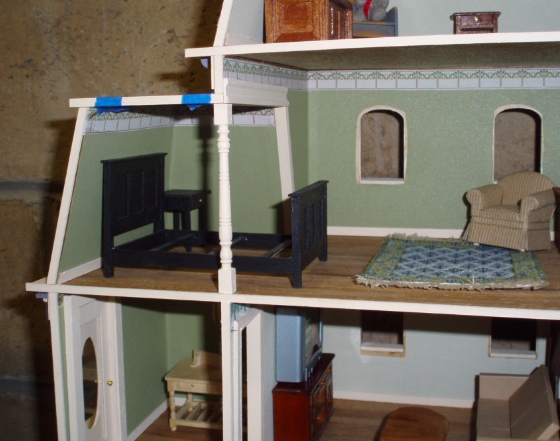
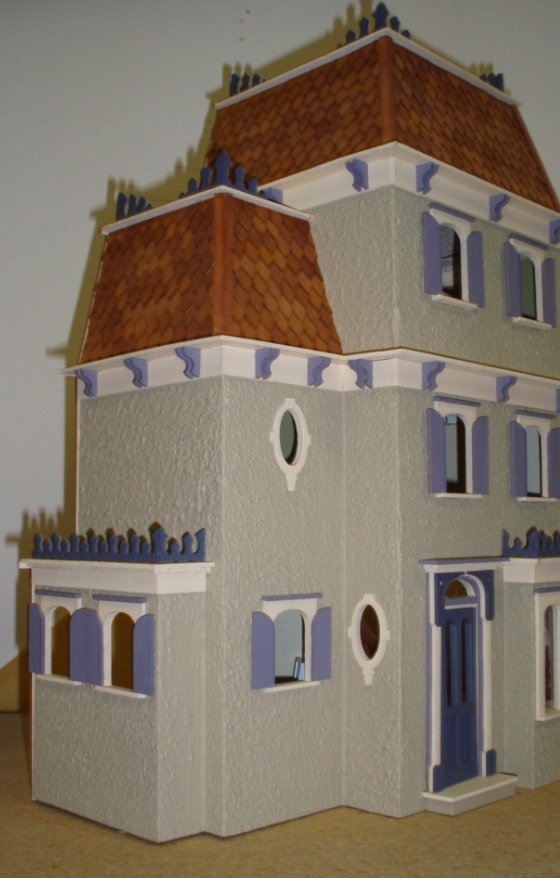
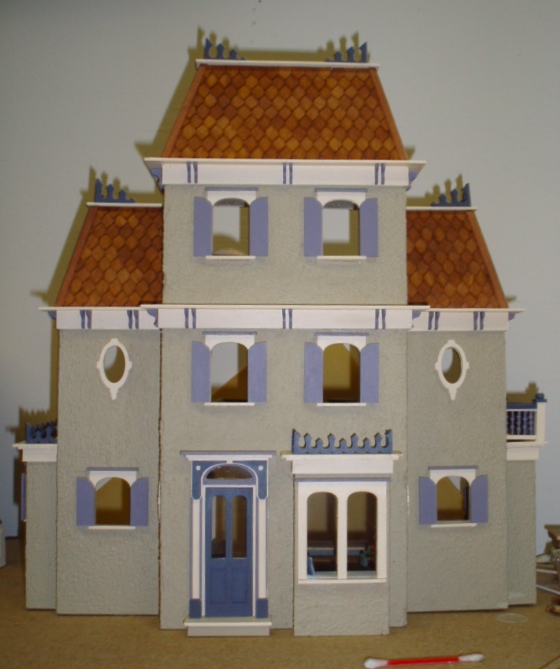
The Queen Anne Rowhouse is almost finished, and as usual when I get *almost* finished with a dollhouse, my thoughts are straying ahead to the next one. In December I lucked out on an Elizabeth Anne kit on eBay. I’m itching to start on it but am making myself wait until I put the finishing touches on the Rosedale, which has been sitting patiently on a shelf for the last two years.
I started by adding basswood trim to the exposed plywood edges. I made this house by bashing two half scale Rosedale kits together and it’s experienced some settling. I hope the lady who lives here got a thorough inspection before she bought the place…

At the bottom, I didn’t have strip wood quite tall enough so I used used a piece of 1:12 baseboard.
Up on the third floor, I added a porch post as a support in the bedroom. Originally there was nothing here and it was holding up okay, but looked kind of funky.
Next I painted the roof trim and glued the pieces together.
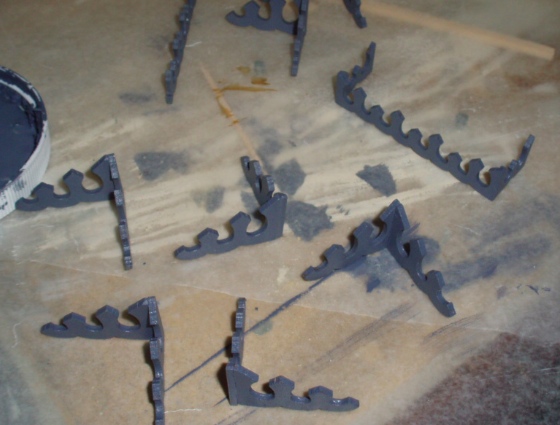
Here they are sitting in place, not glued to the house yet.
One of the long side pieces broke when I popped it out and I wasn’t able to fix it, so I had to come up with a different solution for one of the bay windows. I used the trim piece I had on this side.
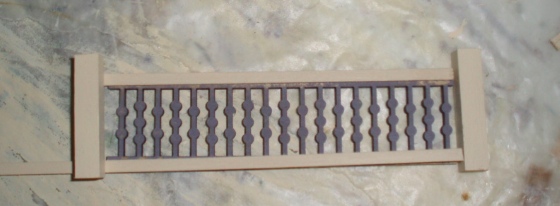
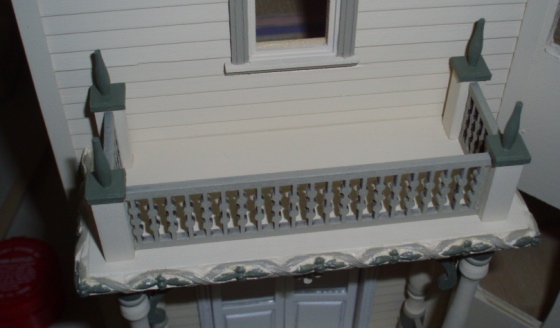
On the other side, I already added a porch door, so it makes sense to put a railing on that side. I had a piece of 1:12 porch grille left over from the rowhouse porch that was just long enough to make into a railing for the little Rosedale balcony.
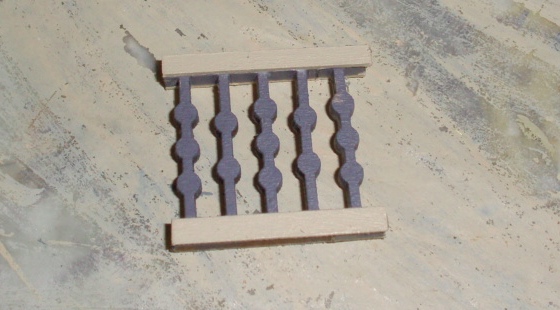
I had some round pieces left from 1:12 porch spindles that I cut up to make something else in the Rosedale (I’ll save that reveal for another blog!) I glued these to the top of square posts to make newel posts.
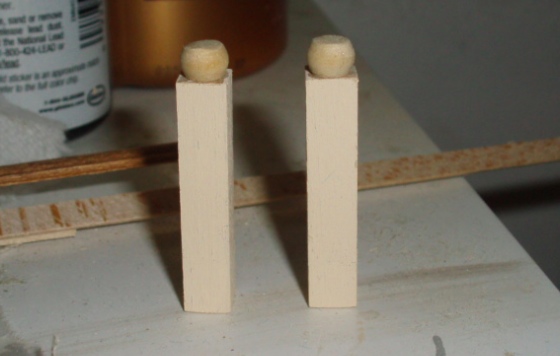
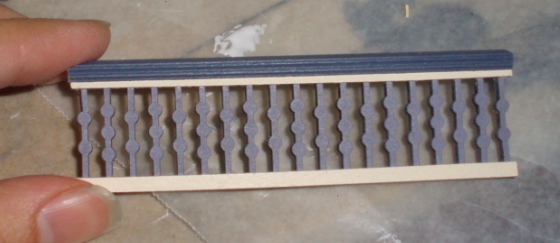
I painted the spindles purple and added strip wood painted with Sandy Feet to the top and bottom since it seemed like it would be easier to stay neat that way. (It also adds a bit of depth, so the spindles and top and bottom aren’t obviously all one piece.) The railing has a channel that was just wide enough to slide over the assembly. This was a very tight fit and I broke one of the spindles as I crammed the railing on, but I was able to glue it back together. The blue piece actually doesn’t have any glue under it but it’s such a tight fit I don’t think that’ll be a problem!
Moving on to the small piece, the spindle on the end snapped off. I only had a tiny piece of this material left so I couldn’t cut a new piece. Instead, I carefully cut out one spindle.
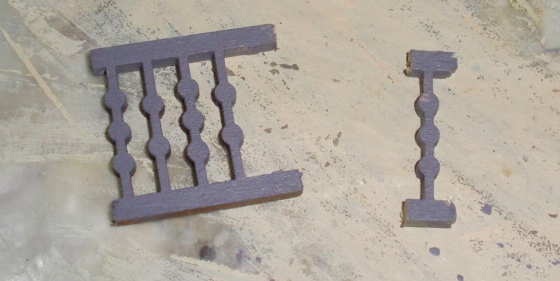
I sanded down the larger piece so the two could meet up.

The strip wood on the top and bottom provide stability.
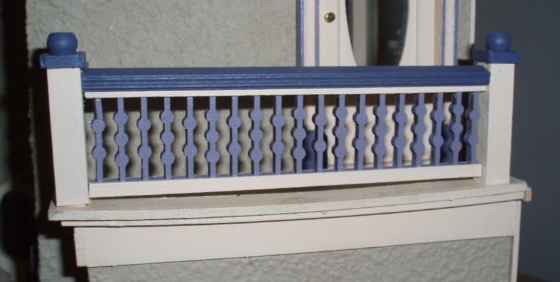
And here’s how it looks all together. In retrospect, I think I should have painted the spindles blue and the railing purple — that would have been more consistent with the blue roof trim everywhere else on the house. Oh well.

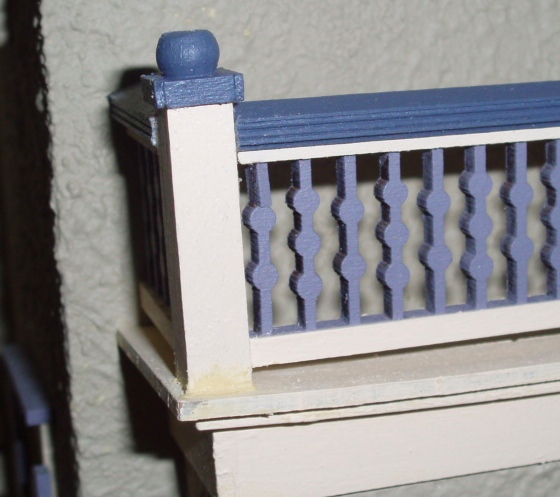
The trim this sits on is warped so the bottoms of the posts weren’t flush with the trim. I was able to sand the one on the right to slant appropriately but messed up on the left side.
I was able to hide the gap with wood filler, which I then painted over to match the post.
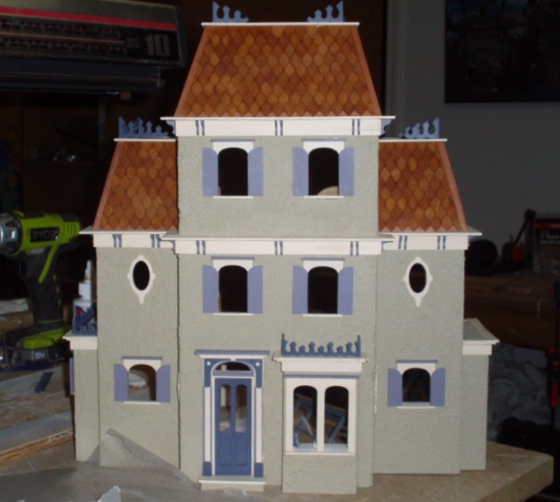
Ta da!
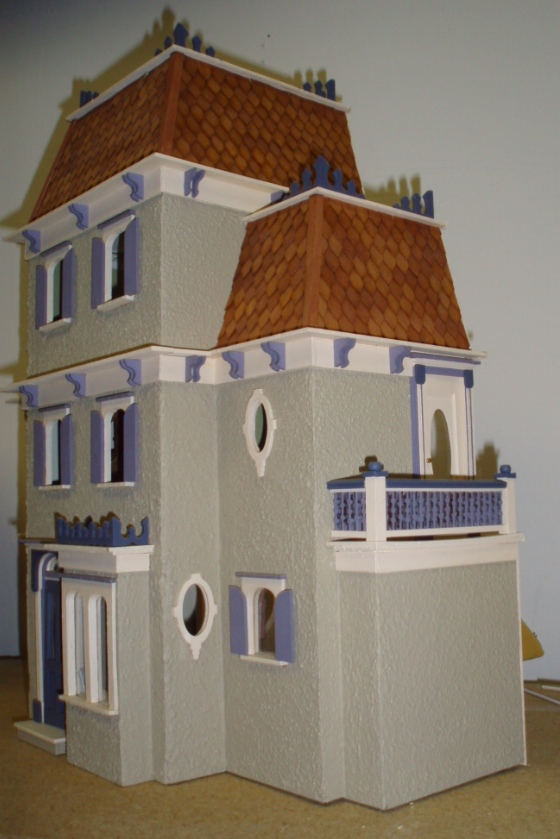
I’m sorry not to have the symmetry of the roof trim from the kit on both sides, but I’ll do something with landscaping to make the asymmetry less obvious.
 Emily is a freelance writer, miniaturist, and adventure game enthusiast.


I really like what the new railing does for that porch. This is a beautiful build.
This is lovely! Adding the extra bits to the railing trim give it great dimension and it looks good on the house.