I’ve been working on the Queen Anne Rowhouse but have gotten behind in blogging about it. With the exception of the shingles, most of the major projects on this house are done. In December I finished the hinged panels. Here are pics of the chimney side; I’ll post about the stair side next.
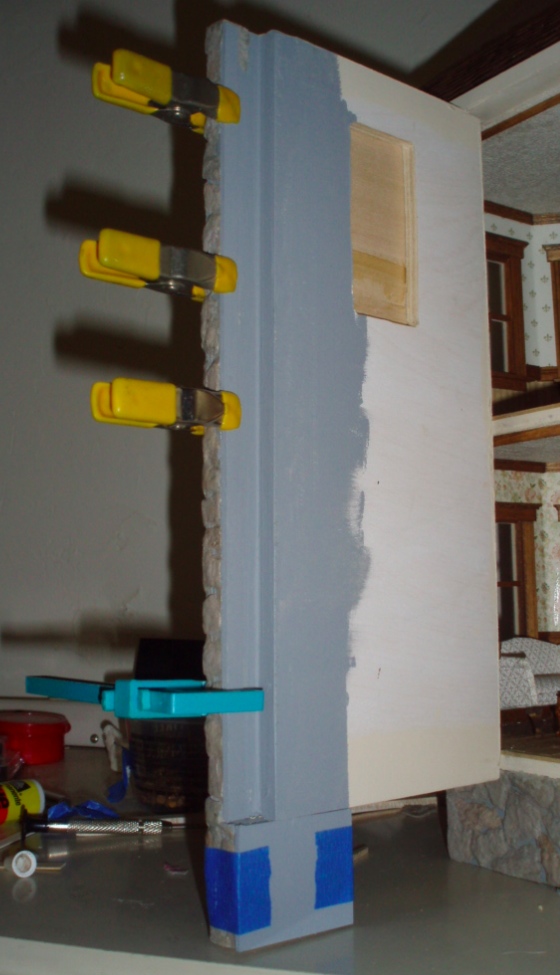
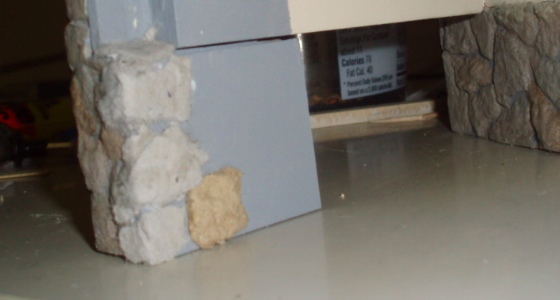
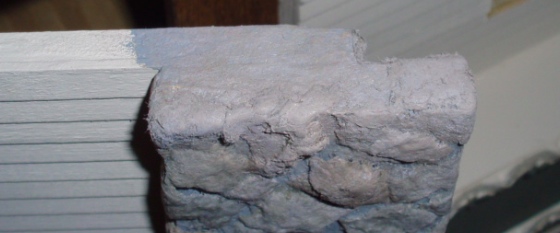
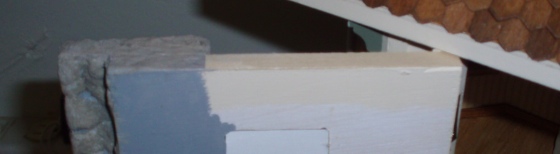
When I made the chimney I intended for it to be flush against the exterior. But because the panel was warped and I couldn’t get it to hang quite straight, I ended up with a gap where the chimney wouldn’t meet the exterior wall. Here you can see it from the top – the gray part is supposed to be all hidden under the eave, but instead it juts out.
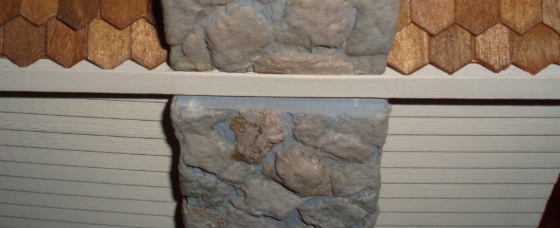
This gets worse approaching the bottom, with a big gap where the chimney isn’t meeting the foundation.
I decided to rectify this with egg carton stones on the inside, built up to provide extra depth and hide the gap. I started by painting the area with my gray grout color.
Next I cut a couple of shims out of scrap wood. These would fill in some of the gap.
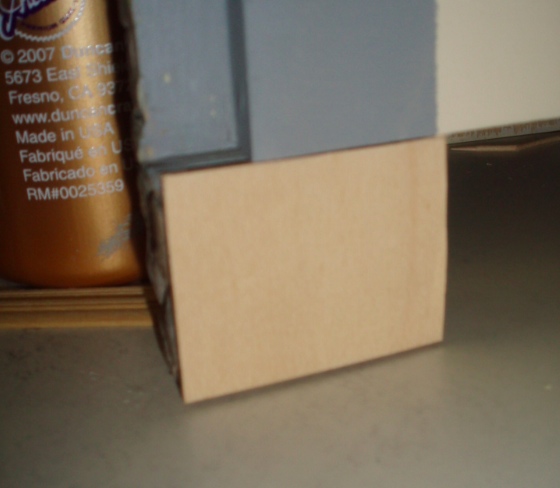
I cut a piece of wood to bring the bottom of the chimney flush with the panel.
Painted all the pieces gray and glued them on.
While they were drying, I tackled the top of the chimney. Since the gray top now shows I needed to add some texture to it so it would look more like the rest of the chimney. Except for at the very edge, I didn’t have enough space between the top of the chimney and the eave to add egg carton, so instead I used watered down wood filler. I just spread it around and made it kind of lumpy with my finger.
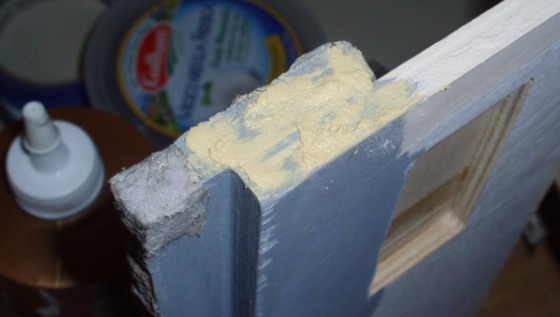
Then painted it gray like everything else.
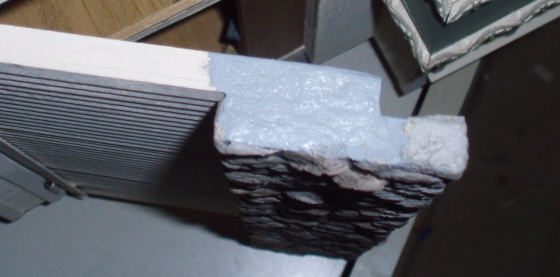
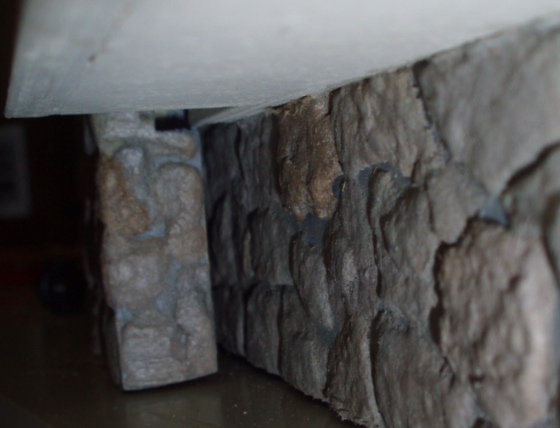
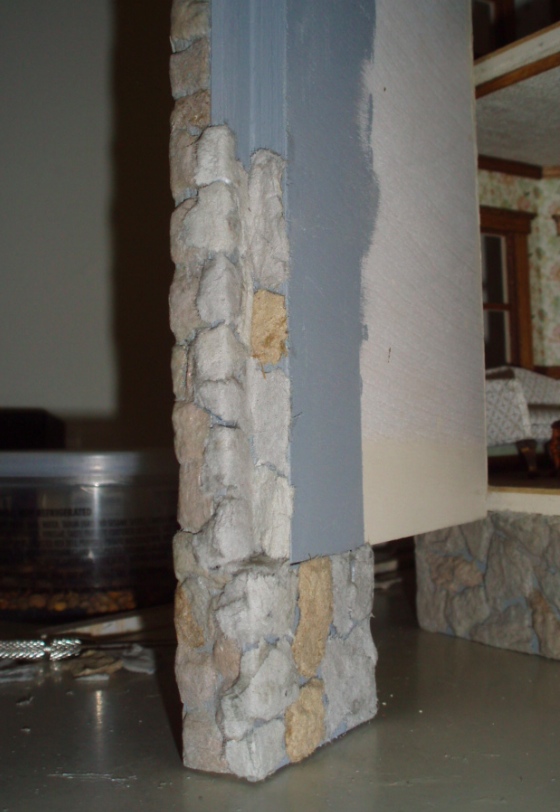
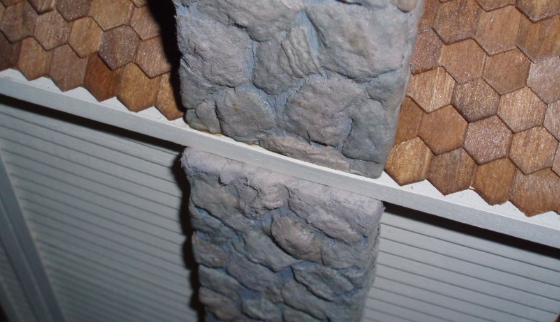
With the shims in place, I started adding egg carton stone to the bottom of the chimney. If you haven’t done this before and want to know how, there’s sort of a tutorial here. I did a few layers of egg carton on the very edge to fill in the big gap where the chimney meets the foundation.
I continued the stones up the side.
Closed, you can see that the egg carton meets the wall better than before.
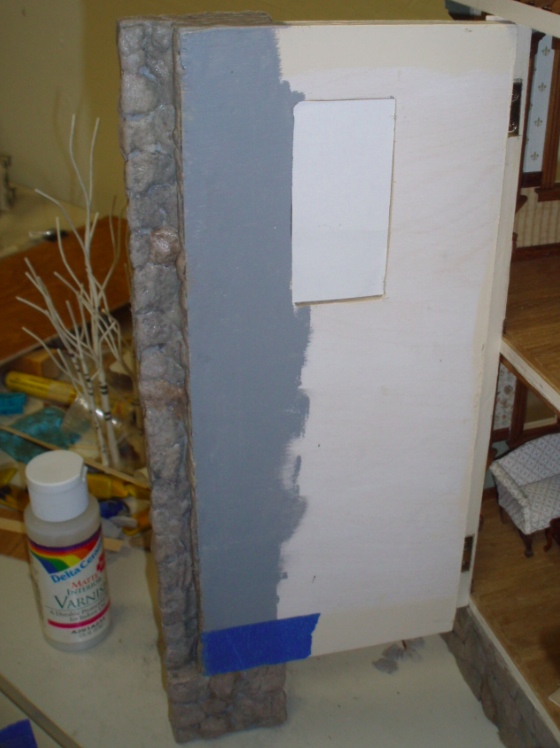
With all the stones glued on, next it was time to paint with the dry brush. Previously I realized I needed a house colored strip at the bottom where the panel would not be covered by wallpaper (you’ll see why below), so I painted that, then masked it so I wouldn’t get stone paint on it.
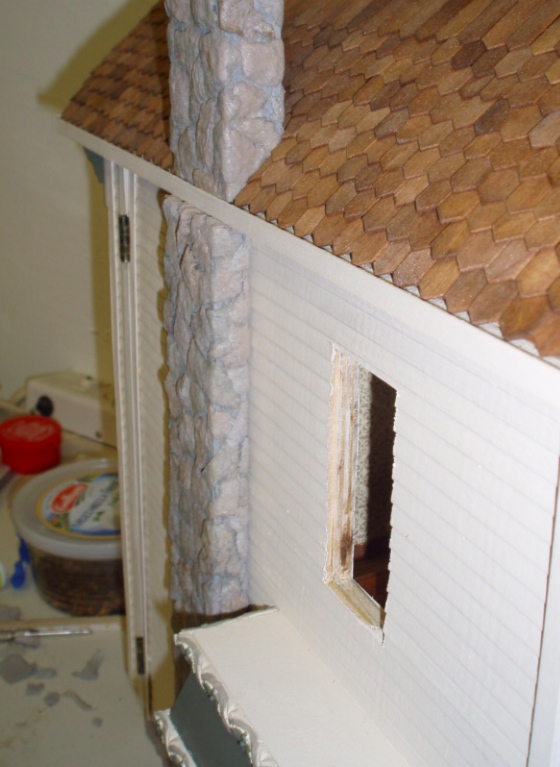
Up top, the transition from stone to wood filler was kind of abrupt so I added some egg carton just to the front edge. I opened and closed the panel as I was doing this to make sure it would still close.
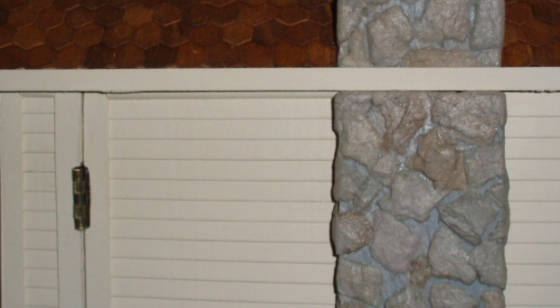
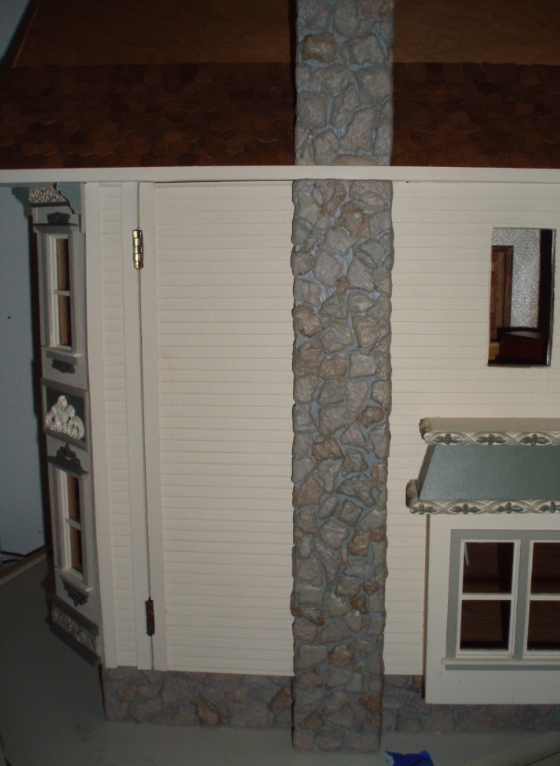
Here’s how it looks closed — much better than the uniform gray it was before!
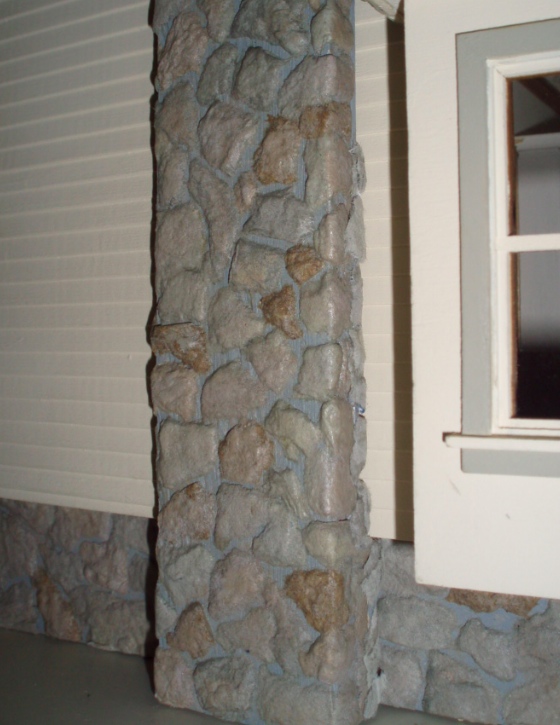
And here’s the finished chimney from the side. It closes nicely and the gap is essentially hidden. As an added bonus, the egg carton I added to the front edge of the chimney top provides friction that helps hold the door closed, before they were added it kept popping open.
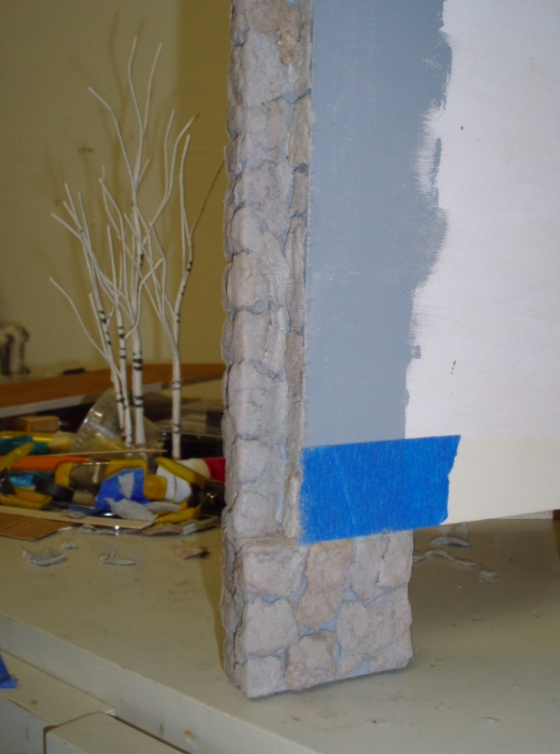
The next step is to add matte varnish. The stones are wet in this photo; after drying they’re not quite so dark.
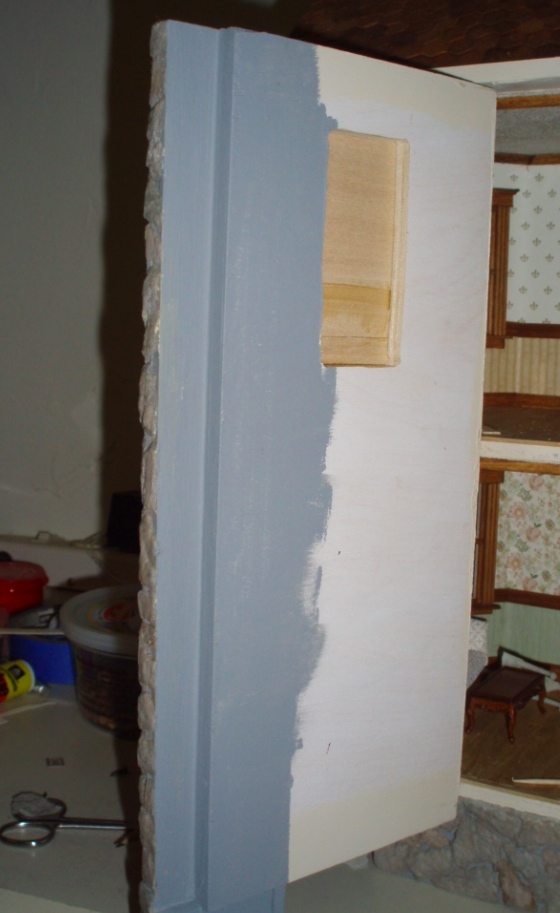
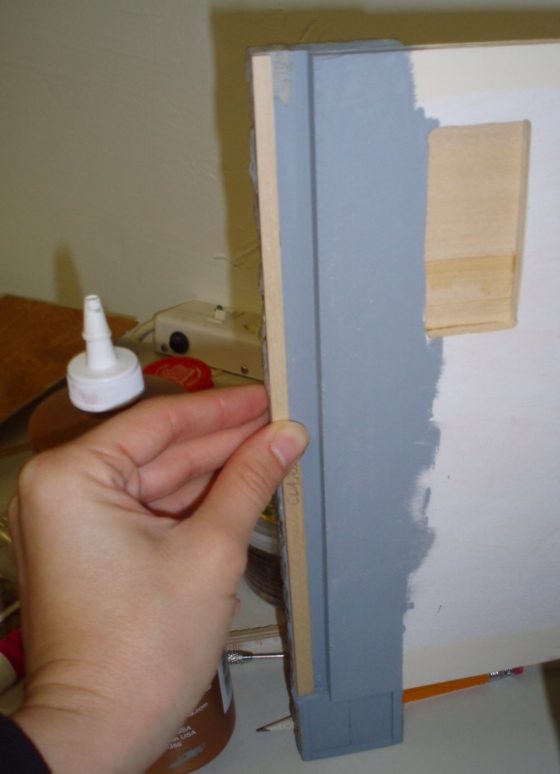
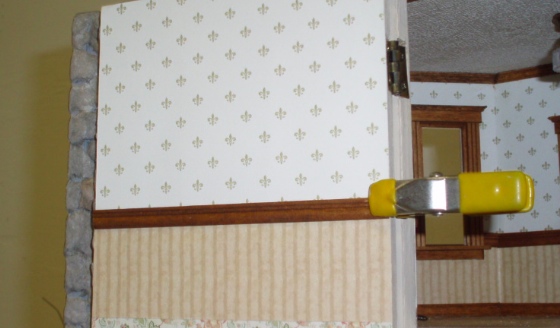
There was still a gap at the top of the panel, visible from the front. I added a piece of strip wood to fill up that space. The strip wood is tapered where it meets the edge of the chimney so there isn’t an abrupt “step” where it ends.
On the front, I added quarter round. This is glued partially to the panel and partially to the strip wood I added. (If I hadn’t added the strip wood, the quarter round would have jutted up above the panel and been visible from the inside. Sorry if that’s unclear, it was hard to get a photo!)
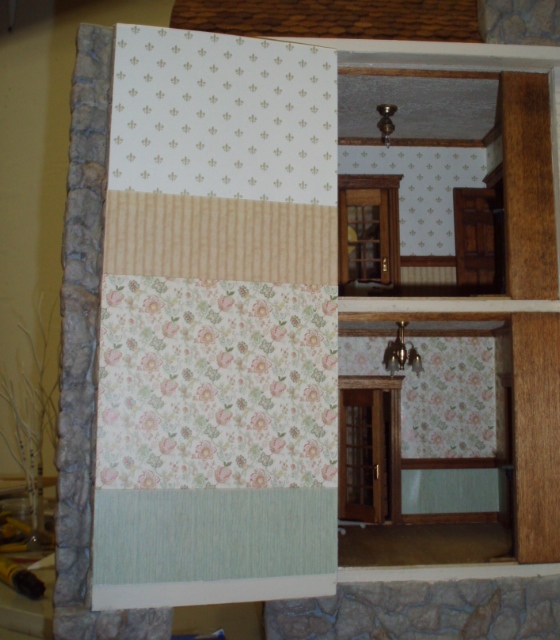
Next came wallpaper. I had to think about this a bit. I’d already glued the crown molding to the ceiling because I realized it wouldn’t line up with the rest of the crown if I attached it to the panel (again, due to the warping). But this panel does get chair rail and baseboard. I ran the flowered wallpaper all the way up to the bottom of the second floor wallpaper. The transition is hidden by the second floor baseboard, but since the first floor crown molding is glued to the ceiling you can’t tell that the wallpaper extends beyond it.
If my panel had fit correctly, I wouldn’t have been able to extend the chair rail and baseboard all the way to the edge of the panel, because it would have bumped into the back of the fireplace. Because of the gap, though, I could just run the trim all the way across. A silver lining!
Here it is with the trim glued on. I think it came out great. I could have done a better job trying to match the wallpaper pattern with the wall beside it, but since it’s very hard to see the insides of these rooms with the panel closed, I decided not to worry about it.
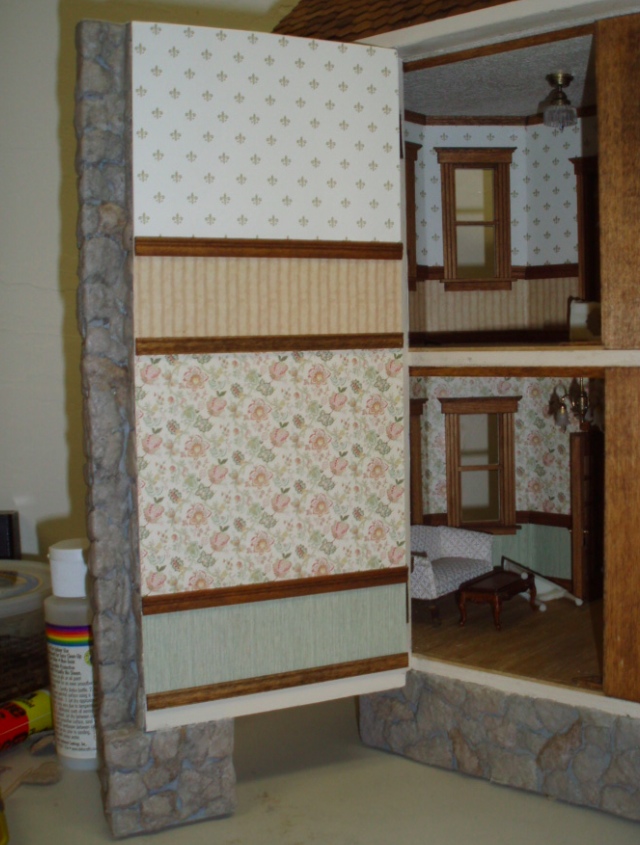
The finished product!
 Emily is a freelance writer, miniaturist, and adventure game enthusiast.


Wow! That was a great fix!