After last weekend’s impulse buy, my eagerness to get started on the Queen Anne Rowhouse was thwarted by my lack of any actual plans for it. I placed some orders for doors and windows and got some books about San Francisco painted ladies from the library, but much of the week was spent thinking and planning as opposed to actual doing.
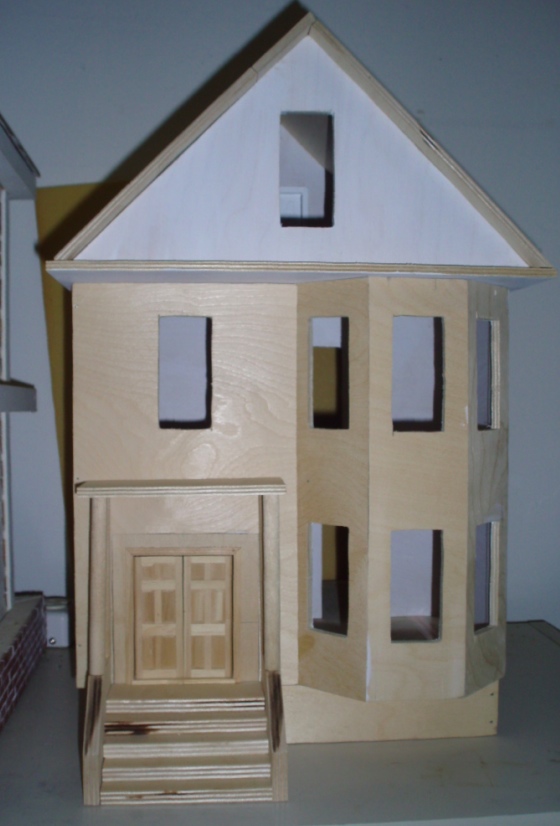
I want the house to look more or less like a traditional San Francisco Victorian and was interested to read that the garish, colorful paint schemes you usually think of for San Francisco houses weren’t popular until the seventies. (The hippies started it!) I’ve decided to use more subtle colors, with a facade on the bay window that will add a splash of color.
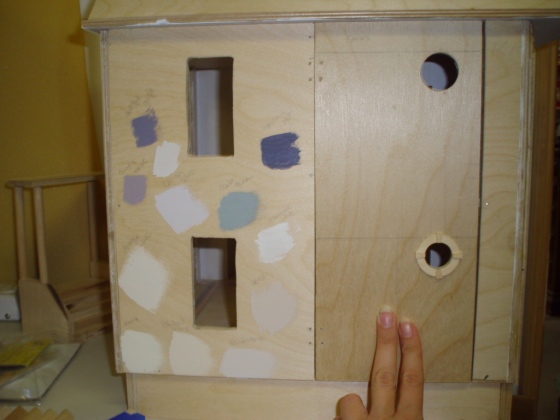
Here are some color swatches from paint samples I had handy. The neutrals at the bottom are all rejects from when Geoff repainted our office earlier this summer. I decided on Behr Baked Scone for the house. Some of the purple and green swatches might end up as accent colors, I haven’t entirely decided yet.
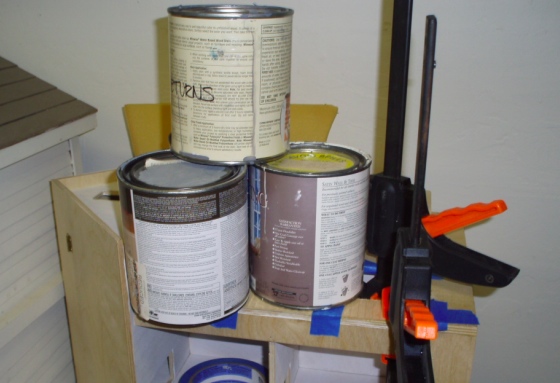
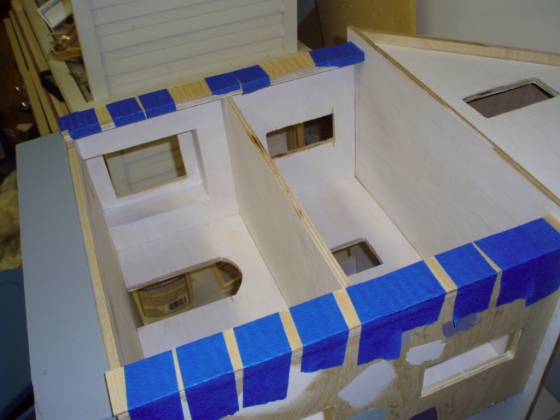
I started gluing on siding with the front, back, and one of the panels. I decided not to side the bay because I’m planning to add a bunch of trim, and siding underneath that seemed unnecessary. (The photos I saw in the library books supported this!) Used heavy paint cans and lots of masking tape to keep the siding flat.
I’m not a big fan of blank walls and the panel next to the stairs felt kind of boring, so I decided to add round windows. Geoff made the holes for me with a drill and some other thing called a “multi-bit”.
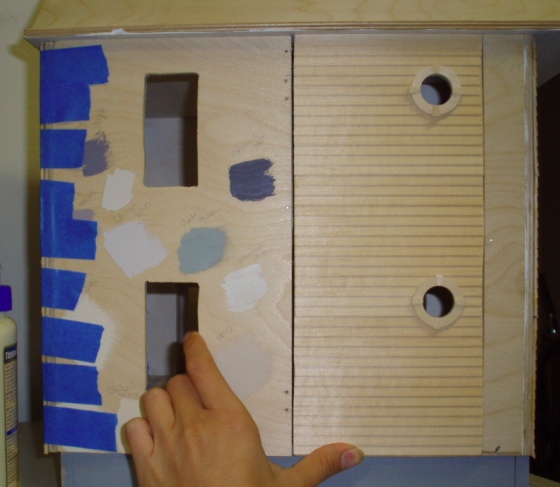
The edges will be covered with trim, so it’s okay that the siding’s a bit raggedy.
To add visual interest on the other side, I decided to add a chimney. This will give me an excuse to include two pretty fireplaces inside. (I bought one already; for the other, I might get something from Braxton Payne.)
I made the chimney from a piece of plywood. This panel has a window in it that I will cover up. Instead I’ll add a window to the right of it, over the bay window.
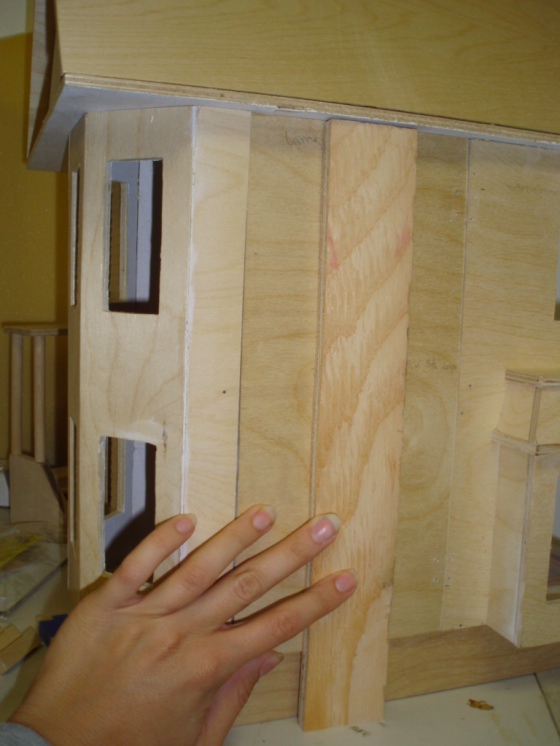
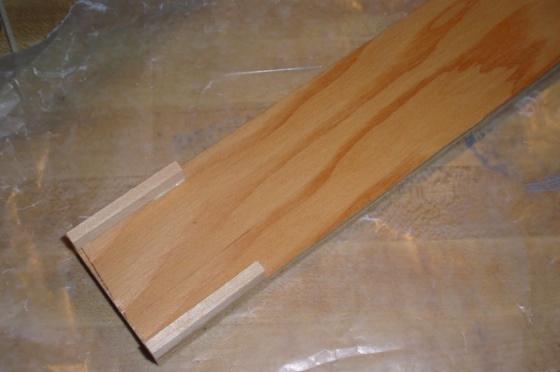
I glued strips of basswood at the bottom so it will meet up with the foundation.
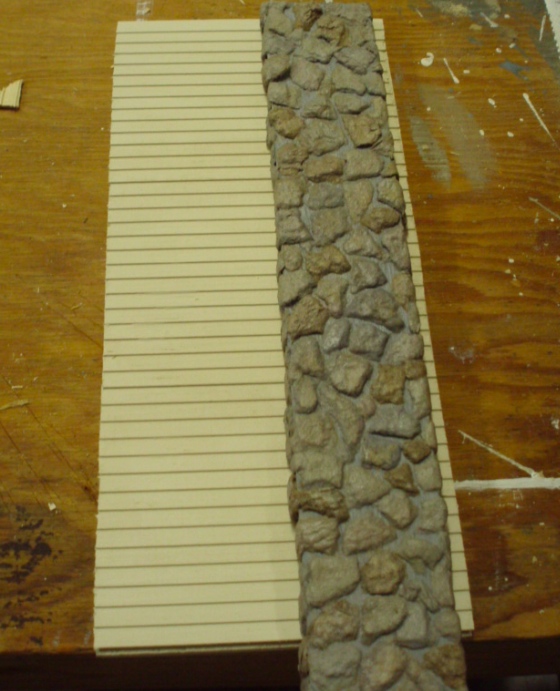
I’m using the same egg carton stone method I did with the Hillside Victorian. Someday I’m sure I’ll get bored with this way of doing stones, but for now I’m in love with it!

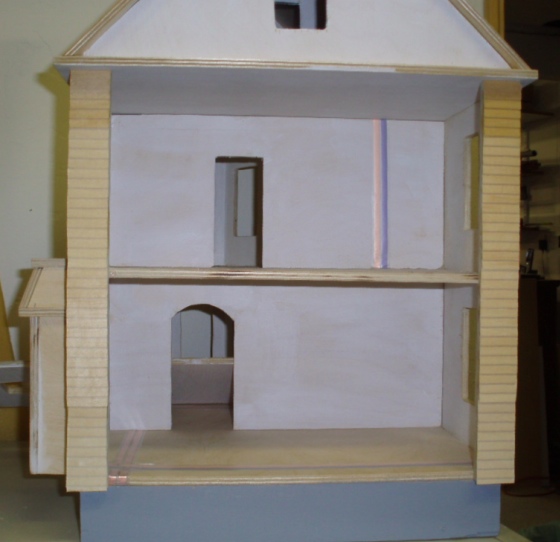
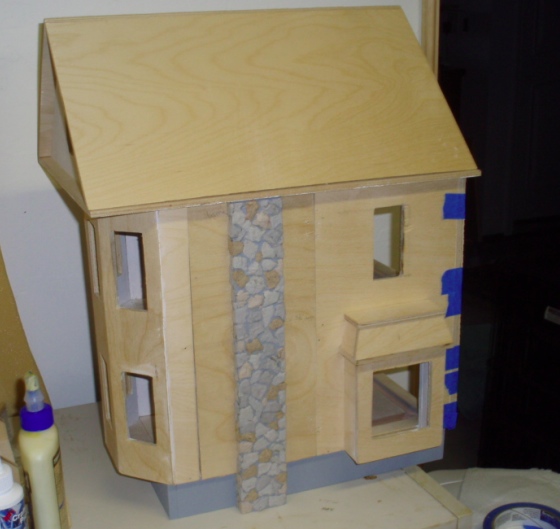
Here’s how it’ll look in place. (I’ll eventually add another chimney piece sticking up from the roof so it looks like it continues all the way up.) The chimney will be glued to the panel so if I end up hinging the panels, the chimney will swing out with it. If I use magnets I could hide a magnet in the base of the chimney.
Here’s how the finished chimney looks next to the painted siding. This picture is kind of dark, but the colors work well together.
Yesterday my Miniatures.com order arrived with all the windows. Originally I was going to use the bonnet pediment windows on the bay and the traditional windows everywhere else, but after looking at the pictures in the library books I changed my mind, since the traditional pediments will allow me to create a more realistic facade. (The windows on San Francisco Victorians are usually unified with trim that runs all the way around the bay, rather than looking like individual windows. I don’t know if I’m explaining that well, but look at some pics on Google and you’ll see what I mean.)
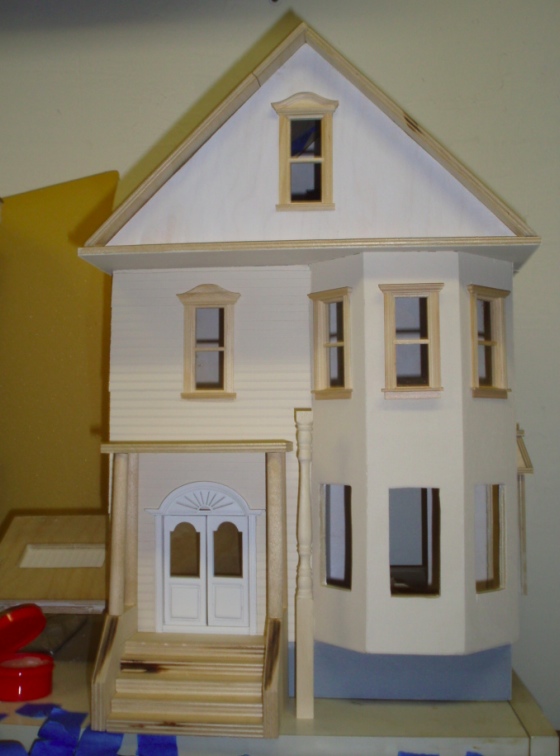
The door is a Bespaq Newport door that I bought from Mountain Miniatures. I’m going to replace the dowels on the porch with Lilliput porch posts. They’re 1-inch scale, but no larger than the dowels and have a much prettier shape.
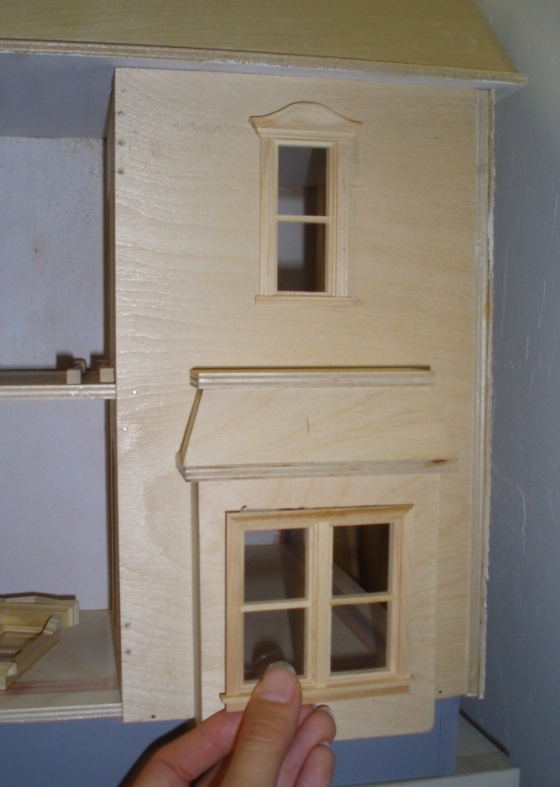
I got a double window for the bay. The hole needs to be enlarged a little bit before it’ll fit. The bonnet window above the bay is the one I added to make up for covering one of the other windows with the chimney.
This week I hope to finish siding and painting, and might do some stones around the foundation if I’m feeling ambitious…
 Emily is a freelance writer, miniaturist, and adventure game enthusiast.


I love 1/2″,and will watch your progress. Impulse buying always gets me into trouble. :-)