I recently added email alerts to the blog. If you want to get a brief, non-spammy email when I post a new blog, please sign up on the right sidebar.
I knew when I bought the scratch built gatorboard house sans roof that figuring out the roof would be the most complicated part of the build. Geometry is not my friend.
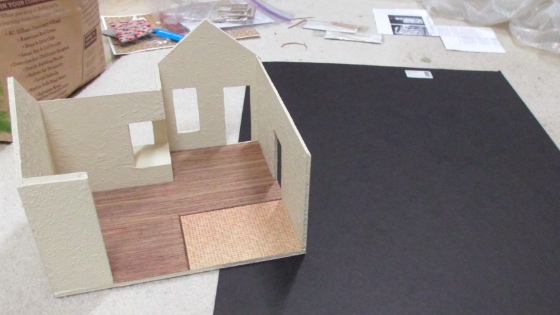
I’m planning to put barrel tile on the roof but it needs something to rest on, so I picked up a piece of “presentation board” at Michaels for $5. (I went there looking for matboard, and this is basically the same thing, but the matboard cost $15!) Because I want the part under the barrel tiles to be black (so it just looks like a shadow), I got a black presentation board.
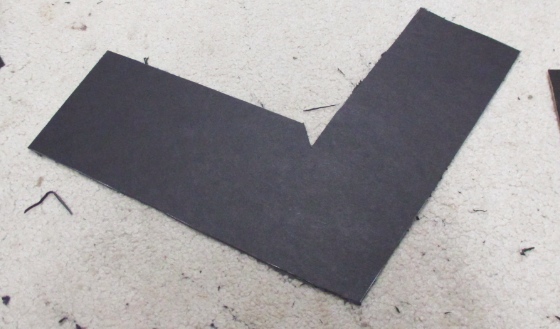
With a ruler in hand and a vague idea that I needed to cut four pieces — angled to meet up in the middle — I got to work.
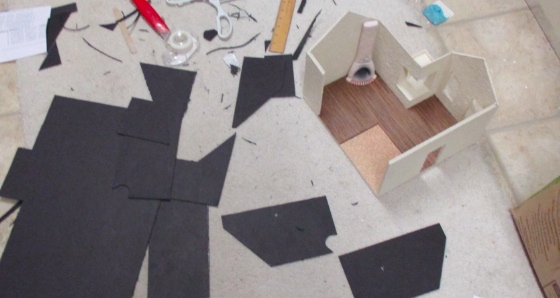
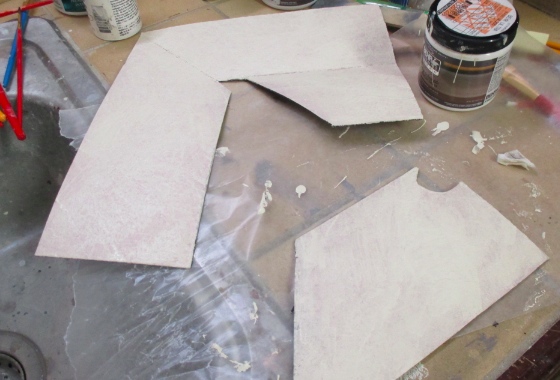
There was a lot of trial and error involved but I’ll spare you those photos since it turns out I was on the wrong track. Before I realized I was on the wrong track, though, I cut my four pieces and sponged white paint onto the undersides for the ceilings. Turns out that when you paint black presentation board white, it comes out kinda purple.
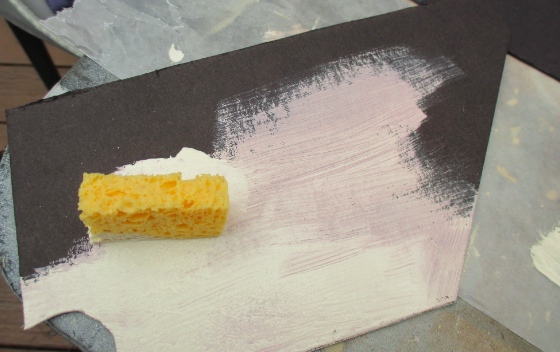
It took three coats to stop looking purple.
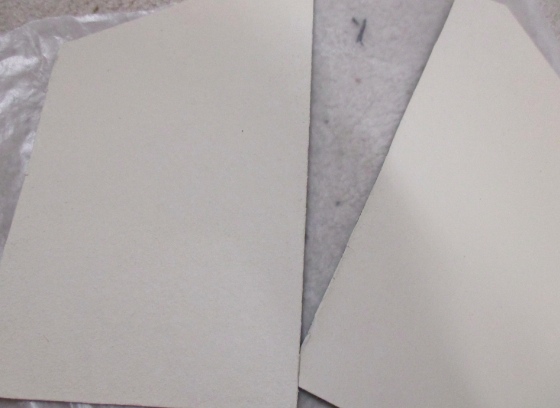
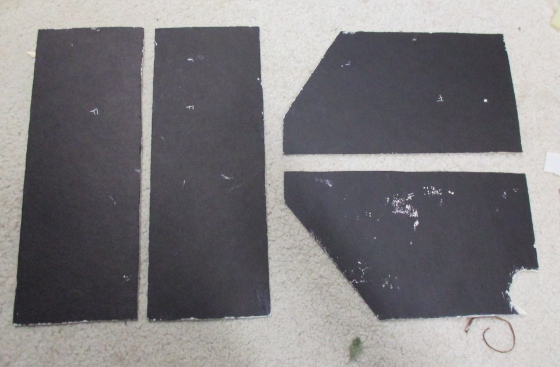
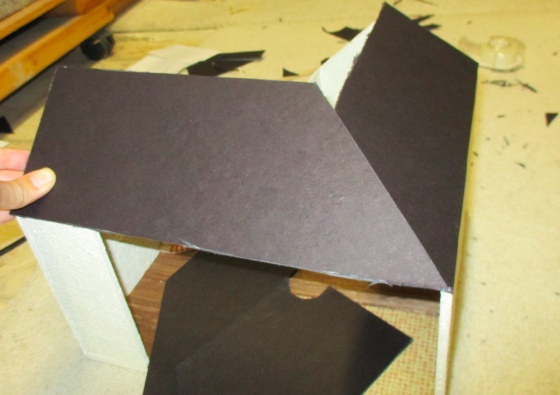
Right, so here’s where I realized I had a problem. These are the four pieces I cut. The idea was that the two rectangular pieces would go on the left peak (when you’re looking at the front of the house), and the two angled pieces on the right peak. The hole in the corner of that front piece is to accommodate the neck of the fireplace that sticks up above the roofline.
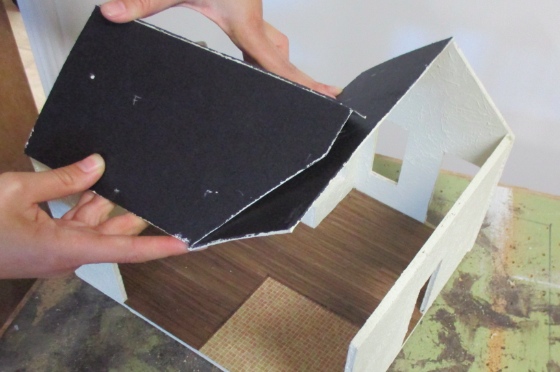
The problem is, this orientation leaves a weird triangle of the rectangular roof covered up by angled roofs. If I cut it out, I would end up with a very small triangular piece (just above my right hand in this photo), with nothing to support it.
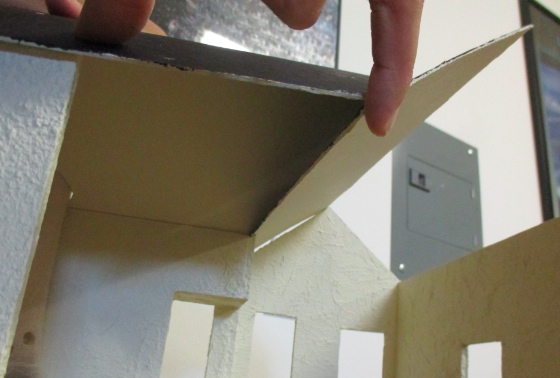
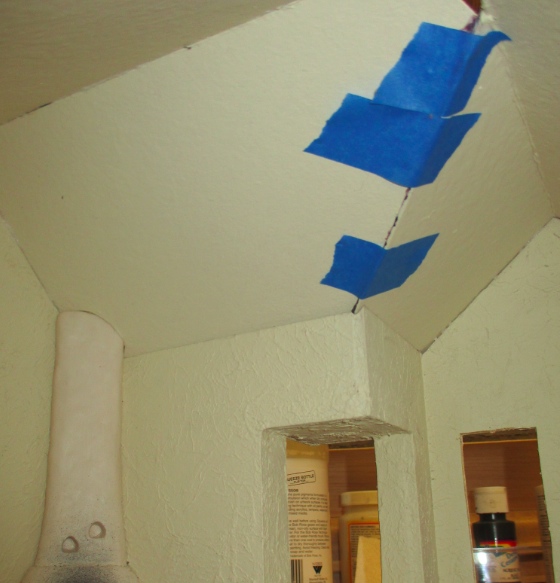
But if I didn’t cut out the weird triangle, then there’s this overhang visible from inside the house.
Perplexed, I emailed my structural engineer dad. He drew me this diagram.
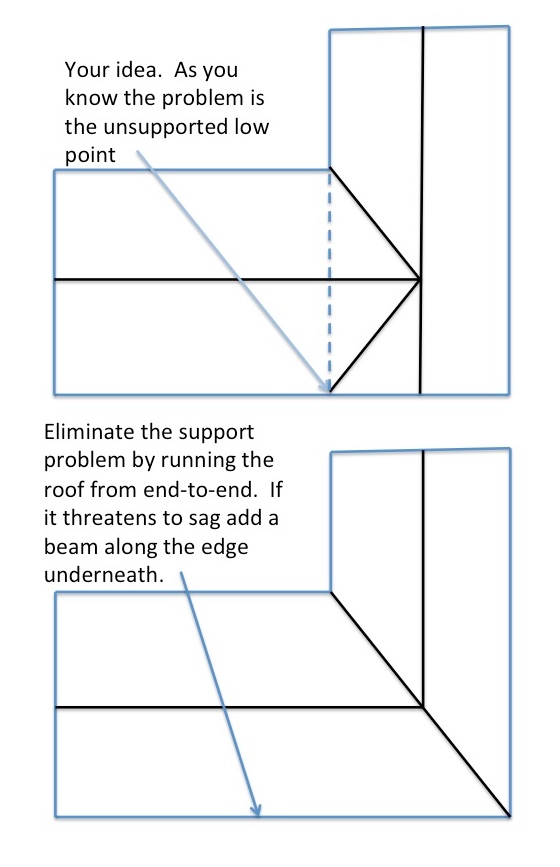
Why didn’t I think of that?!
With input from my mom, a former high school math teacher, he came up with some instructions for how to get the angles right, but I was already off in trial and error land again and completely ignored them. What could go wrong?
I came up with a piece that looked like this:
Scoring this joint rather than gluing two pieces together gives the roof some added stability, which is good since there isn’t a lot of support right under the corner.
But, in trying to cut the other pieces I realized it would be best to make ONE big piece that had three sections of roof, and only have the angled piece with the chimney hole be its own separate piece. This necessitated a trip back to Michaels for another piece of presentation board (it seemed so big when I started!). Finally, I ended up with two pieces that seemed like they’d work.
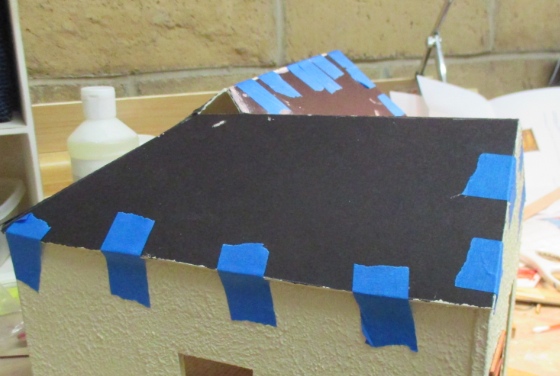
I should add that this whole process was complicated by me only having two hands. The papery texture of the presentation board and the bumpy stucco on the side of the house meant that taping the roof pieces in place didn’t work too well. So although I was able to hold them well enough to “get the idea”, I never really saw everything in place until it came time to glue.
I taped the roof as best I could while the glue dried, pulling up some of the top layer of presentation board in the process.
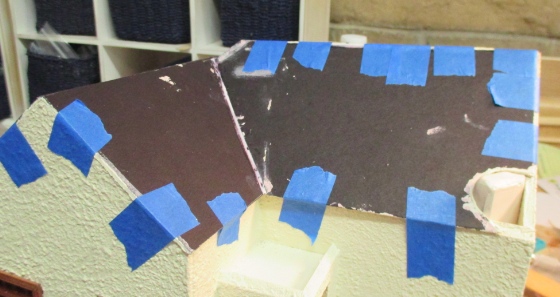
Um… is it me, or is that crooked?
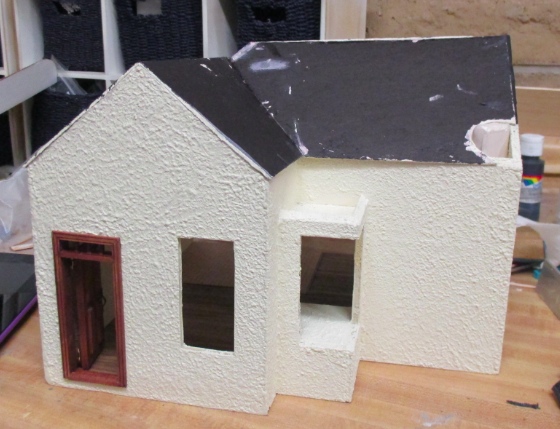
Right, so if I’d followed my parents’ math instructions maybe this wouldn’t have happened, but the roof is not perfect. I spent so much time on this already, I just didn’t have the heart to rip it off and start over. Since I’m planning to put barrel tile on top of this, I think I’ll be able to fudge it to minimize the obvious crookedness. Fingers crossed.
Coming up next time: adding the chimney! (It’s turning out much better than the roof did…)
 Emily is a freelance writer, miniaturist, and adventure game enthusiast.


Oy! All that work! Good luck with this :)