I’m still working on parts of the Victorianna that will be inaccessible once the back goes on. This week’s project: the fireplace and the wall that encloses it.
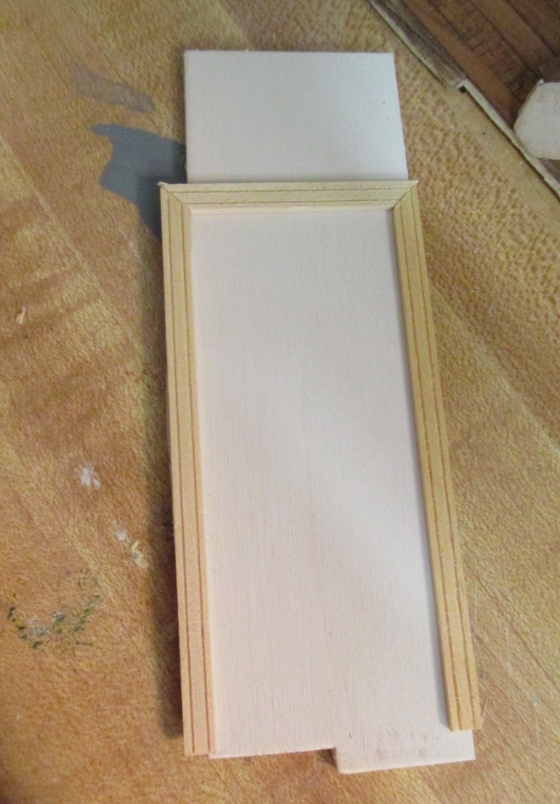
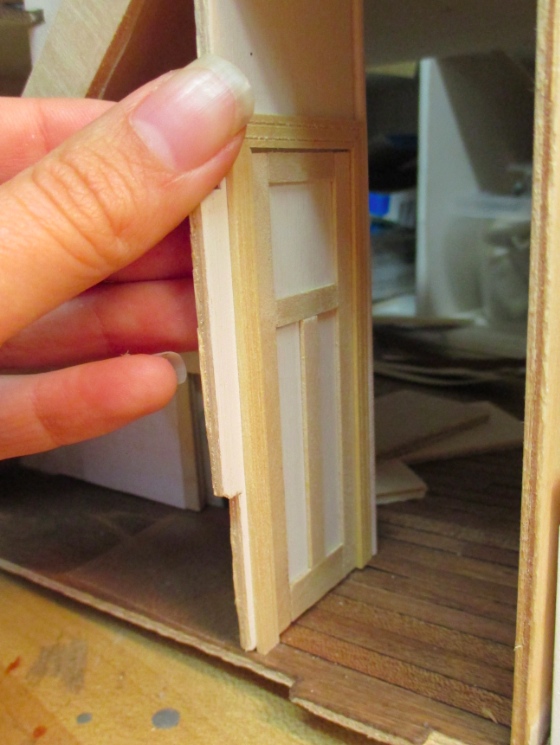
I love closets in dollhouses and wanted to create one under the stairs, but it would be nearly impossible to access once the house is put together. (I already have a hall closet you can barely see in the Queen Anne Rowhouse, I don’t need another one!) But making a fake door would be easy enough, especially since there’s a little lip where the walls meet that’s the perfect depth for door casing.
This is Houseworks interior door trim that I saved from a door I used some other trim on. It’s slightly wider than the wall piece.
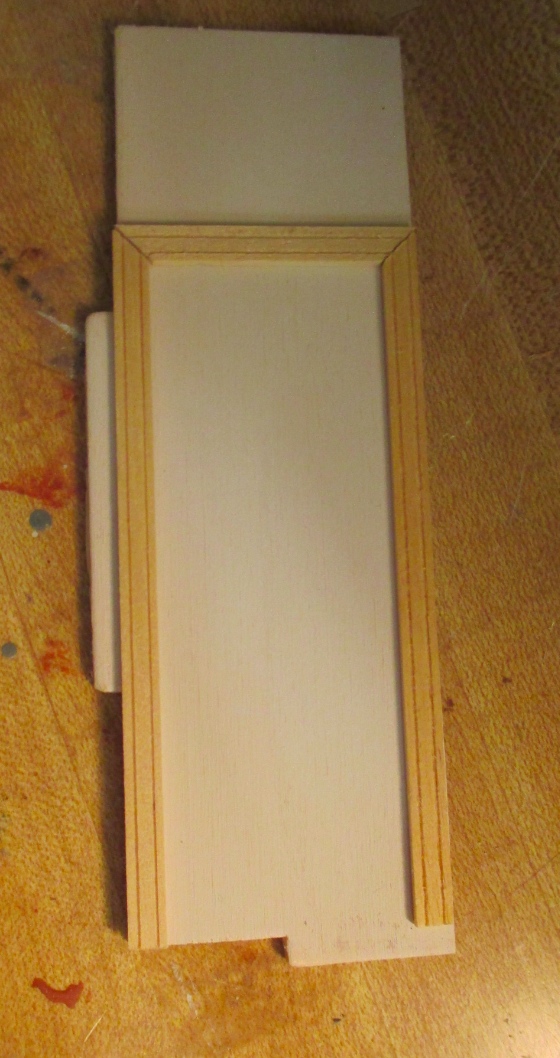
I cut down the horizontal piece of trim to fit the wall.
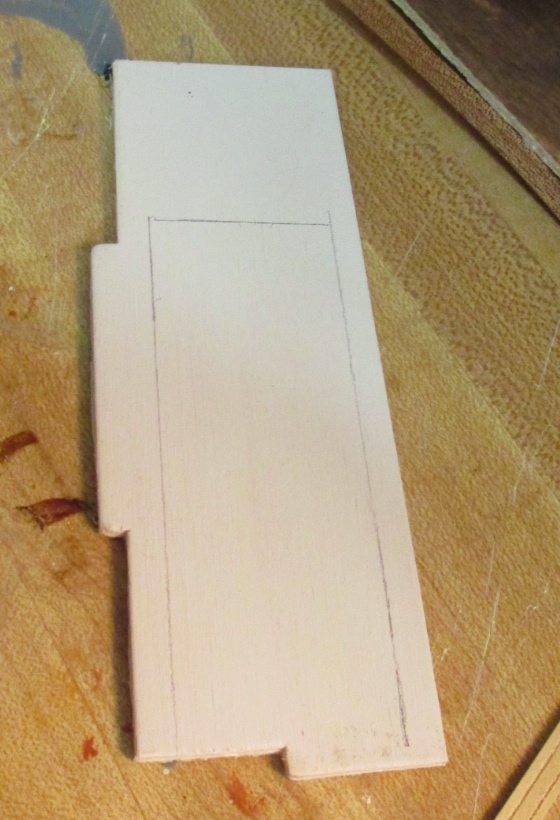
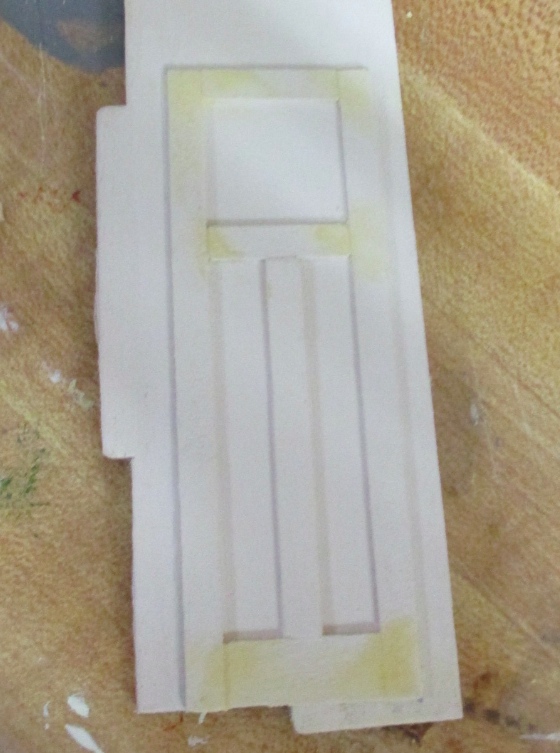
Then I drew a pencil line around the inside of the trim, so I’d know where to glue my door pieces. I don’t want to glue the trim on yet because the wallpaper from the living room will wrap around the side and top of the wall, and the trim will need to cover the edges. I painted it, but will wait to glue it in until the two halves of the house are put together.
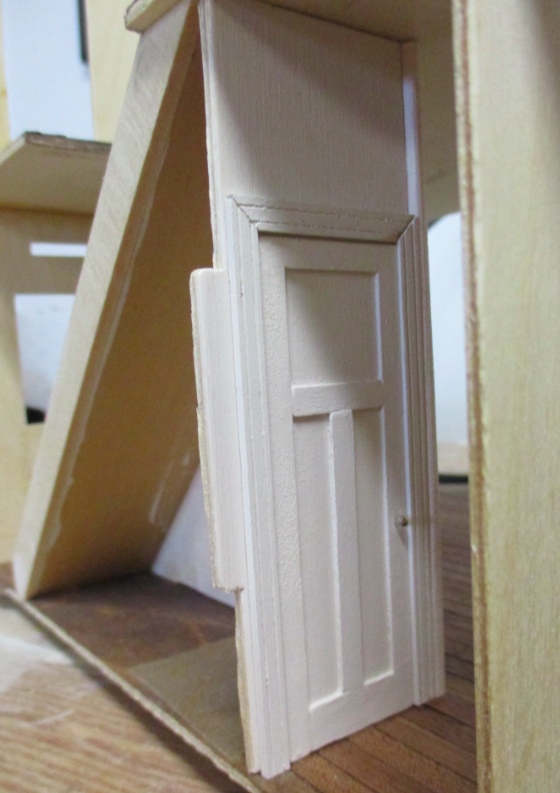
I used strip wood to emulate a three-panel style I found with a Google search. The rest of the doors in this house will be the regular Houseworks paneled doors so I figured I’d make this one unique.
I painted, hoping the paint would fill in the gaps where the strip wood pieces don’t quite meet, but it didn’t. So I added wood filler and painted again.
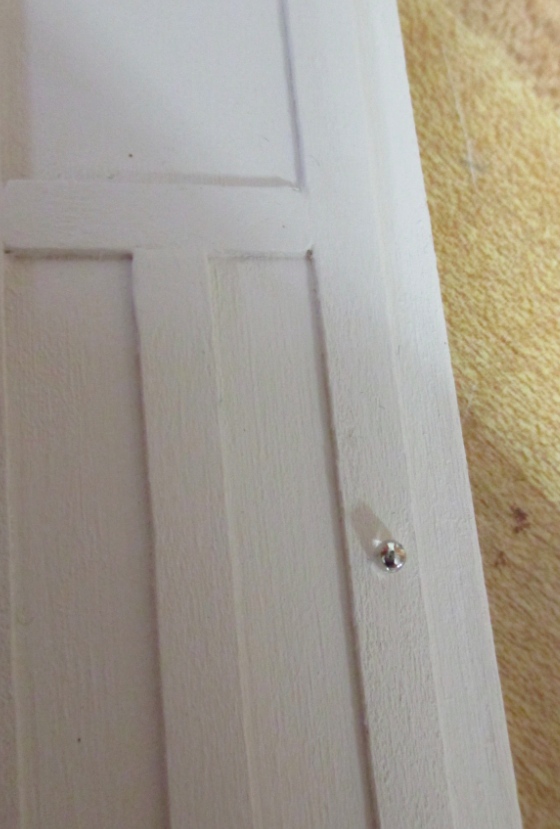
I’m tired of the Houseworks brass knobs and decided that this house will have glass doorknobs, made from a straight pin + a clear seed bead.

I marked where the doorknob needed to be (standard doorknob height is 36″ and this is half scale, so my knob is 1.5″ inches from the bottom) and made a hole with the pointy end of the pin. Then I used wire cutters to snip off most of the pin, holding onto the pin head and bead so they wouldn’t go flying. I dabbed glue on the cut end of the pin and stuck it in the hole. My hole wasn’t deep enough so I pushed it in with a flat head screwdriver (laid the door down on the desk, put the flat edge of the screwdriver balde against the pin, and pushed hard).
When you look at it straight on, you more or less just see the silver pin head.
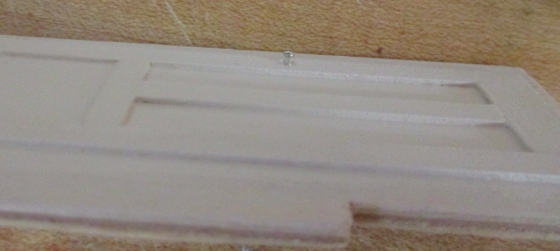
But from the side, the seed bead gives it a round shape like a door knob. Sorta.
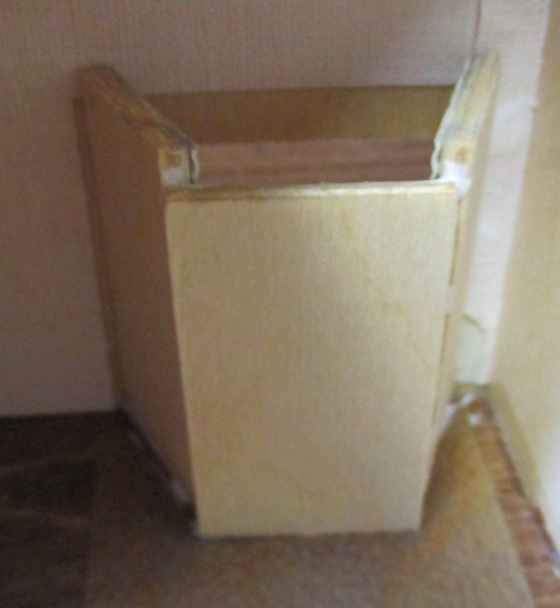
With the door finished, I glued in the wall piece.
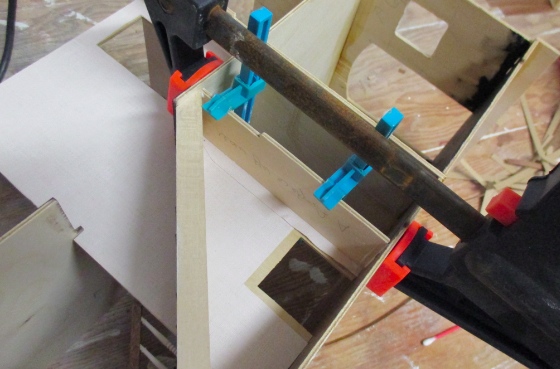
Here’s how it will look with the trim.
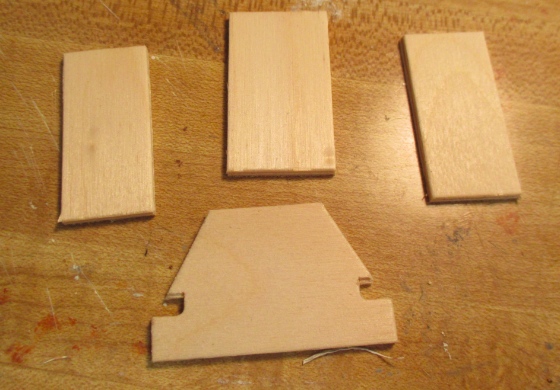
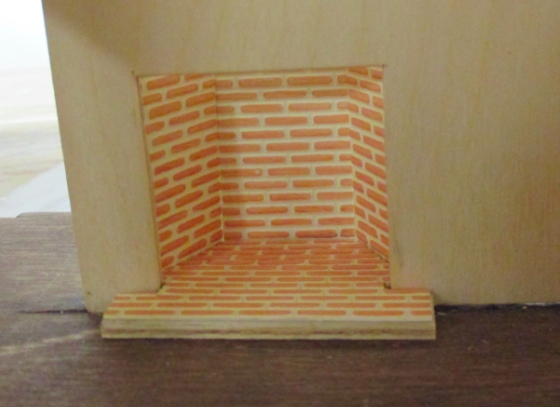
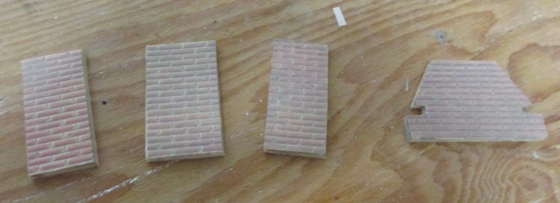
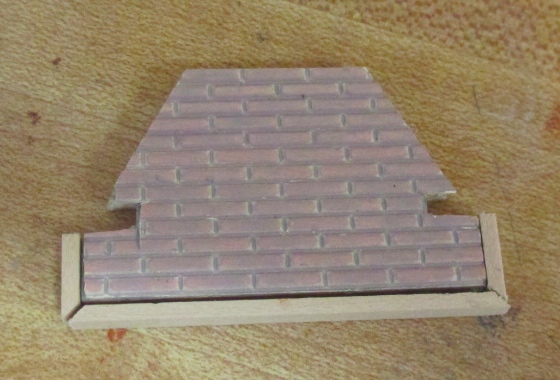
Now on to the fireplace. The kit comes with these pieces to make the hearth and inside of the fireplace.
I covered them with styrene bricks that came with one of my pull-apart dollhouses. This stuff is for model railroads, I don’t think it’s available anymore.
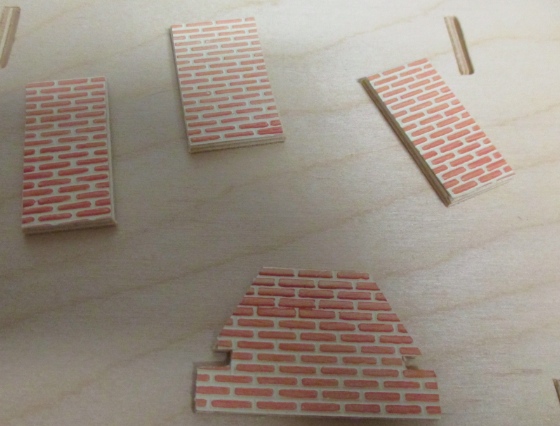
Here’s how it will look.
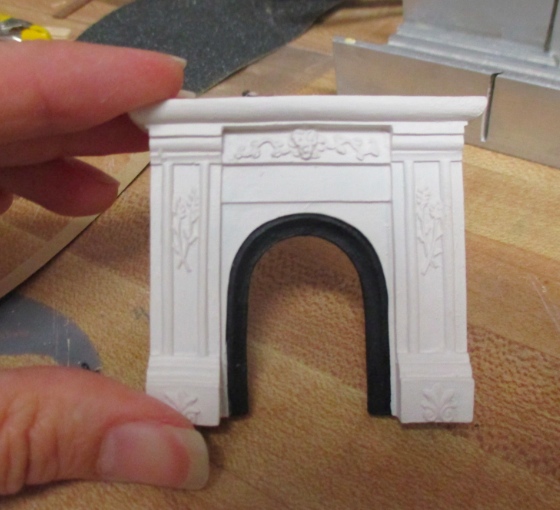
I had this fireplace in my stash. A few years ago I painted it for the Fairfield, but then didn’t like the color for the Fairfield and replaced it. I’m still not thrilled with the color and decided to paint over it.
First I tried a wash, thinking it would make it look like subtler marble.
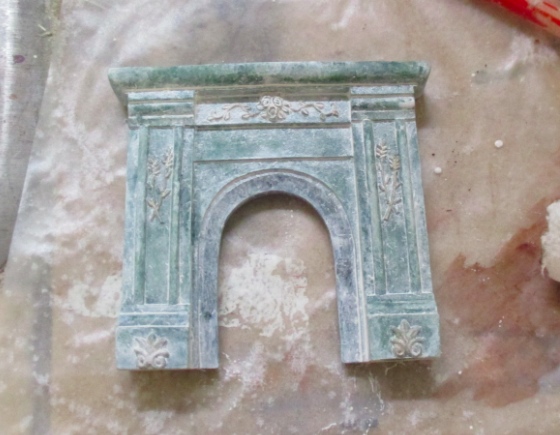
No, it just looks gross.
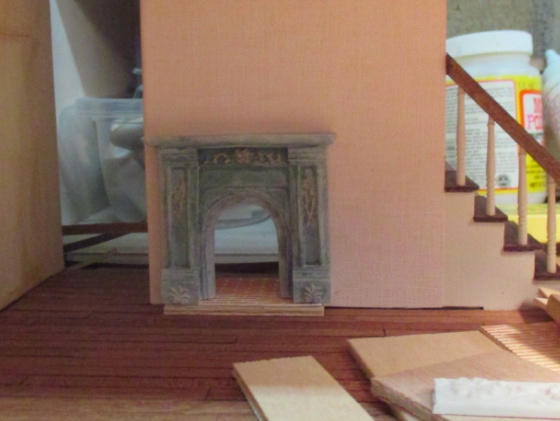
I decided to go neutral and paint over it with the Tuscan Beige paint I’m using for trim in this house. It took three coats to cover up the green completely. After taking this picture, I added a coat of satin varnish.
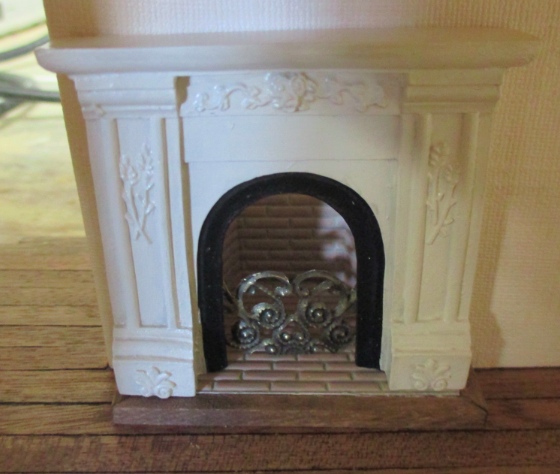
Here’s today’s example of why you should never throw anything away: I wanted to add a fender and remembered these scraps of jewelry filigree left over from when I scratch built a bed for the Queen Anne Rowhouse.
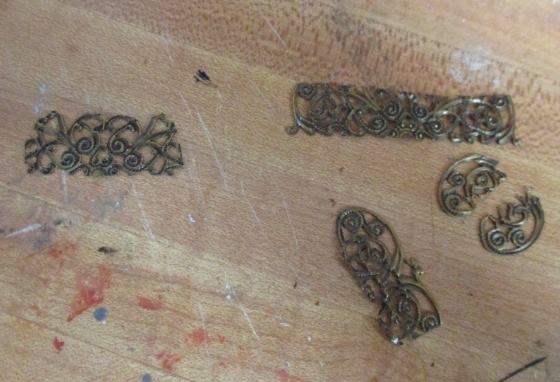
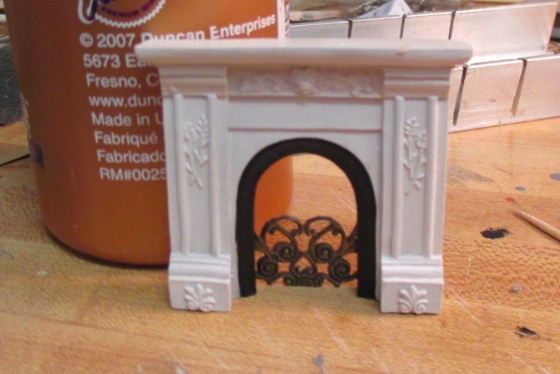
I cut one slightly larger than the opening and glued it to the back of the fireplace with Quick Grip. (First I made sure the piece of filigree was smaller than the hole in the wall, so it wouldn’t prevent the fireplace from sitting flush against the wall.)
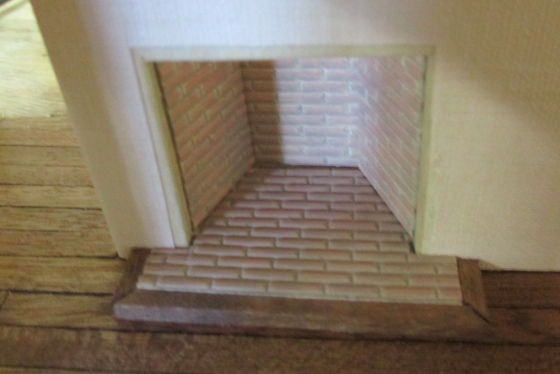
Back to the hearth. I dirtied up the bricks with some gray wash left over from the failed fireplace painting experiment.
The fireplace is a smidge wider than the hearth and I needed to cover the exposed edge anyway, so I cut scrap wood to go around the front part of the hearth. I stained it but didn’t glue it on yet.
Next I glued in the four hearth pieces.
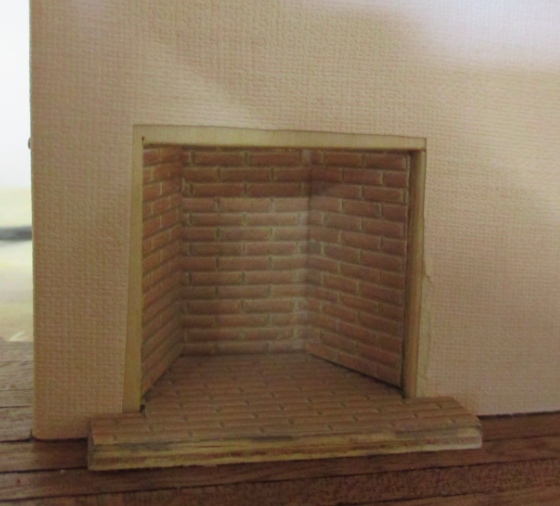
I stopped paying attention to the directions a while ago so I’m not sure how this was supposed to be done, but here’s how I did it. Originally I’d planned to glue all three pieces to the floor, but when I did it that way the back pieces didn’t meet up. (I don’t remember that happening when I dry fit them earlier in the process, but oh well.) To get a snug fit I ended up gluing the two side pieces to the hearth, and the back piece to the floor. This means the bricks don’t quite match up, but this is going to be so difficult to see it really doesn’t matter.
Finally I added the trim around the hearth. This is stained with Minwax Special Walnut, which is close to the floor color.
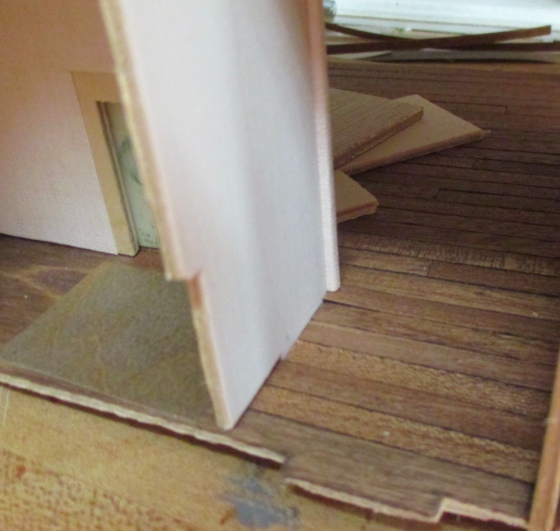
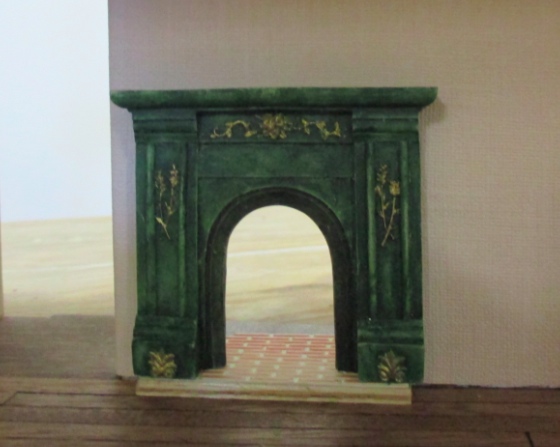
I’m not going to glue the fireplace in so I can still get in there to add logs etc. once the back of the house is on, but here’s how it looks.
It’s hard to see the closet door from this side and even harder to get a photo of it, but here you go. I waffled about which side to put the doorknob on and now that I’ve seen this, I think if it were on the other side it’d be less obvious that the door opens directly into the back of the fireplace. But hey, there’s also a staircase going up through the chimney. Only fireproof people can live here, apparently.

 Emily is a freelance writer, miniaturist, and adventure game enthusiast.


very good work xx I think the doorknob should be higher tho, in line with the cross piece of the door ?
Thanks! In line with the crosspiece would be too high. Here’s the door I copied: http://www.interiordoor.com/wp-content/tn3/Shaker-three-panel.jpg
turned out great. Like that fender idea.
Great fireplace! I’m so glad I found your blog! Your dollhouses are so nice and your hints and tips are very helpful to a newbie!
Fireplace looks great – and the stairs look as though they ‘turn’ once they are behind the chimney when you look at them from this angle. When looking at them straight on, you forget that the fireplace and chimney is there so most people won’t twig that the stairs go through the chimney. You do such lovely work, it is all looking so nice.