I recently bought a 1920s Back Porch Kit from a miniaturist who was clearing out her stash. This kit was made by Daffodil Miniatures & Gifts in Salt Lake City. I don’t think the company is around anymore, and the instructions don’t have a year on them so I don’t know how old this kit is.
The kit had been advertised as “partially assembled,” but the person I bought it from removed it from the original box to reduce the shipping cost, so the kit was packed in a ziploc bag when it arrived with a lot of loose pieces.
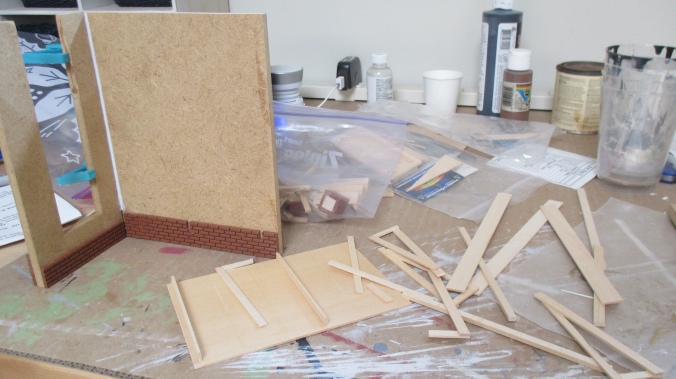
Judging from the directions, I think what I received was *less* assembled than what would have come in the original kit — particularly the walls and the roof — but I don’t know if that’s because the original builder took it apart make it flat for shipping or if the pieces had broken before that.
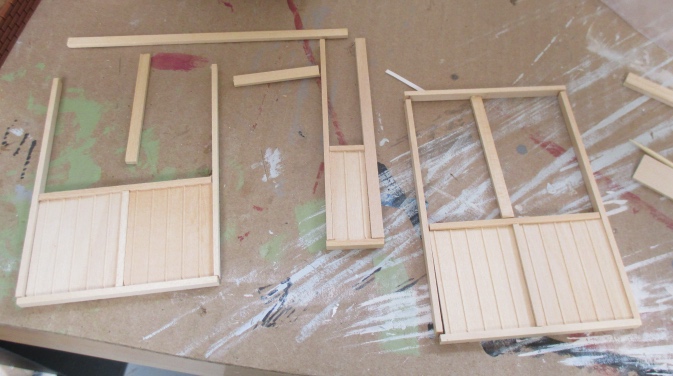
Either way, it took me a while to figure out how everything fit together. The instructions have a few black and white assembly pictures, but there’s no good photo of the final product. Luckily all the pieces are here, and I was able to tell from the dots of dried glue what was supposed to go where.
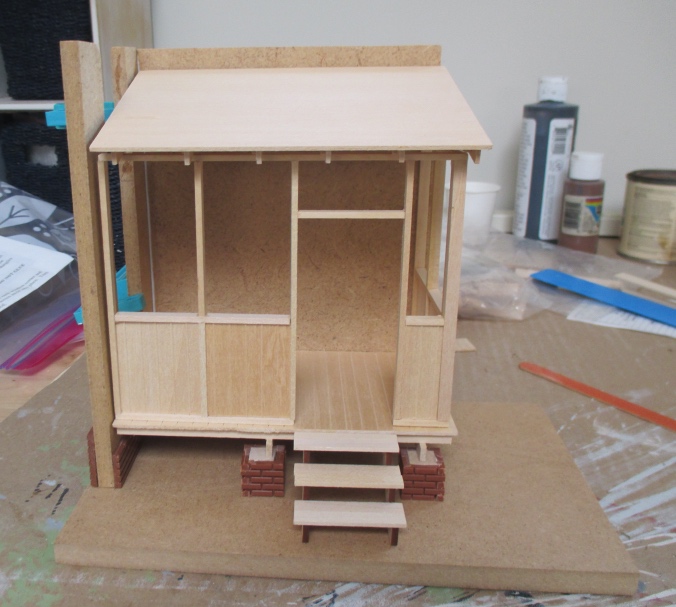
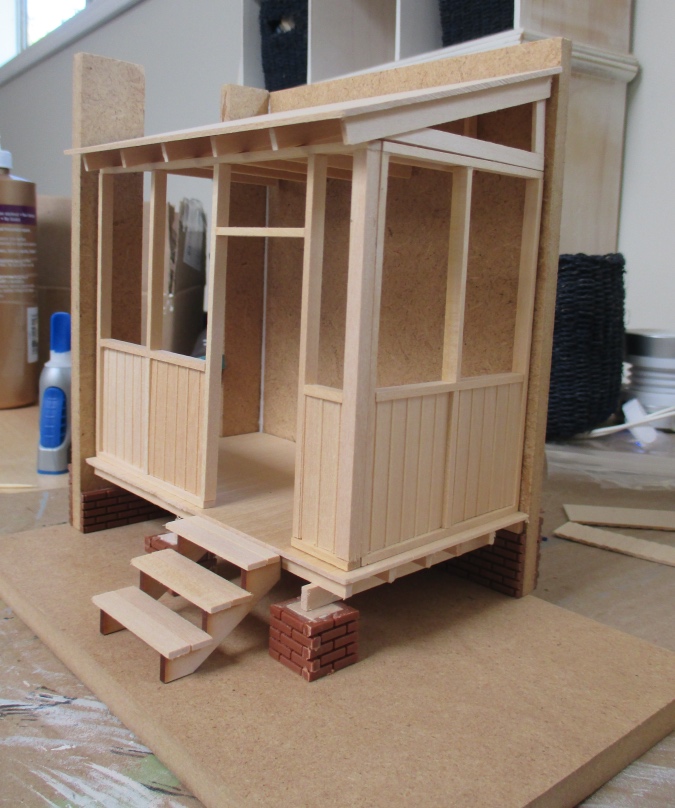
Several years ago I built a Houseworks front porch kit. The back porch faces the opposite direction, so I decided to finish it with the same colors as if the two porches are on the same house.
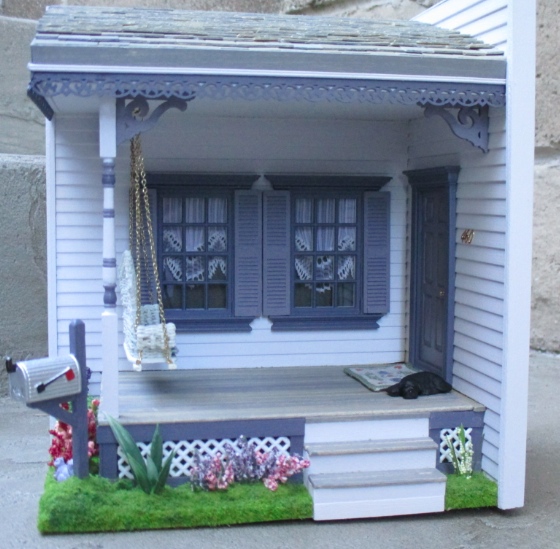
Once I figured out how the back porch fit together, the first steps were to finish the bricks and the base under the porch while they could still be accessed.


 Emily is a freelance writer, miniaturist, and adventure game enthusiast.

