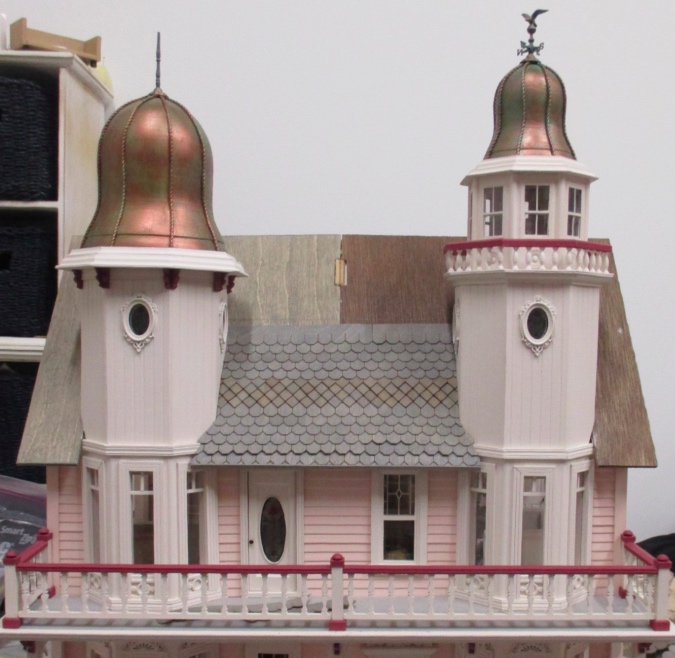
Here’s another post that’s been a long time coming! I started shingling the Victorianna back in October 2018. I’m using Greenleaf’s octagon speed shingle strips, with a couple of rows of diamond shingles mixed in.
(Speaking of Greenleaf, after a much longer than anticipated delay for maintenance, their forum is back up!)
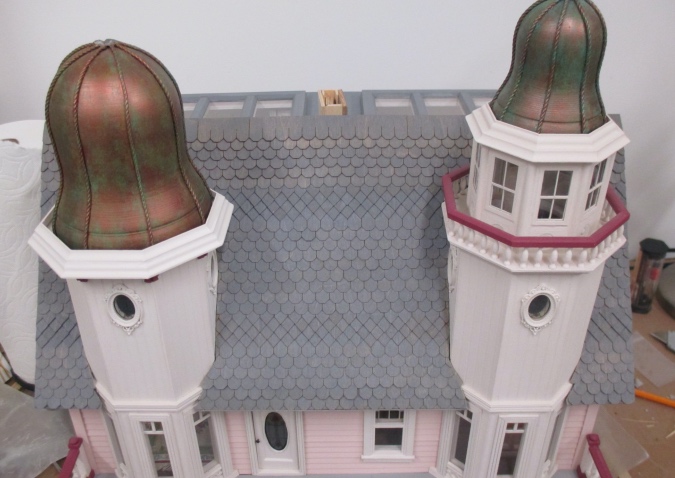
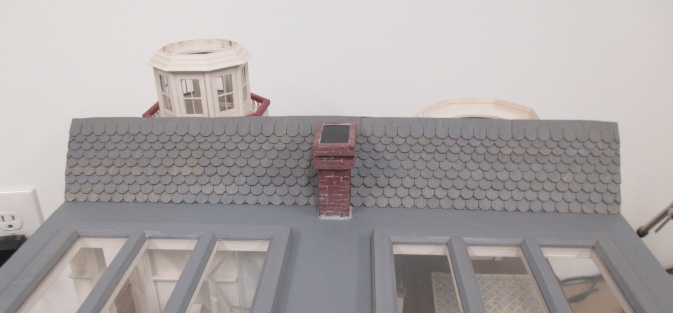
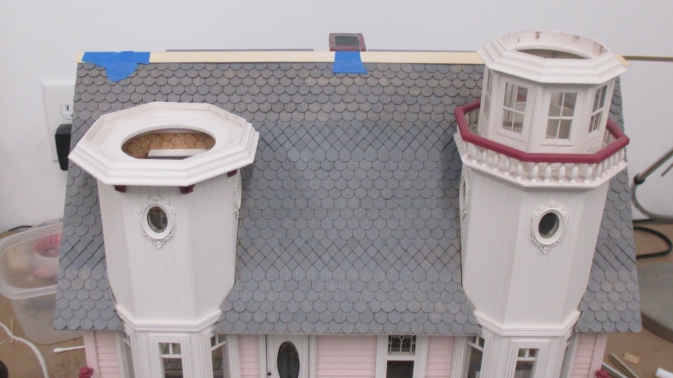
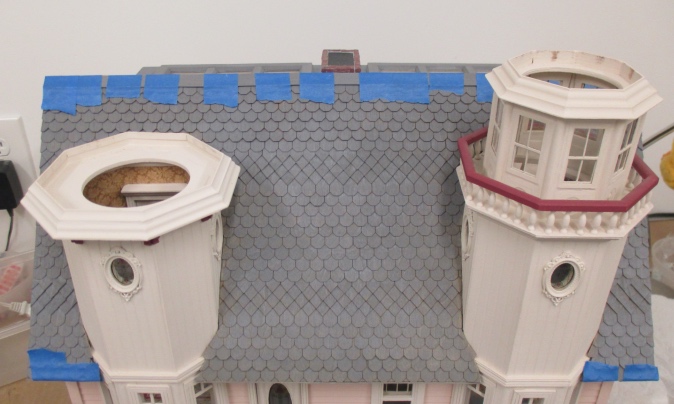
Here’s where I left off with the shingles:
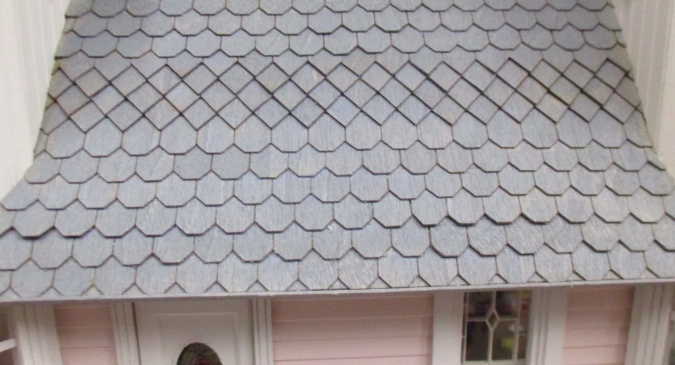
The diamond shingles were leftover from the Rosedale and the first ones I applied had a yellowish tint. At first I thought they were all like this, but some strips stained darker.
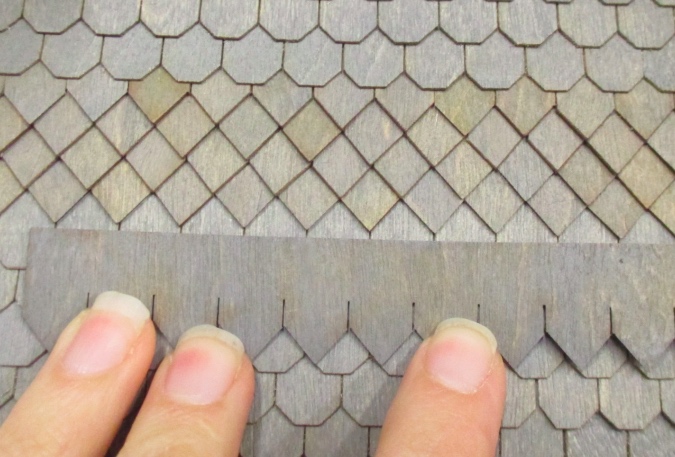
I applied another coat of stain, which made them all a more uniform color. This is water-based stain, so the glue spots don’t stand out like they would with oil-based stain.
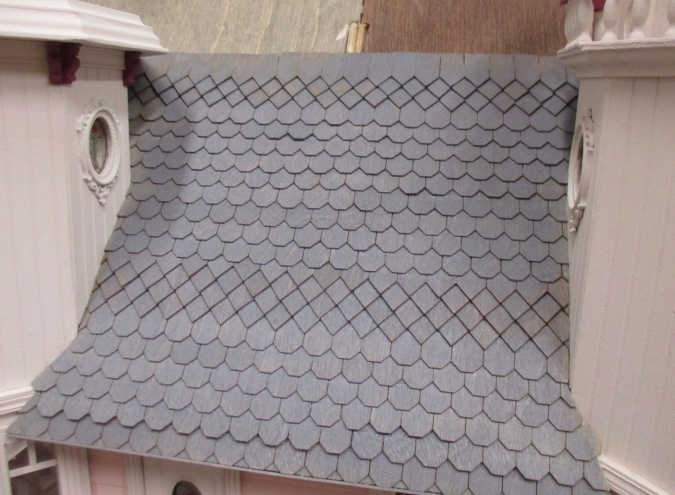
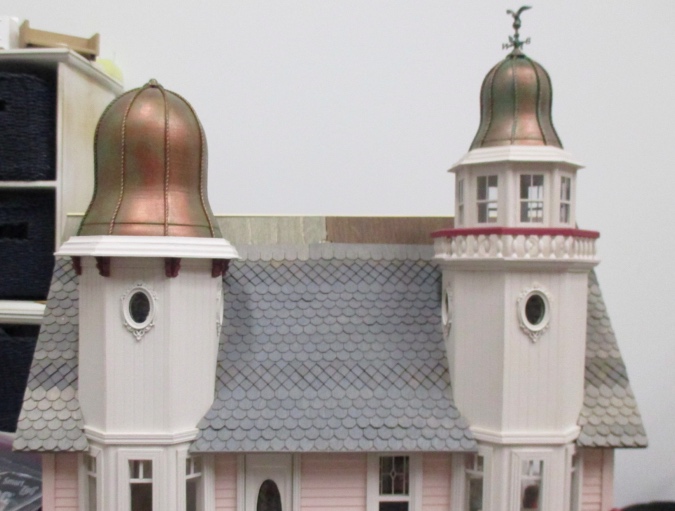
Once I worked my way up to the point where the shingles could run behind the towers, I moved on to the sides.
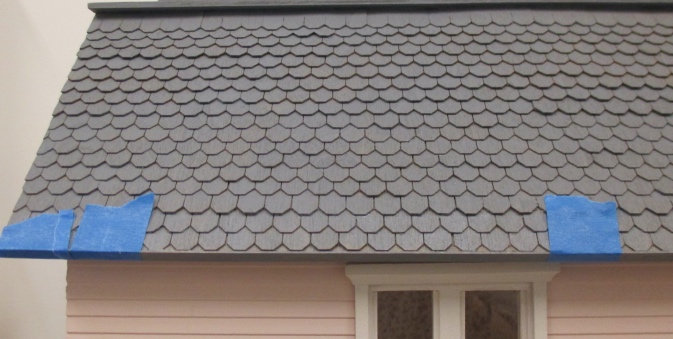
By this point I was using hot glue, but for the first several rows of shingles I’d used The Ultimate white glue, and some of them just didn’t want to stick. I tried adding more glue and clamping them down.
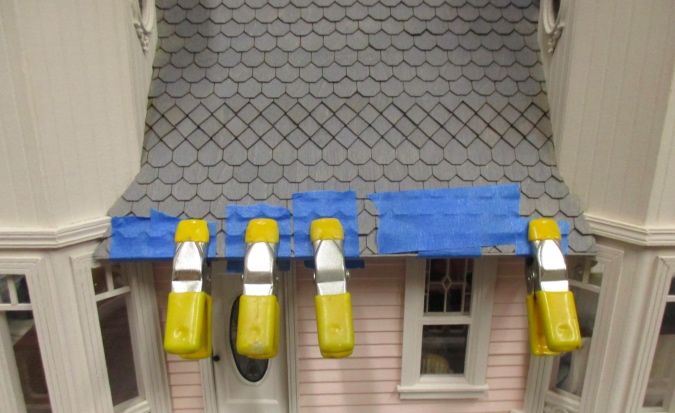
It helped some, but a few stubborn shingles just won’t lie flat. Oh well. Let’s pretend it’s an old roof on an old house.
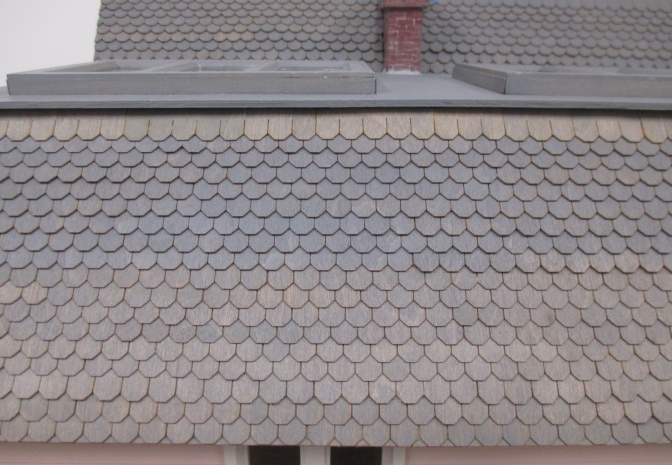
Here you can really see the difference between the shingles that only got one coat of stain, versus the ones in the center that got a second coat of stain. I stopped here to attach the roof.
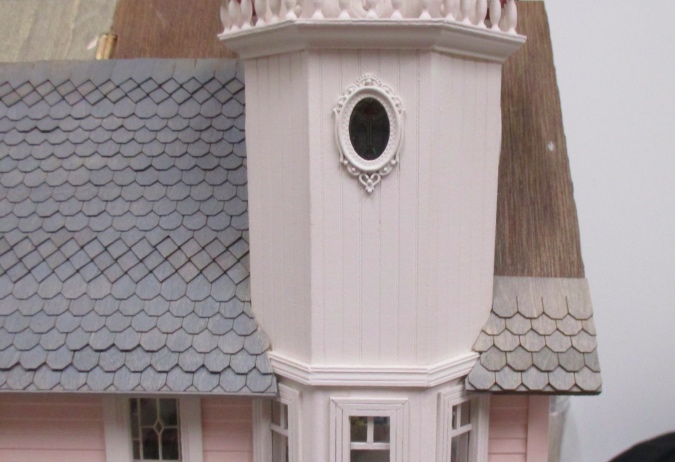
I got this far up the back before putting the shingles aside for 18 months…

Fast forward to a few weeks ago. With the sloped roof attached, I was able to finish shingling the front. The fiberglass securing the peak was easily covered up.
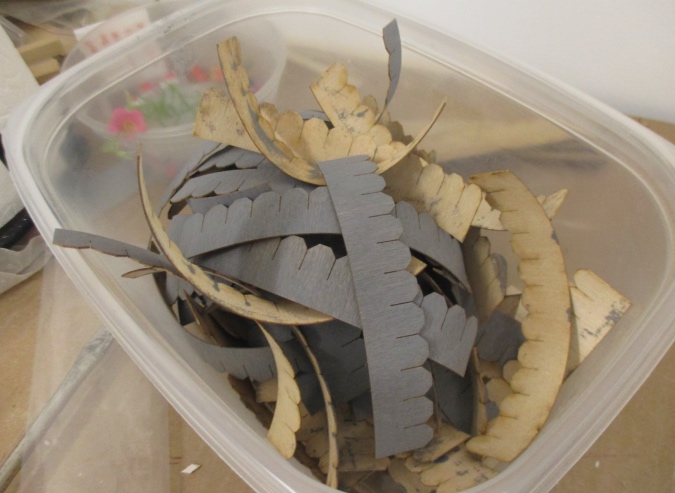
By this point I was down to two packs of shingles, out of six I’d originally ordered. (Plus two packs of the diamond shingles that I had leftover from the Rosedale.)
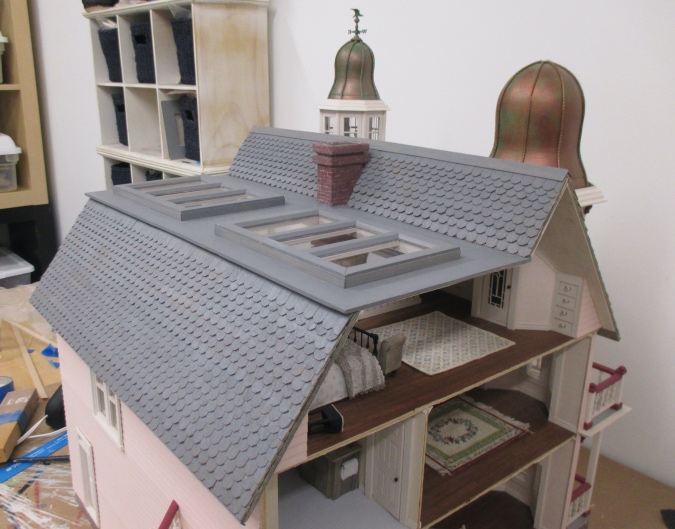
As I finished the back roof, I started to get concerned about how many — or, rather, how few — shingles I had left. I had planned to put four skylights in the sloped roof, which would have left very little space for shingles. Since I ended up not using the skylights, I wasn’t sure if I’d have enough.
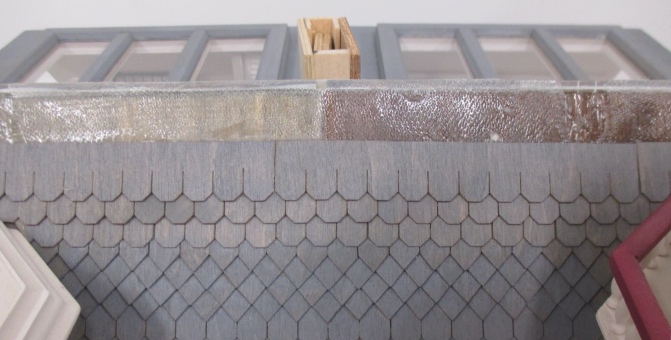
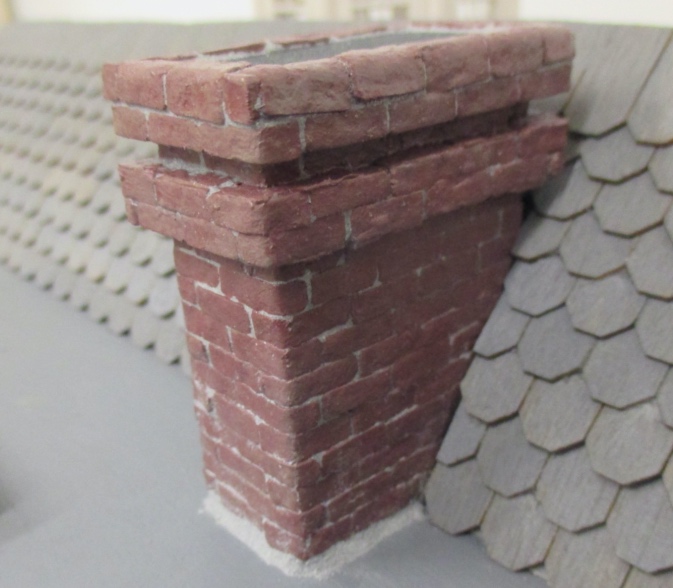
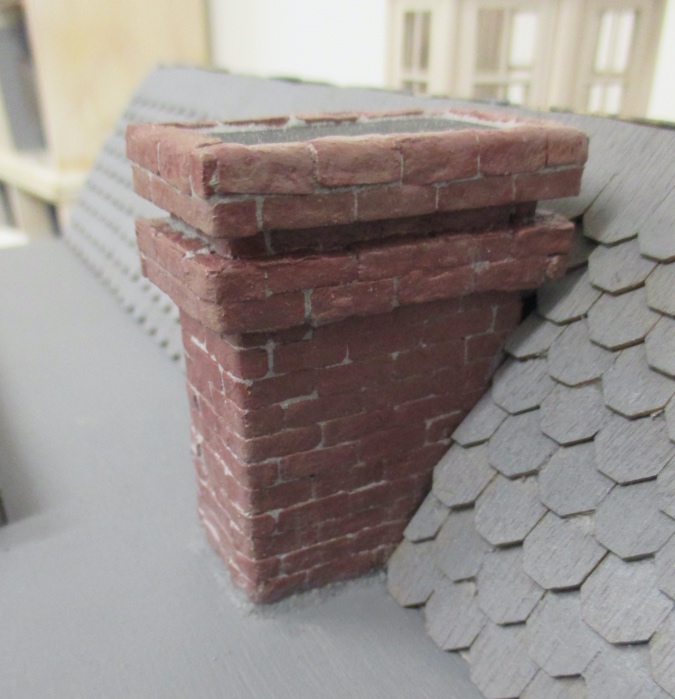
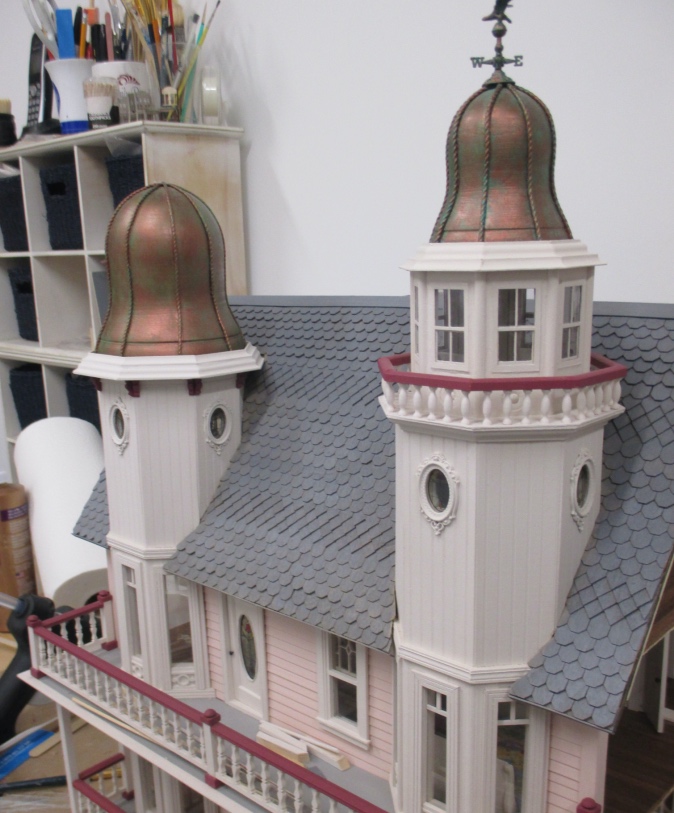
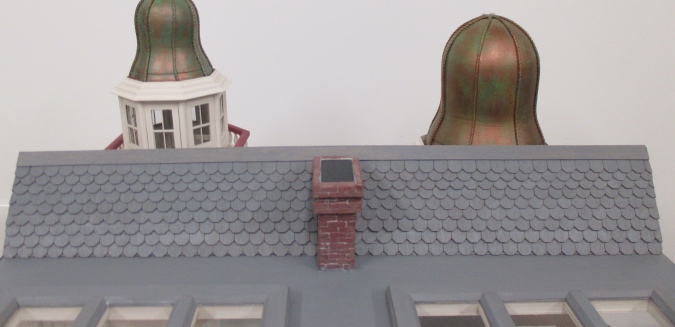
Before shingling the sloped roof, I glued in the chimney and added mortar around the bottom. It blended in nicely while the mortar was wet…
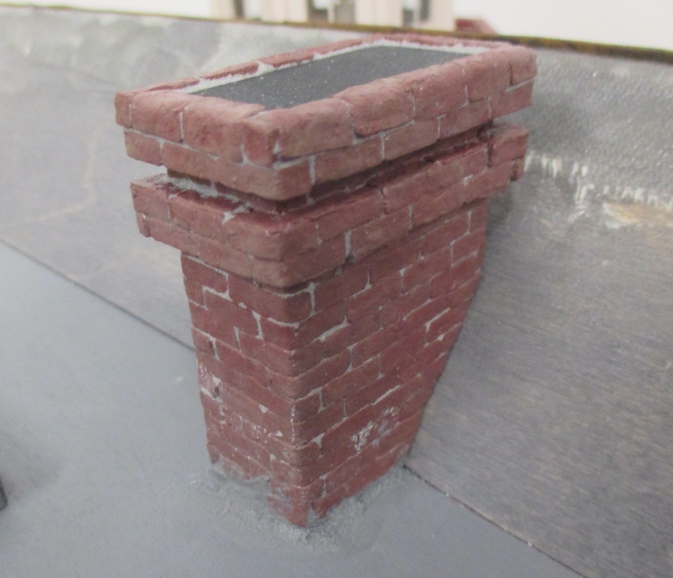
…but once it dried, the mortar was too bright. (It’s okay, I’ll fix it a few steps later!)
Luckily I did have enough shingles.
By now I was out of full strips, but I had enough partial strips and loose shingles left that I was able to add one more row to the back.
And I had just enough to add one more row to the front.
The top row of shingles will be trimmed off with strip wood for a clean look.
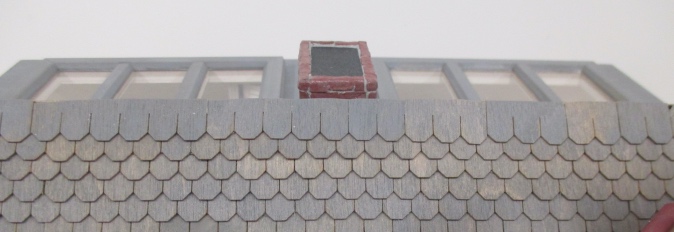
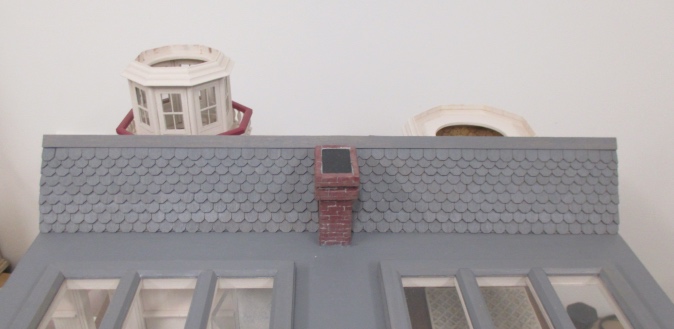
I got out the stain and went over all the shingles again so the color is uniform.
At the same time, I applied stain to the mortar. Now it blends in with the roof. I’m not sure if this would have worked with oil based stain.
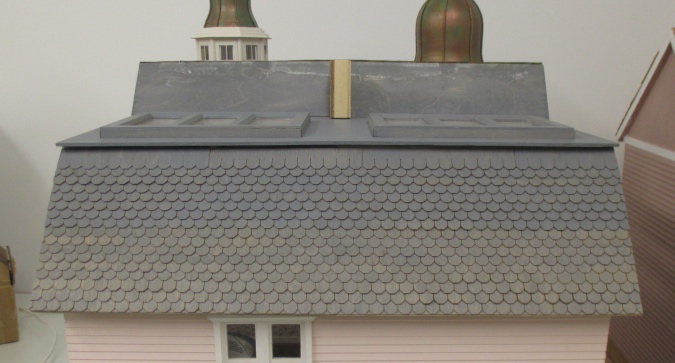
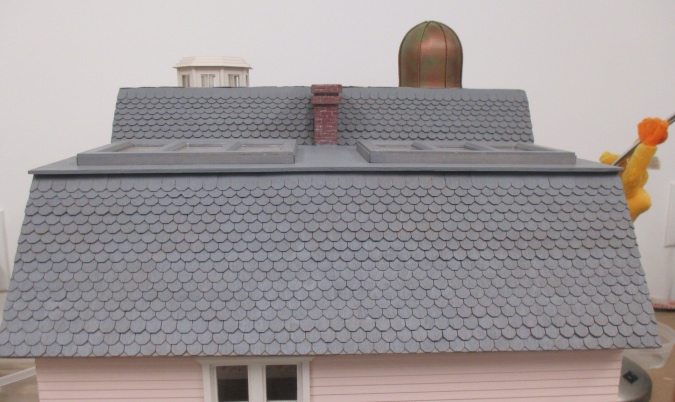
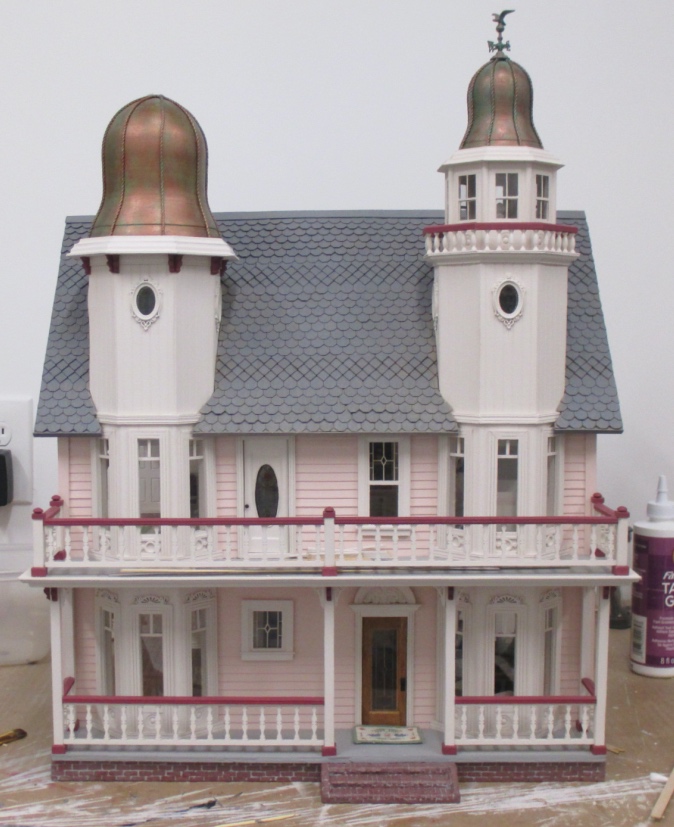
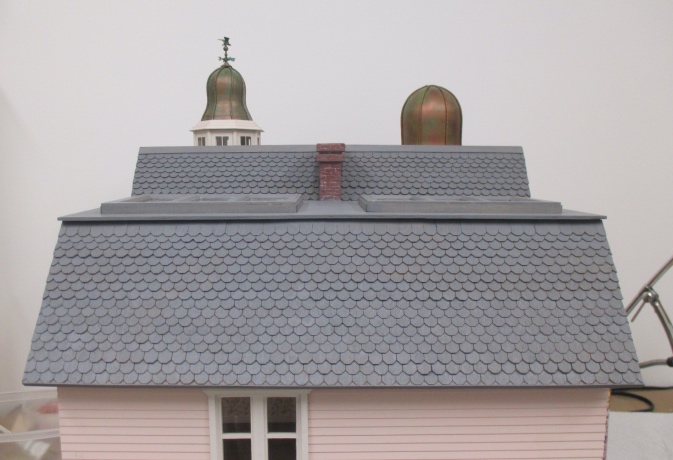
Next I added basswood trim to the peak. I did the back side first since it won’t be as visible as the front when the house is on display. The roof is wavy because there’s a hump in the middle where the two Victorianna kits meet. I glued on the trim so it’s flush with the top of the roof in the center (the highest point). On the sides it extends slightly above the top of the peak.
When I glued the trim on the front, I positioned it to meet up with the back piece of trim.
I also glued trim pieces to the bottom edges of the roofs, to cover up the exposed plywood edges.
What do you think? I do see the hump, but I hope it’s not *too* obvious!
I still need to add trim to the top of the back roof, and on all the roof sides. I don’t have the sizes I need so I have to order some.
 Emily is a freelance writer, miniaturist, and adventure game enthusiast.


Looks good! It turned out well. I really like the skylights, too.
The roof looks amazing. I am about to finish the roof on the large Bellingham farmhouse and it is a mess. I used the speed shingles, hot gluing them down. The seams between the peaks are really rough and will have to be covered. I haven’t stained it yet because I don’t know what to use. I am also glad to read that yours are not laying flat either. I am hoping that the weight of the stain will flatten them, but it probably won’t. I can’t decide which is better: speed shingles or the individual ones. Our basement is very humid with three large aquariums the evaporate a lot of moisture, so these thin shingles tend to curl even more. Anyway, yo roof looks amazing even with the gentle wave. I take comfort in knowing that others–and more experienced–miniaturists have the same problems that I have. And I like the trim on the peak of the roof. because that’s exactly what I am using.
Speed shingles are definitely faster. Putting on shingles one by one takes soooo long. I didn’t have the same issues with the diamond shingles on the Rosedale but it could be because I used hot glue from the beginning, or because of climate (I live in a much more humid place now than I did when I shingled that house).
It looks really good. I don’t find the hump noticeable at all.
Isn’t it a great feeling when you finish shingling a roof? Looks fantastic.
That’s a LOT of roof! It looks great. As for your concern about hump, continue with the “old house–old roof” theme. Old houses settle and their roof lines often show it. Next time you run short of shingles, consider some fake solar collectors (or maybe real if you feel tempted to electrify again.) OK in the back but not in the front. They would spoil the elegant look.
Dad
P.S. Don’t burn anything in the fireplace(s). I’m not sure if you would want to see it from the front but by code the top of the chimney should be 3 feet higher than the adjacent roof line. Especially a wood shingle roof!
Maybe some tall fancy chimney pots on top would satisfy both code and theme. Just a thought.
I was wondering about that! I might add chimney pots but I’m not sure if I want them sticking up and visible from the front. I found some on Etsy that could work but haven’t ordered them yet.
A completed roof is like icing on a cupcake…the roof looks wonderful as does the entire build. Old homes do have their quirks and any problem you see with the roof is very minimal to me…such a beautiful building with lovely soft colours!
Great work and I applaud your cleverness in finding solutions for the many challenges that this project has thrown at you. Bashing two kits is a lofty goal but you have made a dream come true! Enjoy your amazing success!
Well done Emily! You have created a beautiful house.
Your pink house is Dreamy especially in the way you’ve treated each of your roofs.
The colour and patterns of the shingles, subtly compliments the aged copper domes and skylights; and how lucky are you to have had just enough to complete the rest of your roof- A Grand Finale for a Grand Old Home!