As I’ve posted about before (here and here), I’m constantly on the hunt for Bauder-Pine furniture to use in my Mansard Victorian. Here are some pieces I’ve acquired over the past year and a half.
This settle and wardrobe are from the Lynda Bauer estate, and came from Debbie Heard (Estate Dollhouse Miniatures) on eBay.
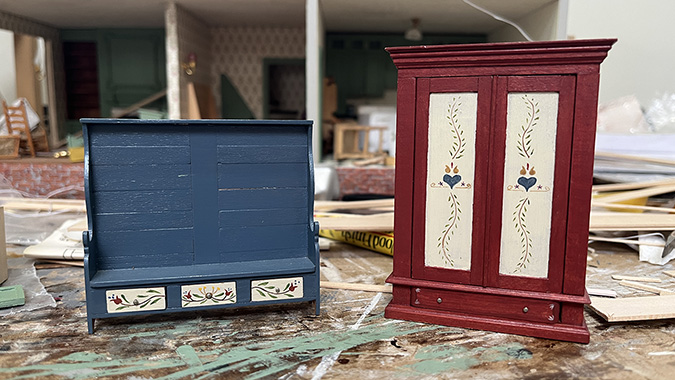
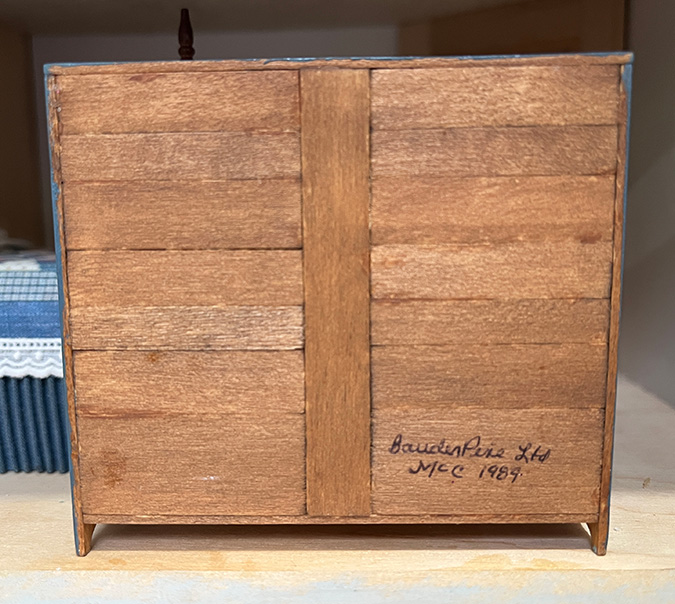
Both are signed by Jayne McCormick.
I was especially excited about these since they’re different colors than the rest of what I have. Most of the hand-painted Bauder-Pine furniture is light green or dark green.
Since I hadn’t seen these colors before, I wondered if these were one-of-a-kind pieces. Cathy Vaughan, the current owner of Bauder-Pine, sent me pics of pages from an old catalog that shows blue and red furniture.
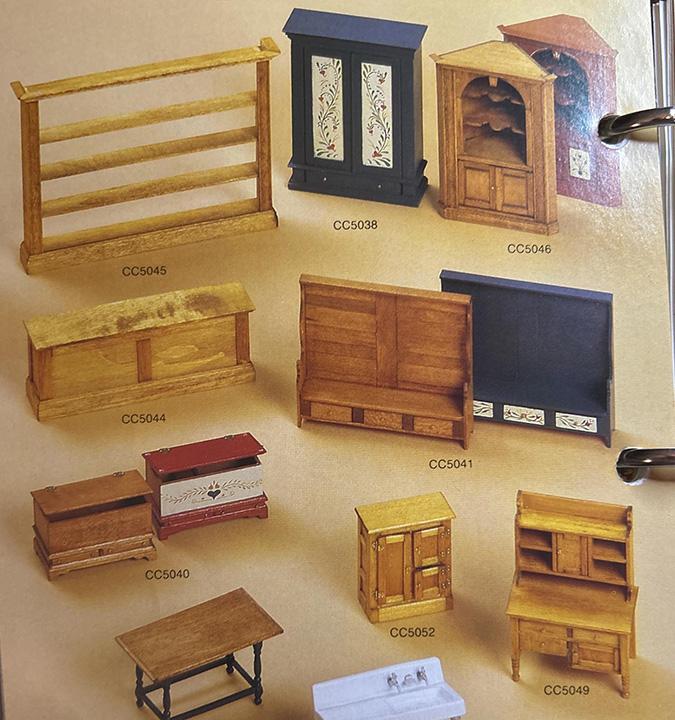
These particular pieces were intended to show how Cassidy Creations kits could be finished — they weren’t for sale through the catalog. The settle I bought might even be the one pictured.
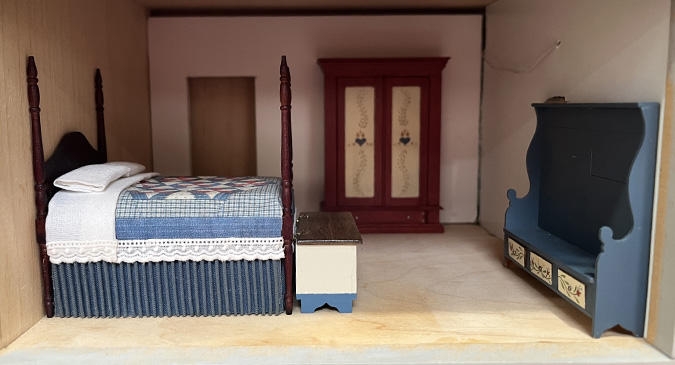
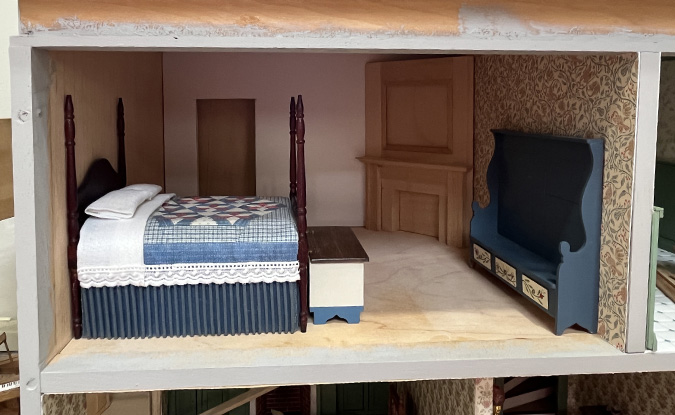
I had been planning a layout something like this for the second floor bedroom. The bed is also Bauder-Pine, and I think the corner fireplace is too. (More details here.)

The blue and red furniture looks great with the blue bed. But there wasn’t a good way to lay it out with these pieces and also fit in the corner fireplace.
Maybe if I just used the settle, and not the wardrobe? I dunno, it takes up a lot of space.
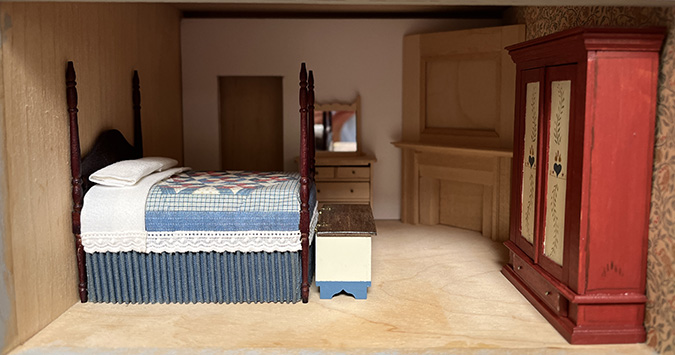
Or the wardrobe and not the settle? Nah, I don’t like this. The wardrobe looks better when it’s against the back wall, so you can see the painted doors.
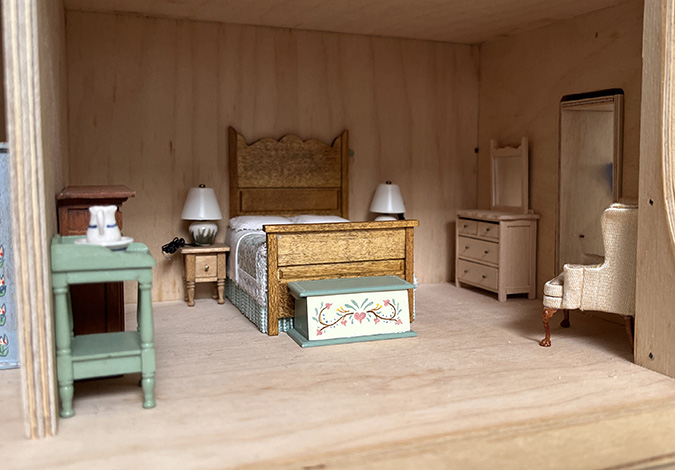
Meanwhile, here’s what I was thinking for the third floor bedroom. This is also a Bauder-Pine bed, blanket chest, and washstand.
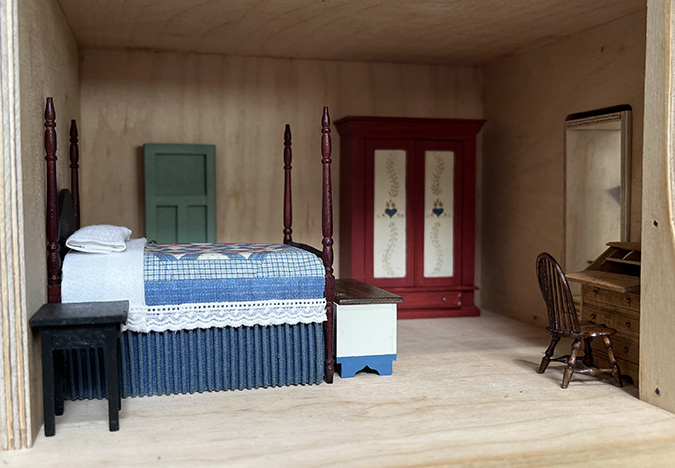
The third floor room is bigger, so I decided to try swapping the green bedroom with the blue bedroom. Unfortunately I still couldn’t make the settle fit, but I like this layout and it gives a good view of the wardrobe.
I can use the settle downstairs in the entry.
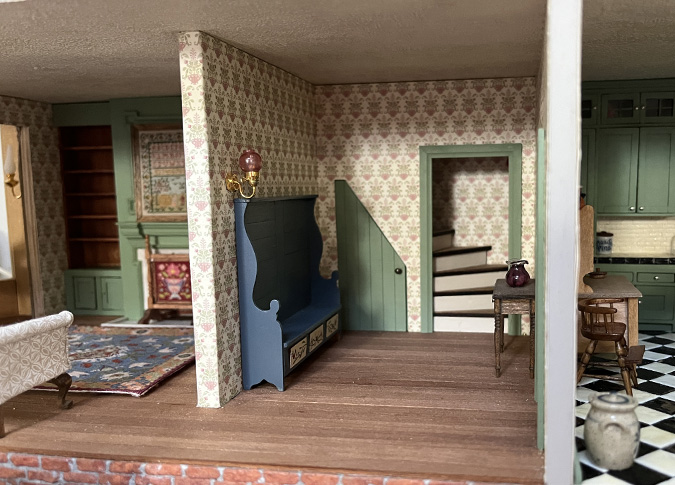
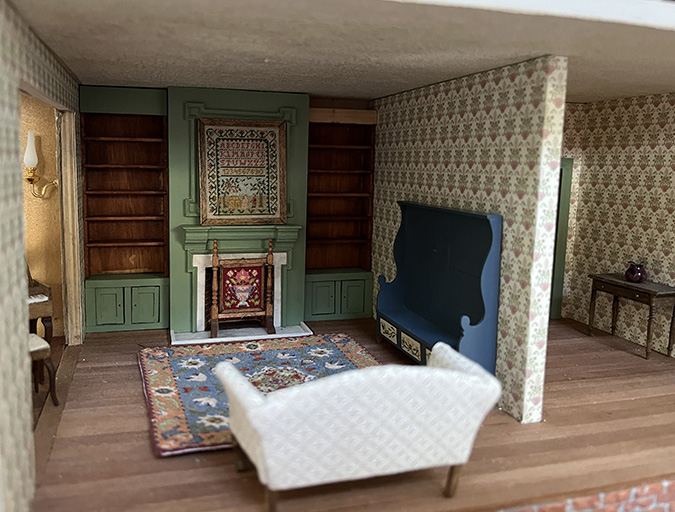
Or maybe in the living room.

 Emily is a freelance writer, miniaturist, and adventure game enthusiast.

