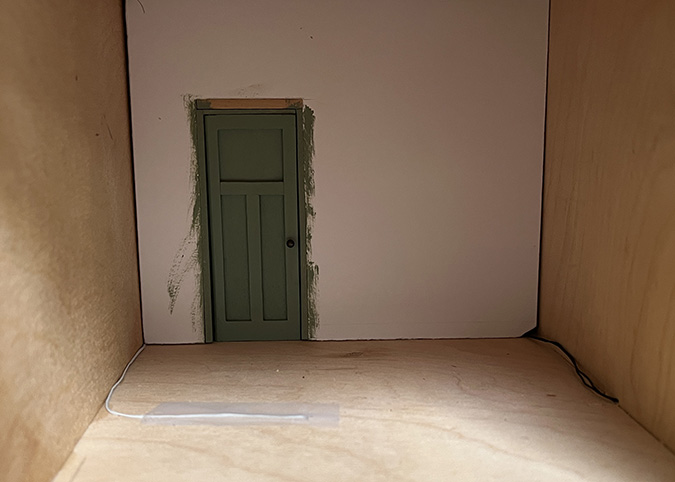
While I was working on the nursery floor, I was messing with the pin hinges in the door and accidentally poked the bottom pin through the front of the door, mangling the hole beyond repair. (Hence the chip in the paint.) So before I could continue with the nursery walls, I had to make another door. Two steps forward, one step back with this house.
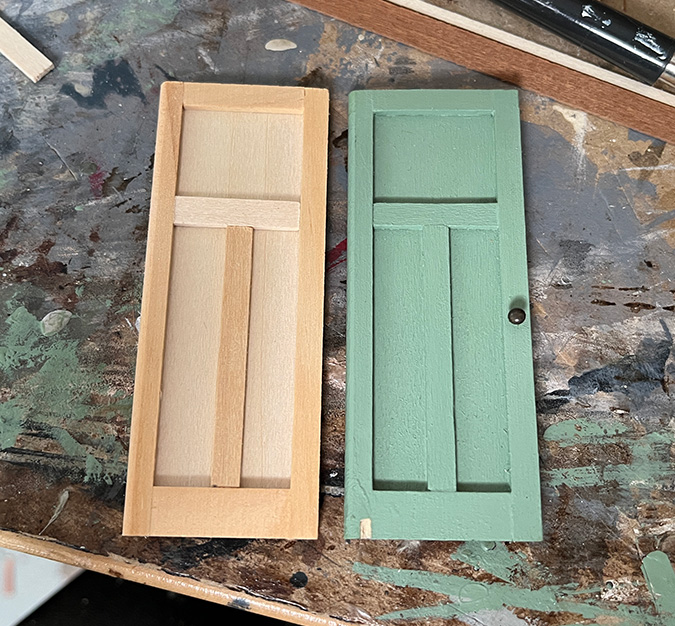
These doors are made from oval light doors that used to be available on Real Good Toys’ website, but no longer are. This post shows how I make them.
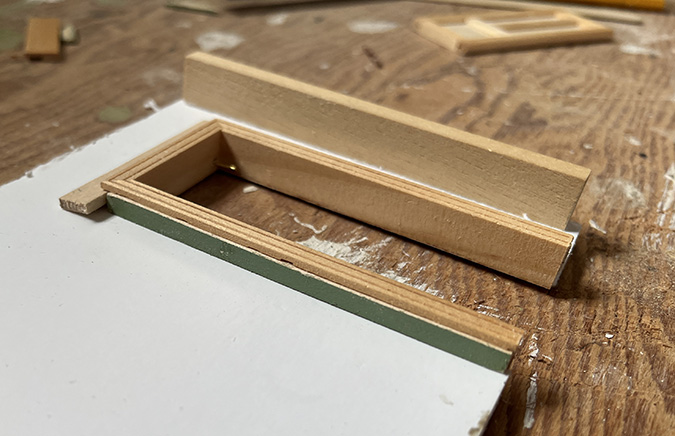
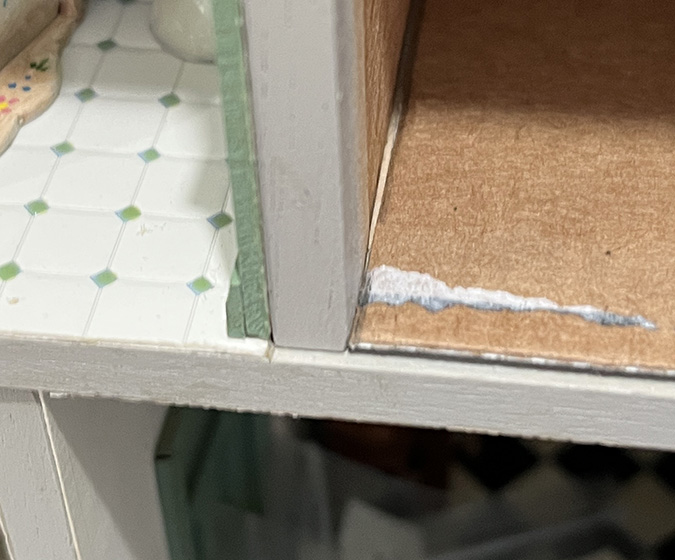
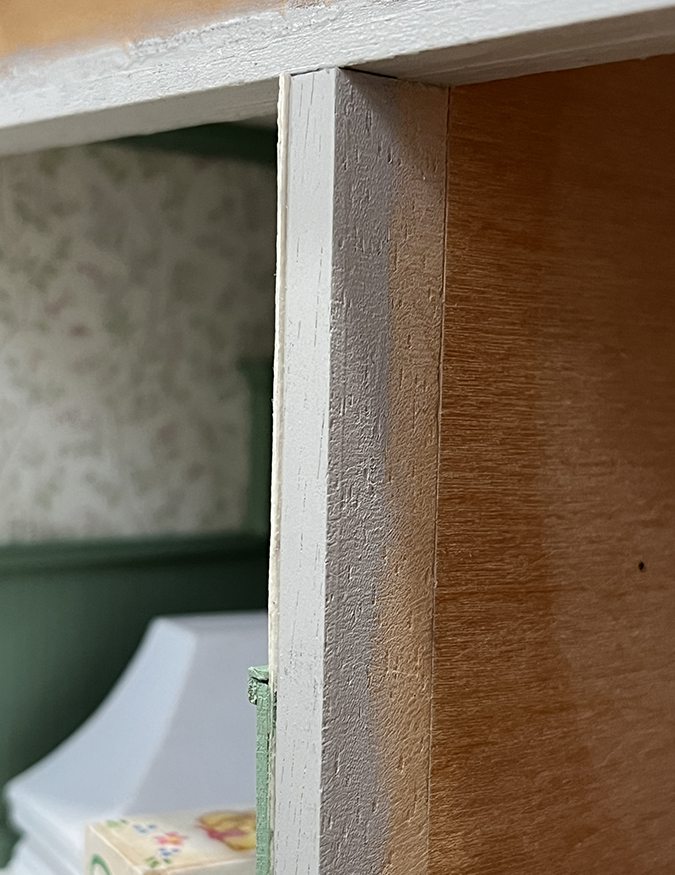
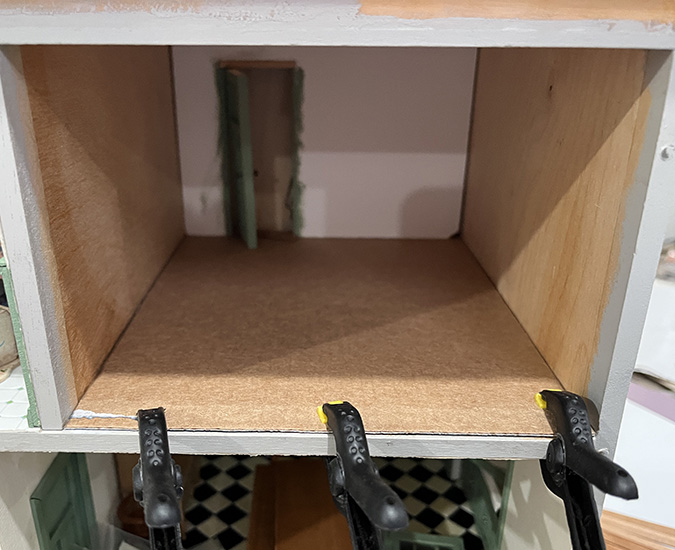
The first door was in a frame I’d made myself out of strip wood. To mitigate future pin-hinging catastrophes, I decided to pull off those pieces and instead use the frame that came with the door — that way the hole and pin at the top were guaranteed to line up. I cut off the threshold at the bottom to hinge the door directly into a floorboard.

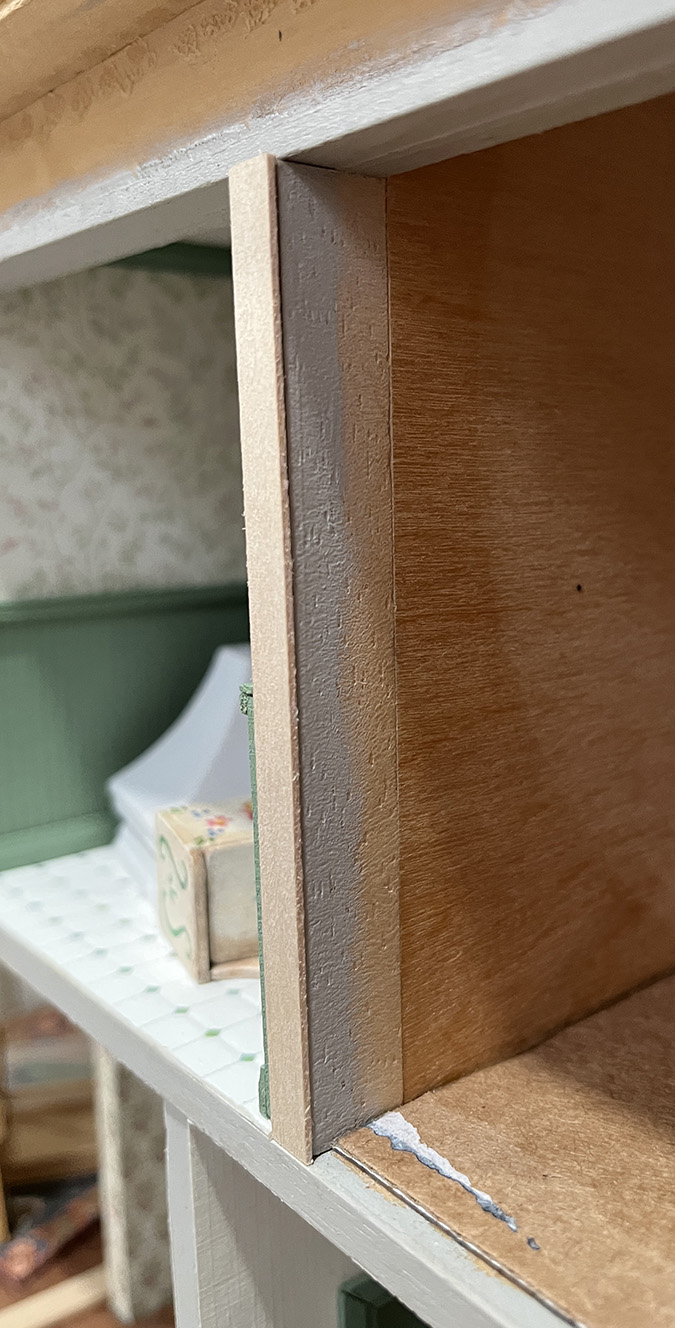
The frame is deeper than my strip wood pieces were, so it sticks out in the back. I used the pieces I’d just pulled out of the frame as shims.
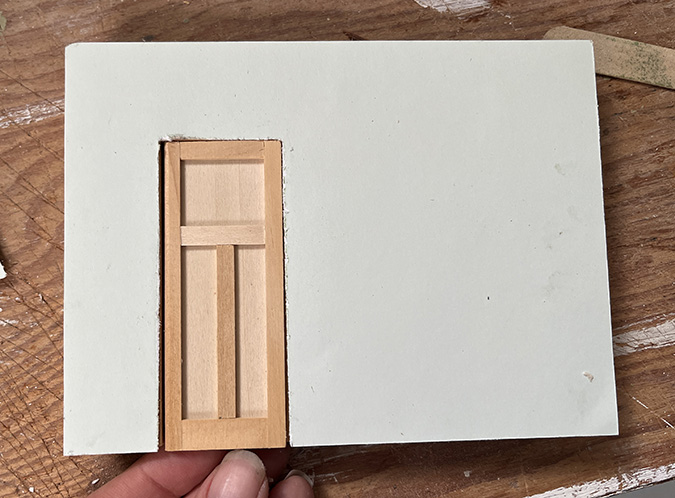
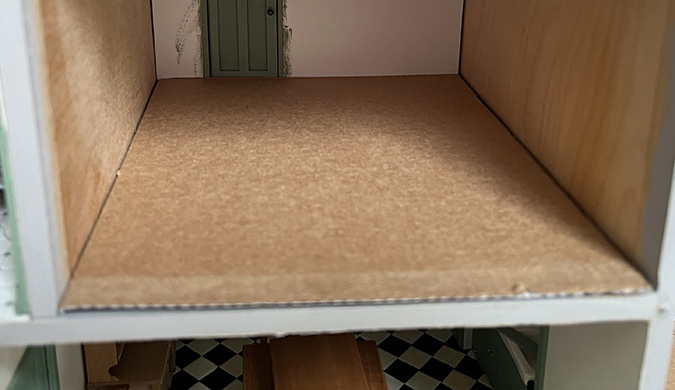
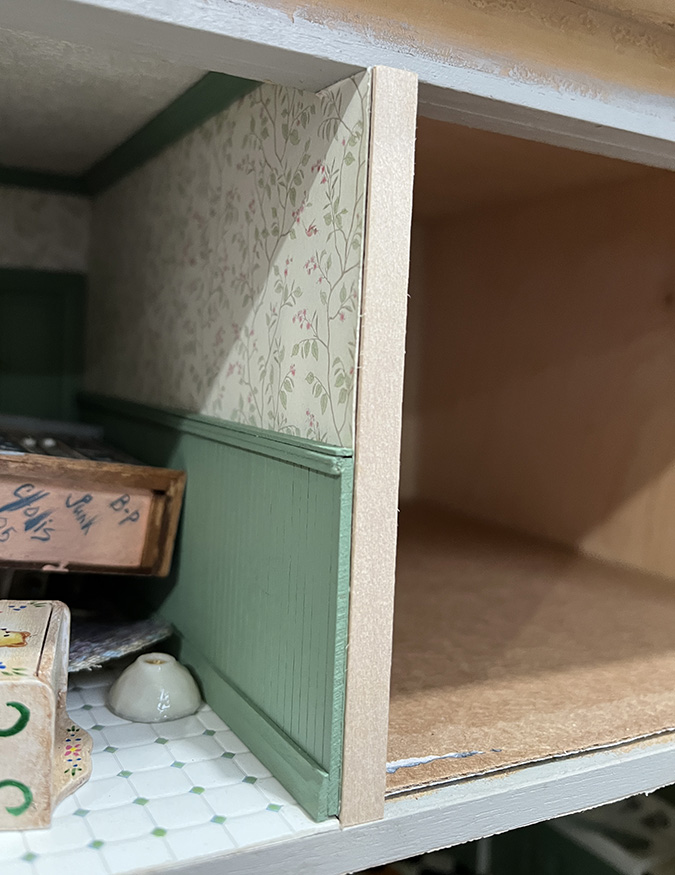
The foamcore was getting beat up from all of my messing with it. I covered it with scrapbook paper to have a smooth surface to glue wallpaper to.
Next I painted the new door and the frame.
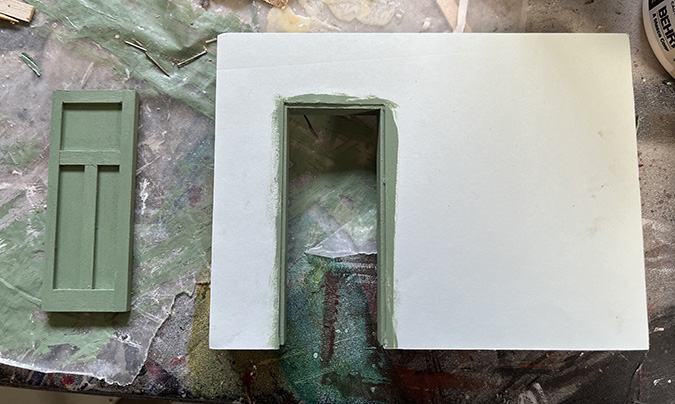
And now I was ready to wallpaper. I’d picked this paper out when I started working on the nursery last summer.
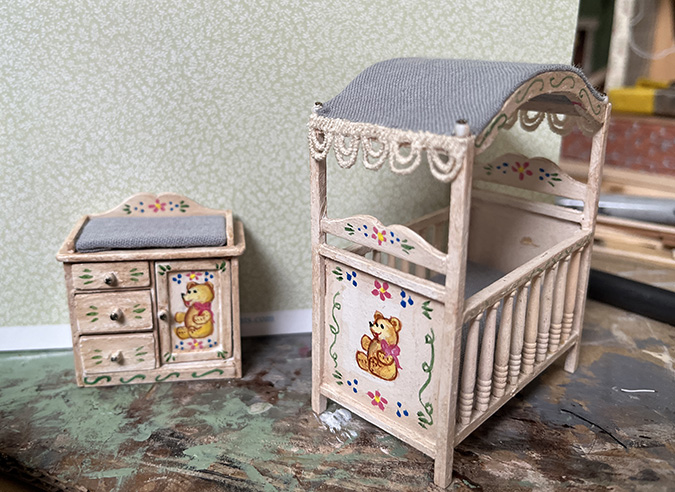
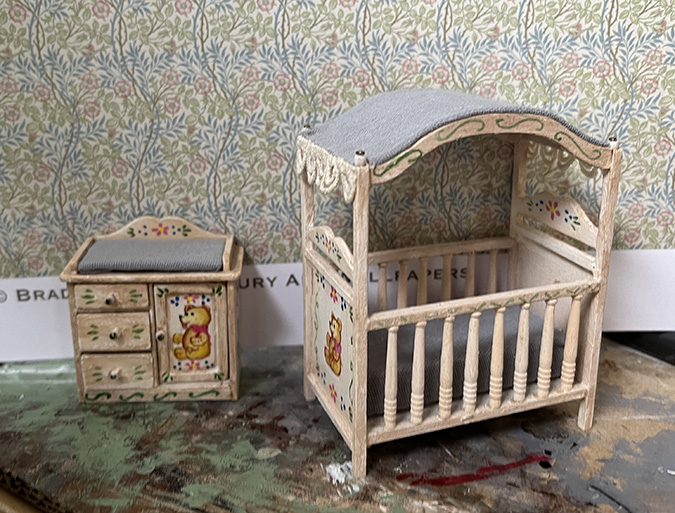
Since then, I’d bought this 1:12 Bradbury & Bradbury wallpaper from Miniatures.com, and I was tempted to use it instead.
 Emily is a freelance writer, miniaturist, and adventure game enthusiast.

