When I started reading Nutshell News magazines in the 1990s, some of my favorite articles were the ones that showed how to bash furniture kits into something other than what they were supposed to be. In my quest to furnish the Mansard Victorian (almost) exclusively with Cassidy Creations and Bauder-Pine furniture, I’ll do the same to make kitchen cabinets.
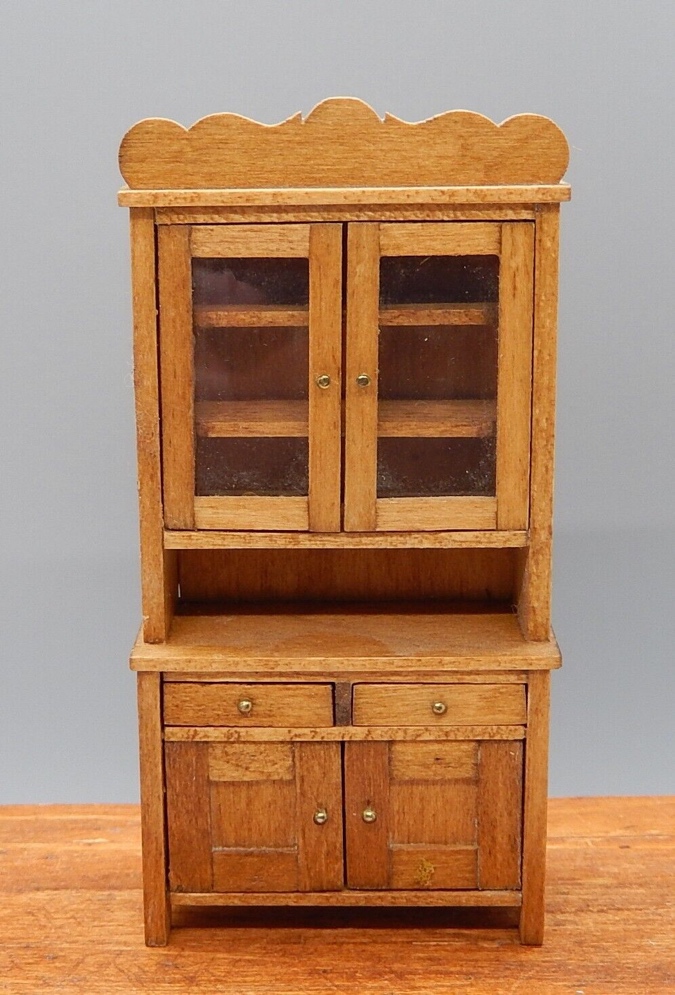
This is a Bauder-Pine kitchen cupboard that was recently listed on eBay. The same cupboard was available from Cassidy Creations in kit form, and I got my hands on two of them to use them on either side of the stove.
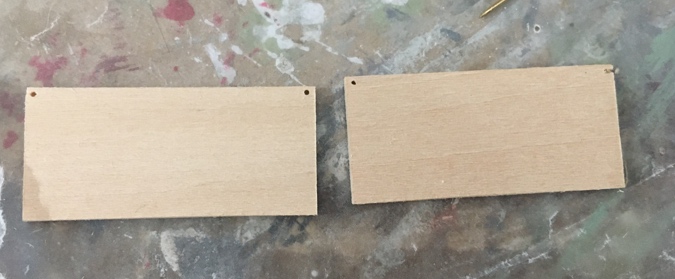
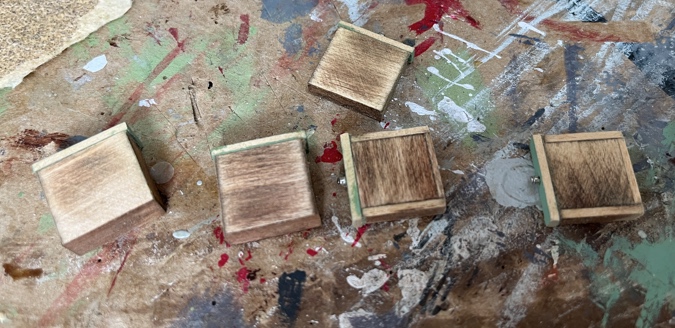
Here are the pieces in one cupboard kit — base cabinet on the left and upper cabinet on the right.

For some reason the top and bottom pieces of the base cabinet only had holes drilled to hinge one door. Both of my cupboard kits were like this.

I added my own holes to the other corners.
Next I stained the interior pieces, using a Red Oak Minwax stain pen.

Then I assembled the first base cabinet.

And the doors and drawers.

At this point I put the partially built cabinet aside for several months. Now that the kitchen floor is done, I’m ready to build the rest.
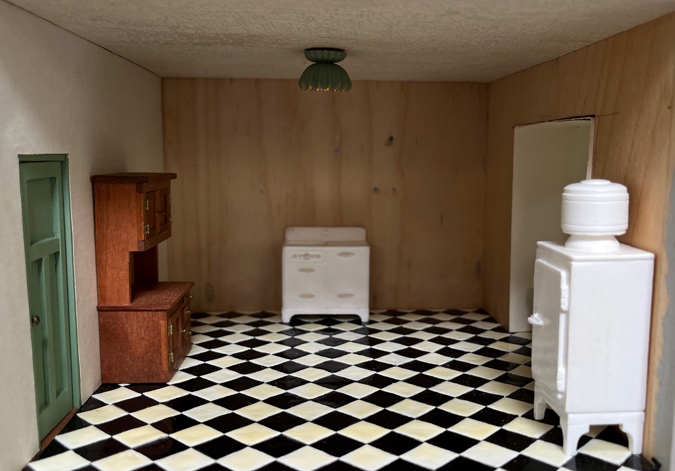
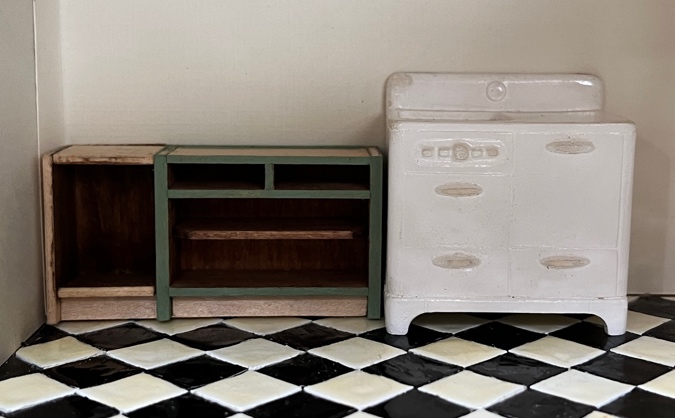
My plan had been to put the stove, cupboards, and the refrigerator all along the back wall.

But after playing around with the furniture placement, I decided I’d rather center the stove on that wall and move the fridge to the front of the room.
The Cassidy Creations nursery happened to be set up in the room right above the kitchen. While I was thinking about how to fill the extra space on each side of the stove, I noticed the changing table is the same height and depth as the base cabinet. As luck would have it, the changing table, two cupboards, and the stove are exactly the right width for this wall.
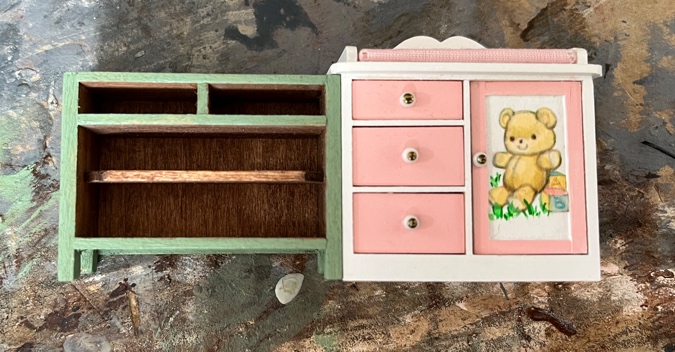
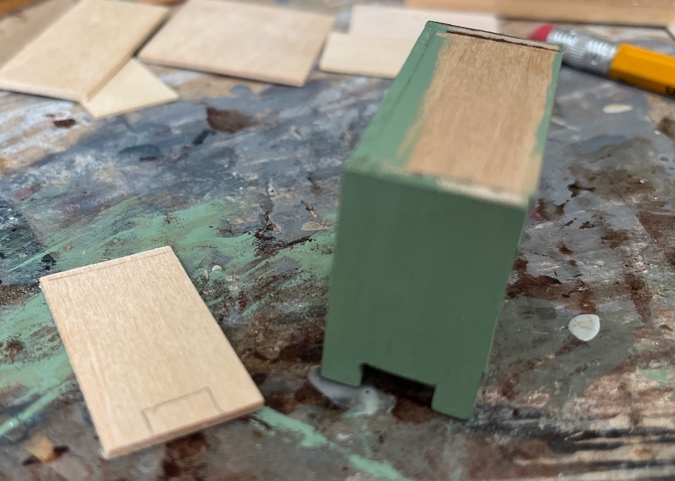
I pulled an unbuilt nursery kit out of my stash to bash the changing table into kitchen cabinets. The side pieces in my kit were slightly taller than the base cabinet, so I had to cut a small amount off the top. I also notched the bottom to have legs like the cabinet does.
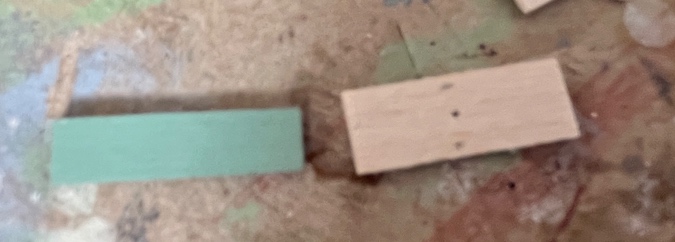
Next I cut the back of the changing table into two equally sized pieces.
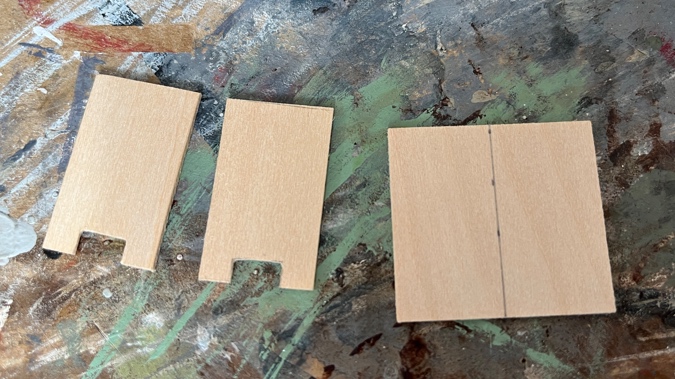
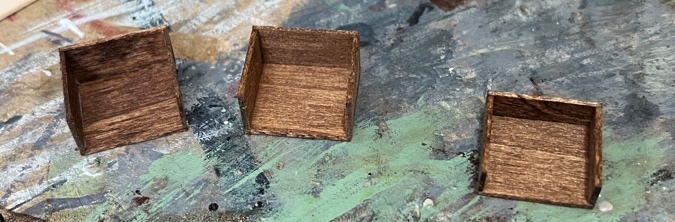
And I modified other pieces from the changing table kit to make top and bottom pieces.
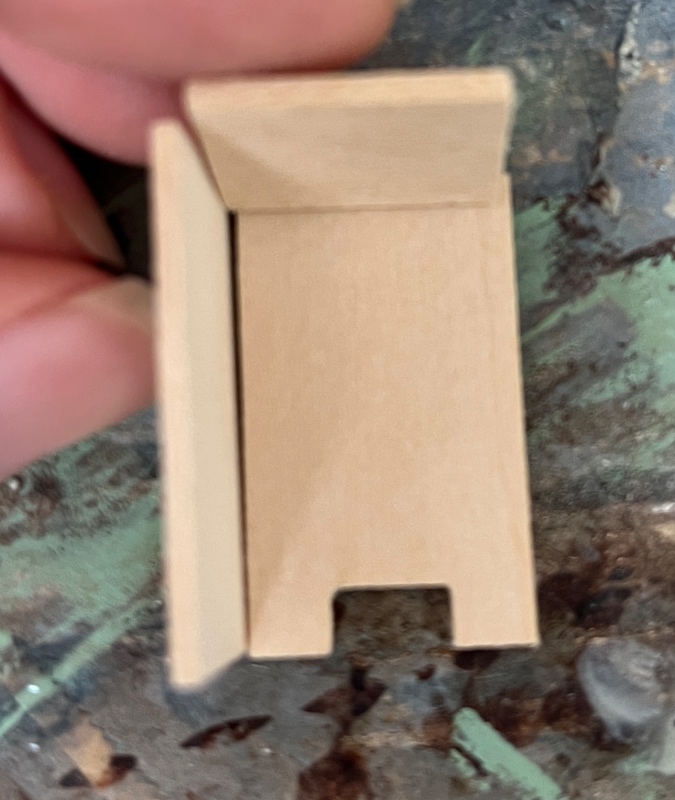
This way I can add a skinny cabinet to each cupboard base.
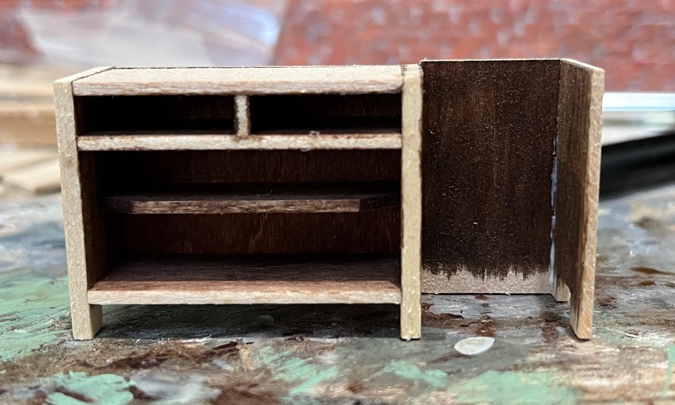
I glued a piece of strip wood between the front cabinet legs to create a toe-kick.
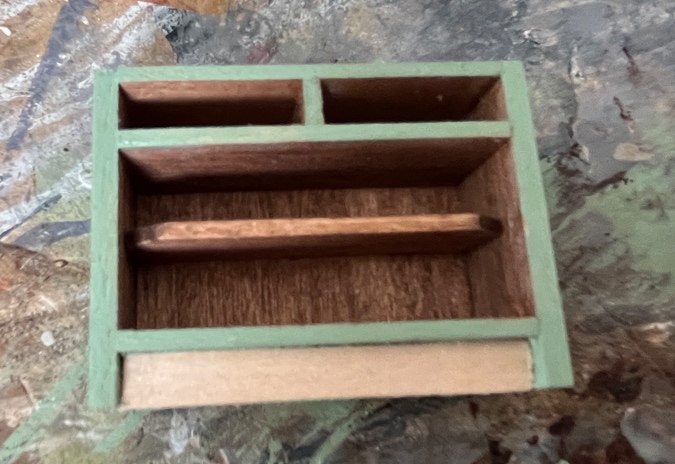
Another piece of strip wood glued behind this helped me attach the bashed cabinet to the original cabinet.
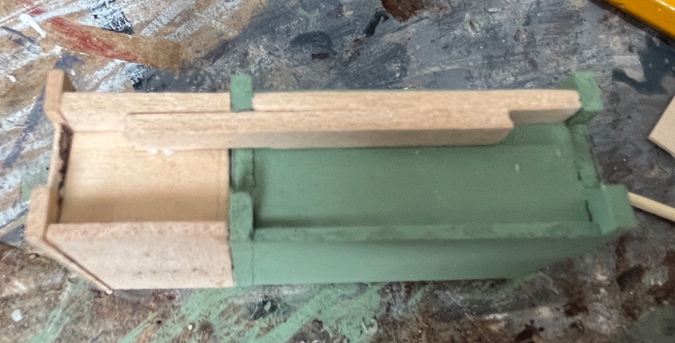
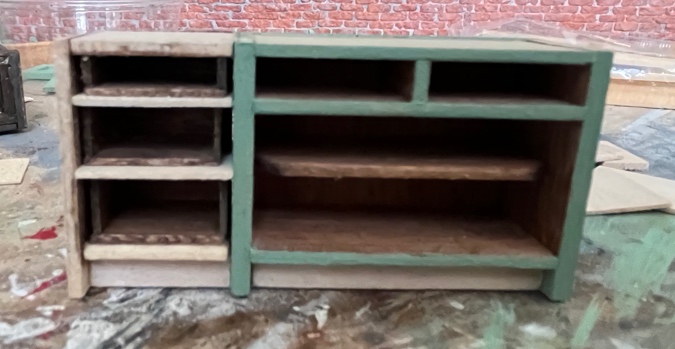
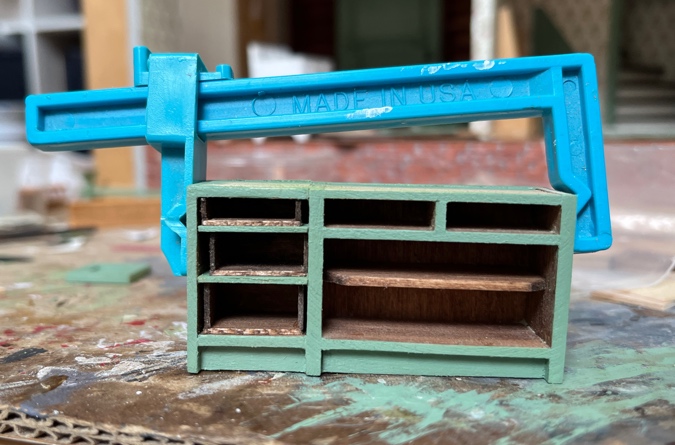
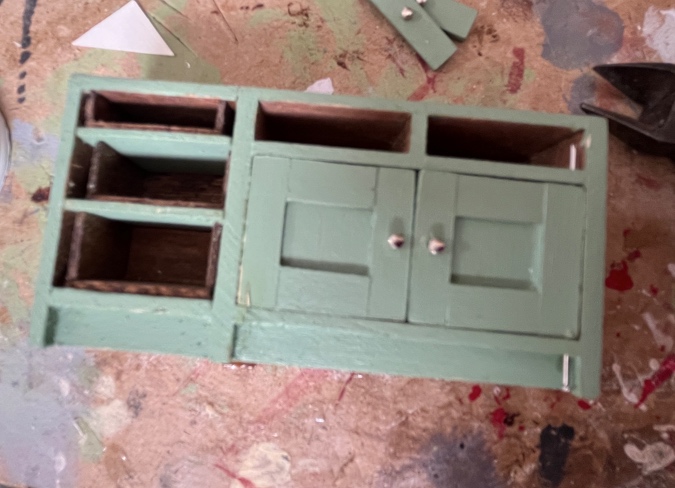
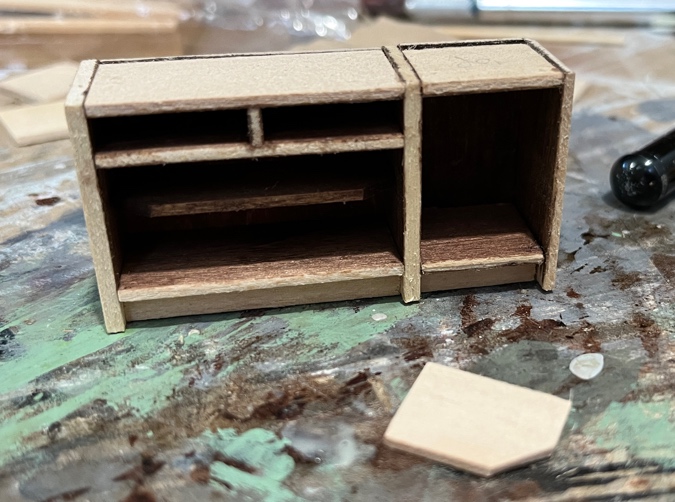
Here’s how it looks so far.
Next I assembled the three drawers from the changing table. These are made from thinner wood than the cupboard drawers, but you won’t be able to tell when they’re closed.
The top drawer is about the same height as the cupboard drawers, but the drawer front was taller. I cut it down so the drawers that are next to each other will look the same.
I also had to sand down the center drawer (and cut down its front) to fit in this space.
After painting the dividers that go between the drawers, I glued them in using the drawers as spacers.
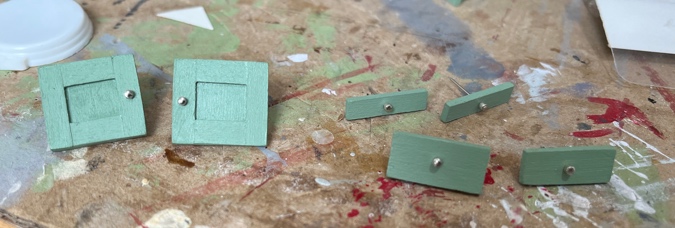
I made pulls out of pins stuck through these silver Magnifica beads.
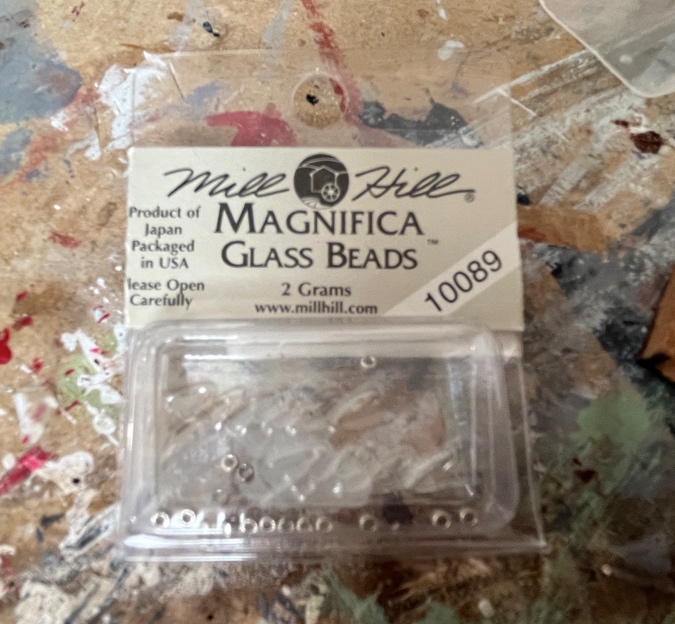
I only had a few of these beads left over from a needlework project — just enough for all of the doors and drawers on the base cabinets. I didn’t think about the fact that the upper cabinets will also need pulls. Oops.
I googled a little, and they seem to be out of stock everywhere. I do have a lot of almost empty bead packets with my cross stitch stuff, so maybe (hopefully) I have a few more of them somewhere. A problem for another day.
Next I pin hinged the doors. I poked the little pin pieces through the holes and used needle nose pliers to push them in, then snipped them close to the wood and pushed a metal screwdriver head against the nubs to push them in the rest of the way.
The door fit was a bit tight, so I sanded the inside edges and then touched up the paint.
Initially I used tacky glue to attach the drawer fronts and the pulls, but they came undone when I was trying to fit the drawers into their (tight) spaces, so I ended up redoing them with super glue. The tacky glue might have been okay if I’d given it more time to dry.
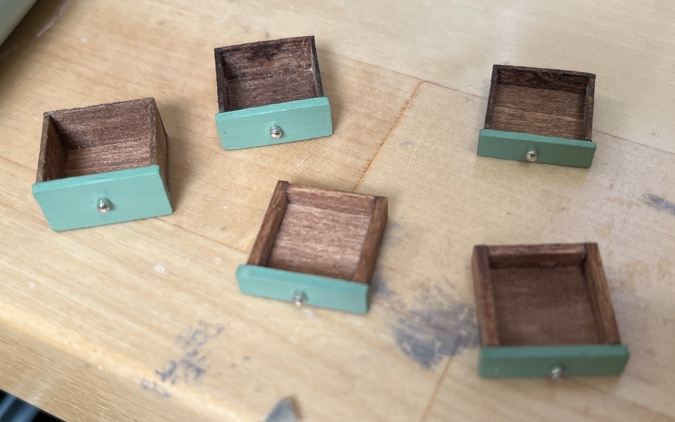
The drawers required sanding before they would fit in the holes. Once I’d sanded them enough to fit, I repainted the edges of the drawer fronts and restained the bottoms (even though you won’t see them).
Here it is! Not perfect, but I’m satisfied. The cabinets I scratch built for the Victorianna look a lot neater, but those are non-opening. Having opening doors and drawers frankly isn’t important to me, but it is a feature of the Cassidy Creations kits.

Seeing it in place, I’m realizing it looks very low. I thought I measured the base of the cupboard before I started down this road, but maybe not, or maybe the stove is tall. I can make up some height when I add the countertop.

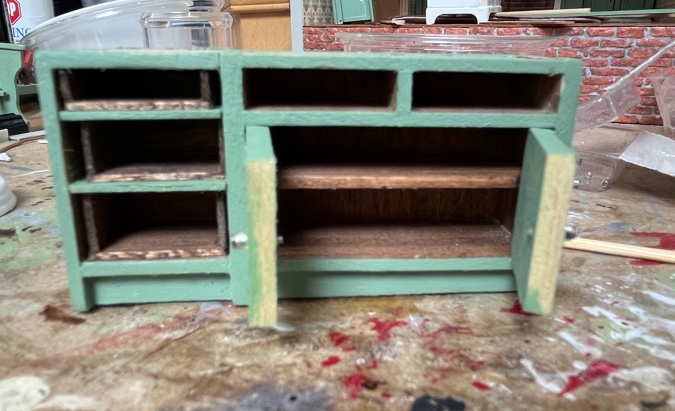
I moved on to the other base cabinet, this time adding the skinny bashed cabinet to the right.
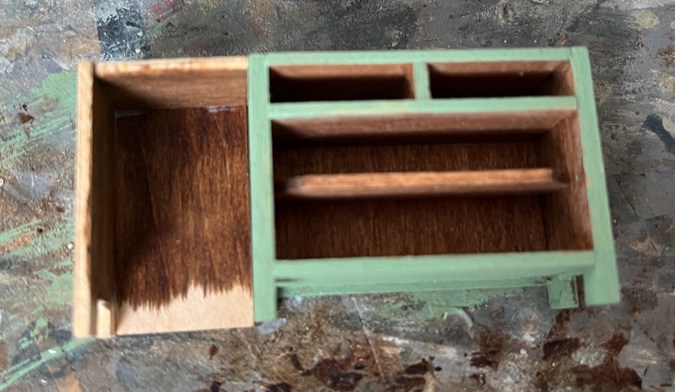
There’s no shelf behind the door in the changing table, but I made one out of a piece of scrap wood. The diagonal corner provides clearance for the door to open.
The changing table door has skinnier trim pieces. I replaced these to match the other doors.

That’s as far as I got today. More soon.

 Emily is a freelance writer, miniaturist, and adventure game enthusiast.


WOW! Remarkable!
Thanks!
Great work. We had that stove growing up, and it was higher than more modern stoves would be.
Ah, good to know!
When increasing the counter height consider incorporating a slide in/out cutting board or bread board. Kitchens of that era usually had one of those.
Good idea!
I love how they look! They fit so perfectly along that back wall!
Thanks! The fact that they fit perfectly was a lucky coincidence.
Emily, you rock!!!!!!!!!!!!!!!!!!!!!!!!!!!!!!
Beautiful work! I wish you’d design a full size house for me.
Best, Susan
Thank you! Sadly I’m better at this stuff in miniature than I am in real life…
This is 1/2 scale, correct? Where did you find the fridge & stove? I’m looking for a sink too of this time period. Thanks!
The fridge, stove, and sink (which I’ll show in my next post) are all discontinued Cassidy Creations kits. Unfortunately they’re very rare. There is a sink available here: https://miniaturecottage.com/shop/index.php?main_page=product_info&cPath=791_707&products_id=42348
Thank you, bummer that these are discontinued!
Nice work. They look wonderful.
Wow!!! I’m so impressed with your modifications to make the baby furniture work in your kitchen! It looks amazing, and you’d never know what they originally were!