Picking up from my last post, I continued the subway tiles until I reached the bottom of the cabinets. My kitbashed cabinets aren’t quite square and there’s a bigger gap under the right cabinet than the left.
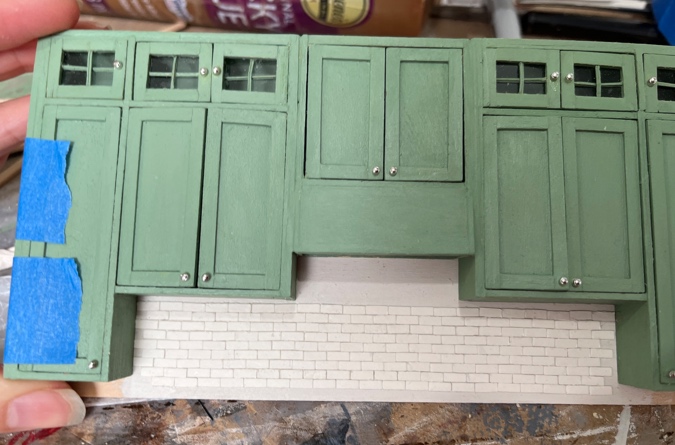
I thought maybe I could shove the cabinet bottoms up against the top edge of the tiles, but they’re noticeably crooked.
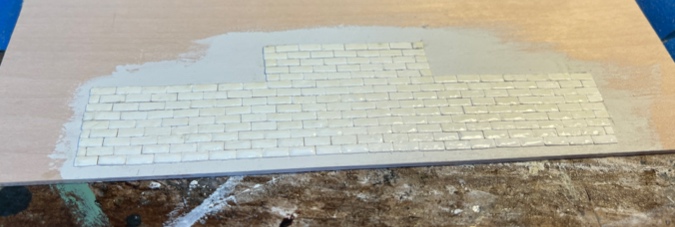
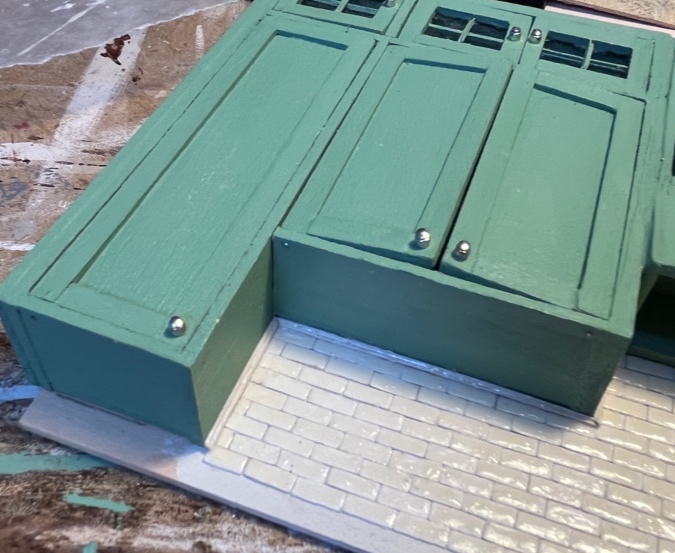
Here’s how it looks with the tiles level under the cabinets. You can’t see the gap from this angle, but I still need to hide it somehow.
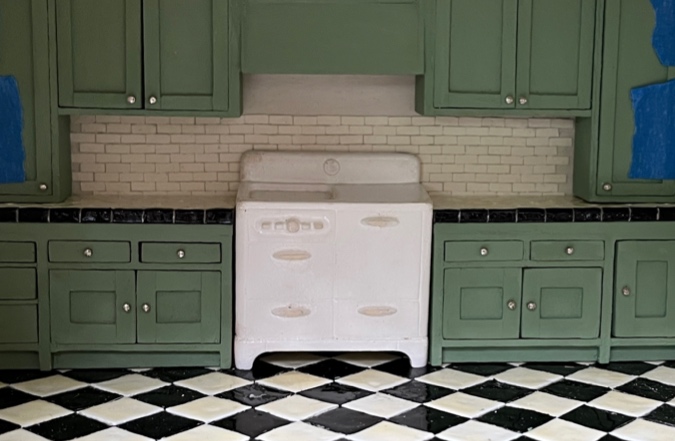
Anyway, I continued to tile up into the hood area.
Here they are mostly done. After this, I removed the tape and moved the cabinets so I’d have space to get the final half tiles in at the edges.

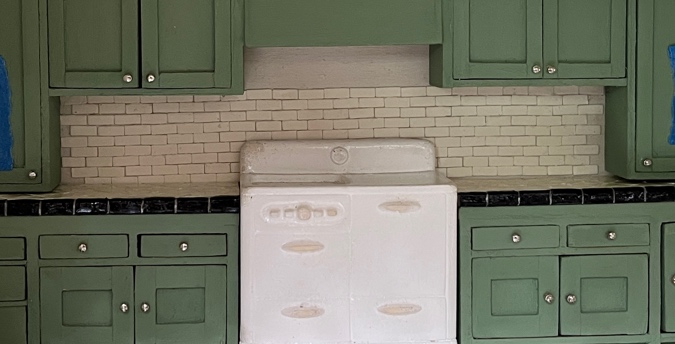
With all the tiles laid down, I used a toothpick to coat each one with Cameo Ivory Gallery Glass paint.
Here’s how that looks. Now I needed to cover up the gaps where the tiles don’t exactly reach the edges of the cabinets.
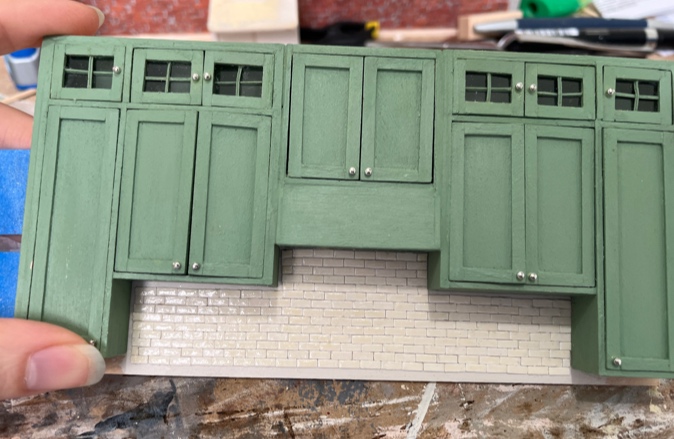
I found some scraps of teeny tiny trim in my wood drawer. This is the same trim I used for the cross pieces in the glass cabinets.
I painted the trim pieces off-white, then painted them with the Cameo Ivory Gallery Glass to make them shiny. You’ll see the result farther down in this post.
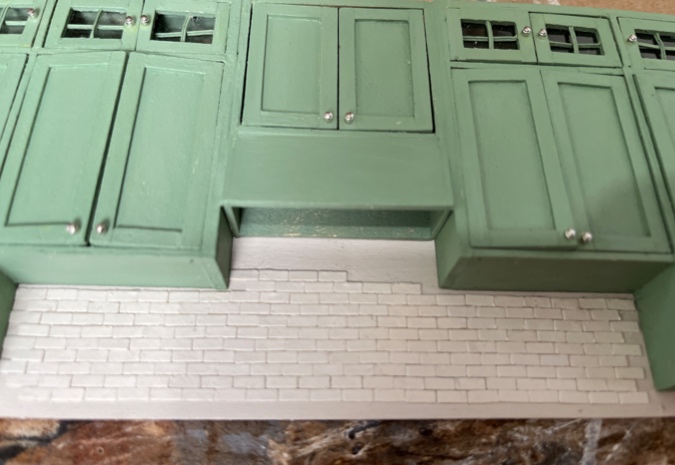
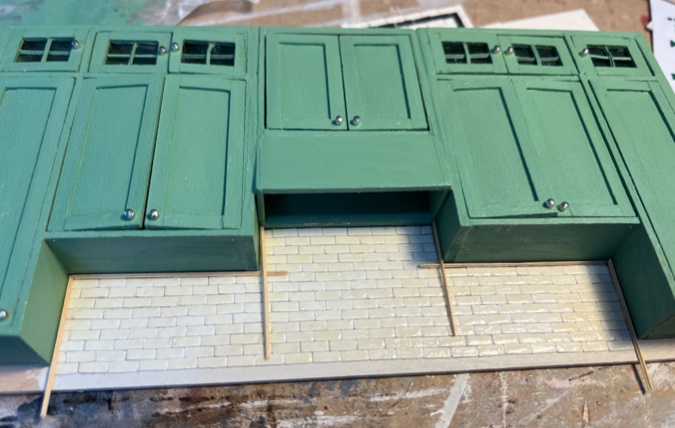
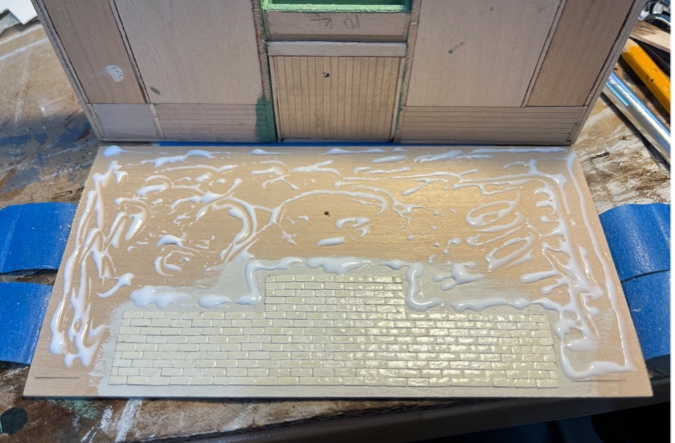
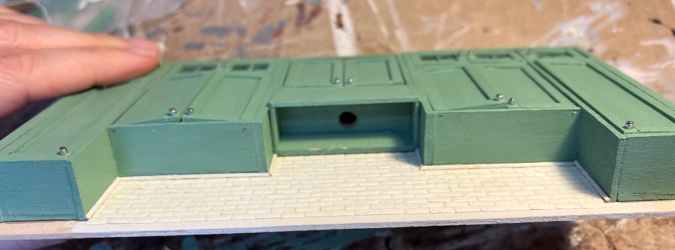
Now it was time to glue the cabinets to the backsplash. (First I drilled a hole in the back piece for the hood light wire to pass through. More about that here.)
Looking good! Now I have to figure out how to hide the gap at the top of the cabinets.
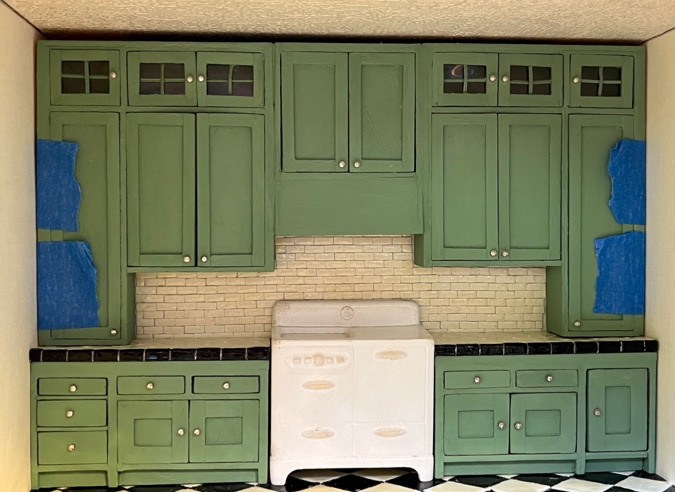
I spent a long time looking through my scrap pieces to find something that would work here. It’s complicated by the fact that my bashed cabinets aren’t square, so the gap is bigger on the left than the right.
After a lot of playing around with different options, I dug up this piece of wainscot trim.
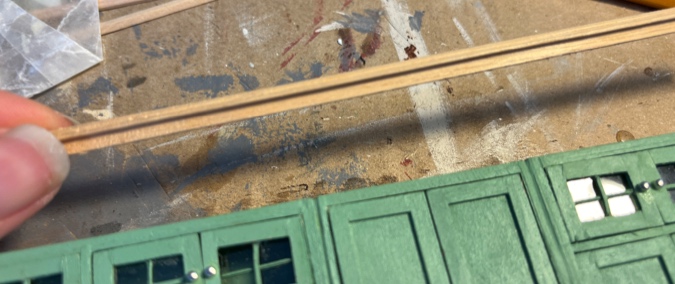
It hooks over the front of the cabinets without getting in the way of the doors.
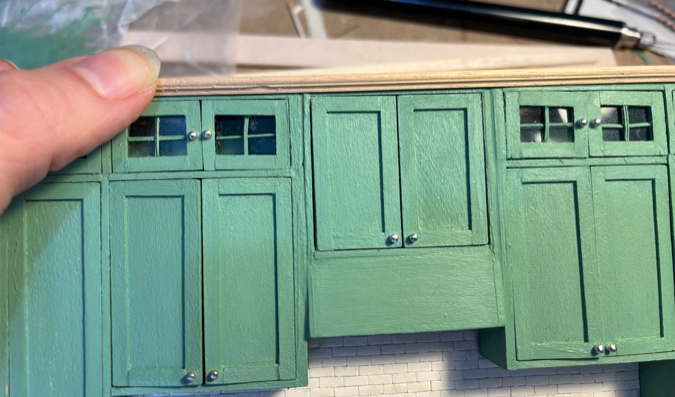
And I can push it up on the left side to cover up the larger gap. Perfect!
By this point, the paint on the teeny tiny trim pieces had dried, so I glued them in to cover the gaps where the backsplash tiles don’t quite meet the cabinet edges.
Hard to take a picture of this because of the shadow, but you can see all of the trim pieces from this angle.
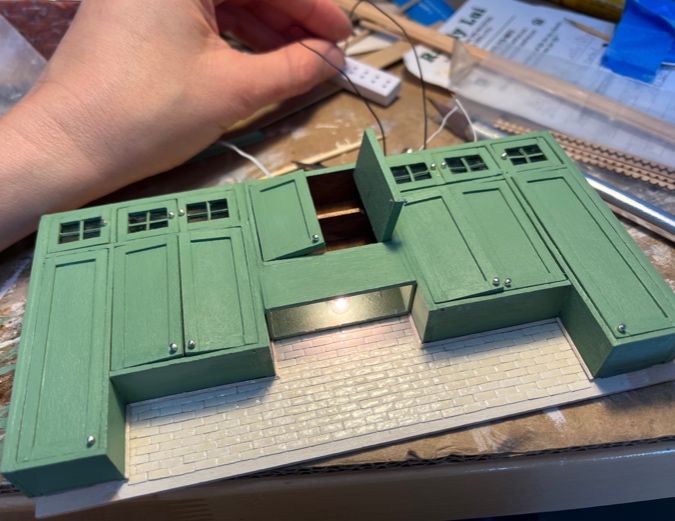
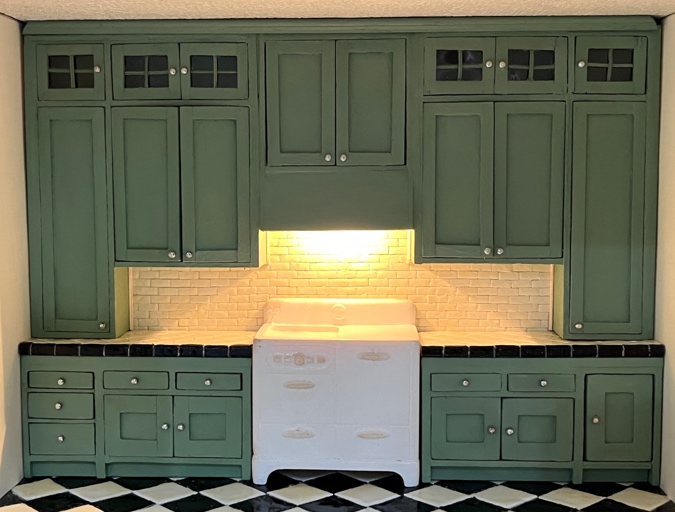
At this point I slipped the light into the hood and checked to make sure it lit up.
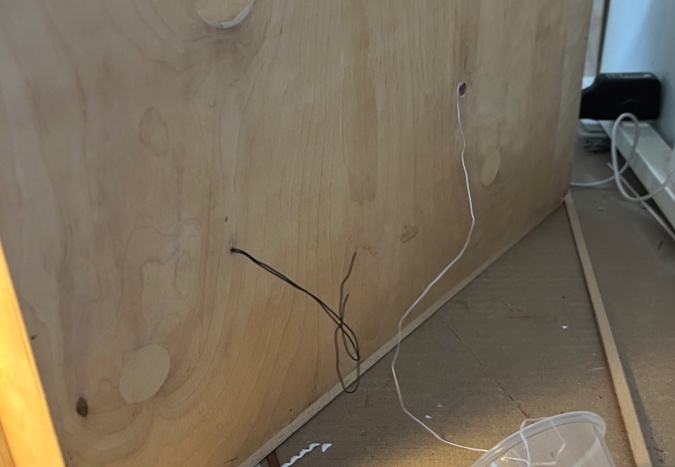
The (black) wire sticks out the back of the house. I’ll add a plug to it when I’m sure I’m done sliding the cabinets in and out.
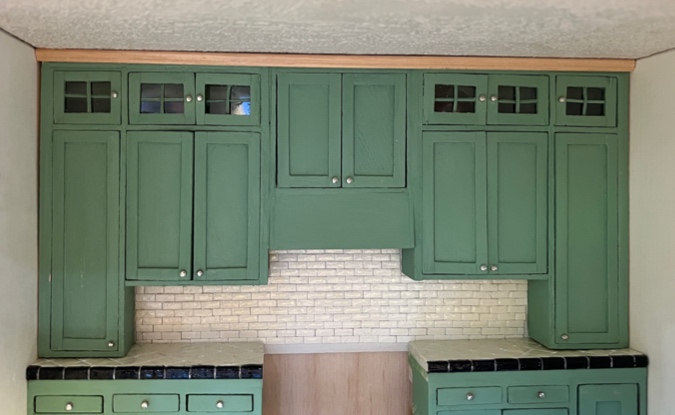
I painted the wainscot trim, and cut the ends at a 45-degree angle. These will meet up with the crown molding in the room.

And here it is lit up. The light is harsher in the photo than it is in real life.
And… I think that’s a wrap on the kitchen cabinets! They only took me six months…
 Emily is a freelance writer, miniaturist, and adventure game enthusiast.


Your attention to detail and perfectionism are outstanding! Thank you for continung to share your challenges and experiences. Phenomenal!
Stunning! Such beautiful work! Your kitchen will look amazing.
That really looks fantastic! Wonderful attention to detail.
Next time let the tiles run slightly behind the cabinets (top row and half tiles) and push the cabinets against them rather than fiddle with small fill pieces and trim. Maybe save a month! :-)>
I did that at the bottom. I didn’t want to run tiles behind the cabinets because I thought it was important for the cabinets to be flush/tight against the back board, but in hindsight it probably would have been okay. Oh well!
My dream kitchen!
This is so beautiful!! I’m sure you enjoyed all the time you spent on it, and the results are gorgeous! Every little detail added more beauty to the kitchen. Just when I thought it looked good enough, you added another small detail, and it made a huge difference!
Congratulations on your gorgeous project!