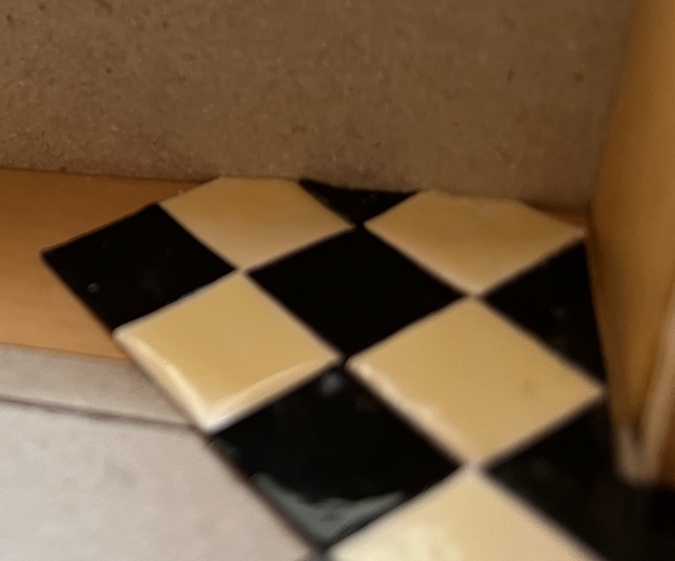
Continuing with the checkerboard floor. I’m not sure what these white smudges are on a few of the tiles.
But they were easily covered up with black Sharpie.

Can’t even see the touch-ups!
I didn’t take a picture of this, but in covering up a white spot right on the edge of one black tile, I smudged Sharpie on the white tile next to it. Attempting to wipe it off didn’t work.
It was it the middle of other tiles that had already been glued down, so I couldn’t easily remove the it, but my weird vinyl tiles came to the rescue! I was able to peel up *just* the vinyl layer, and then glue down another vinyl piece on top of it. Crisis averted.
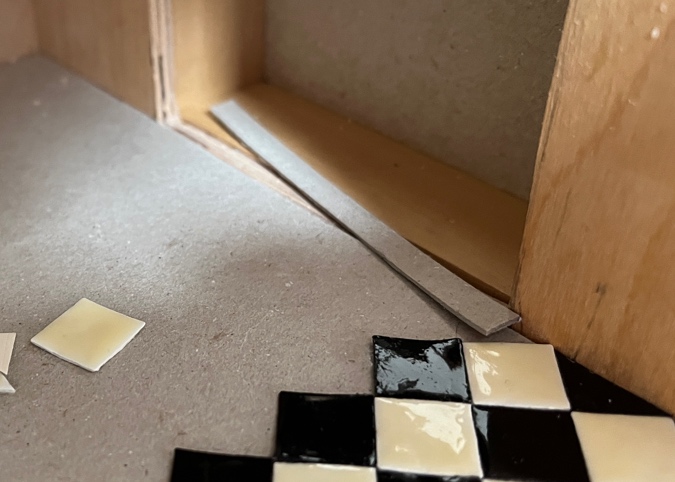
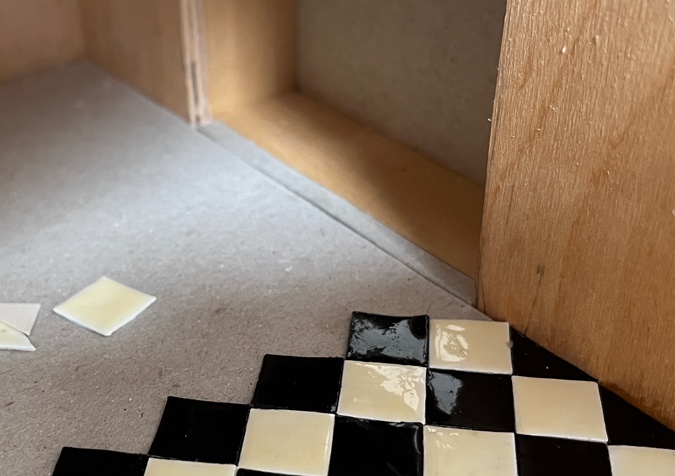
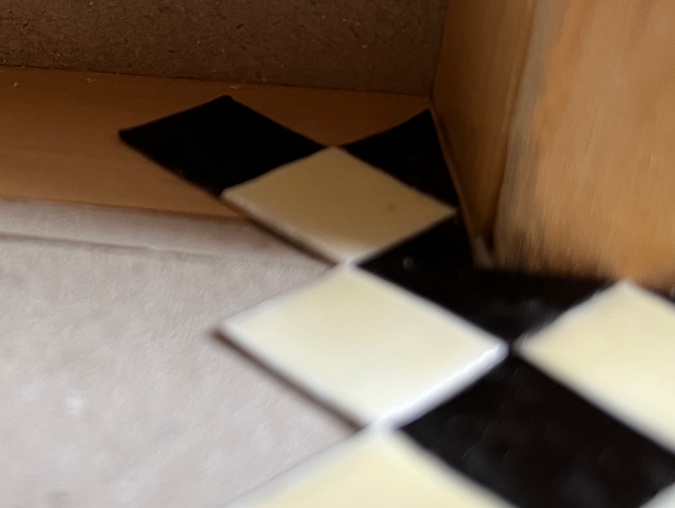
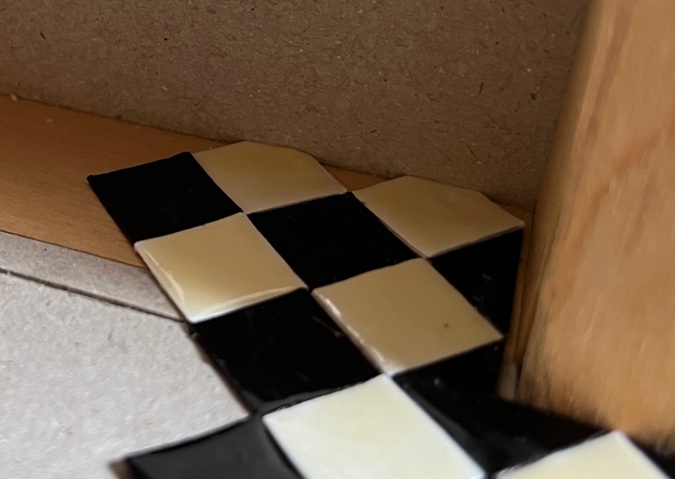
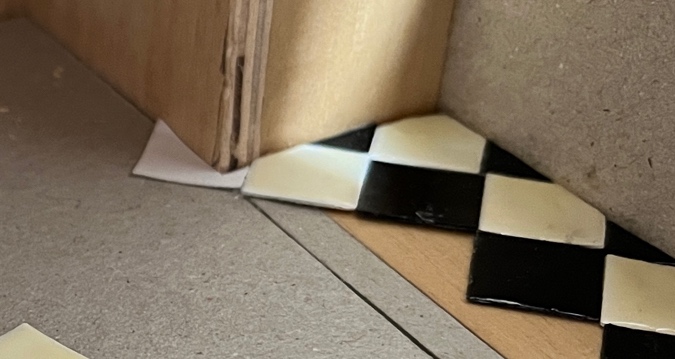
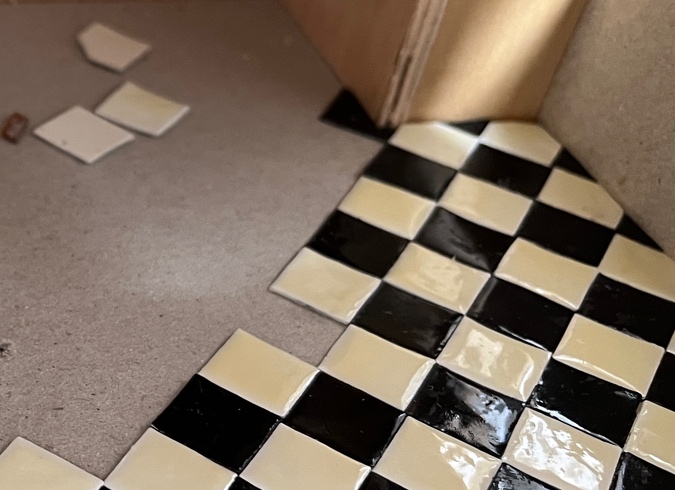
When I got to the transition to the bump-out addition, I needed to add a strip of cardboard to make the floor level.
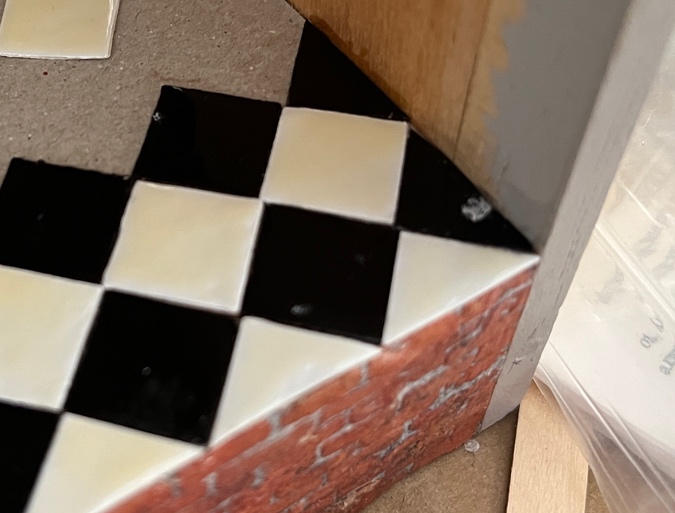
Then I used a paper template to figure out where to cut the tile that goes around the corner.
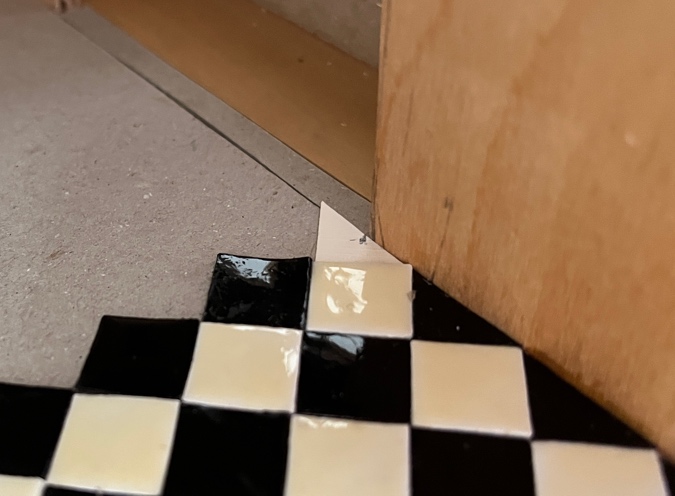

Here’s how it looks.
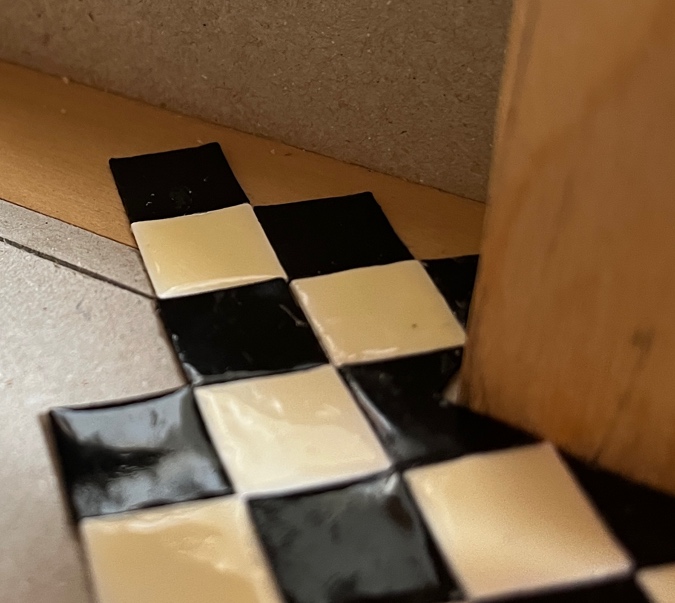
It’s not snug against the wall inside the bump-out, but the baseboard will cover up the crack. Even if the baseboard doesn’t completely cover it, you can’t really see this (the picture was taken at a weird angle through the window).
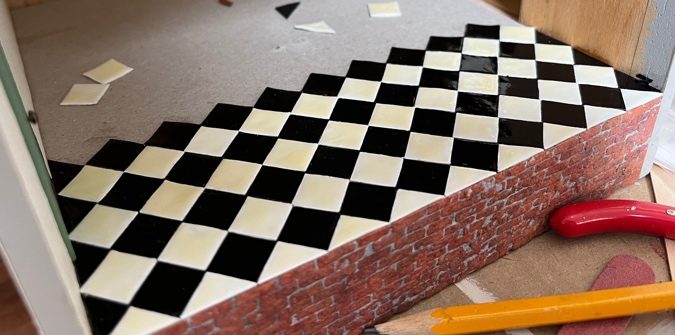
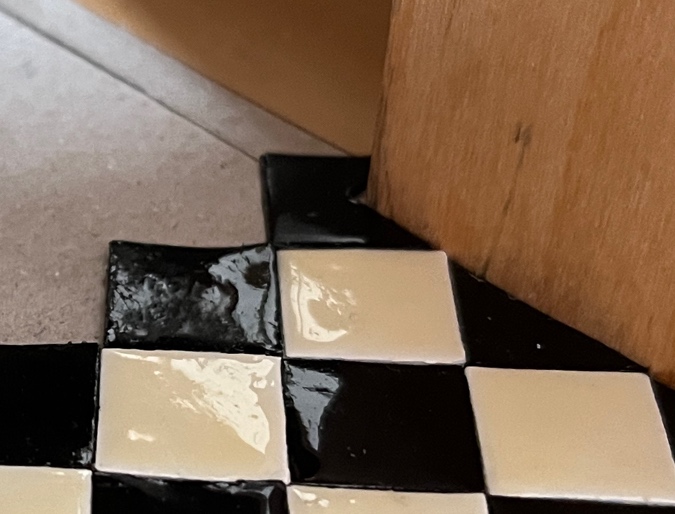
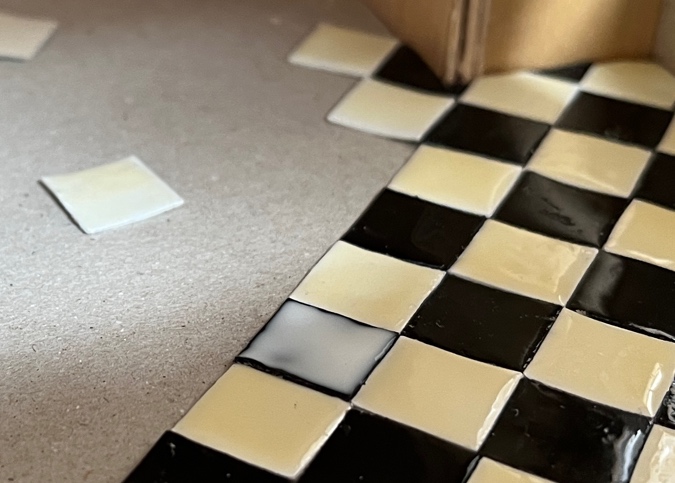
I continued laying tiles inside the bump-out, using the camera to help me see what I was doing.
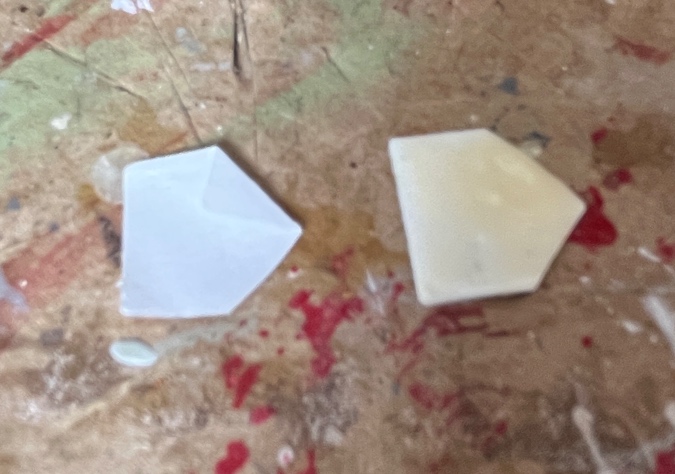
When it came time to do the tiles against the wall, I again used a paper template to figure out where to cut.
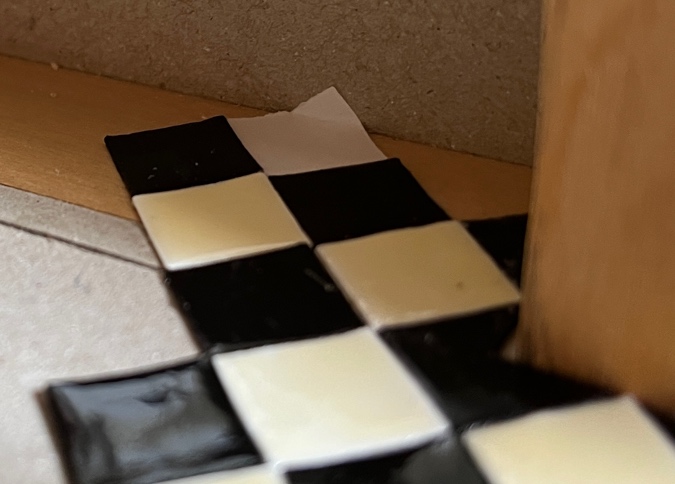
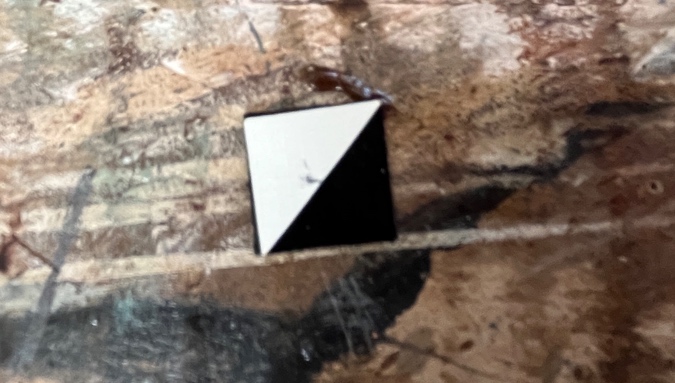
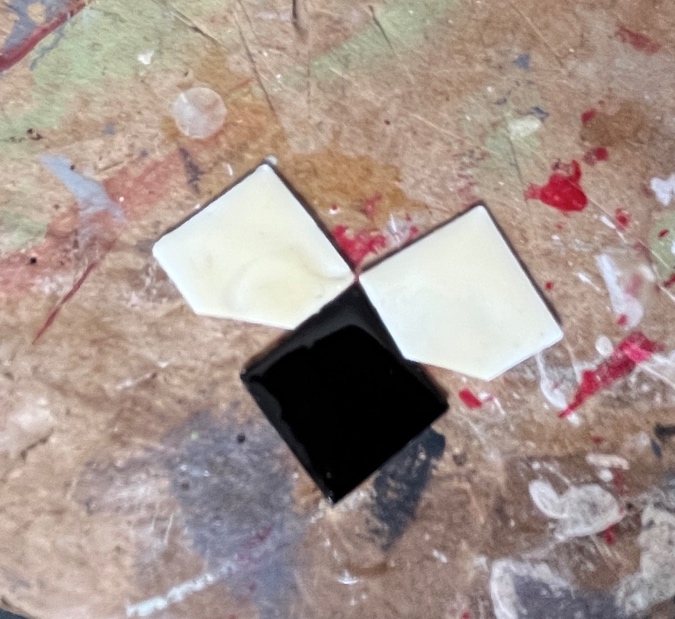
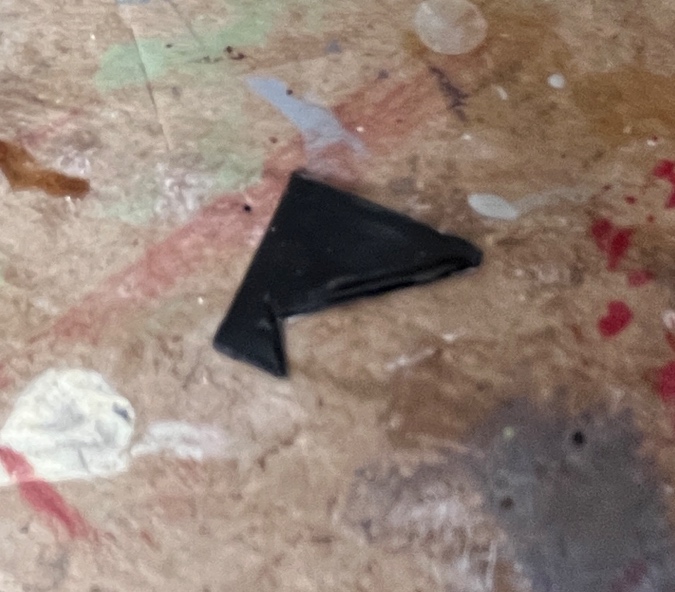
Then I used two cut tiles to figure out how big the black triangles against the wall needed to be.
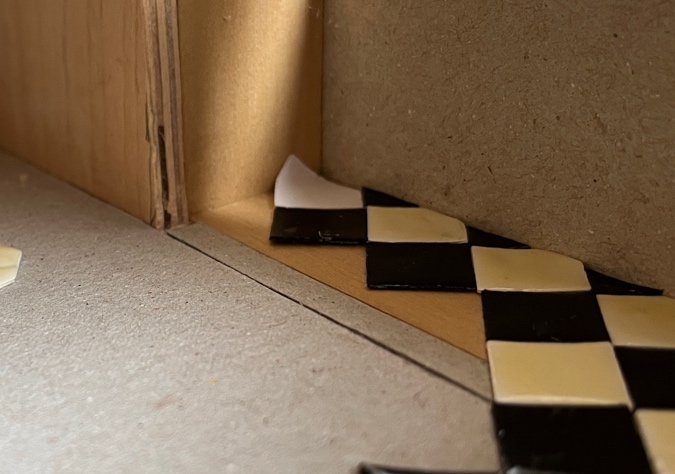
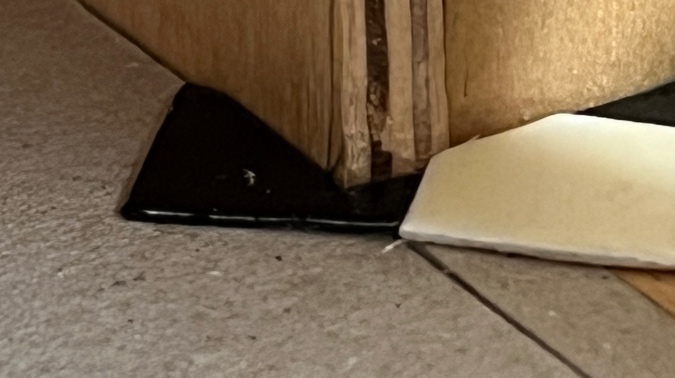
I spent a while trying to cut a black square for the corner but it was just too hard to see and to reach in there. Again, this will be mostly covered up by the baseboards, and it’s impossible to see, so I decided to leave it out.
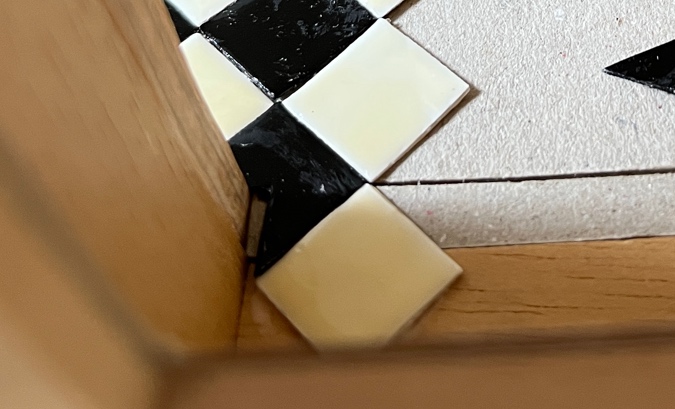
I continued along the wall, and used templates again to figure out the weirdly shaped tiles.
Then I worked my way back to where I’d left off.
By this point I had run out of tiles. I put one in that hadn’t been painted yet and painted it in place.
Then I figured out how many more tiles I would need to finish the floor, and made a big batch.
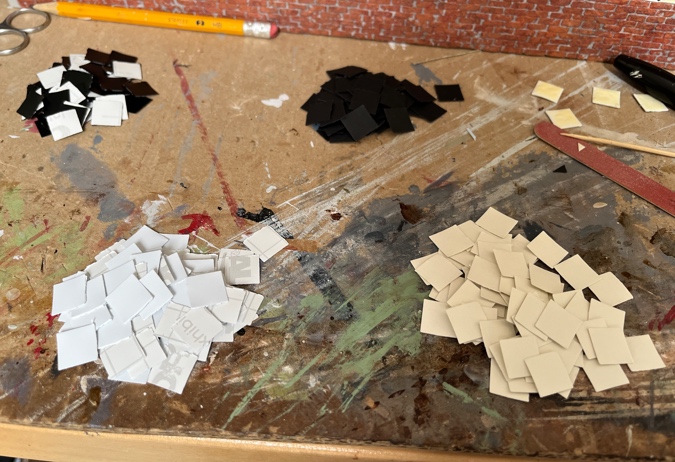
This took both afternoons last weekend — one to assemble all the white tiles and paint them, and one to assemble all the black ones, paint them, and do a second coat on the white tiles. Leaving them alone to dry overnight definitely made a difference, and I didn’t end up with as many lumpy ones this time.

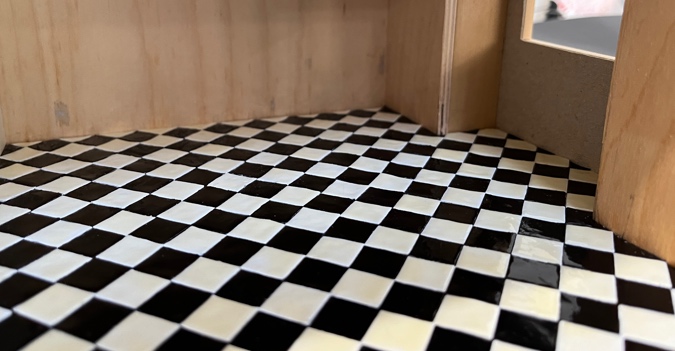
I was able to slip into the workshop for a little while this week to finish tiling. I’m so happy with this!
This weekend I’ll add the wallpaper and work on furniture kits.

 Emily is a freelance writer, miniaturist, and adventure game enthusiast.


Looks fabulous!
This looks amazing!! I’m so impressed at how you got it all to fit together, especially with all the different angles!
The key was to use the paper punch to make the tiles, so they were all exactly the same size, and then to tile one row at a time. I didn’t mention that at the point where I inserted that one tile and painted it in place, I had to trim it a bit to make it fit. After that I went back to doing one row at a time so I wouldn’t have that problem again. The half tile against the wall needs to be trimmed anyway, so if the row was a little bit off, I could make up for it there.
You have incredible skills, and the tile looks great! Thanks for sharing your challenges and successes!
Inspiring, helps me knowing that if I have a problem, just to spend some time experimenting and I’ll be able to figure it out like you.