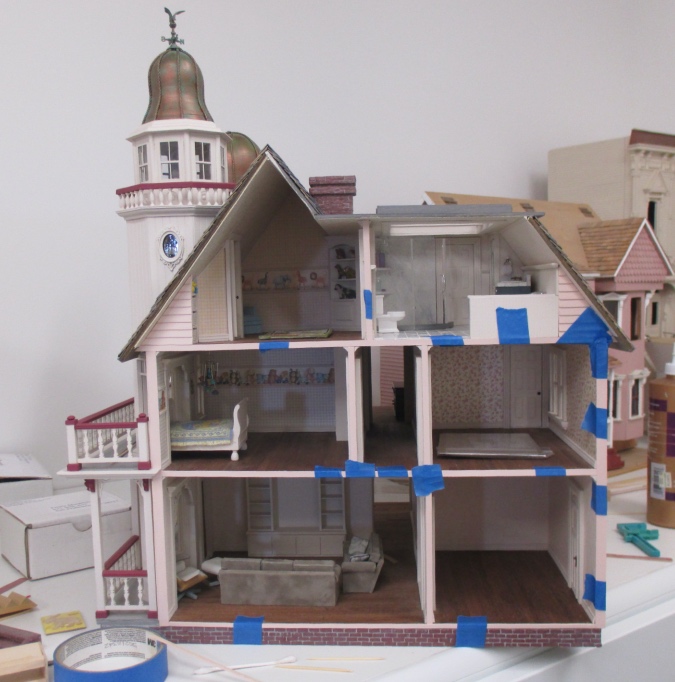
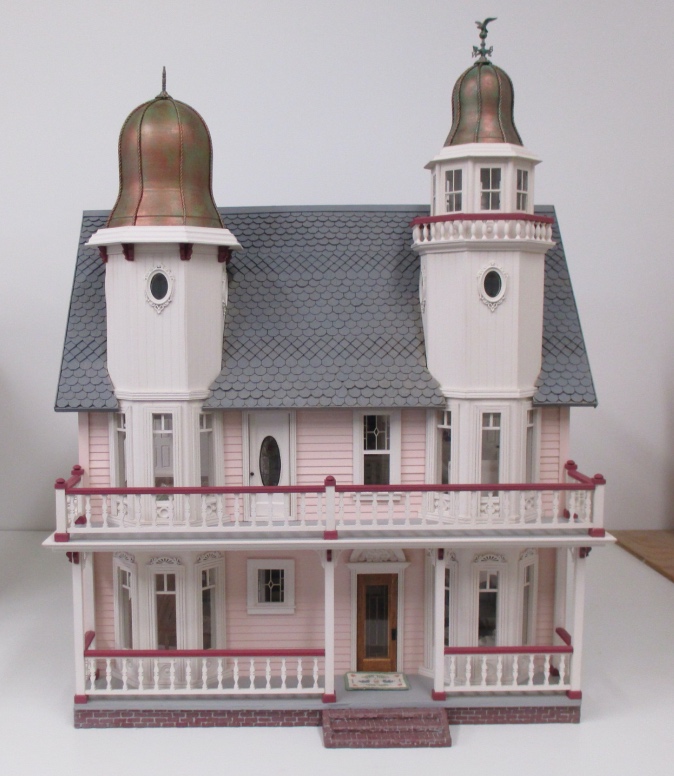
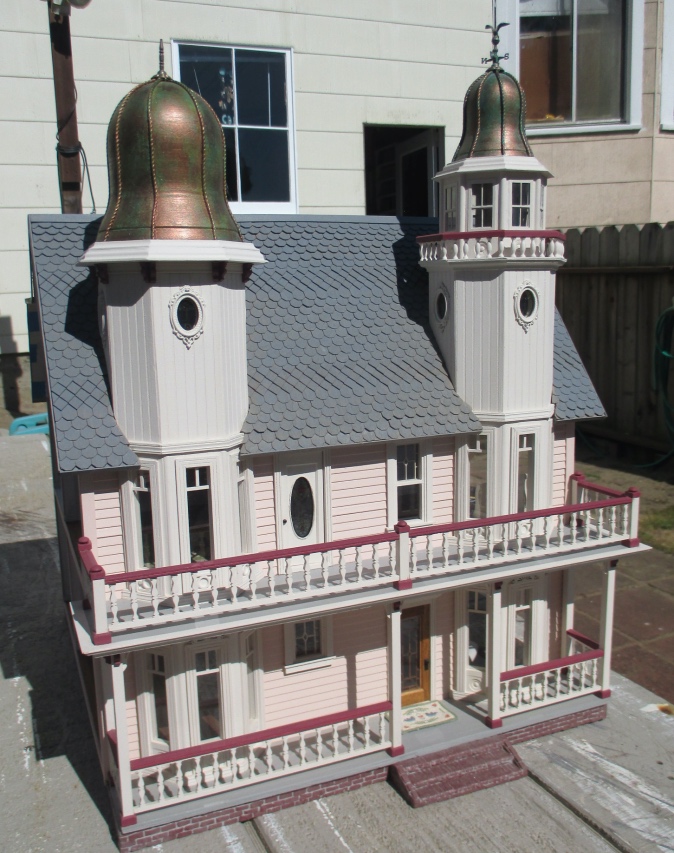
Approximately 1,931 days after I started working on it and a good fifteen years after I started thinking about it, I can officially report that the back-to-back Victorianna bash is done!
Okay, not 100% done. I don’t have furniture for all of the rooms yet, but the house itself is finished, and it’s a good thing, because I’m moving to a new 1:1 house and I did not want to move this dollhouse-in-progress again.
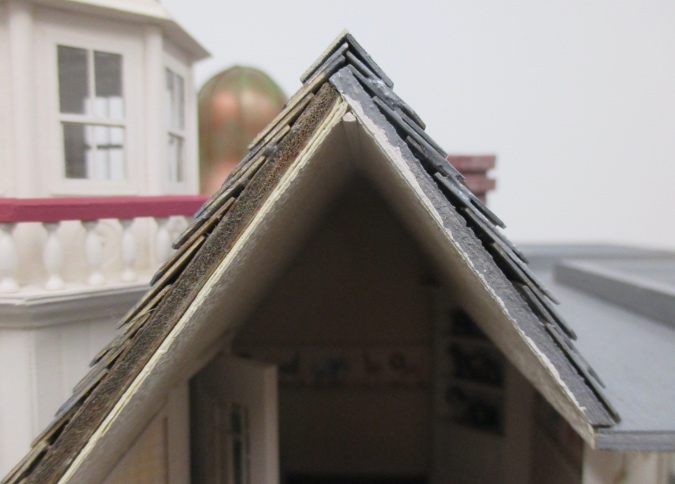
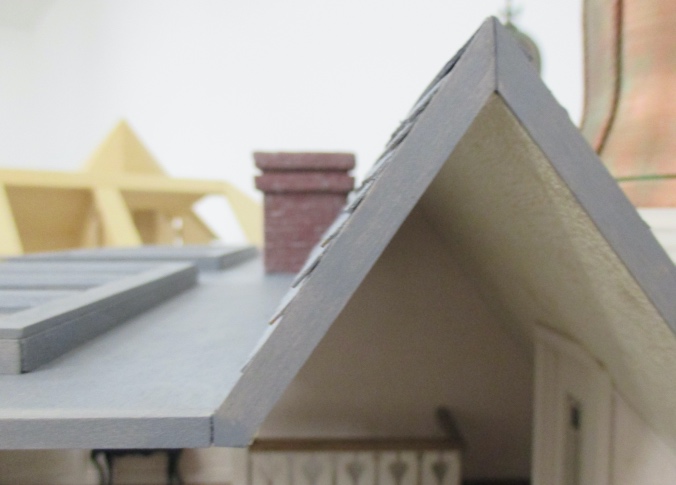
After finishing the shingles and foundation, the last thing to do was to cover the exposed plywood edges with trim. This gives the house a clean, finished look.
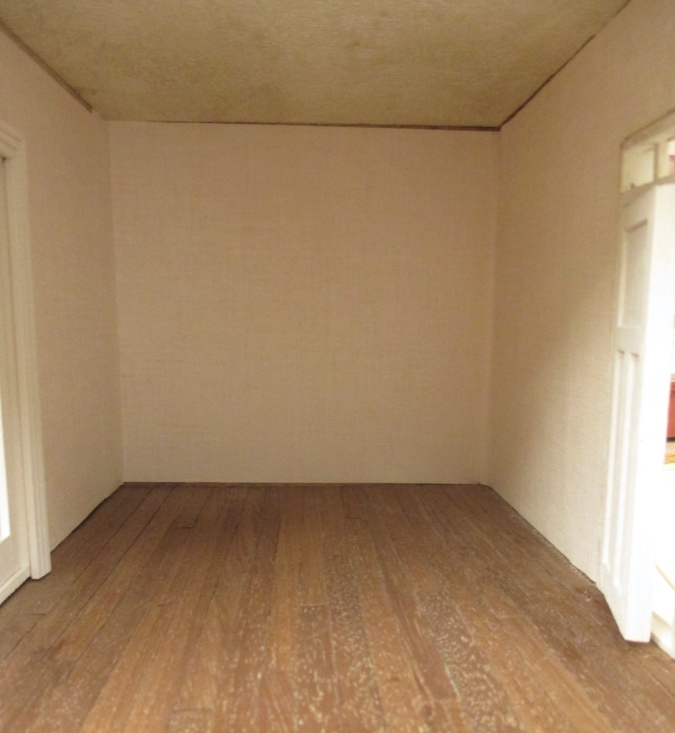
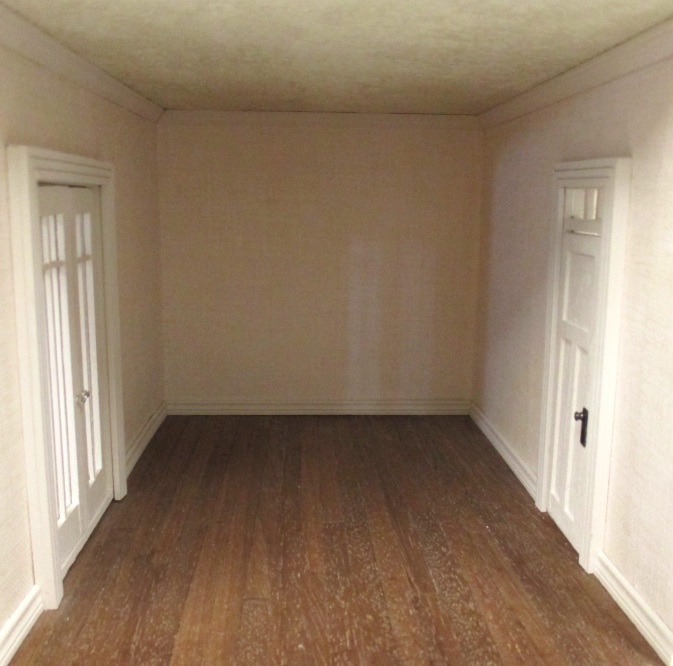
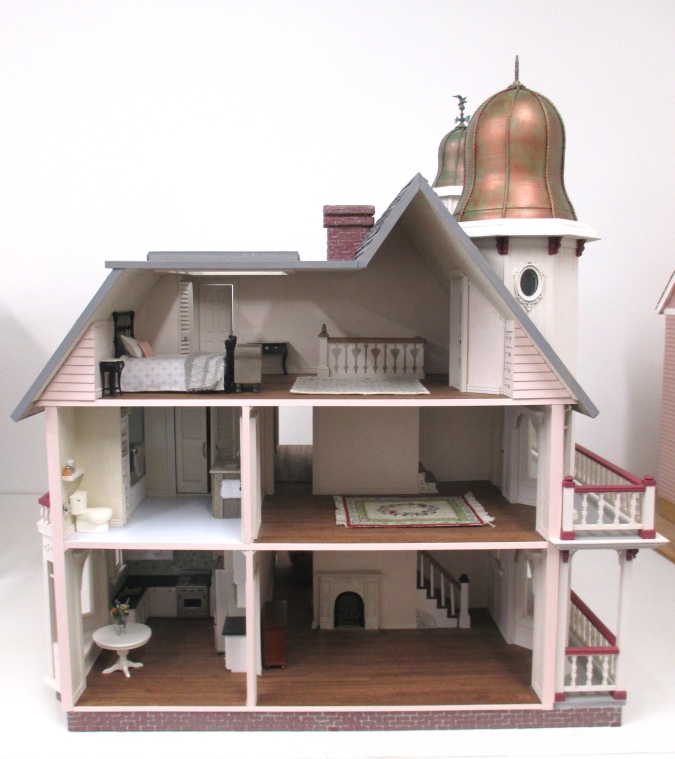
One last room needed crown molding and baseboard — the room off the living room that I’m not sure what to do with. (Office? Music room? Craft room?)
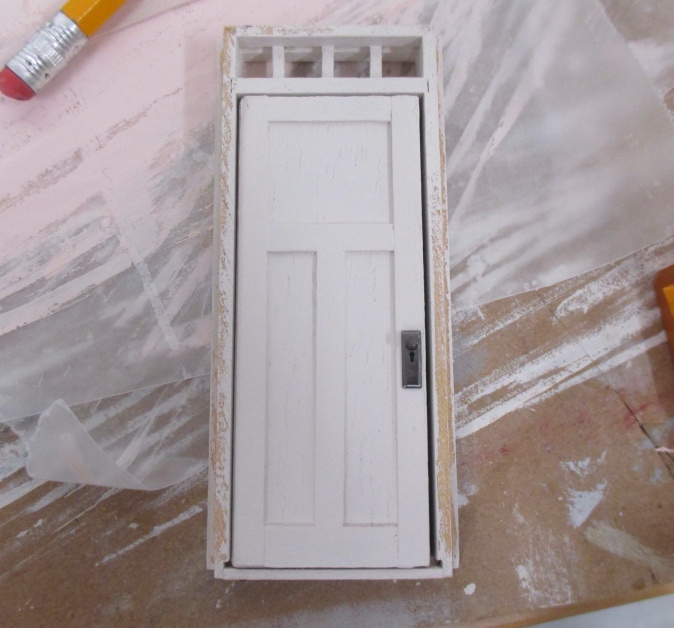
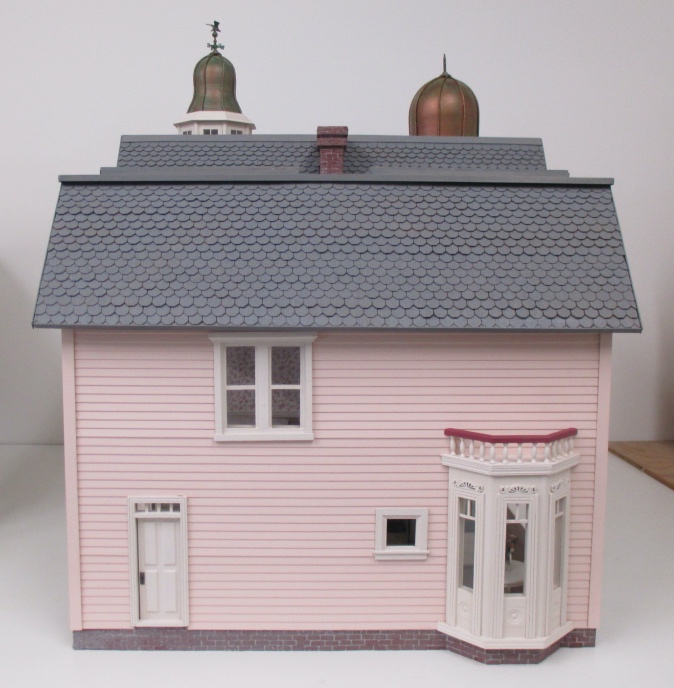
I’m not sure if I ever posted a picture of the back door — this is a Houseworks Traditional 4-Panel Exterior Door. I have a love/hate relationship with this style of door — I love the transom at the top, but I hate the door itself, which has four raised panels on the front and is completely flat on the back. I added strip wood to the flat side to dress it up.
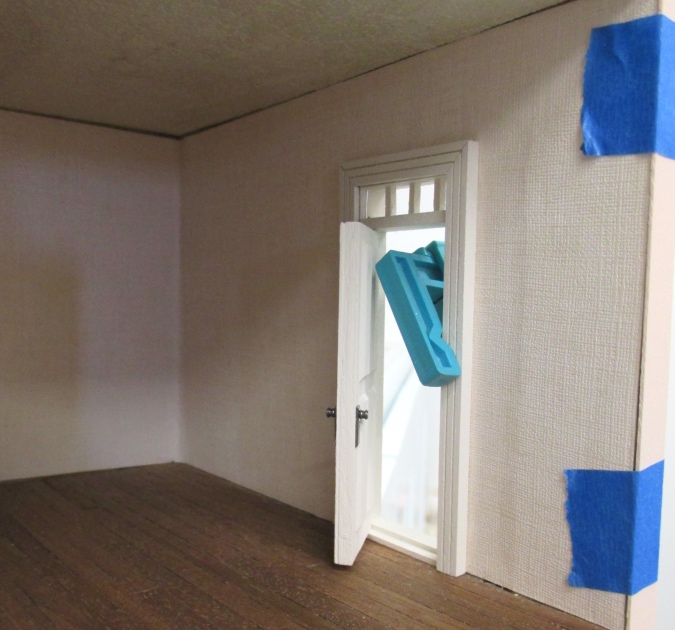
This is the same Craftsman style as the fake closet under the stairs, which is barely visible. I really like how this looks, and it’s easy to do with scrap wood. In my next house I might scratch build doors that look like this… I’m kind of over the standard Houseworks doors.
A while ago I set aside my last piece of baseboard (which is 1:12 chair rail that’s discontinued and impossible to find), but when it came time to finish this room I couldn’t find it anywhere. I dug through my scrap drawer and found a partial piece that had been stained, but it wasn’t big enough to do the whole room.
I went down a rabbit hole of making built-in cabinets along the back wall so I wouldn’t need to use baseboard there, but thankfully found the piece of baseboard before I glued anything in. Here’s the last room, finished!
Since I’m in the process of packing, I didn’t want to order anything new, so I dug through my strip wood stash and got creative with what I had. I used 3/16″ basswood (same thickness as the kit wood) on the walls and floors. For the roof I wanted the trim to also cover up the edge of the shingles, so I used 1/4″ there. I had *just* enough of the 1/4″ wood for the shingled parts of the roof, but not the flat part.
Instead I used 3/16″ angle trim on the flat part of the roof.
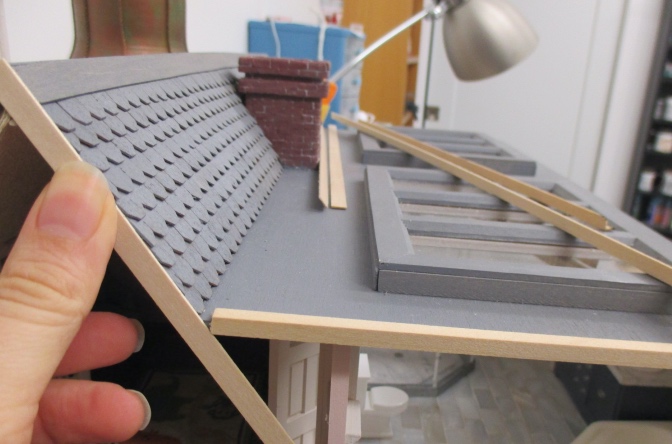
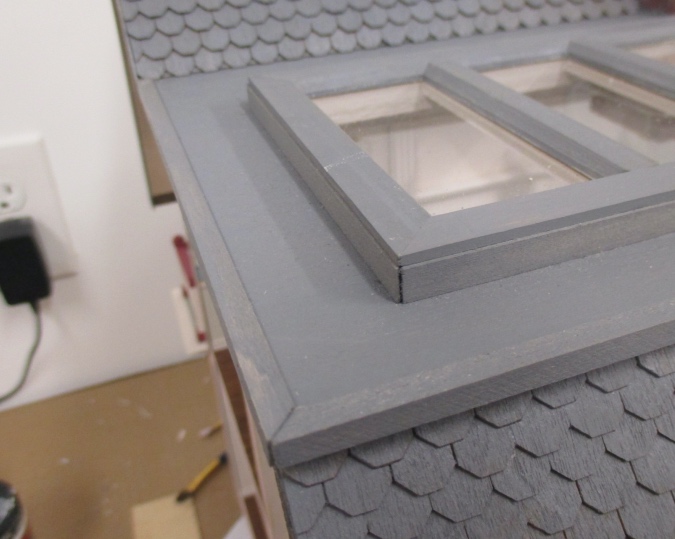
Where the 1/4″ wood meets the angle trim, I held the 1/4″ piece up against the sloped roof and then marked the points where it overlaps the flat roof.
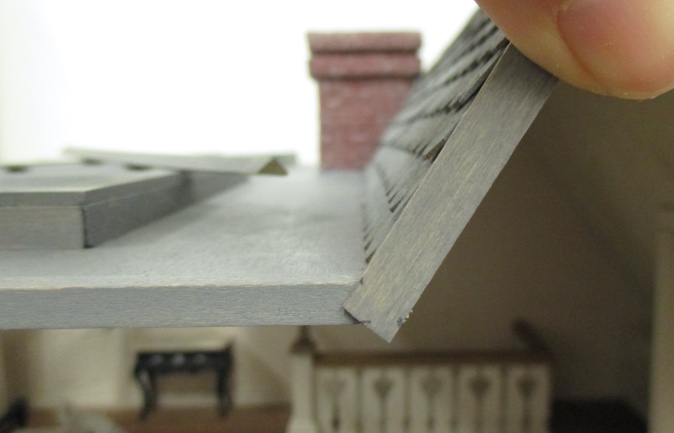
Then I cut the trim with scissors. This wood is only 1/32″ thick, so it’s easy to cut.
The angle trim has a mitered corner.
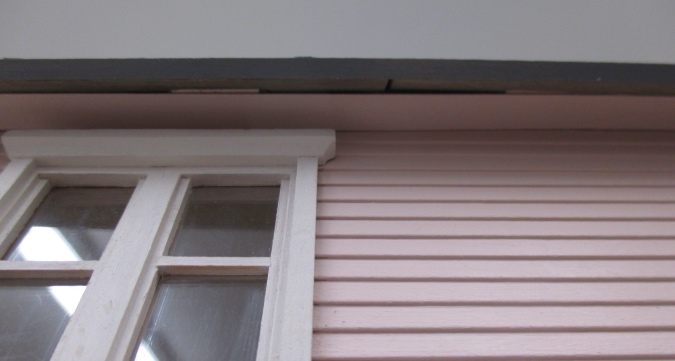
Here’s something you’ll never see unless you get under the house and look up, but I couldn’t leave it like that.
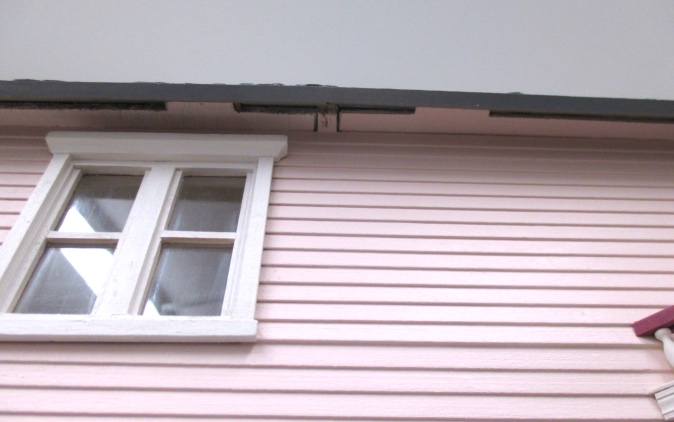
Here it is with a piece of strip wood added. It doesn’t cover the tabs up completely, but it’s much better.
And…. it’s done! The Victorianna is finally done!
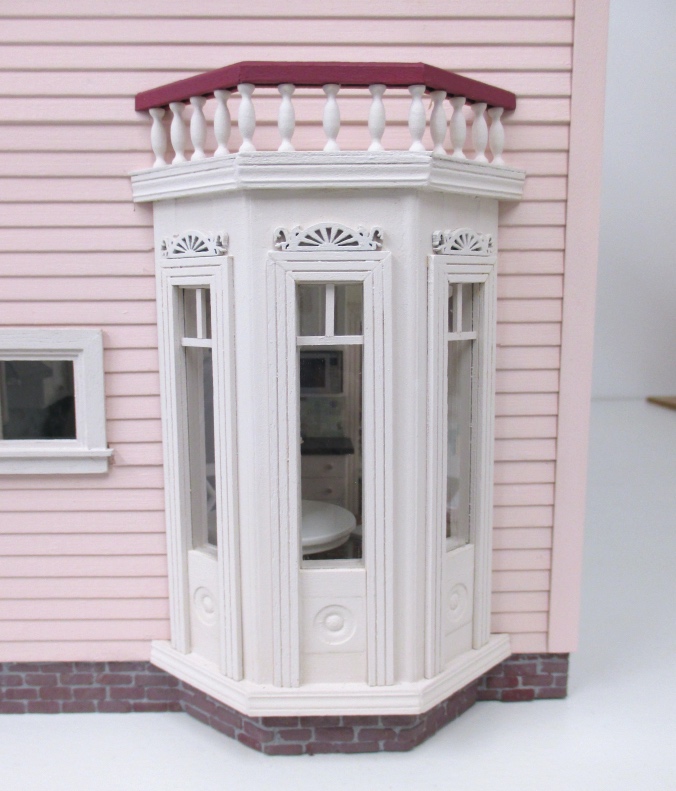
Oh, I also added the mullions that I forgot to do when I finished the bay window.
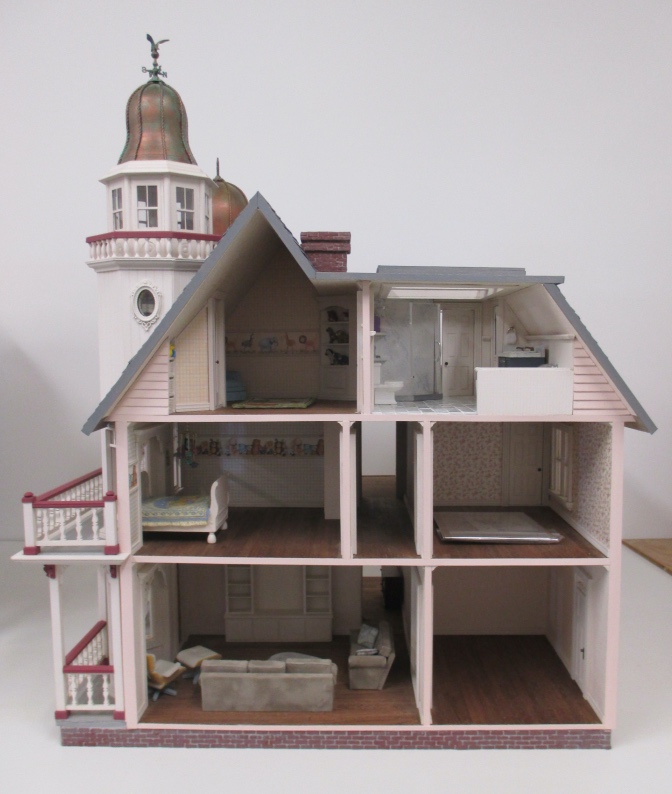
Here’s the finished house enjoying a sunny afternoon in San Francisco…
It might take some time to get my new workshop unpacked and functional, but now that the Victorianna is finished (yay!) I hope to set it up with furniture sooner rather than later. In the meantime, I’m planning to post a gallery (I took a bunch of pictures before packing up the furniture), as well as a recap that links to the key posts I made while building the Victorianna, so stay tuned for those.
 Emily is a freelance writer, miniaturist, and adventure game enthusiast.


Well done, you!! And with an actual full-size house move in the works…I am doubly impressed.
It’s fantastic! Great job.
“Cute” really does not do this fine house justice, but I think along the way I have used every other adjective to describe this project. It’s a lovely house and you have a done fine job. It certainly does need to be decorated and furnished. Now, I am anxious to see what your next build will be. I a considering the newest Real Good Toys house, but I’m having a hard time talking myself into it.
Beautiful work, Emily! I love how this came out. Good luck with your move.
Has it really been that long?! It doesn’t seem like it. Congratulations on finishing the house, it was quite a project. You did a lovely job with it.
Haha, thanks! It feels that long to me! :)
The finished house is a joy to see…congratulations on completing it! Hope your real life move goes smoothly and you are soon settled into a new home.
Wow! It’s so gorgeous! So impressed. Disguising the edges is something I always forget but it helps so much!
I certainly have enjoyed your journey and learned some things along the way. Congratulations on this beautiful accomplishment!
Hurray! What a feat! I love the shingling on the roof —
This house is extraordinary. It’s unusual in its back to back layout. The access arrangement makes the room arrangement feel like a real house- not a flat dollhouse. The craftsmanship is excellent.
Thank you!
I love how you built this house. I am going to read all your post about this work of art.
Thanks! :)
2 McKelveys back to back???
Yes! But they’re Victoriannas (the half scale version of the McKinley). You can see the first post about the project here: https://www.emilymorganti.com/blog/?p=7923