The theme for this year’s half scale swap (through the Halfscale Minis group on Groups.io) was Arts & Crafts. I made skeins of yarn, matte finish spray cans, and paintbrushes. And now I’ll show you how I made them, so you can make some too!
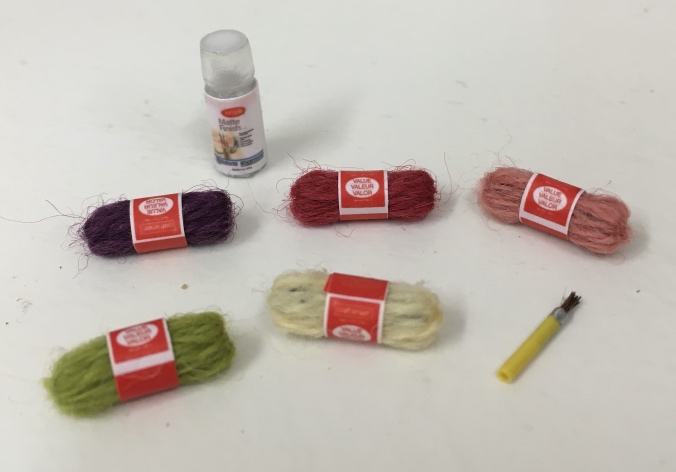
Download the labels here and read on for the instructions. The labels are 600dpi, sized for 1:24 scale. If you want to make 1:12 versions you can change the resolution to 300dpi before printing. (No idea what I’m talking about? This article will help!)
Skeins of Yarn
The yarn skeins are made out of thin plastic straws and fine wool that I had left over from cross stitch kits I stitched many years ago (I think it’s “crewel weight” wool). You could also separate thicker wool into individual strands, or use DMC floss.
I cut a straw to about 7/8″.
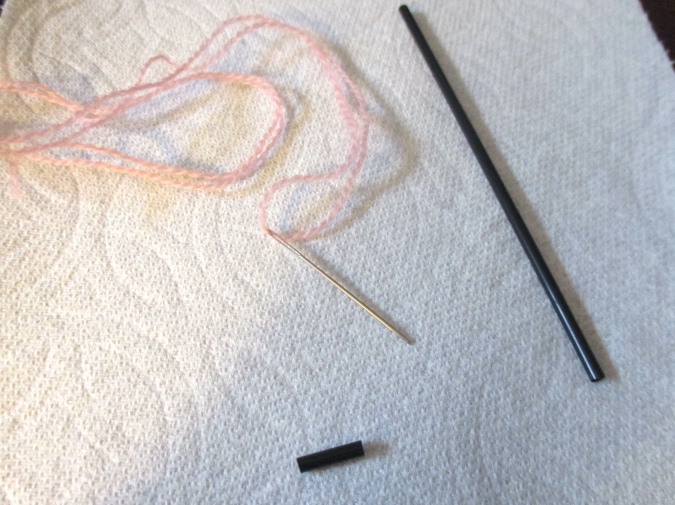
With the wool threaded on a number 18 tapestry needle, I pulled it through the straw and left a long tail.
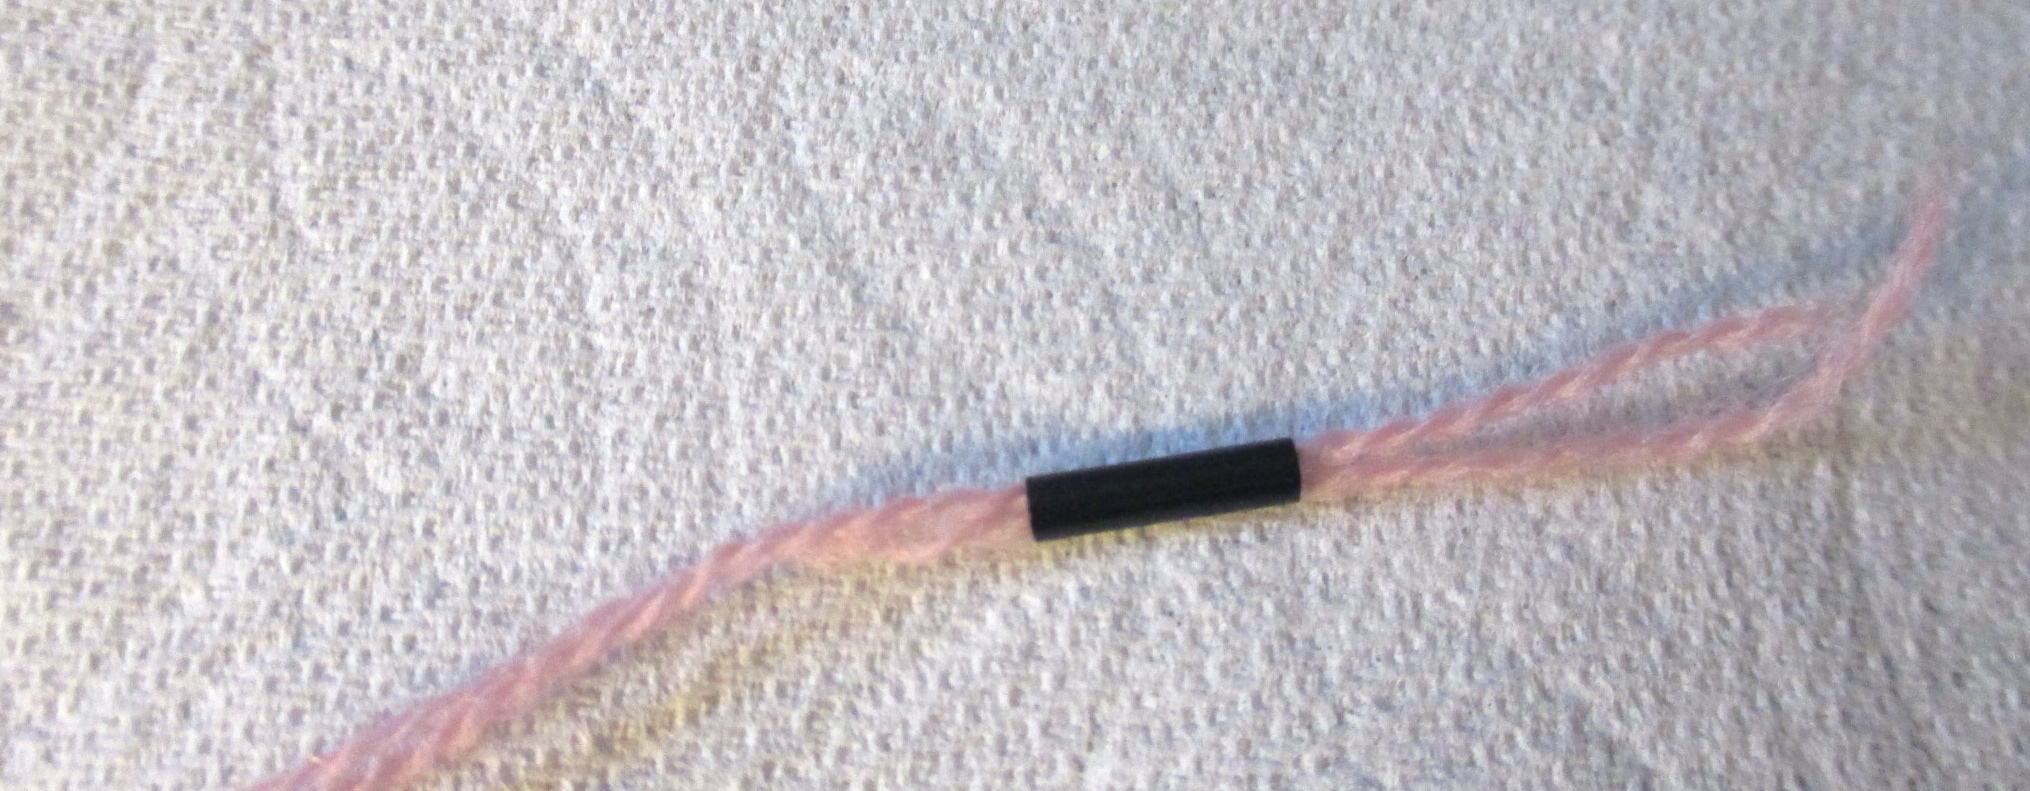
Then I looped the yarn through the straw and pulled it tight, holding on to the tail to keep the wool from pulling out.
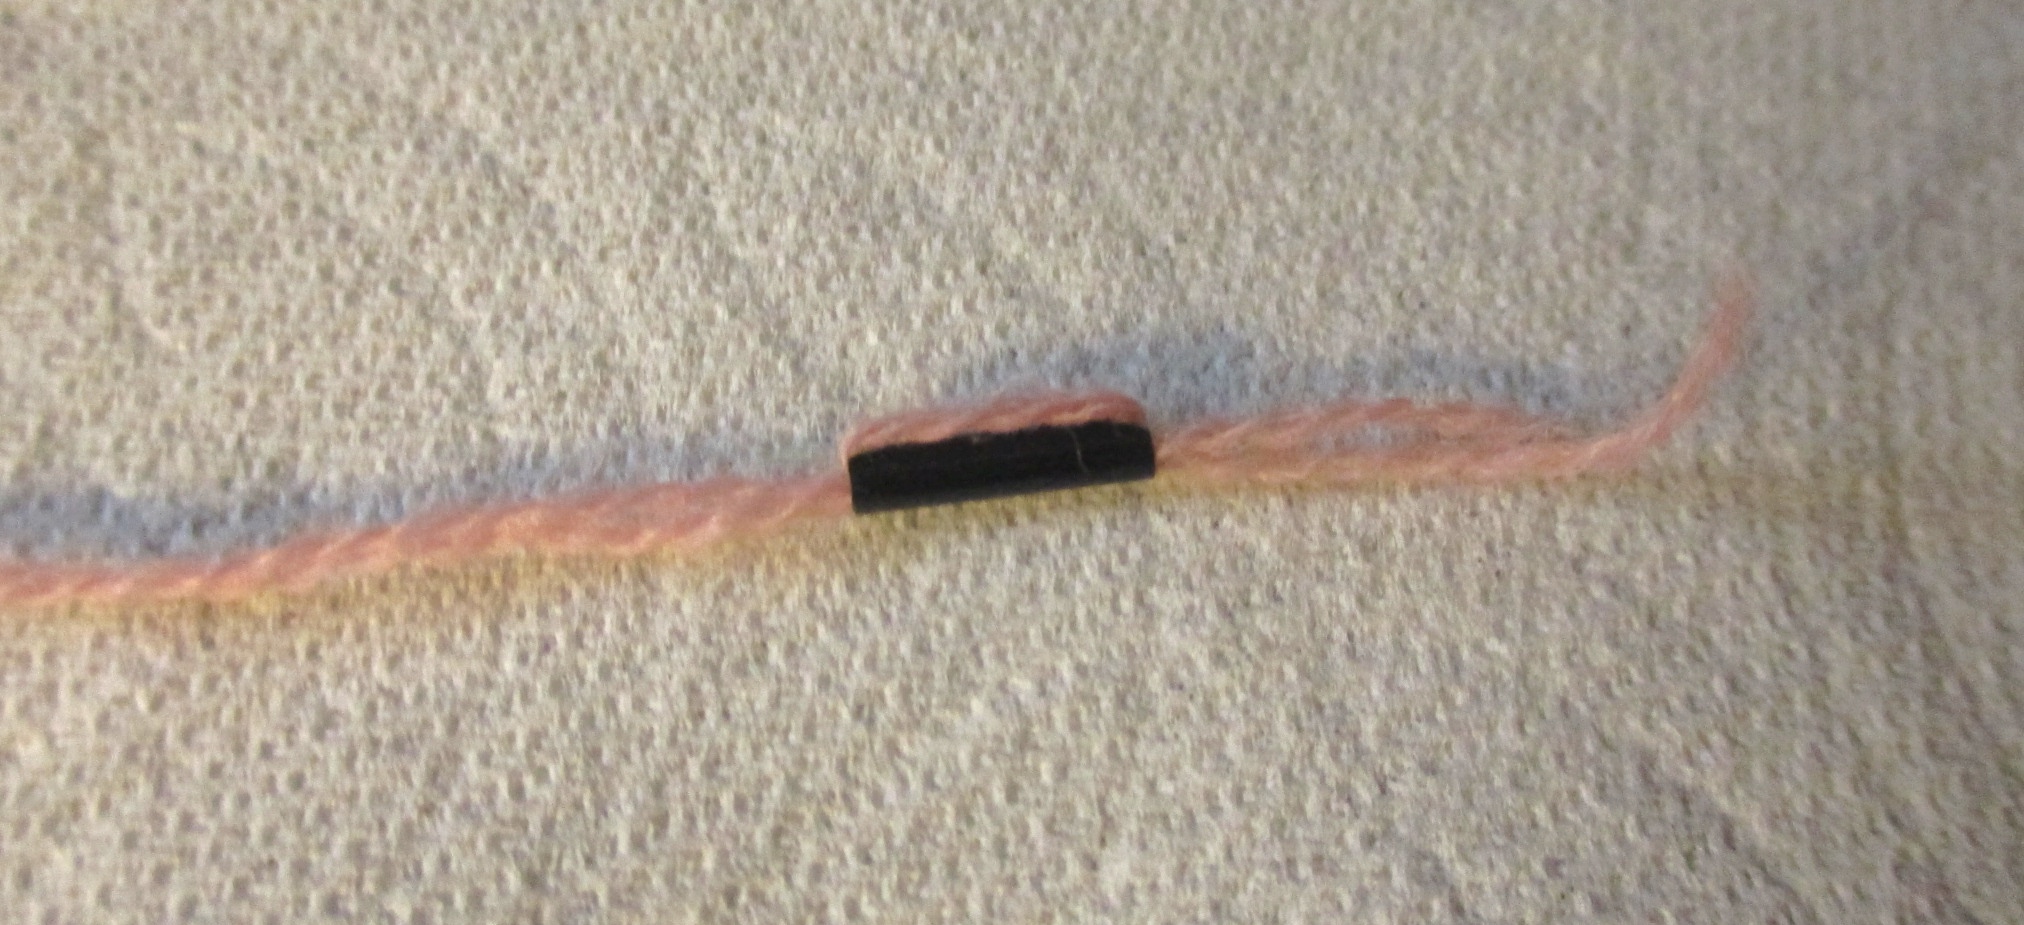
I continued this as many times as I could to completely cover the straw. It started to get bulky and difficult to pull the needle through, but I was able to loop it as many times as necessary to completely cover the straw.
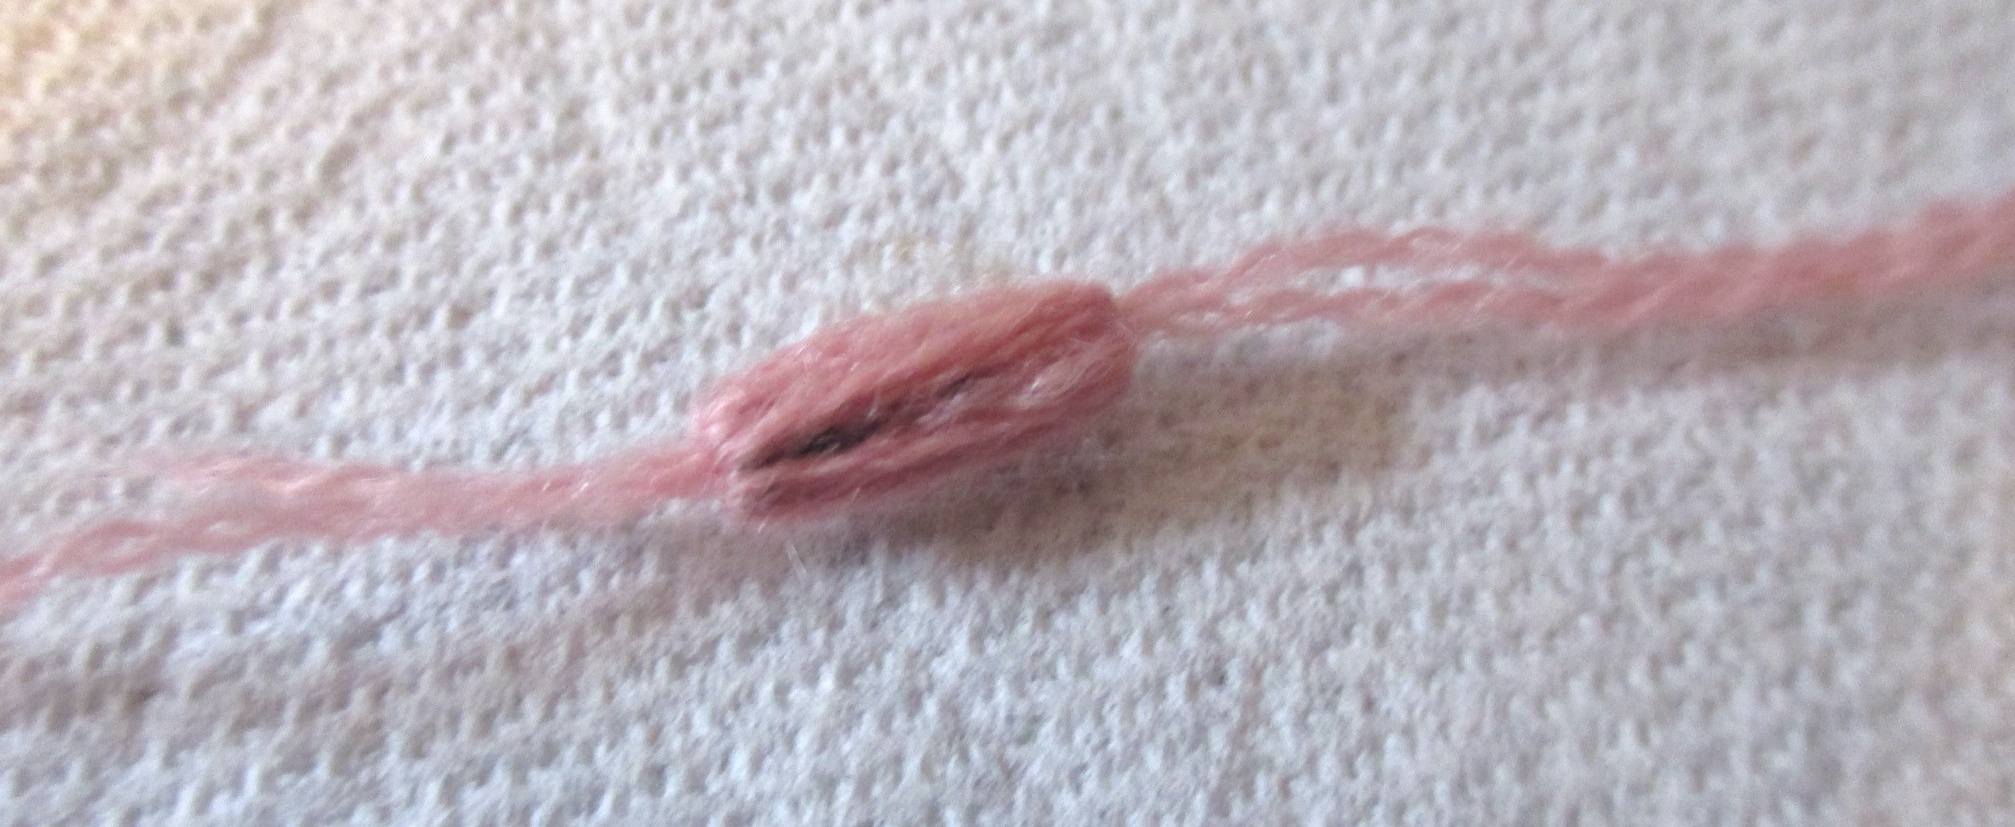
With the straw fully covered, I used sewing scissors to snip off both tails.
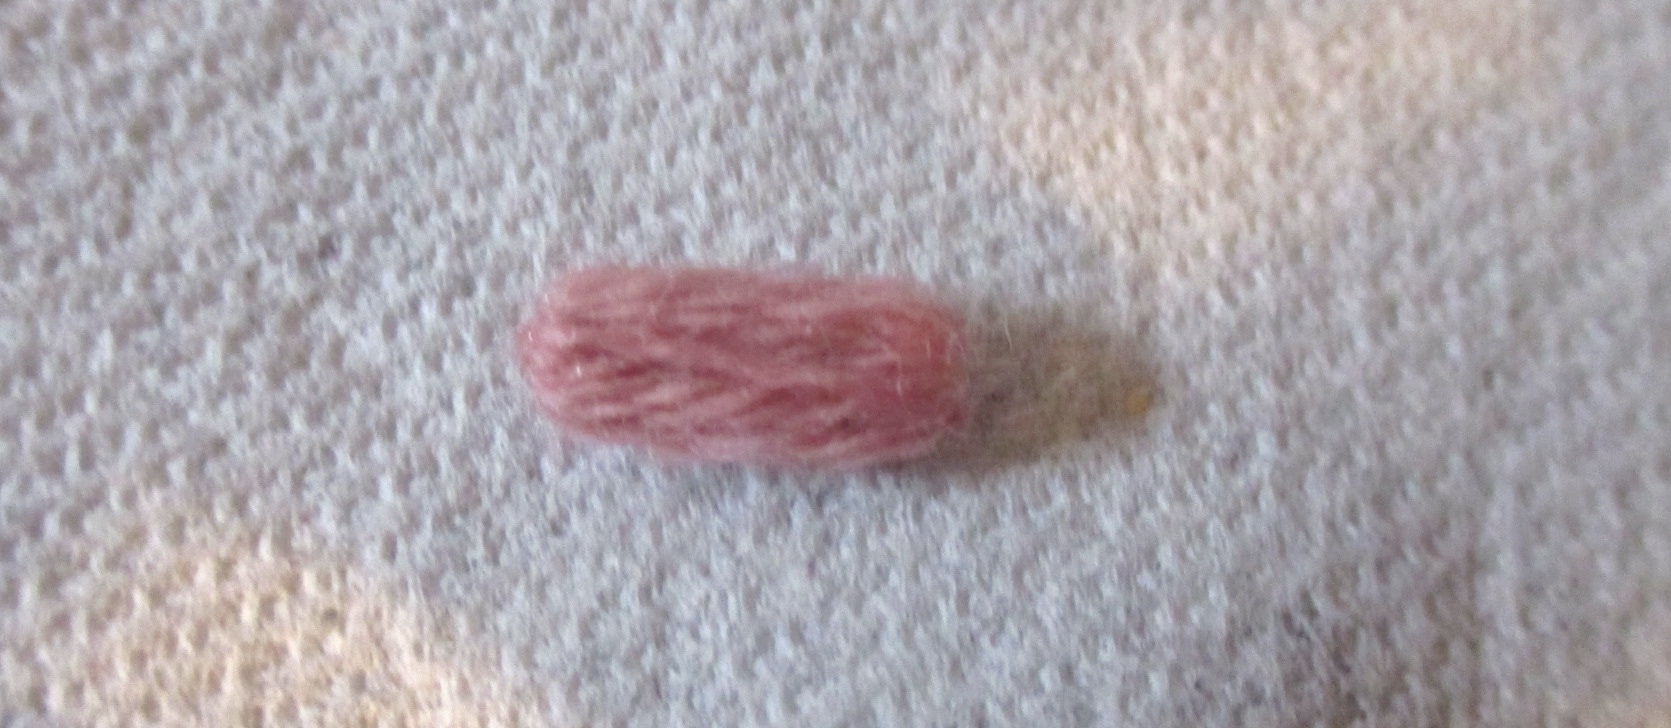
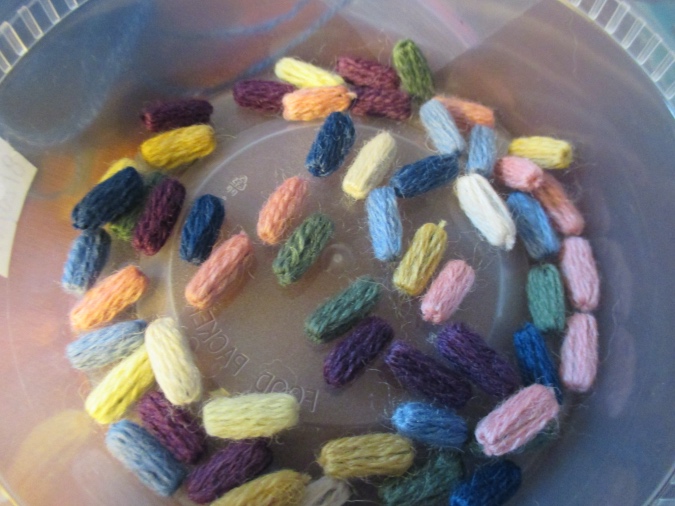
I made a bunch of these while binge watching The Wonder Years on Hulu. That was a great show!
I looked online for label graphics but didn’t find anything I liked, so I made a trip to Michaels. (This was back when people were allowed to leave the house…) I bought a skein of yarn that had a relatively simple label, so it would still be legible when it was reduced down. Here’s the full-sized skein next to one of my half scale skeins.
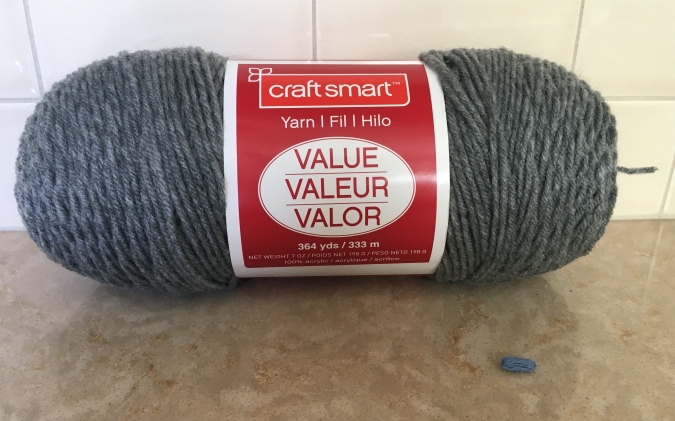
I scanned the label, resized it in Photoshop, and printed out a bunch of them. Before cutting them out, I sprayed the labels with UV-resistant coating, let them dry for 24 hours, and then painted on a coat of gloss varnish to make the label more durable.
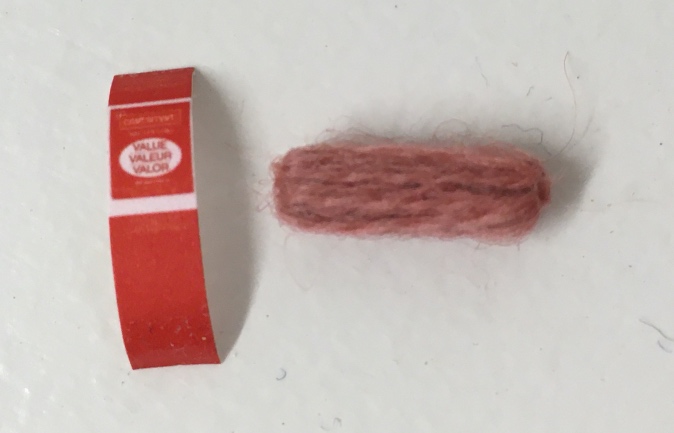
The coat of varnish might have been a mistake, because the ends of the paper really didn’t want to stick together! After I glued on all the labels I had to go back and do a second round because many of them had come unglued. I tried some with double stick tape instead of glue but those also came apart. The labels stayed glued on the skeins I got back in my swap package, so I hope that’s the case for other recipients too.
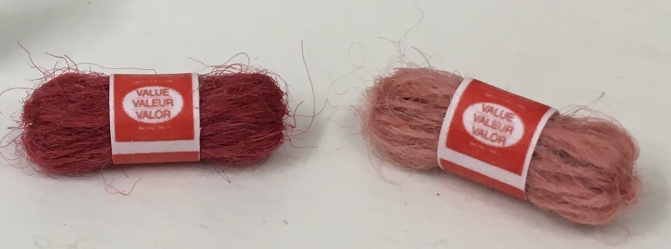
(Wow, the little hairs on the wool are very visible in that picture! They’re not so bad in real life, but if you can’t live with them, they should be easy enough to trim off with sewing scissors or nail scissors.)
Matte Finish Spray Cans
I made the spray cans out of LED Christmas lights. When you jiggle the light out of the plastic housing, it has a frosted cylindrical base that looks like the cap on a Krylon spray can.
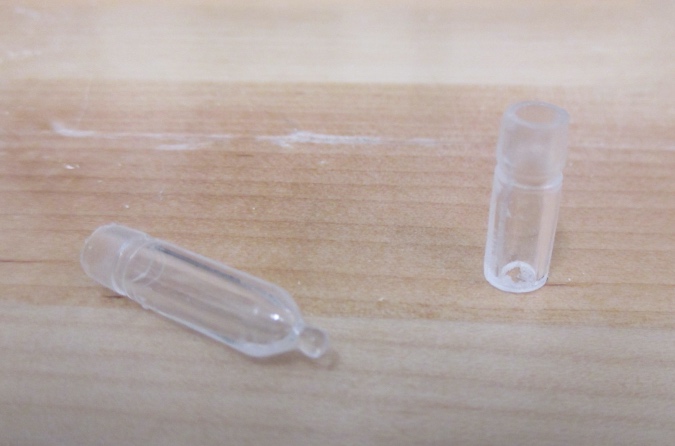
I used my miter box and saw to cut the lights down to 1.5cm. After cutting, I lightly sanded the cut edge with an emery board to get rid of sharp edges and to make sure the “can” stood up straight.
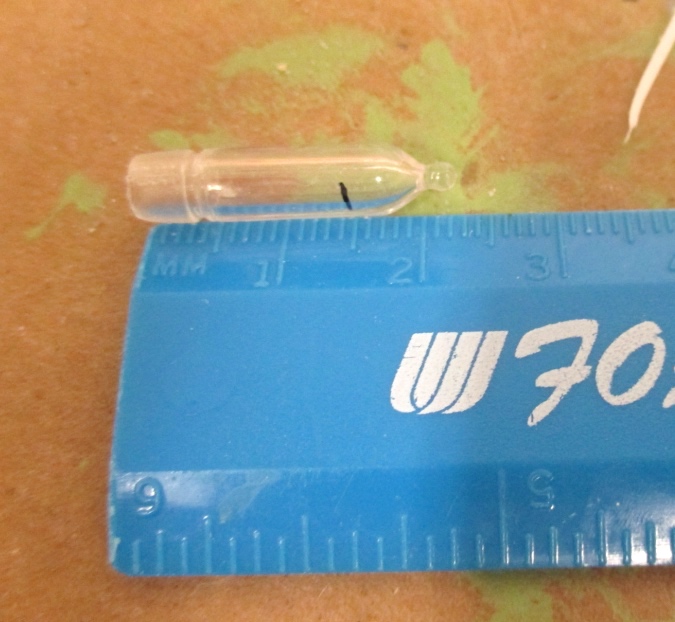
I glued paper circles, made with a standard hole punch, to the bottom.
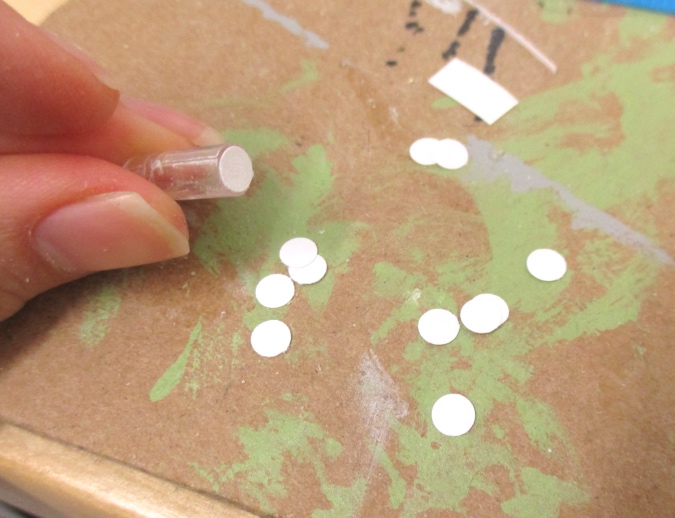
When the glue was dry, I colored in the paper and the bottom edge of the can with a Molotow Liquid Chrome marker.
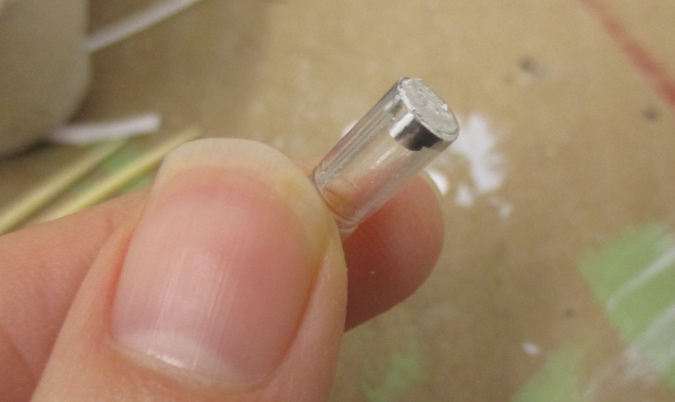
I stuck toothpicks through the open tops of the cans and left them to dry.
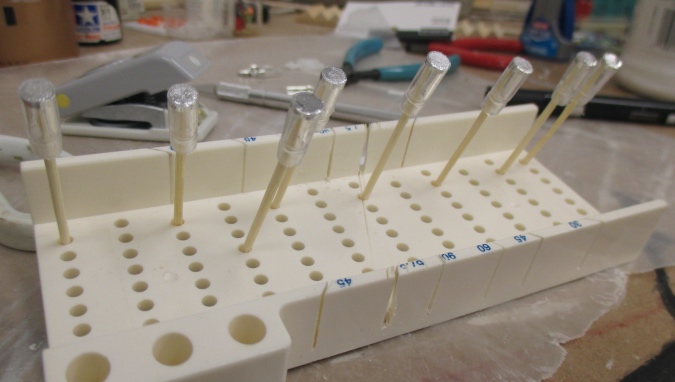
To make the label, I removed the label from a life-sized can of matte finish. I taped this down to a piece of paper and scanned it.
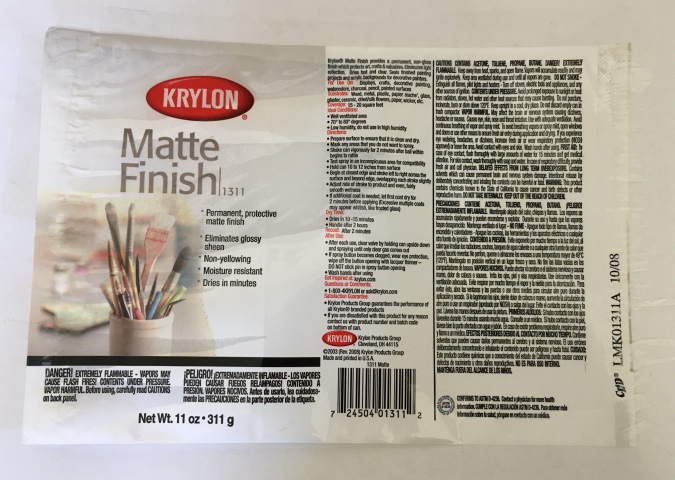
After resizing and printing, I again sprayed the labels with the UV-resistant coating, let them dry 24 hours, and then painted with gloss varnish.
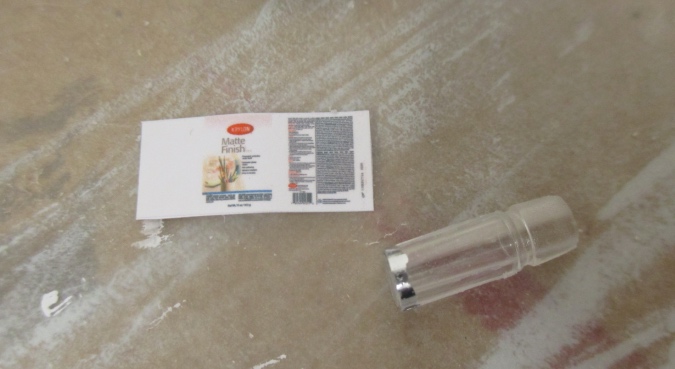
I affixed the label to the can with tacky glue.
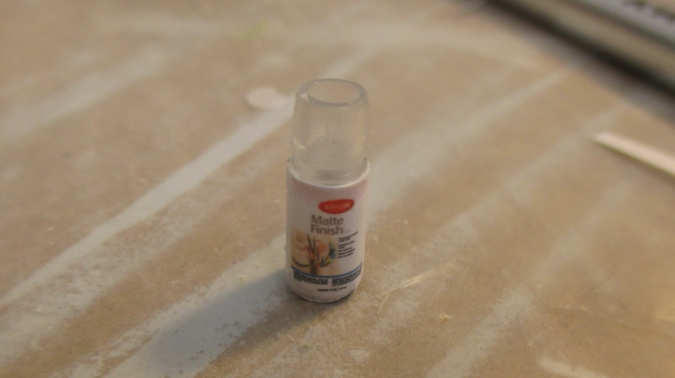
The last step was to cut holes out of vellum paper to make a top for the can. The diameter of the top is slightly smaller than the bottom, so I needed to get a special 3/16″ punch for these.
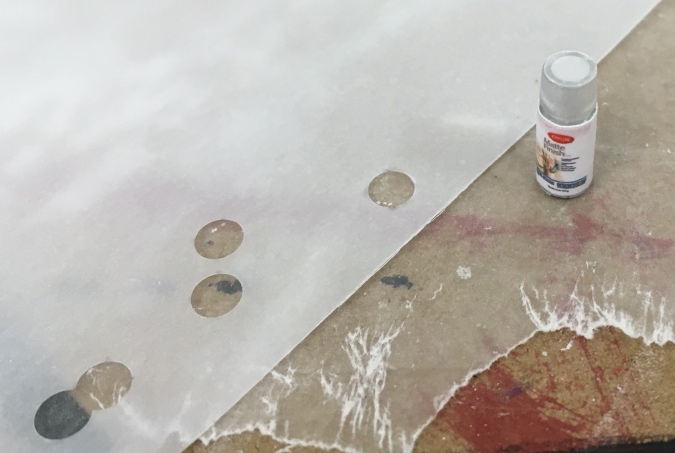
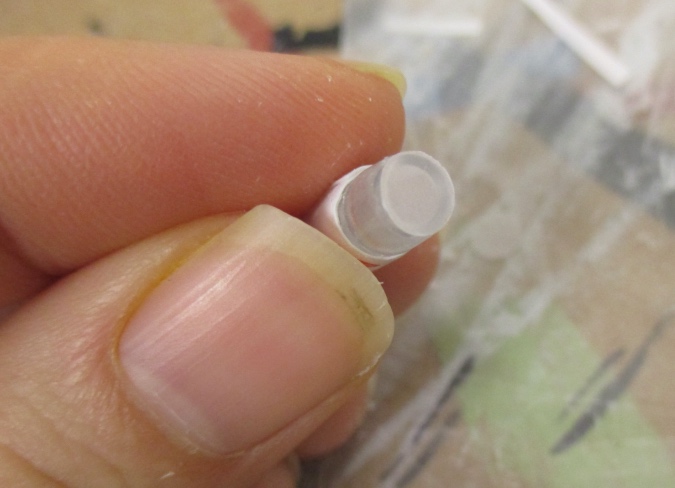
Would you have guessed that these are made from Christmas lights?
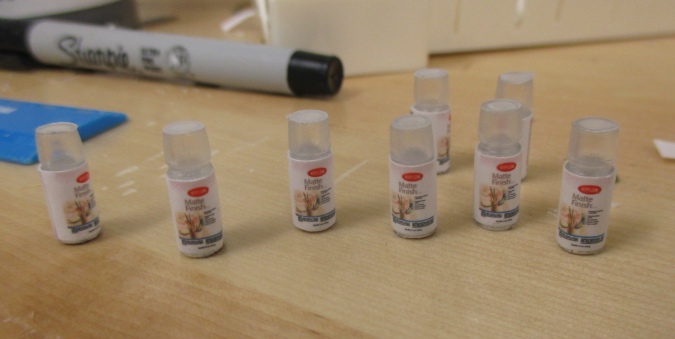
(For another fun thing to do with Christmas lights, check out this liquor bottle post.)
Paintbrushes
The last item I made was paintbrushes. These are made from coated paper clips. I cut the paper clip with wire cutters and then used needle-nose pliers to pull out the metal piece.
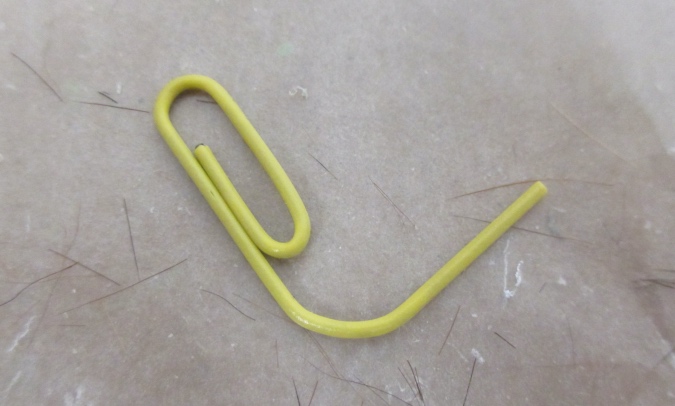
(Note: I wanted to make the handles out of the thin, colored wires that are twisted up inside of an old-school telephone cord. Those wires are skinnier than the paper clip coating and would have been more to scale, but the very fine wires snapped when I tried to remove them from the plastic coating, leaving me without a hollow channel to insert the bristles into. Maybe I’ll try it again someday when I’m in a more patient mood.)
I cut bristles off of one of my own paintbrushes. First I separated out some of the bristles and applied glue to the tips.
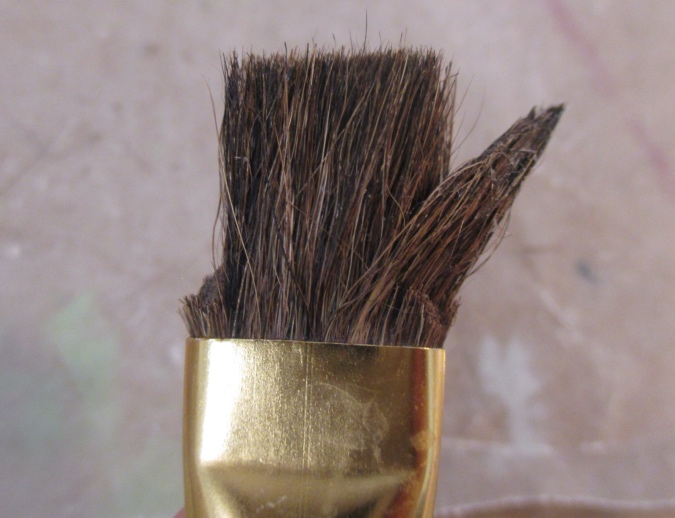
Then I cut the bristles off.
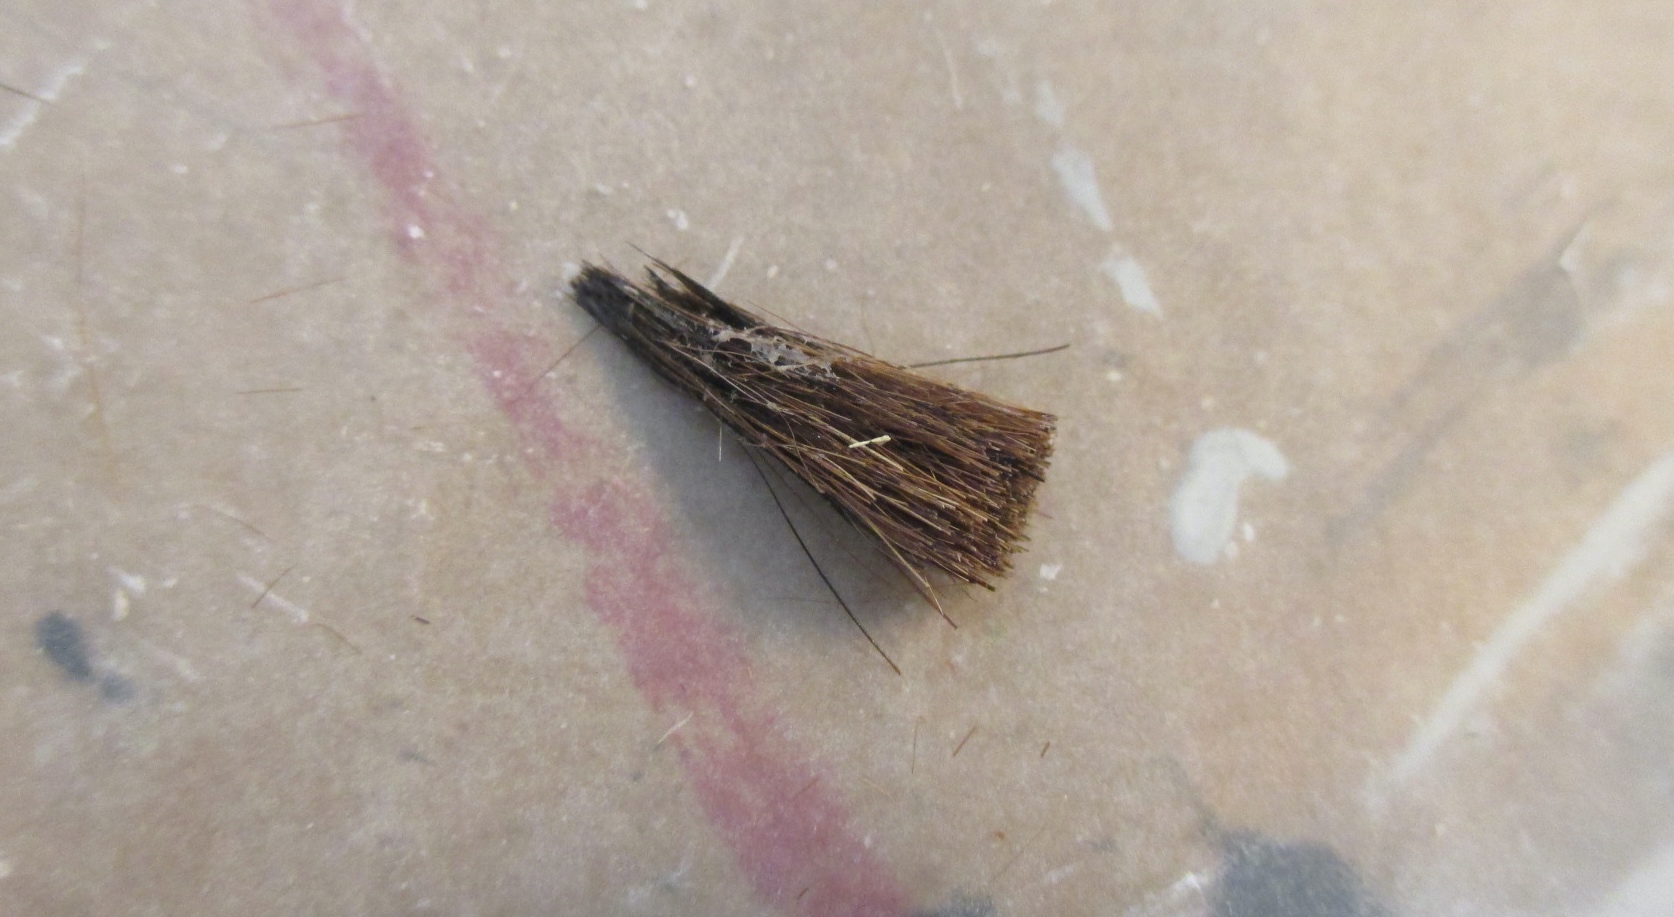
I separated the bunch into a few different parcels. The glue I’d already applied made this manageable. When I tried to do it without gluing first, I just ended up with wispy little bristles all over the place.
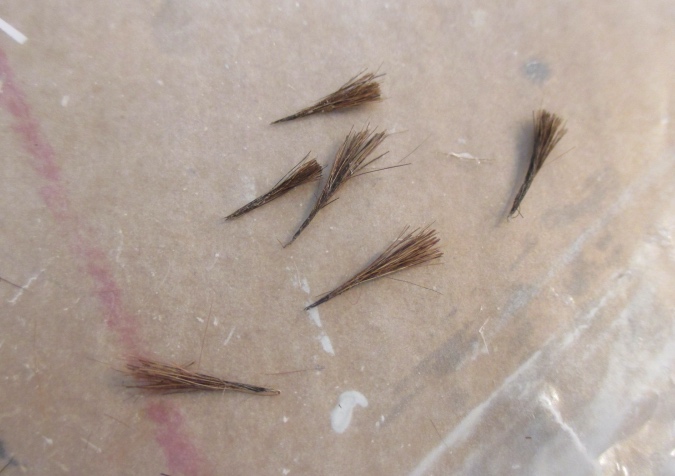
I glued these into the handles.
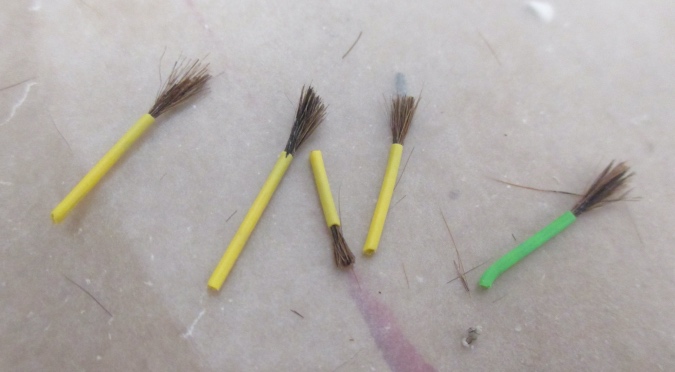
Again using the chrome marker, I colored around the tip of the handle. When this was dry, I snipped down the bristles and the handle to an appropriate length.
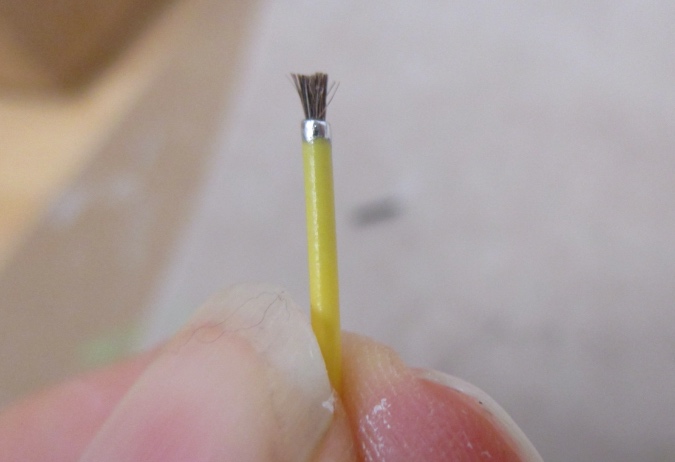
I like these, but they are a bit chunky for half scale.
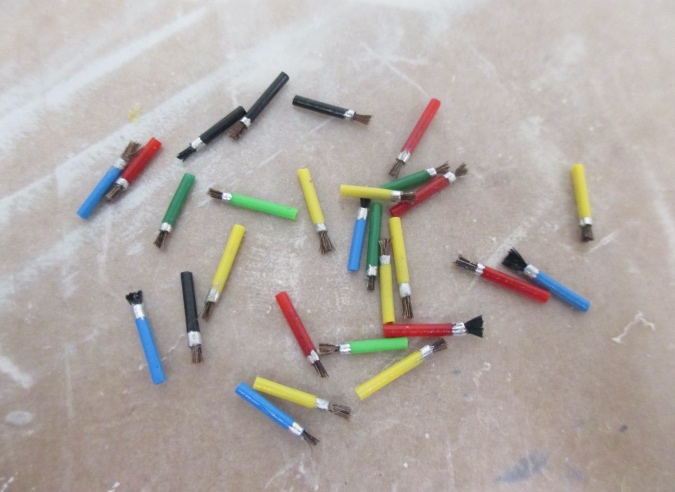
The bottom of a Christmas light can also be used as a little cup to hold the brushes.
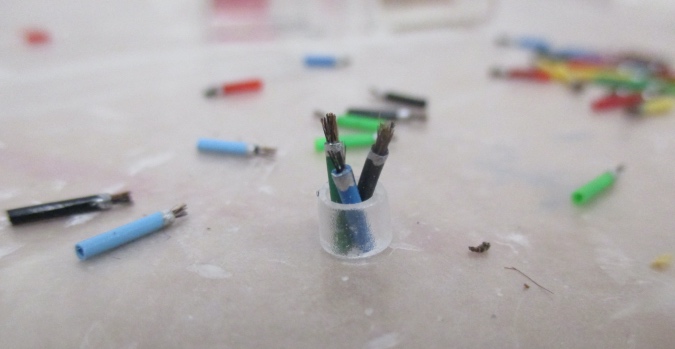
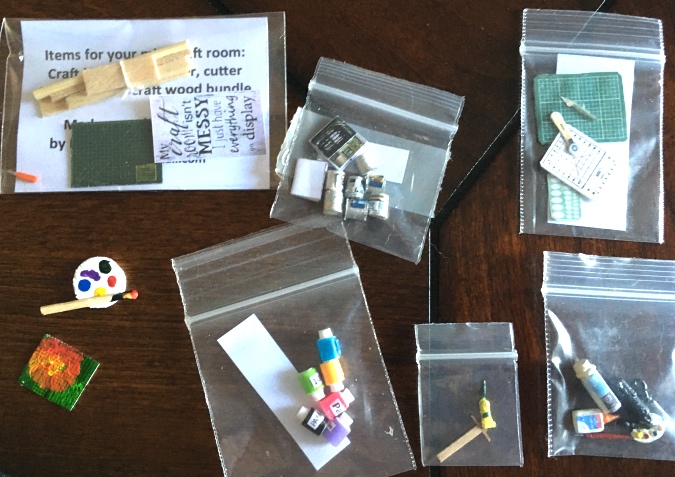
Here are close-ups of the rest of the items in this year’s swap. Whenever I get around to making a mini craft room, it will be well stocked!
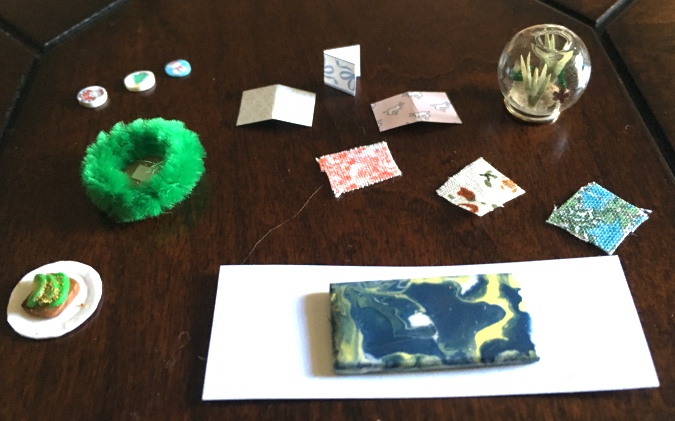
A wreath in progress, Christmas ornaments, paper and fabric swatches, a terrarium, a painting, and a plate of avocado toast:
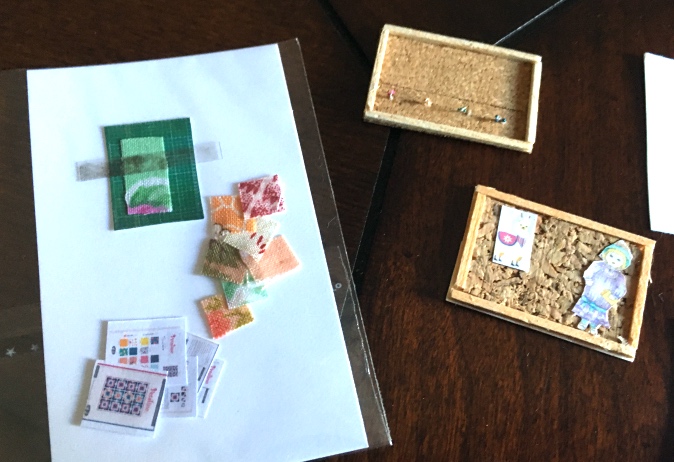
Bulletin boards, more fabric swatches, a cutting mat, and quilt patterns:
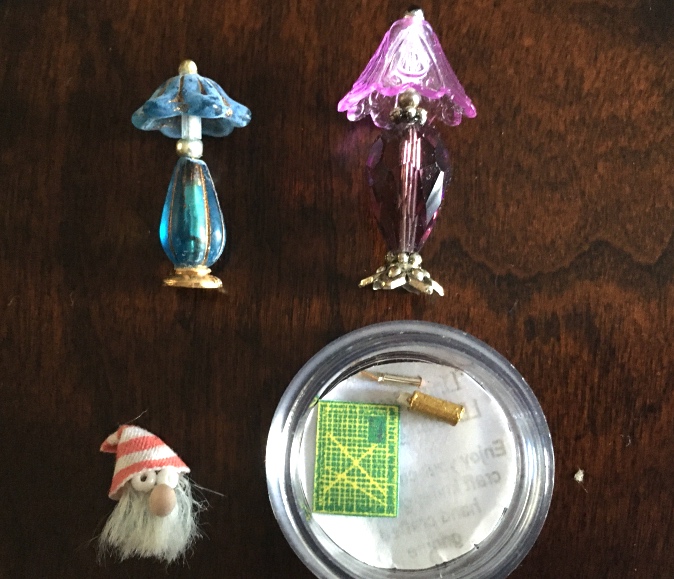
Lamps, cutting mat and tools, and a handmade gnome:
More teeny tiny supplies and tools. I didn’t want to take them out of the bags and risk losing anything. (The colored paint bottles are actually from a previous year’s swap.)
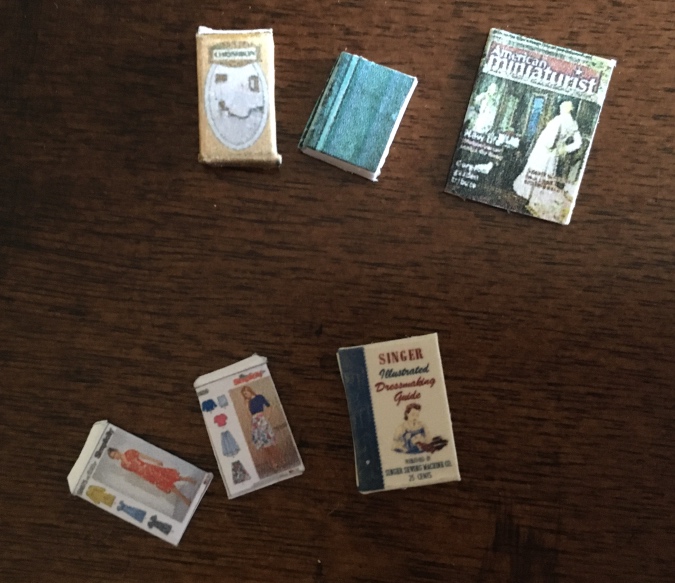
A Chrysnbon kit (every miniaturist has at least one lying around!), dress patterns, and a few books/magazines:
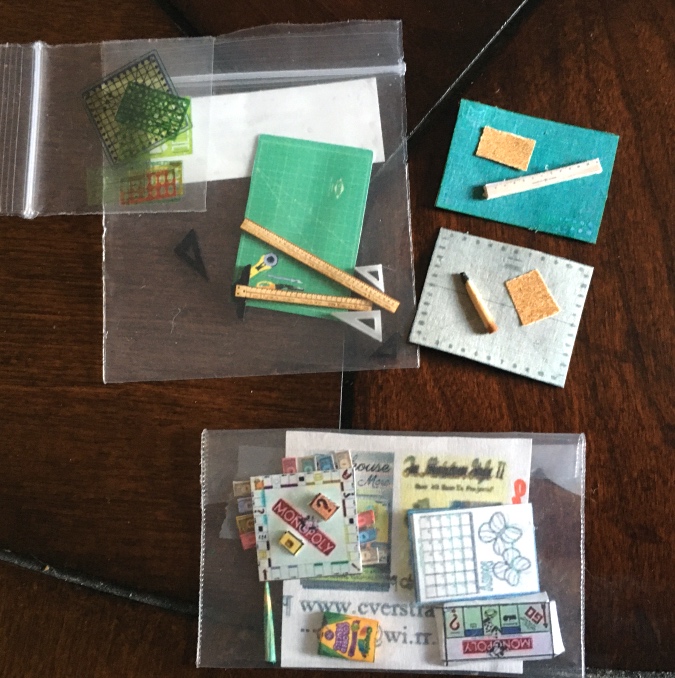
More cutting mats and tools, plus Monopoly, which happens to be my favorite board game:
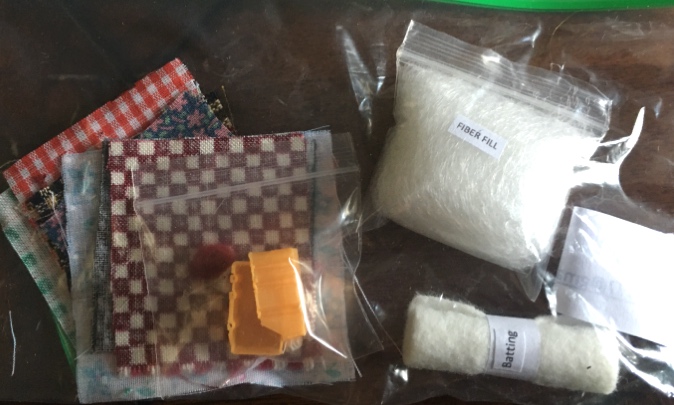
And some more fabric and quilting supplies:
I have long planned to make the small spare room in the Rosedale into a sewing room, and have been thinking about turning the Victorianna’s spare room into a dollhouse workshop. I just moved and all my miniature stuff is still packed up, but I’ll get on that once I get organized.
 Emily is a freelance writer, miniaturist, and adventure game enthusiast.


Very nice! Love the idea of a craft room.
This is great instruction. I may have to be making some skeins of yarn.
This is so much fun!!
The yarn bundles are so cute!
Consider using heat-shrink tubing for paintbrush handles. It is available in really small diameters (and colors) that when heated will hold the bristles in place and might be a more appropriate half scale size handle.
Dad
Good idea. I originally thought about heat shrink tubing but the stuff Geoff had lying around was clear and too big. I didn’t realize it came in colors.
Great stuff! Love your tutorial. The paint cans are perfect :D
So cute!!!