This past week I made good progress on the Gull Bay, and the exterior’s almost done. I have a ton of pictures so I’ll break them up into two posts.
The house came with “lattice” that appears to be made from stiff plastic needlepoint canvas cut on a diagonal. The photo of the completed house doesn’t have lattice and I’ve never been able to find any other pics of this dollhouse online, so I don’t know if it was originally included with the house or something the woman I bought it from planned to add on her own. The front part of the foundation was painted black when I got it — the only paint on the whole house.
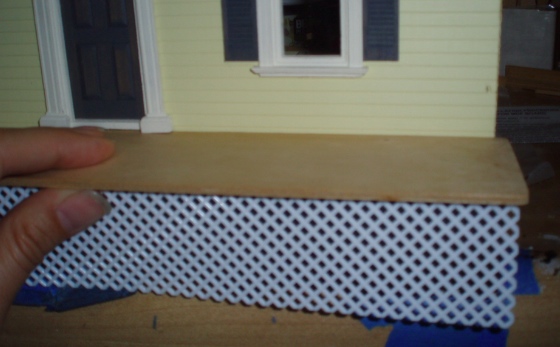
I Googled for pictures of real life lattice and found that it’s often white, framed by another color. I decided to paint my lattice the same Raw Cotton off-white as the trim, and frame it with the Sunny Lemon house color.
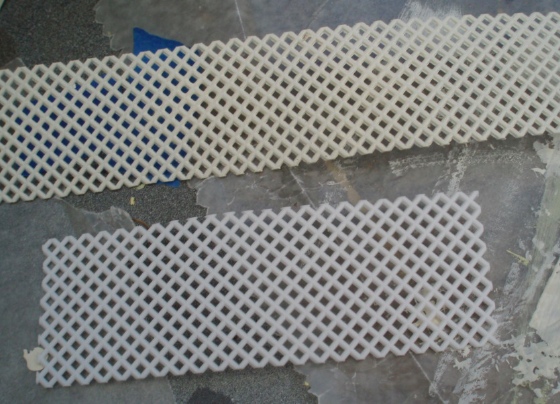
Though the lattice was white to begin with, in the photo below you can sort of see the difference between the original white (bottom) and the Raw Cotton (top).
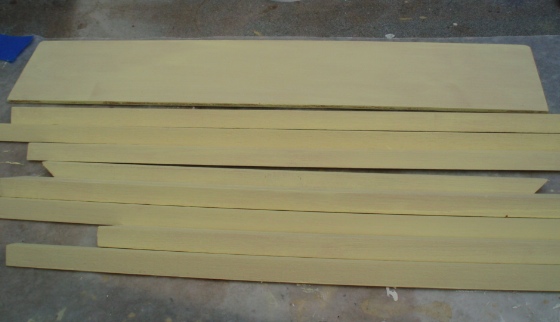
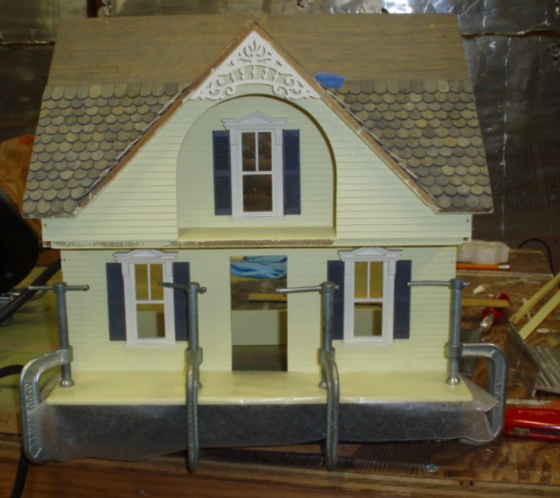
In the photo the porches and corner trim are white (trim color) but I decided to make mine yellow like the house.
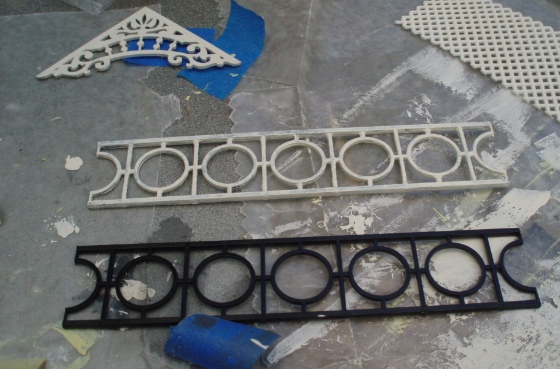
The porch posts, railings, and apex trim I painted my off-white white trim color. I got the apex trim off eBay for my Queen Anne Rowhouse and ended up not using it. The railings are 1:12 widow’s walk fencing. Apparently these also come in white, which would have made my life easier because the black took three coats of paint to cover up. I don’t know if the spikes were cut off or if there’s a version of this fencing without spikes.
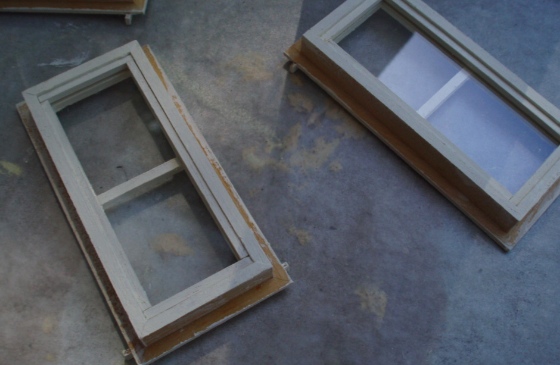
The porch floor was a bit warped, so I clamped it during gluing, putting a piece of wax paper against it so the clamps wouldn’t leave marks.
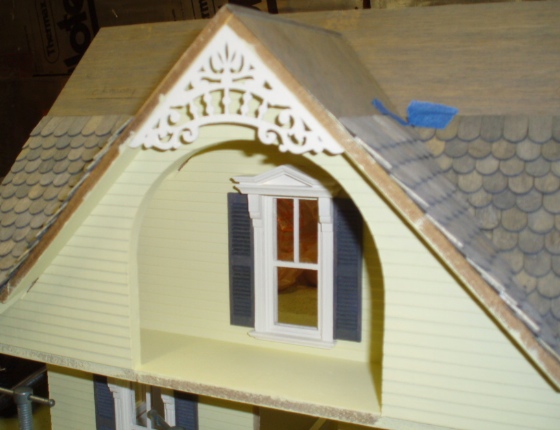
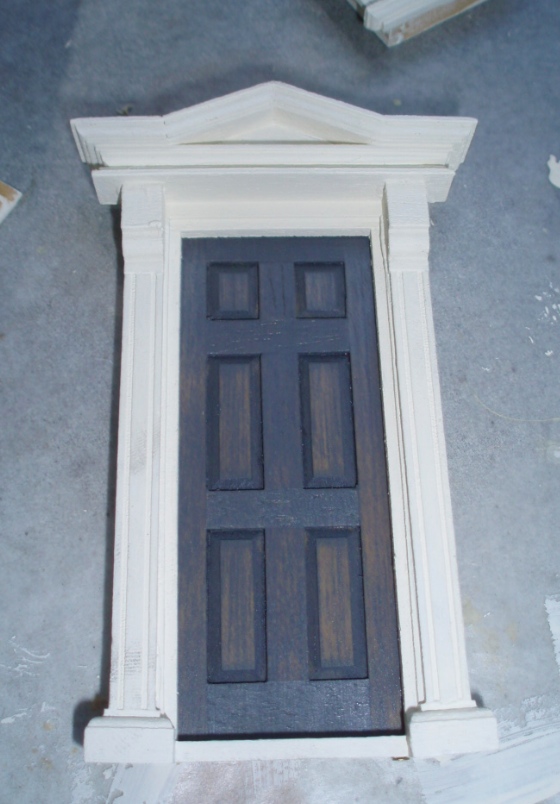
Sorry for the fuzzy picture, but here’s the apex trim. The curve complements the arch below it well.
 Emily is a freelance writer, miniaturist, and adventure game enthusiast.

