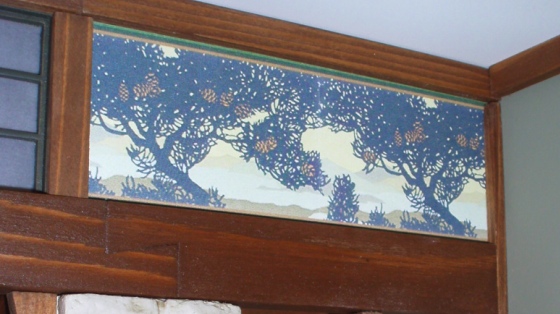
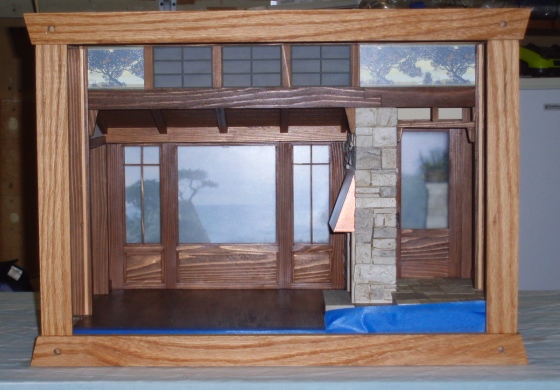
Over the past few days I finished the last things that needed to be done on the Cypress and Fog roombox. The first step was to get in the tree panels and shoji screens at the top, followed by some remaining trim.
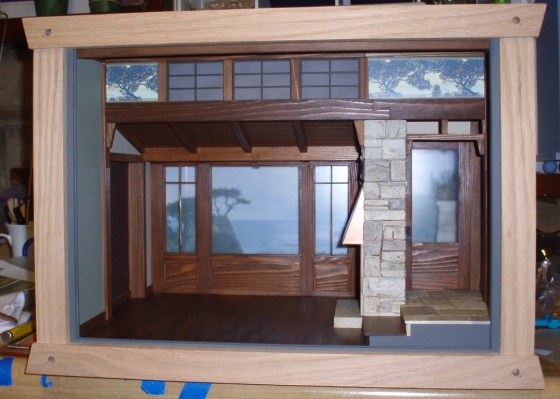
Then it was time to stain the box. The exterior of the Oak Shadow roombox was painted MDF. This one is made from really nice wood with a distinct grain, which makes the exterior as (almost) pleasing to look at as the interior.
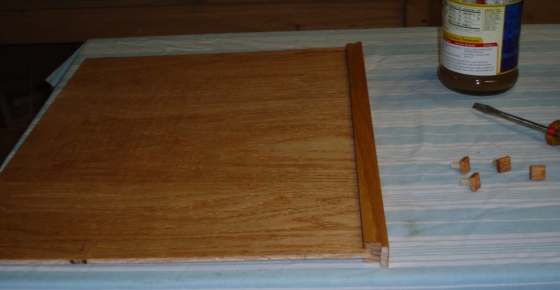
The original Cypress and Fog model was stained with Minwax Golden Pecan… a shade I had on hand and happen to like a lot. Still, I figured I’d test a few colors on the inside of the color, just to make sure. Left to right, these are English Oak, Early American, and Golden Pecan.
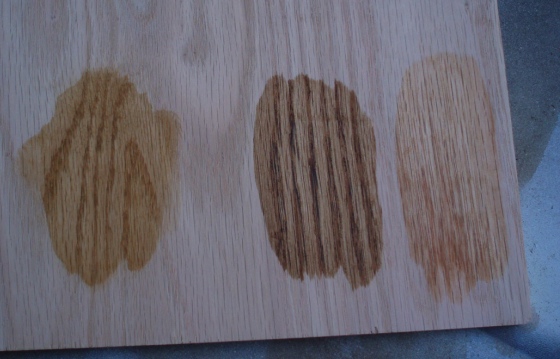
I wasn’t overly impressed by any of them but decided to trust The Guys’ judgment and use the Golden Pecan, and I’m so glad I did. The stain took very nicely and it goes well with the interior colors without being overpowering.
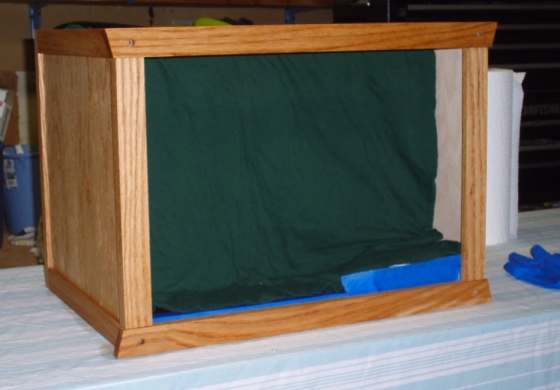
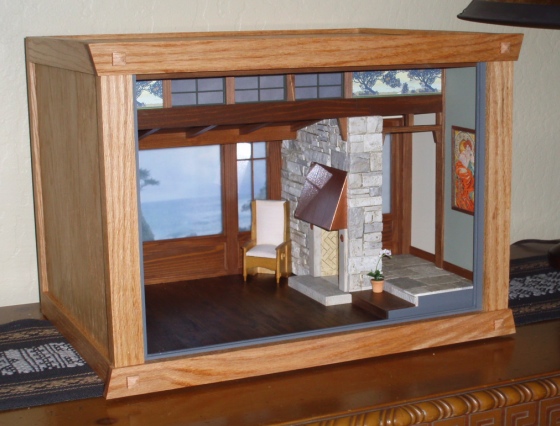
Today, after the stain was dry, I applied a coat of wax. One word: beautiful. I’m so happy with how this turned out. The only thing left to do is hook up the electricity, which I’m hoping my dad will help me with when he’s here in a few days.
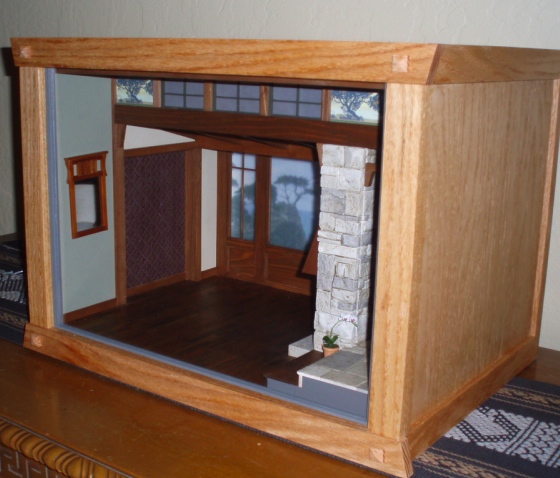
Now, time to think about furniture! I’m actually not quite sure what I want to do with this room, but I have some ideas. I bought some mission furniture kits from Miniton Miniatures and am going to try my hand at making some pieces myself, too. I bought an old Nutshell News magazine at the Good Sam show that happens to have plans for a Stickley chair, and today I came across this great site with a ton of Craftsman furniture patterns that could probably be scaled down pretty easily.
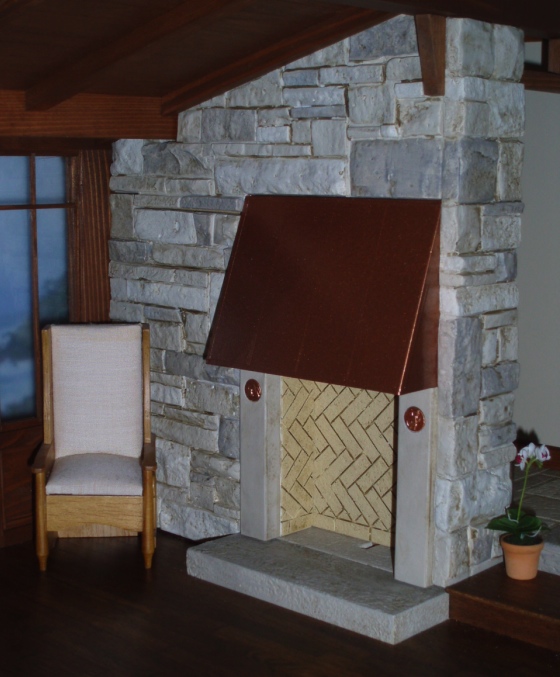
I might also use this chair, which I’ve had for a while. It’s a discontinued piece from Dolls House Emporium’s Mackintosh collection.


 Emily is a freelance writer, miniaturist, and adventure game enthusiast.

