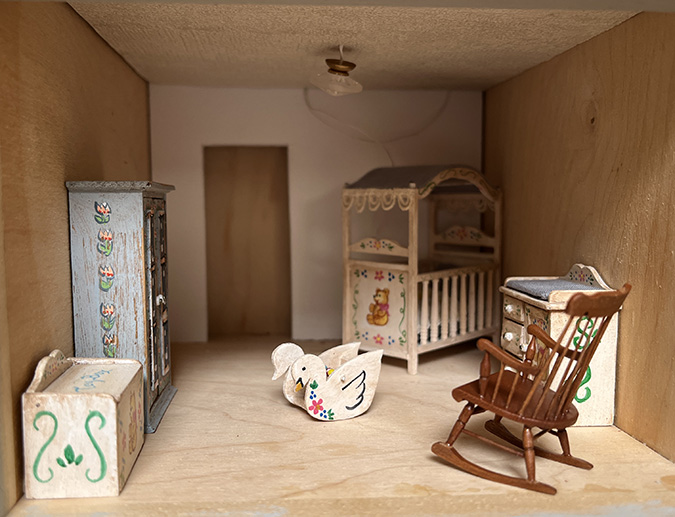
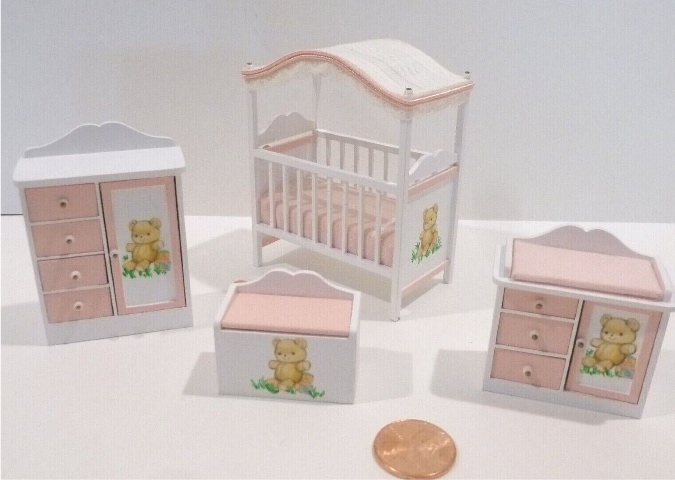
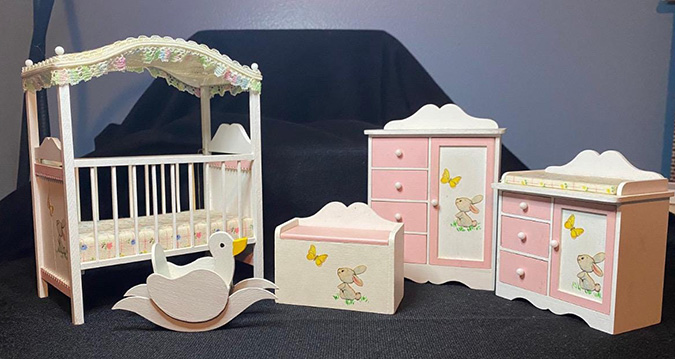
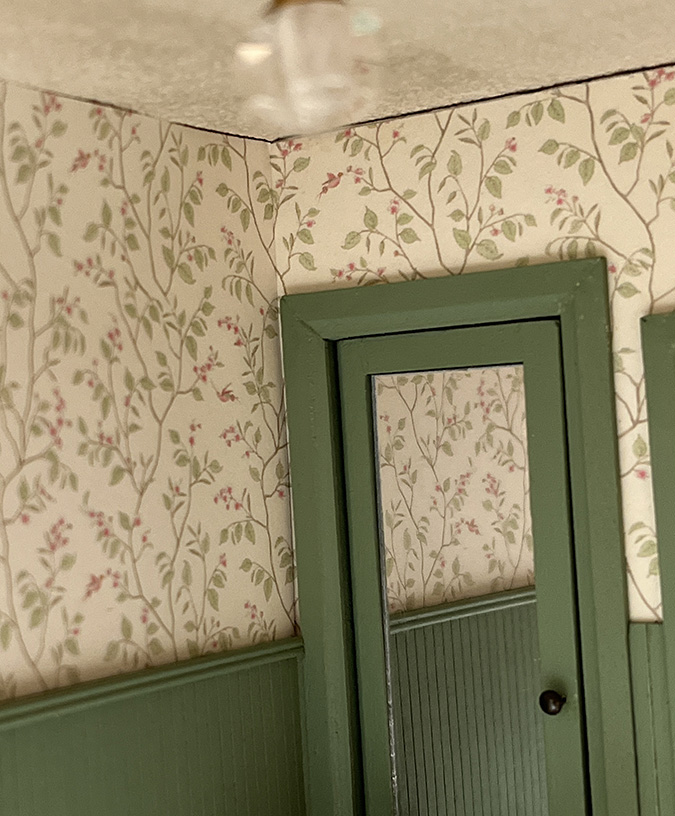
When I posted about the Mansard Victorian’s nursery, I left off wondering if the William Clinger rocking chair was a good fit for this room.
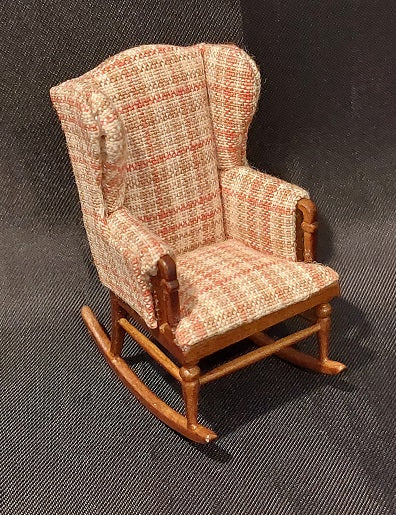
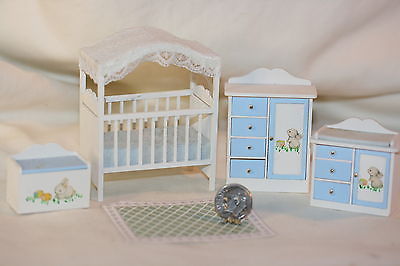
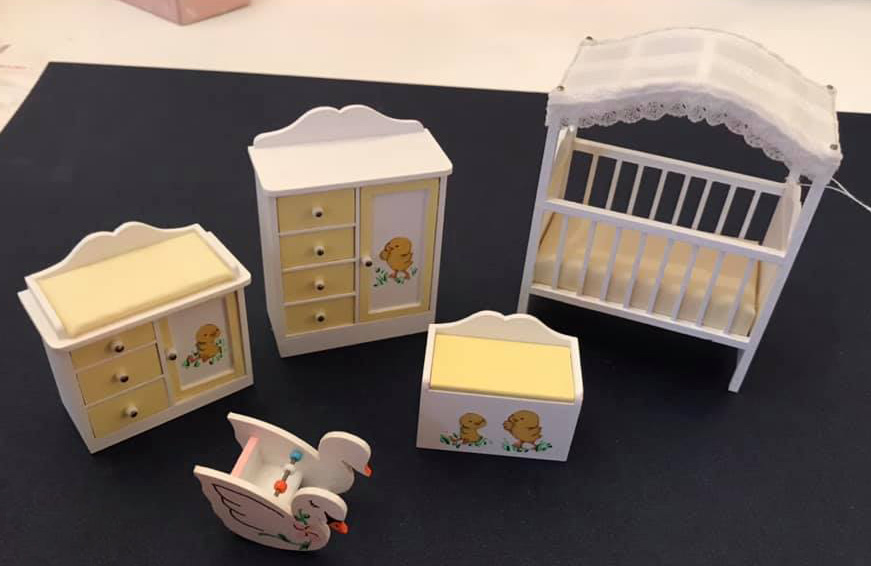
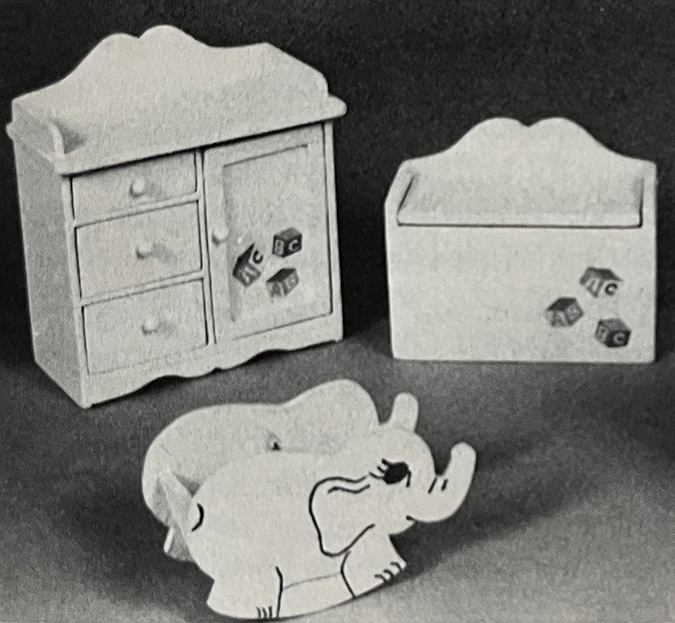
I’ve had my eye on this comfy-looking JBM rocking chair, but it’s expensive. It seemed like it would go well with the nursery furniture, but I didn’t want to buy it and then find the colors weren’t a good match. (Photo is from Miniature Designs.)
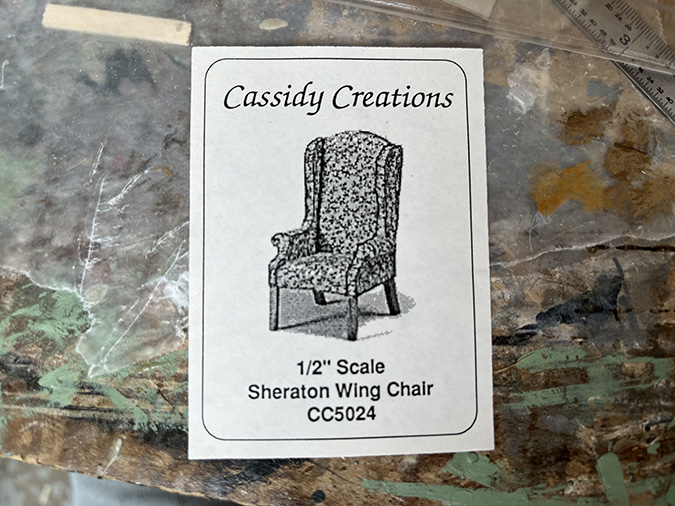
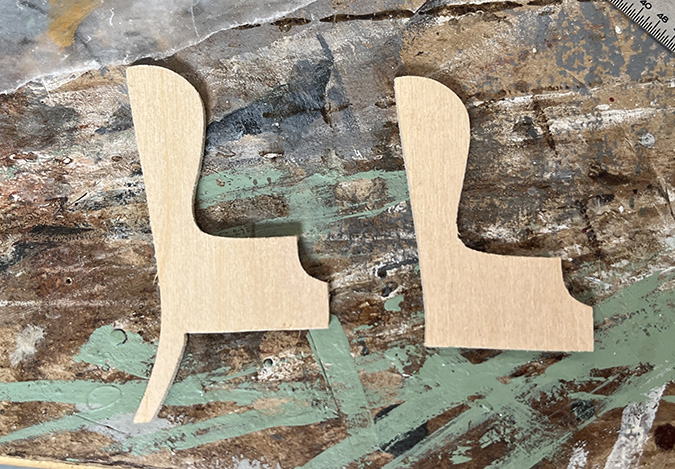
Since I’m on a quest to furnish this house with Bauder-Pine and Cassidy Creations furniture, I decided to try bashing a Cassidy Creations Sheraton wing chair into a rocking chair.
For the bottom, I’m using the bottom of a Shenandoah rocking chair. I have a few of these lying around so I didn’t mind destroying one of them.
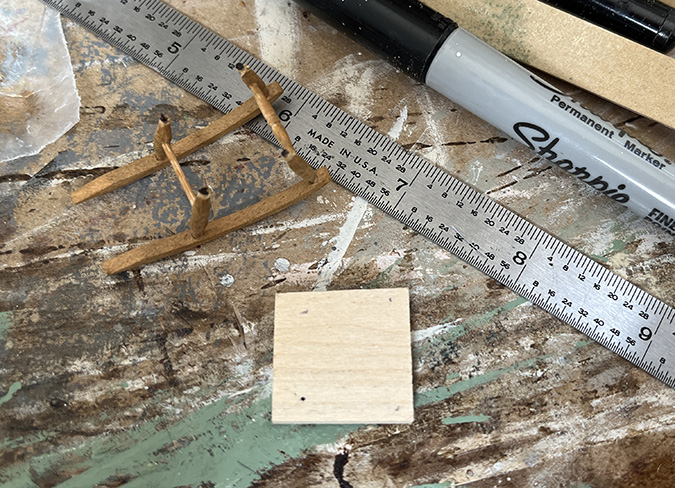
It was pretty easy to wiggle out the leg pieces. Some of the pieces came unattached in the process but they all stick into little holes, so gluing them back together was also easy. And the top of the chair won’t go to waste — I can add different legs to make it a regular chair.
The Sheraton chair’s back legs are part of the side pieces, so I had to cut these off. I saved the pieces since I might be able to use them on another chair someday.
To mark where the legs go, I drew on the tips with Sharpie and then pressed the legs into the seat.
Then I drilled holes with the micro drill. (Sorry for the fuzzy picture.)
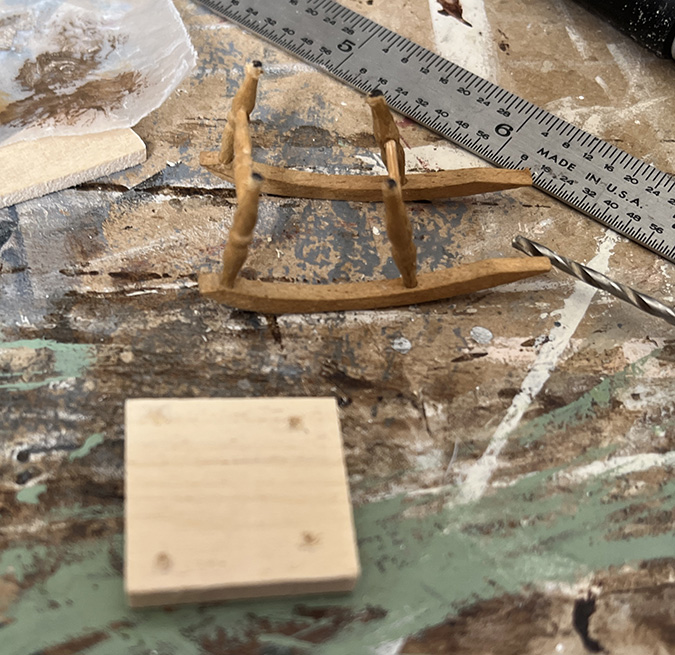
The two holes at the back are at a 45-degree(ish) angle since the back legs are slanted.

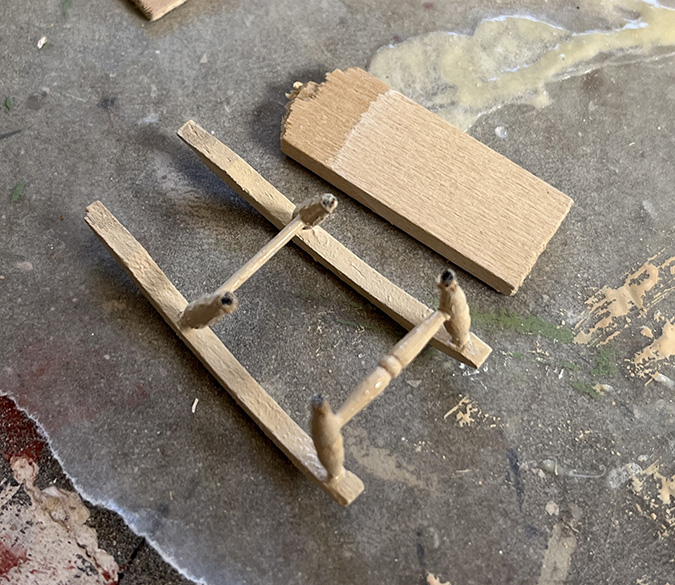
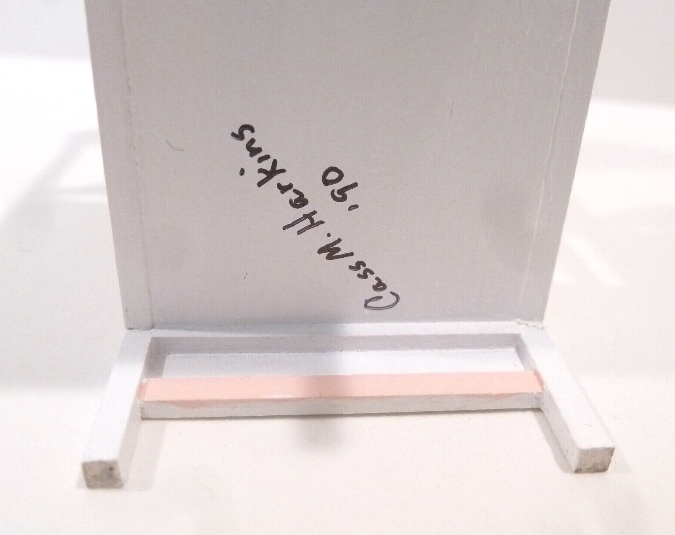
I painted the bottom with the same off-white paint and tan wash I used on the crib slats. Here it is next to the sample piece I made when I was working on the crib.
After I redid the nursery fabric a couple weeks ago, I placed a new order for Restoration Hardware swatches. The Ultra-Fine Organic Cotton swatch is the same fabric I used on the crib and changing table. For some reason the website would only let me put one of these in my cart, but I was able to order multiples of the same color in Washed Linen-Cotton.
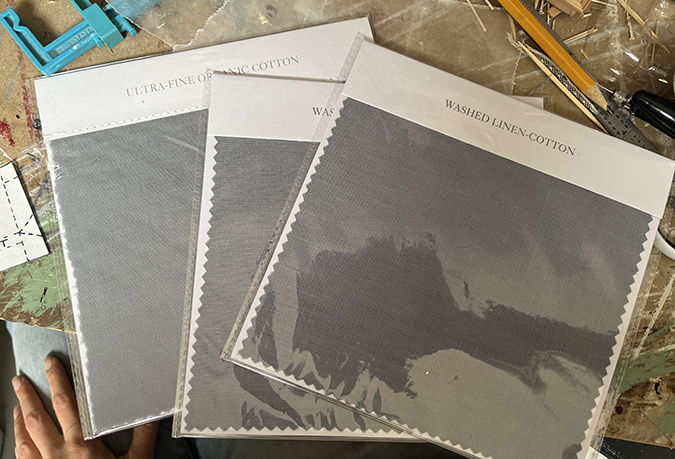
I decided to use the Washed Linen-Cotton this time since 1) it’s thicker and would (theoretically) be easier to work with, and 2) I had two of them, so I wouldn’t risk running out.
 Emily is a freelance writer, miniaturist, and adventure game enthusiast.

