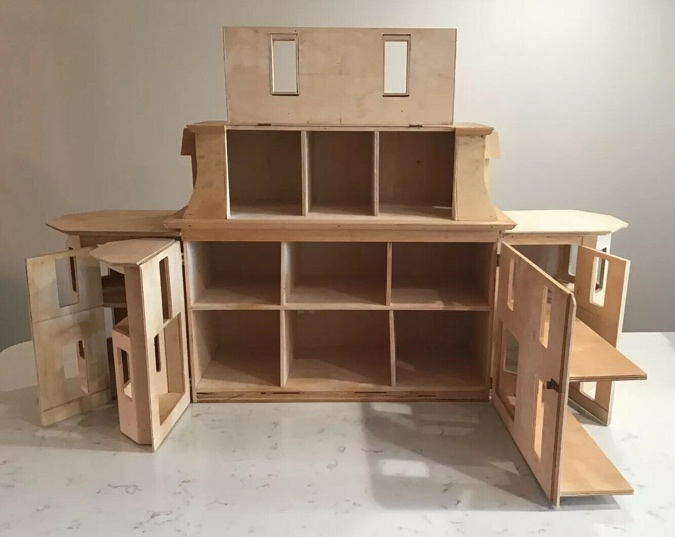
When I bought the Mansard Victorian, it didn’t have any interior door holes. The partitions weren’t glued in, so I could have cut holes in those, but I don’t like it when one room leads into another without a hallway in between. I have no problem building a house without a staircase or a bathroom, but I draw the line at attached rooms!
(Okay, it obviously depends on the house. Sometimes the rooms just have to flow that way. But I vehemently dislike it.)
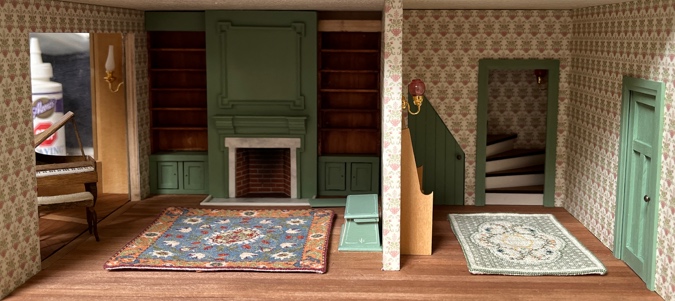
Because this house is deep with a flat, windowless back wall, I decided to make false walls with doors on them, suggesting there’s a hallway behind them. I already have a staircase that goes nowhere, so why not doors that go nowhere?
As a treat, I bought some fancy Majestic Mansions Stannford doors for the rooms on the second and third floors.
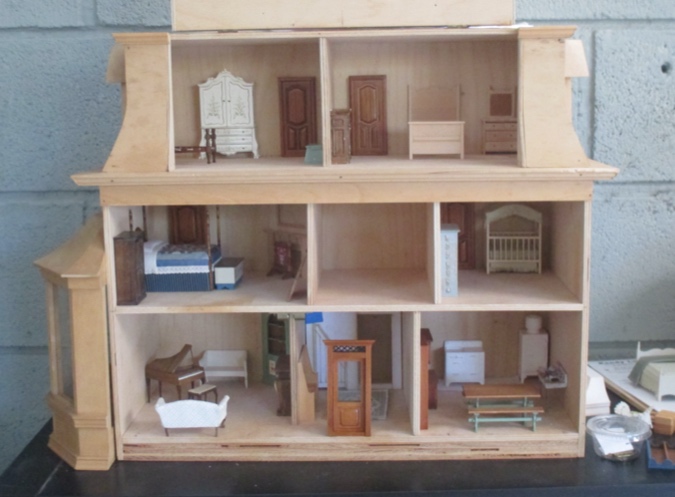
Downstairs, I used a leftover third floor partition (which isn’t as deep as the others) to be a partial wall between the living room and the foyer. On the wall between the foyer and the kitchen, Geoff cut me a door hole.
I’m planning to decorate the kitchen and bathroom in a 1920s-ish style, with black and white floor tiles and subway tile backsplashes. As I was staring at the kitchen, thinking about how that will look, it seemed out of place compared to the the living room and foyer. Besides, I don’t think the people who live in this fancy, old-timey house would want the kitchen to be the first thing people see when they come in. It needs… a door!
At some point during the last year and a half, I decided that I don’t like the Majestic Mansions doors for this house after all. They’re too ornate, and the brown stain is inconsistent with the painted green trim. These doors are better suited to the Turret House. (Oh yeah, remember that one?!) So I stashed the Stannford doors inside the Turret House for safekeeping, and pulled out the doors I’d intended to use in the Turret House for the Mansard Victorian.
Those doors are half scale oval light doors from Real Good Toys. They’re good quality, and even a couple dollars cheaper than Houseworks’ standard 1:24 door, but they’re obviously meant to be exterior doors.
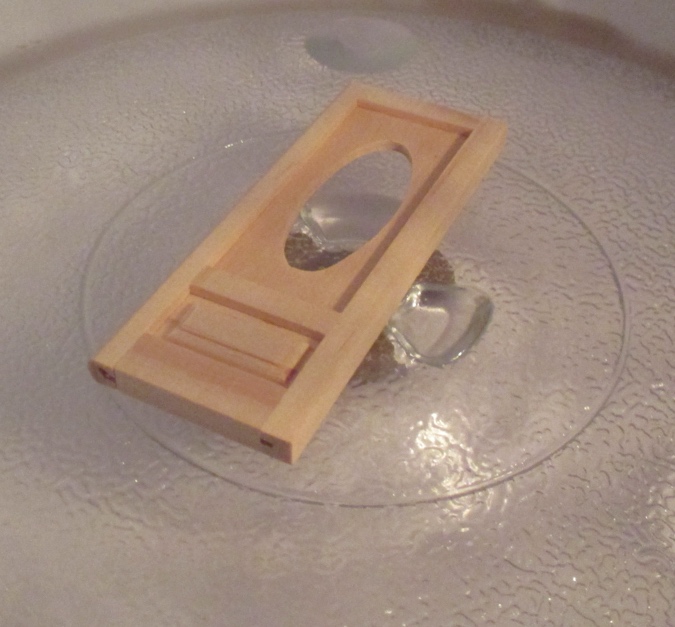
Not for long! I removed the door from the frame and nuked it in the microwave about twenty seconds. (Hence the photo above, where it’s sitting on the microwave plate.) The heat softened the glue and I wiggled the door apart.
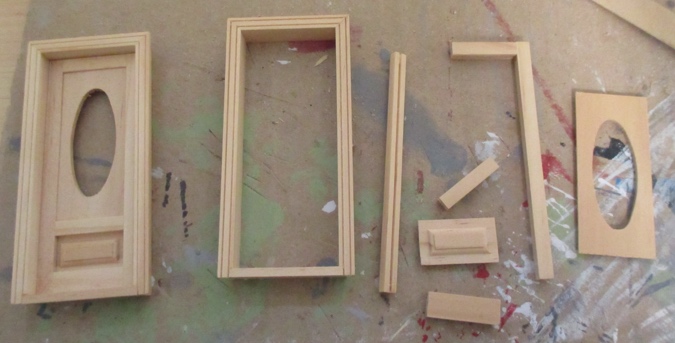
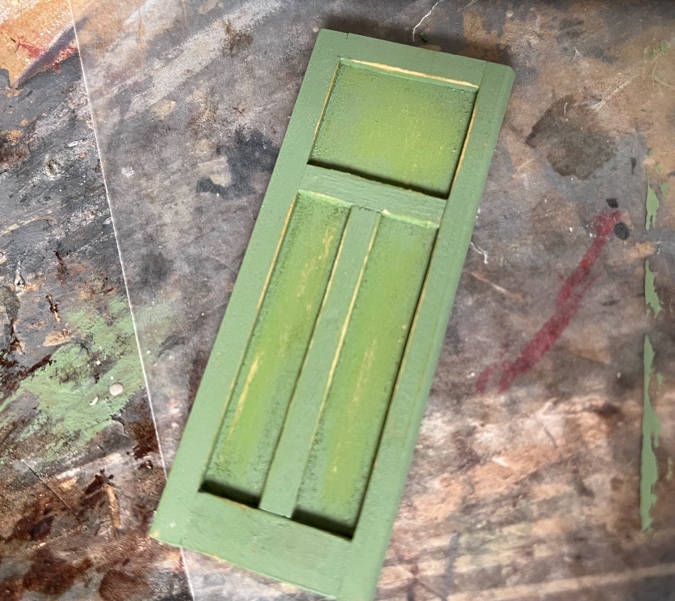
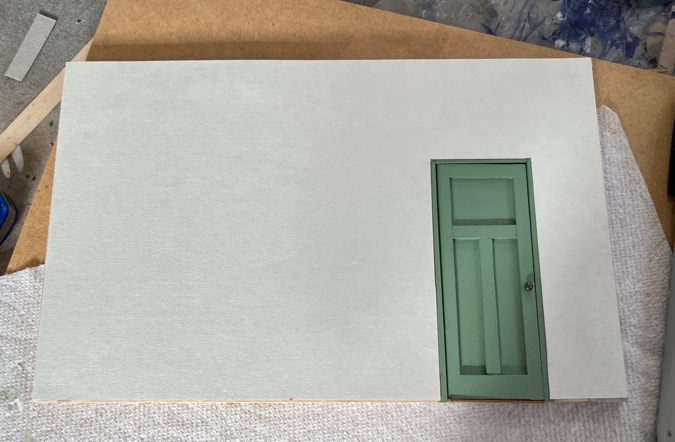
I reassembled the door with a piece of 1″ x 1/32″ basswood forming a center panel.
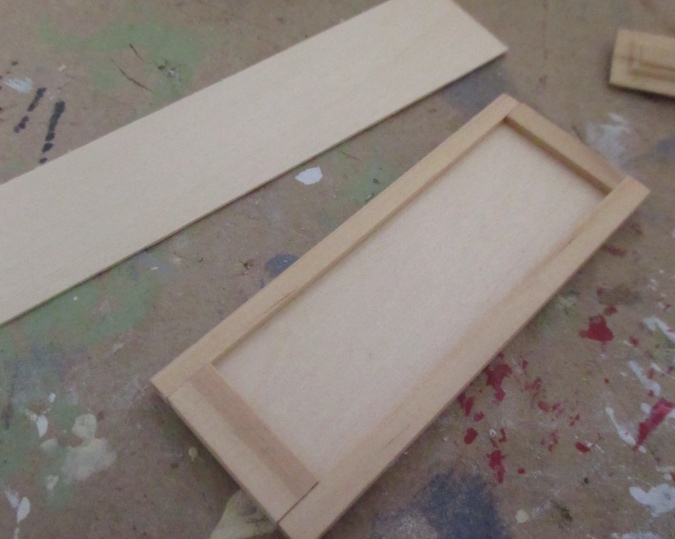
Then I played around with 3/16″ x 1/16″ trim pieces. I’d been thinking about something like this for the Turret House.
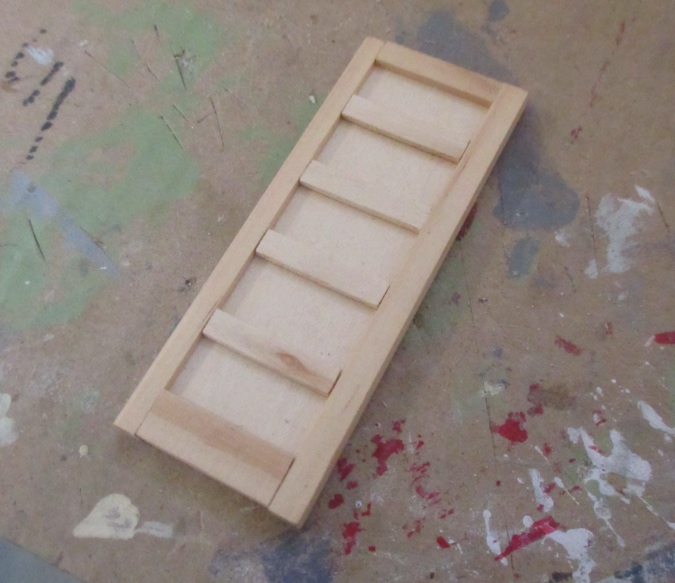
But this felt more in line with the vibe of the Mansard Victorian.

(Quick side note: I made two similar doors for the Victorianna — see here and here. In the second of those posts, dated May 2020, I mentioned that I might scratch build this style of door for my next house. Pretty sure I was thinking of that for the Seaside Villa, before the Turret House and the Mansard Victorians were even glimmers in my eye…)
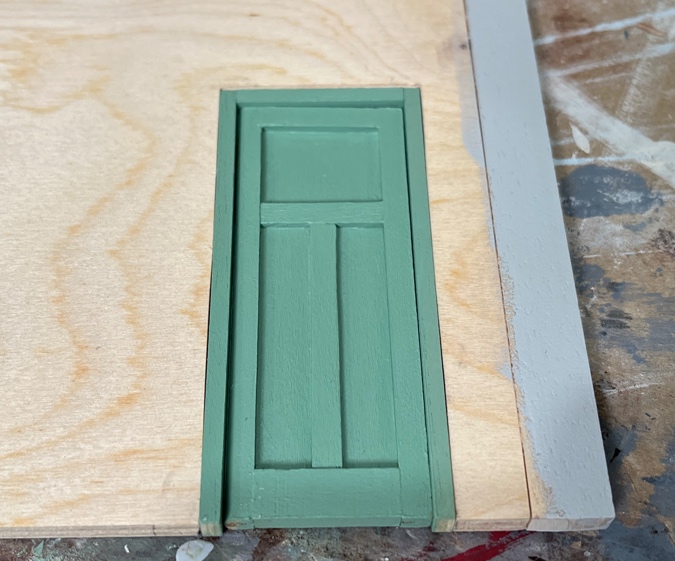
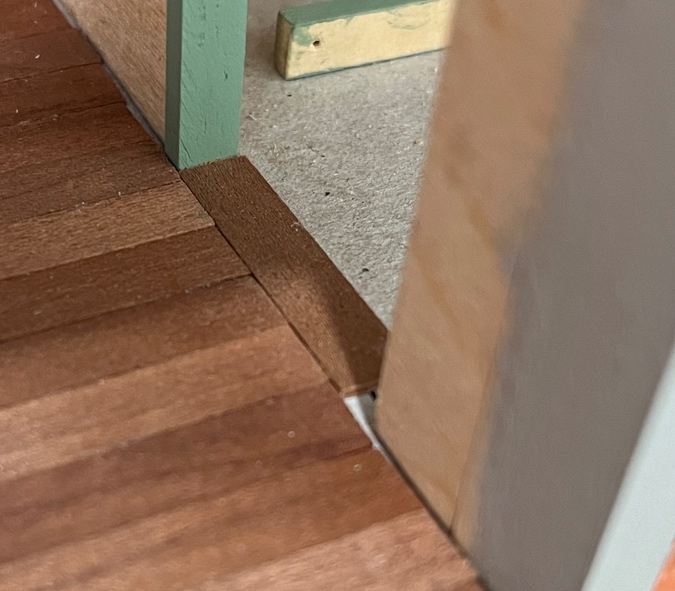
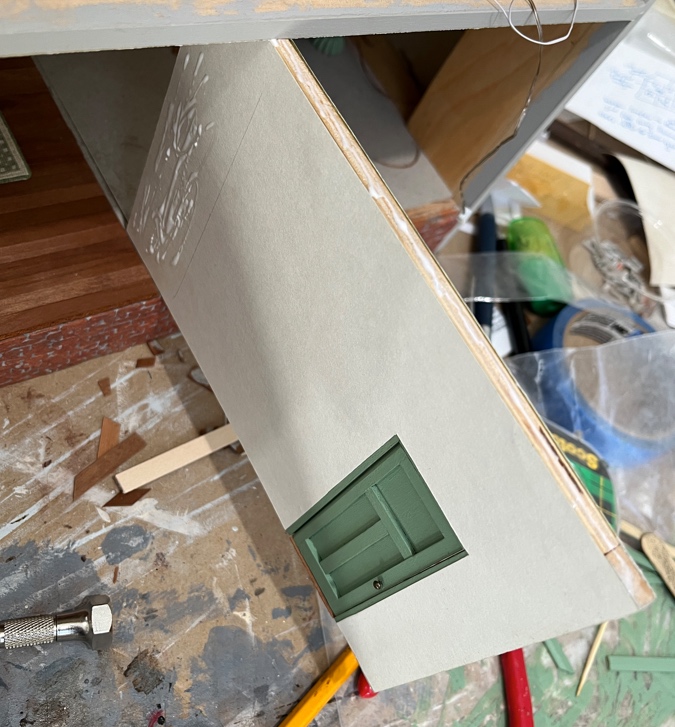
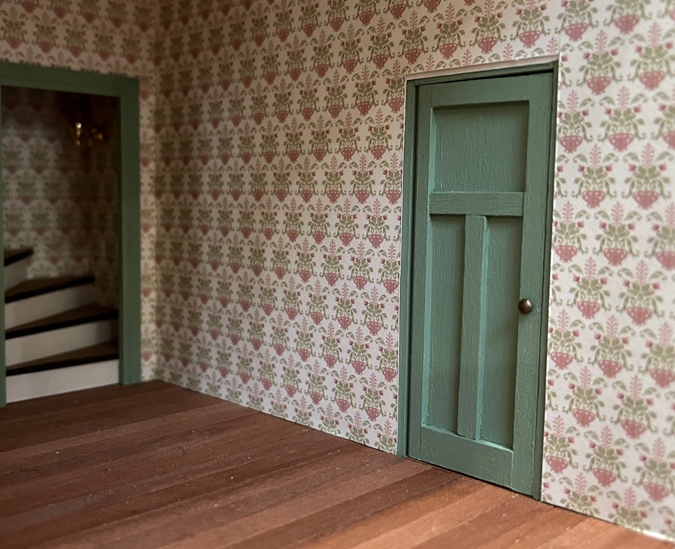
So here’s my paneled door. It’s a bit small in the hole, especially at the top, because the hole was sized for a door frame.
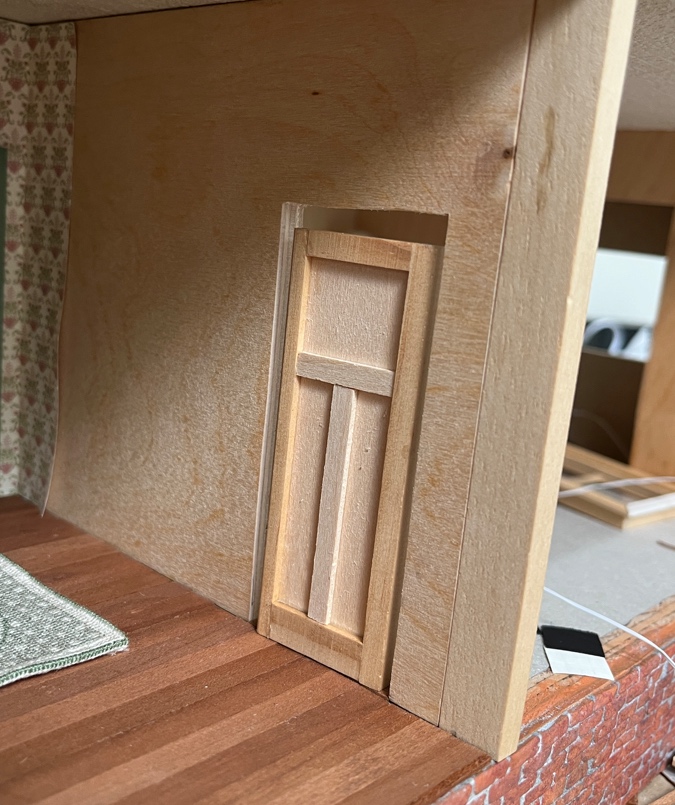
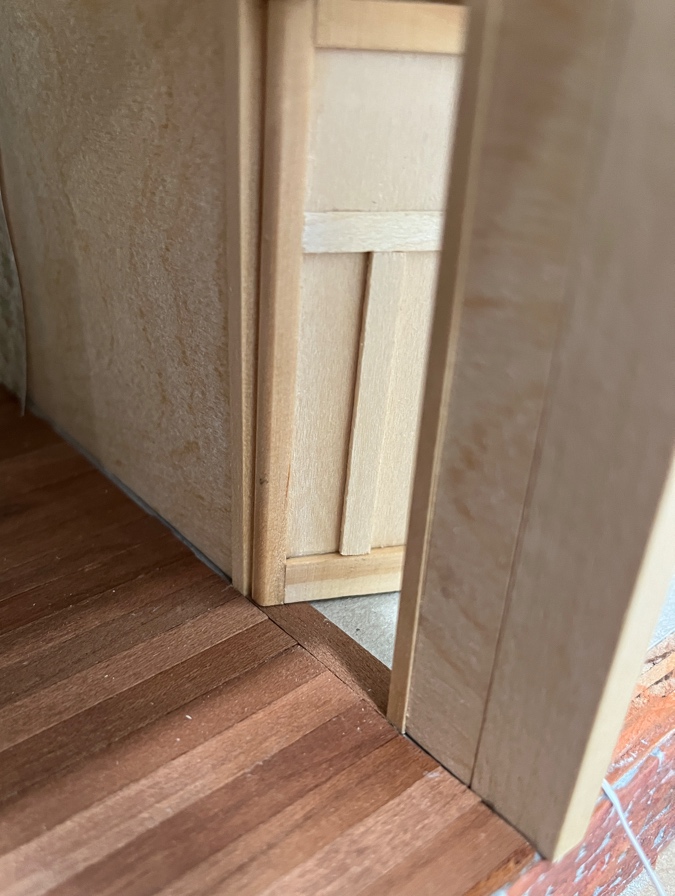
Two problems with that. One, I wasn’t thinking about doors when I put the flooring in, and the threshold keeps the rest of the wall from sitting flush against the floorboards. And two, this trim isn’t what I’m using in the rest of the house.
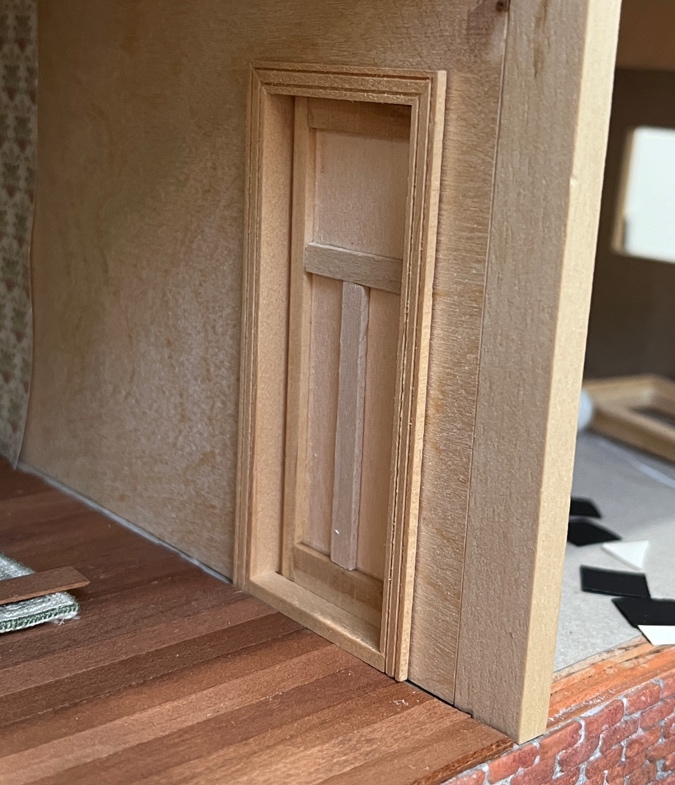
And a bonus third reason: that threshold looks weird for an interior door. All all the Houseworks doors have one too — the step up in the front keeps the door from swinging the wrong way — but it’s right in your face in this spot and doesn’t look realistic.
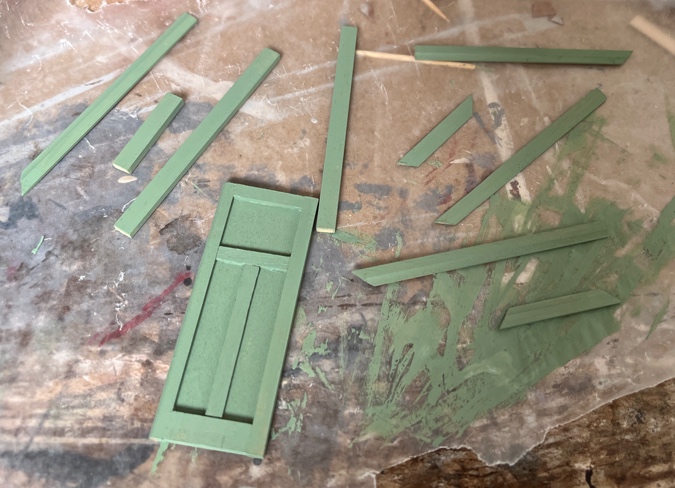
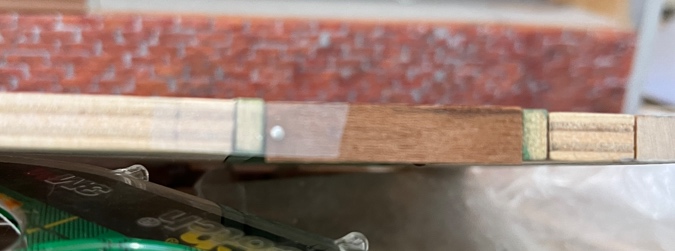
I cut 1/4″ x 1/8″ strip wood to make a new frame, as well as another thin piece to fill in the extra gap at the top.

The bottom of the frame will be the floorboard itself, with the door pin hinged directly into it.
I painted the door, the frame pieces, and trim for both sides of the wall.
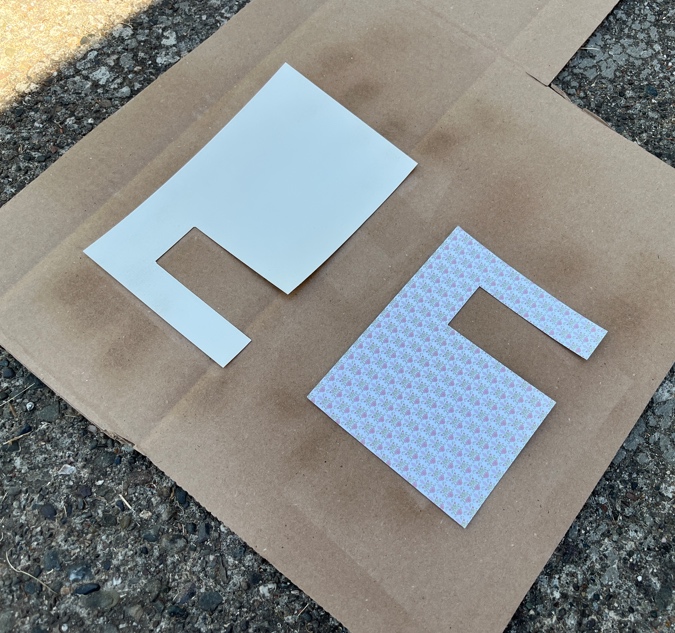
While the paint was drying, I cut wallpaper for both sides and sprayed them with UV-resistant sealer.
The thin wood I used to make the center panel was fuzzy but I didn’t sand it beforehand, figuring I could do that after the first coat of paint. Note to self: this was much harder to sand than one flat piece would have been! I’ll try to be better about that when I make the rest of the doors. (Or I’ll do the exact same thing again, because I never learn.)
With the pieces painted, the fit was very snug. Rather than messing with the frame pieces, I used the belt sander to make the opening slightly wider. I also painted the edge of the wall with the gray exterior trim color, in anticipation of adding wallpaper.
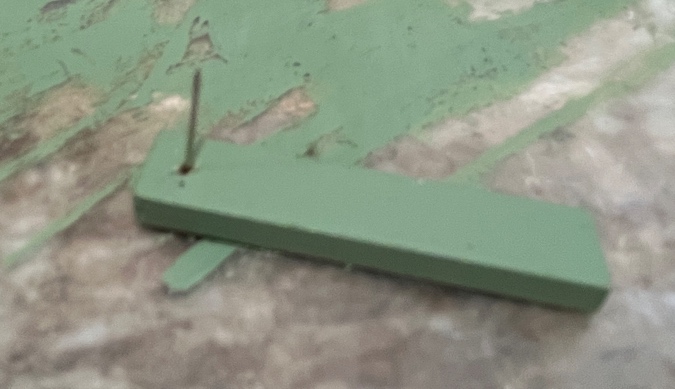
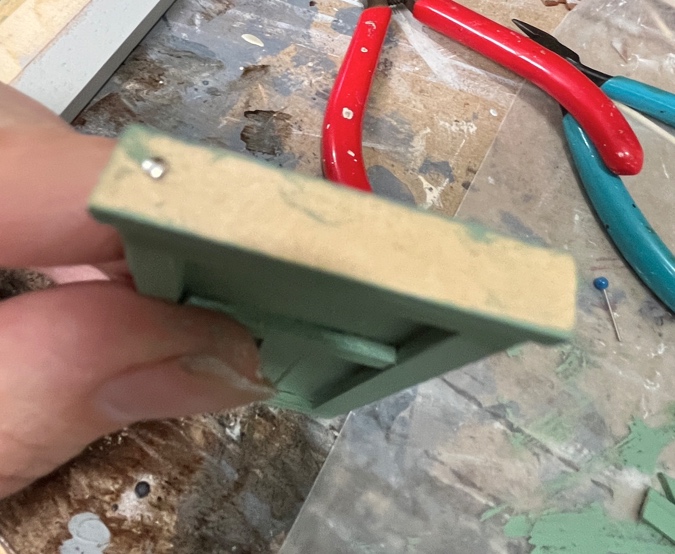
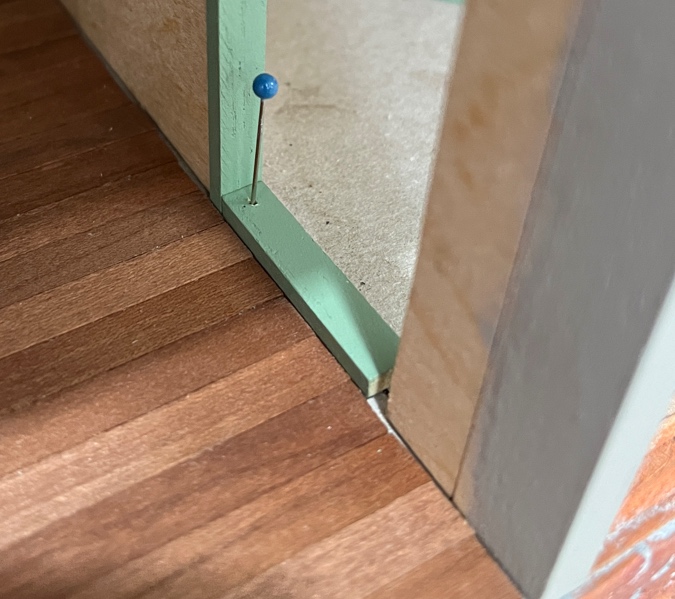
To figure out placement for the hinge holes in the top and bottom pieces, I stuck a piece of pin into the hole in the door with the pointy part sticking out. Then, with the wall out of the house, I slid the door up into place until the pin tip pierced the top piece.
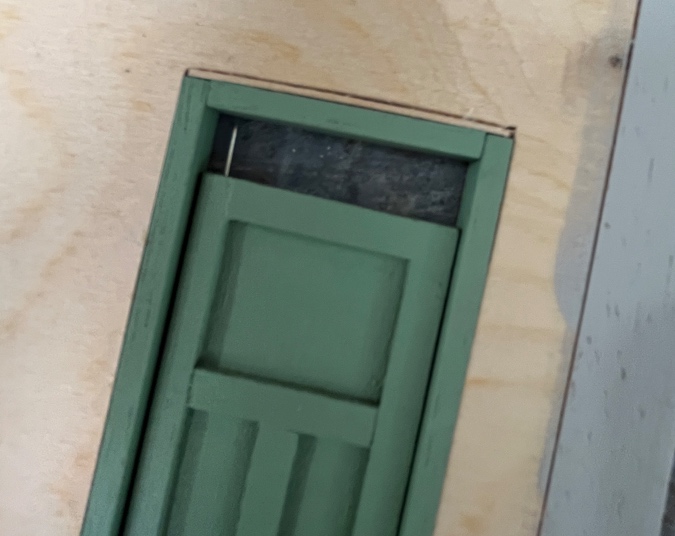
That showed me where to drill a hole. This hole is too big for the pin, but I didn’t feel like starting over.
The head of the pin won’t slip through the hole, so I don’t think it’ll be a problem. (Also, yuck, blurry picture!)
Before permanently inserting the door, I added knobs, using the same metallic mini brads as on the closet door. This time I drilled one hole all the way through the door. Then I trimmed the legs on two brads and glued them in back to back.

Figuring out the position of the hole on the bottom piece was trickier. At first I tried sticking the pin through the hole in the top piece to make a matching hole on the bottom piece, but that didn’t work because the holes at the top and bottom of the door turned out not to be exactly lined up.
In my second attempt, I put the floorboard in place and removed the top piece of frame to give myself a little extra room to work with. Then I did the same thing with the pin, this time with the pointy end sticking out of the bottom of the door. (I’m not showing it here since it was a two-handed operation!)
Again, I inserted the pin with the head under the frame piece. I used a little piece of Scotch tape to attach the pinned floorboard to the wall, so the door frame wouldn’t fall apart before I could glue in the wall.
As I have been with the other walls, I covered this one up with scrap wallpaper to (theoretically) protect the wallpaper from discoloration as the wood ages. Is it necessary? I don’t know, but I’m doing it anyway.
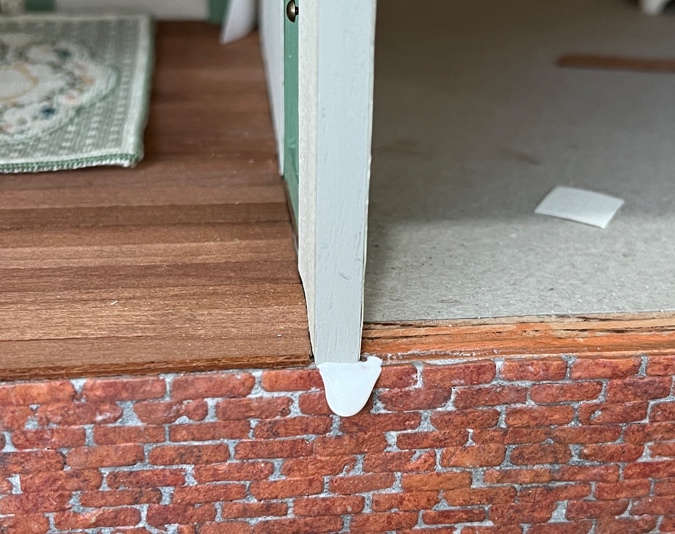
To glue in the wall, I put tacky glue on the top and bottom and also on the side that butts up against the side of the staircase.
The glue on the bottom gathered into a big juicy drip as I slid the wall in. It was easily cleaned up, and the matte sealer on the bricks protected them.
Before sliding in the wall, I had also spread wallpaper mucilage on the piece of wallpaper hanging off the stair box. Now I glued this to the wall.
And then added the wallpaper I’d prepared earlier.
And then the trim. Next time I’m using the green paint, I’ll touch up the corner seams.
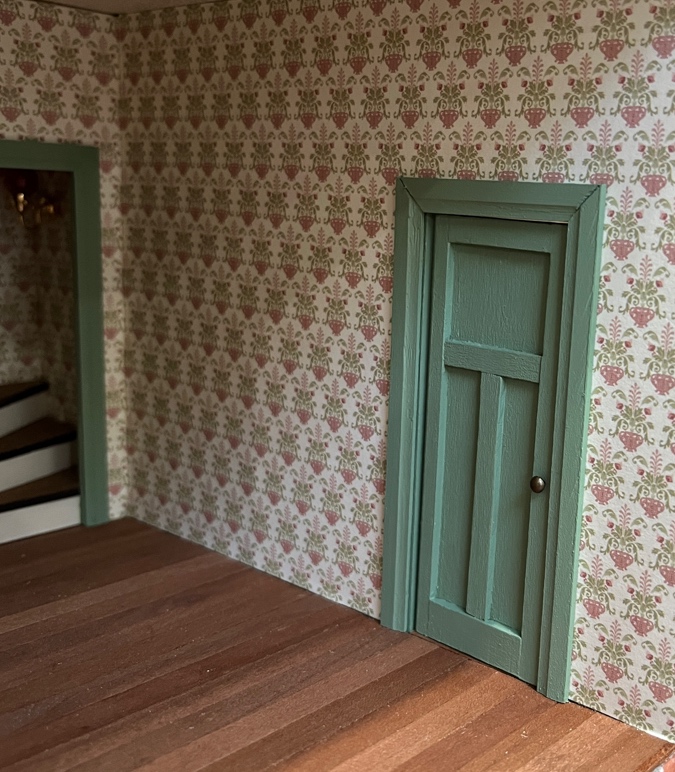
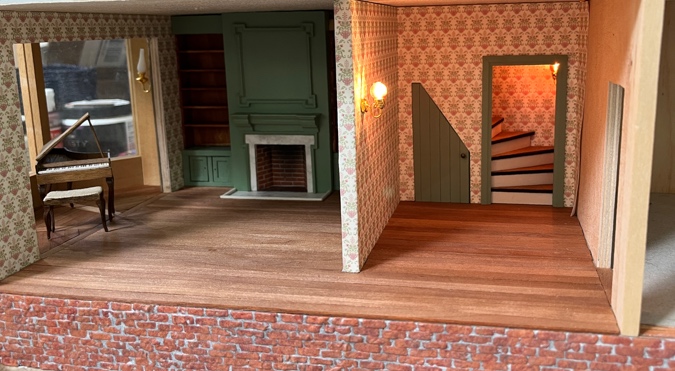
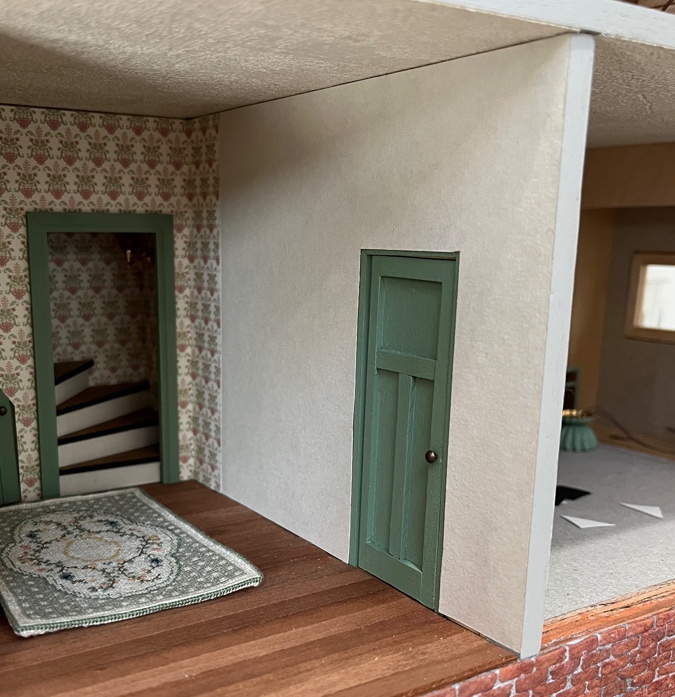
I really like how this looks with no threshold. It would have been harder to hinge the door like this if the wall had already been glued in.
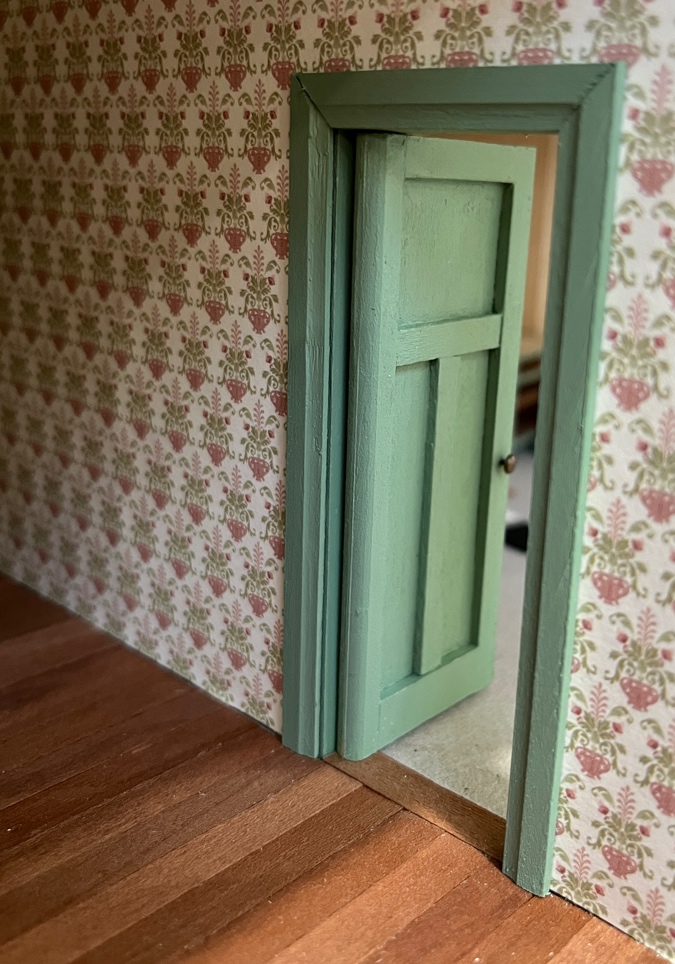
Because the threshold is flat, the door can swing either way, but it opens more fully into the kitchen (I guess because of where the pins are positioned). The snug frame holds the door closed, so I’m not concerned about it swinging into the foyer unprompted.
Of course I checked the lights again.
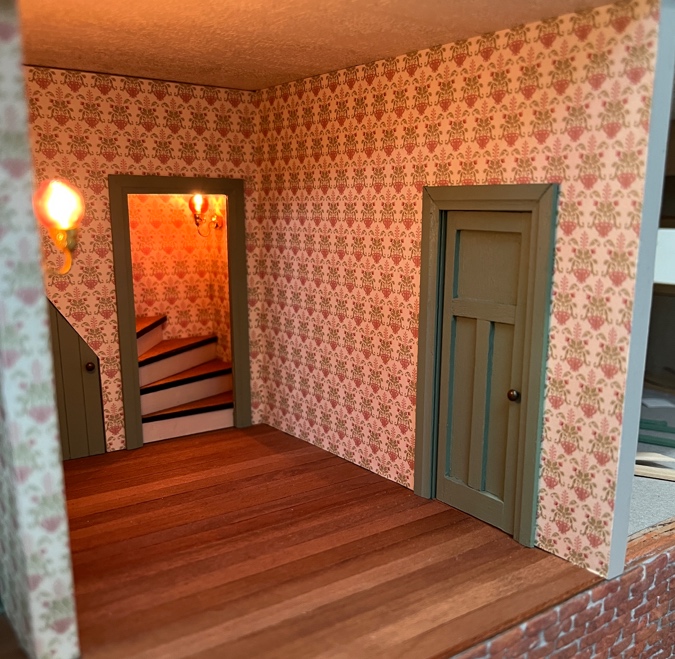
So that’s the living room and foyer almost finished! I really like how the new door closes off the kitchen from the formal areas. It feels like it was always supposed to be there.
 Emily is a freelance writer, miniaturist, and adventure game enthusiast.


Nice work!
Love your solutions, it’s very inspiring to me since I have problems that happens along the way.
Yup!
It looks great! The step up threshold always bothers me with the readymade doors too.
Your modifications are amazing! It’s great that you persevere and keep working until you get exactly what you want. I love reading about your process, and your dollhouse is turning out so beautifully!
Your work is incredible. Your houses should be showcased in a museum! I love following your process.