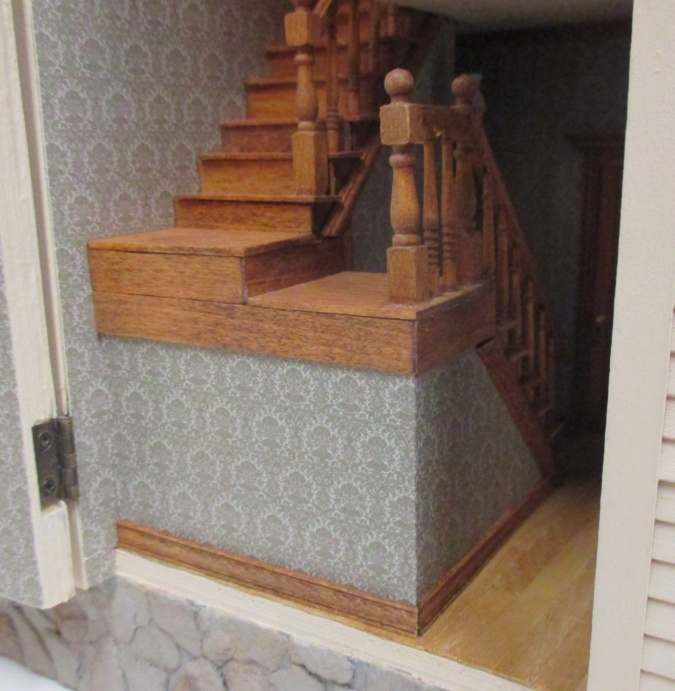
With the new wallpaper in, here’s how the Rowhouse’s staircase looked when I slid it back into place.
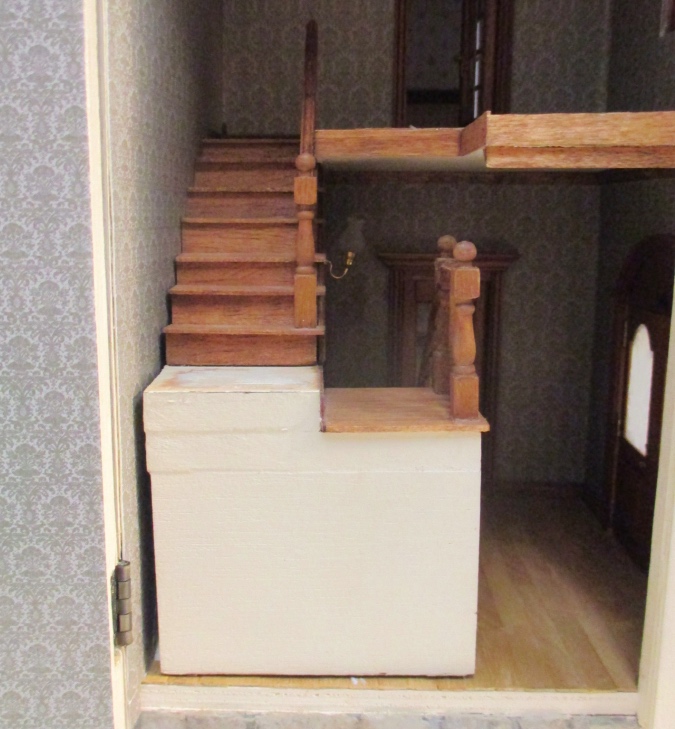
There was always a gap between the staircase and the wall, but I think it got worse as a result of the extra thickness added by the new wallpaper and the sanding I did on the top side of the stairs to make them fit.
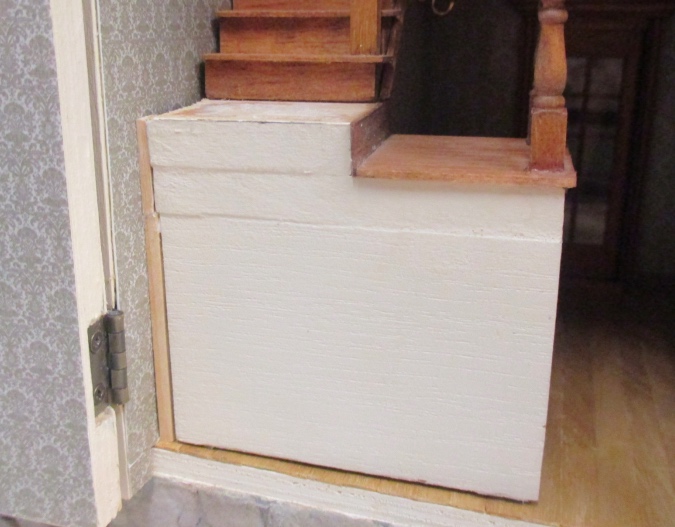
I glued in strip wood to fill in the gap at the side.
The bottom three steps don’t meet the wall.
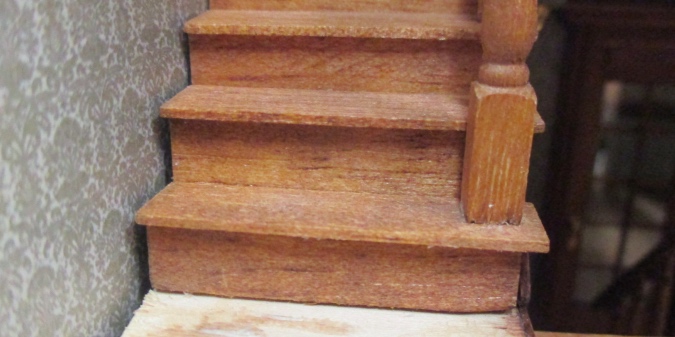
I decided to fix this by adding strip wood to the fronts of the steps. I also made a new piece for the landing.
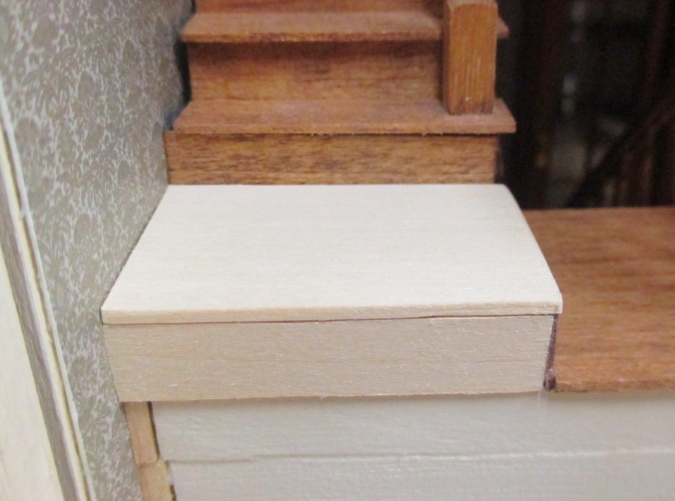
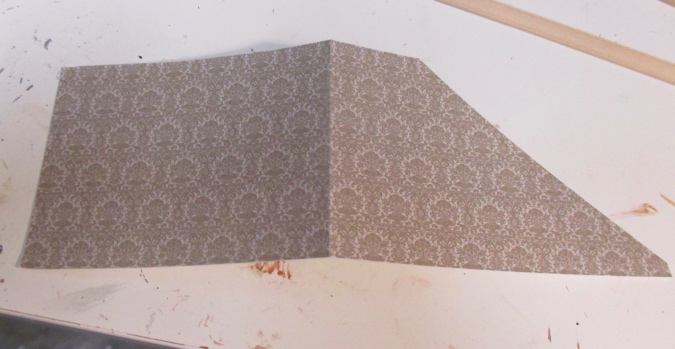
Before sliding in the stairs, I had made a paper template for the wallpaper.
Here it is with the wallpaper and trim back on. No more gap!
Gluing in this newel post was just as hard this time as it was the first time. I had to reach in through the front door with one hand and the French door with the other hand.

I planned to add quarter round to the edges of the treads, to cover the gaps there, but realized as I got started that there would still be a little gap underneath the quarter round. It’s worst on the bottom two steps.

I shoved little pieces of wood into those gaps.

Then I added the quarter round trim. The edges look raggedy in this close-up, but they’re fine at normal size!

Something that bugs me, though, is that two of the three strip wood pieces I added to the fronts of the steps aren’t flush with the wall. By the time I noticed this, the glue was already dry and I couldn’t fix it. Either they slid around while I was gluing them and I didn’t notice, or the wallpaper got compressed when I shoved in the little pieces of wood, creating a gap. (The wall is uneven behind this for various reasons, so even though the wallpaper looks nice and flat, it has a little give to it.) Whatever the cause, the dark crack annoys me and is all I see when I look at the stairs. Of course.
Anyway, I continued the quarter round up the stairs. I didn’t like how the wallpaper isn’t snug with the top step — that’s one reason I decided to add the quarter round.

All covered up!

Now that this is done, I’m kind of not thrilled with it. I mean, it’s fine, and a necessary evil to cover up those gaps, but it’s kind of choppy looking. But there’s no turning back now.

So that’s the staircase finished! Looks great!

Only problem is, now the hinged panel won’t close all the way.

The corner of the panel is bumping into the trim, even though the stairs are in the same position and the trim is the same thickness as before. Ironically I think that gap I just did all this work to cover up was providing clearance for the panel. Argh!

The right way to fix this would be to remove the panel and round the corner, but that would require redoing the wallpaper, and I just don’t feel like it. So for now I’m going to leave it alone. The panel does close if I push on it, but it pops open again. I might add a latch to hold it closed.
Over time the wallpaper will probably rub away in that area, but I want to wait and see — it could be a long time before there’s noticeable damage. Luckily I still have one piece of wallpaper that’s exactly the right size to redo the panel, if I need to someday.
 Emily is a freelance writer, miniaturist, and adventure game enthusiast.


Stairs are always so tricky. Walls take on their own attitude, too. I say that your work looks great. I have remodeled enough old homes and watched my husband’s uncle, a gifted carpenter and trim finish master work his magic to cover up mistakes imperfections and while you know where they are, the visitor does not. Your stairs looks looked finished and well crafted.
Zoom in lens will always magnify those little irregularities all out of proportion, but I say don’t sweat the small stuff since both your walls and staircase look finished and professionally done, so give yourself a well deserved HIGH 5!
Looks wonderful. You could always sand that inner edge of the door and cover it with a piece of trim.