Remember my last post when I said that breaking something can make it better in the end? Sometimes that’s true. Other times you spend lots of time and money and effort trying to get the broken thing back to how it was before. That’s what happened with the front door on the Gull Bay Cottage.
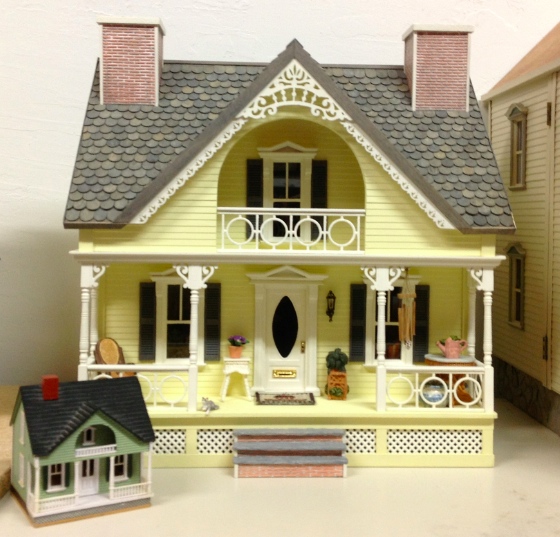
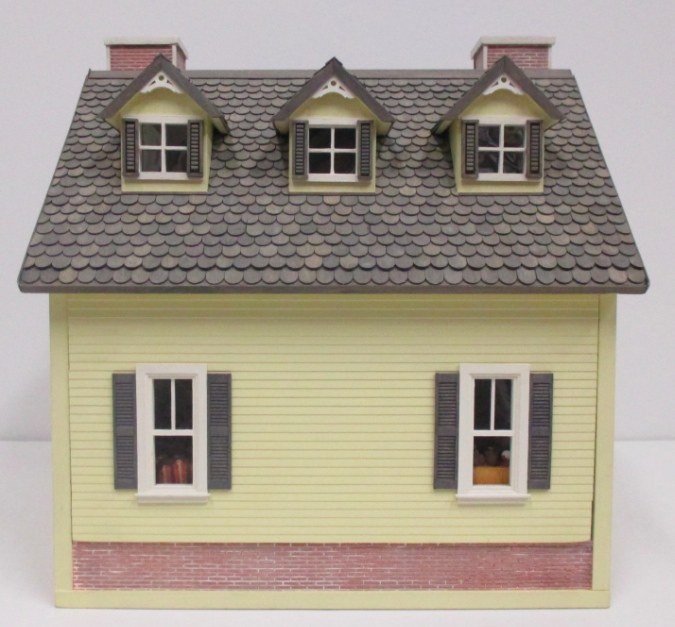
Back in 2014, I spent a few feverish months finishing this pull-apart house made by Jackie Kerr Deiber. It’s modeled after an HO scale Millie August house and is designed to be completely enclosed, with two pieces that slide together. Figuring out how to decorate and electrify this thing was a challenge!
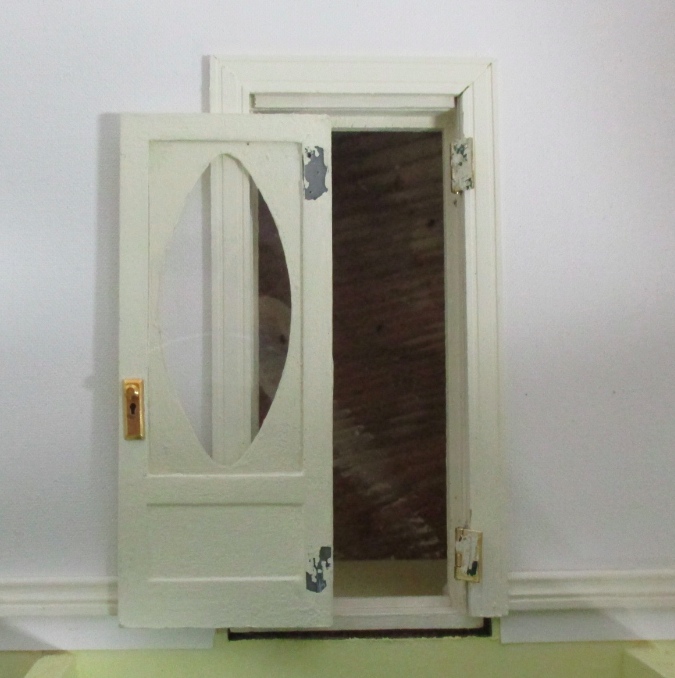
The front door that came with it was a modified Houseworks Victorian door with the transom window removed from the top to make it shorter. To provide a better view into the house, I removed the solid door from the frame and replaced it with a Grandt Line door with a window in it. You can read all about this here.
Long story short, because the Grandt Line door was plastic I couldn’t pin hinge it, so I used regular hinges. But — also because of the plastic — I couldn’t put the hinges in with nails, so I super glued them. It worked, and I was proud of my cleverness… until I slid the house together for what was LITERALLY the last time.

I’m not exaggerating. The furniture was all stuck in place with tacky wax. I’d taken a bunch of pictures of the interior and was sliding the two pieces together so I could put the house up on the shelf where it would live. I didn’t notice that the front door was open. It got wedged between the wall and a grandfather clock stuck with wax to the floor and the super glued hinges popped right off.
I tried in vain to super glue the hinges again but it didn’t work — too hard to reach my hands in to do it, too much of a mess on the door and the hinges for the glue to want to stick. The sides held into the frame with nails were fine, but I couldn’t see a way to reattach the plastic door without removing the whole frame, which had the potential to mess up the trim and wallpaper and siding. Blargh.
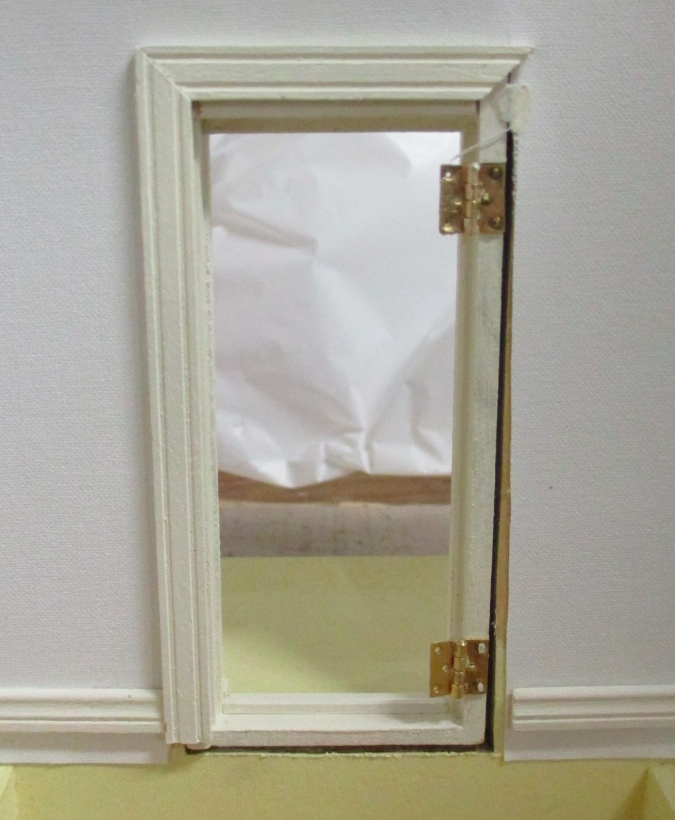
This happened in July 2014, and the 99% finished house has been sitting sadly with a broken door until a few weeks ago, when I attempted to hinge the plastic door with a piece of a Tyvek envelope that came in the mail. I very quickly figured out that wouldn’t work (plus it looked pretty ugly). I tried painting over the areas where the hinges had been, thinking I could just glue in the door, but even that looked bad. The first step toward change is admitting you have a problem, and I had to admit that my clever Grandt Line door needed to go.
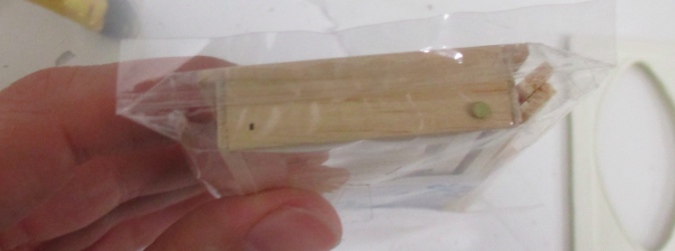
One reason I used that door in the first place is that the Houseworks door with the oval window is much too skinny to fit in this door frame. On a whim, I typed “half scale door” into Google and came across this one from Real Good Toys, which I’ve seen before but never considered for this house. I emailed for the measurements of the door itself, and it seemed like it would work, so I bought two of them. (As this saga has demonstrated, it’s always good to have extra doors on hand!)
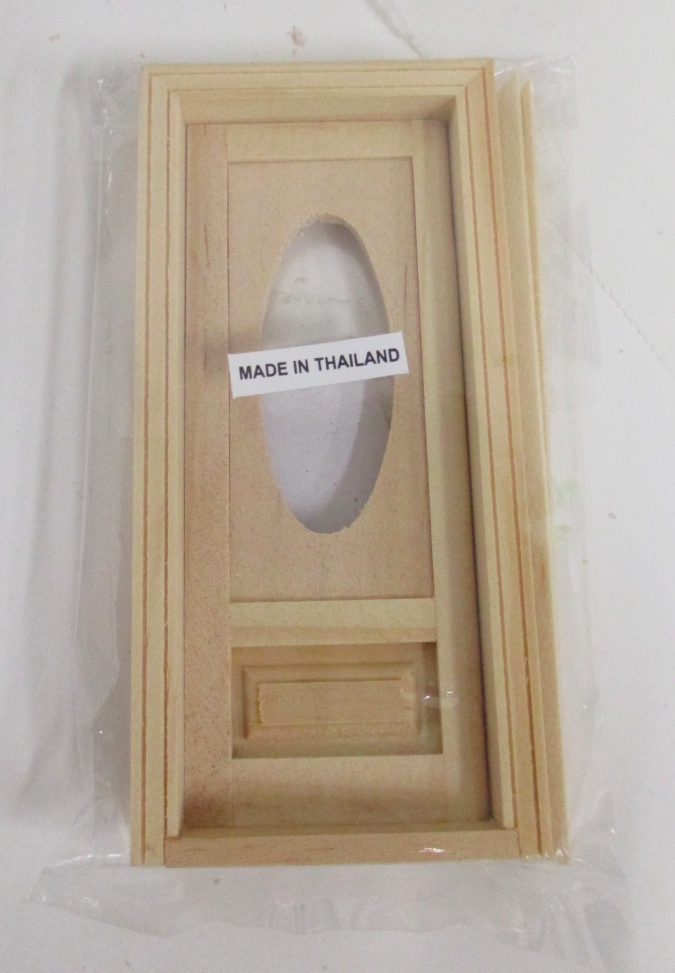
I wish these doors were more widely available, because they’re cute and good quality. They come with interior trim and — huge bonus points! — have an extra set of holes for the pin hinges so you can swap which side the door opens on. With my door frame already glued in, I couldn’t pin hinge this, but that could come in handy for the spare I bought. (Of course, you can always make your own holes and swap which way the door opens. I just like that RGT thought of it.)
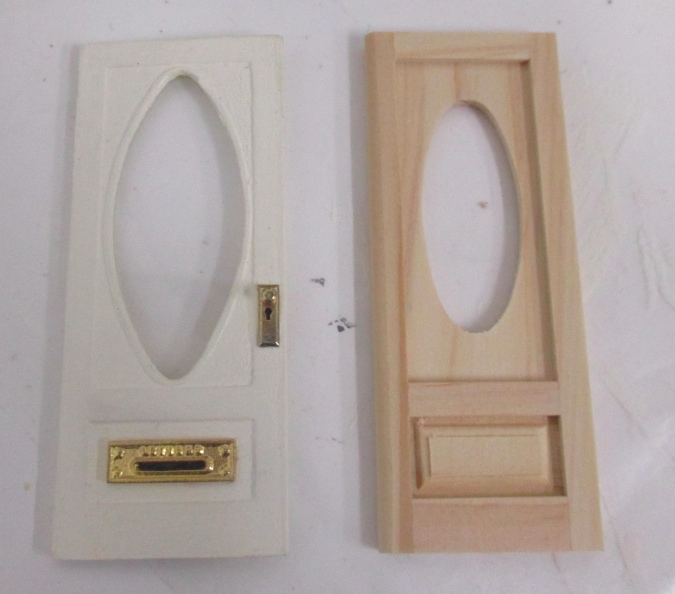
I removed the new door from its frame and compared them. The heights are almost exactly the same, but the new door is a little narrower than the old one.
The existing trim isn’t enough to cover the gap, so I poked around in my pile of basswood scraps and found a thin piece the right width to make shims for each side of the door (you’ll see them in a later photo).

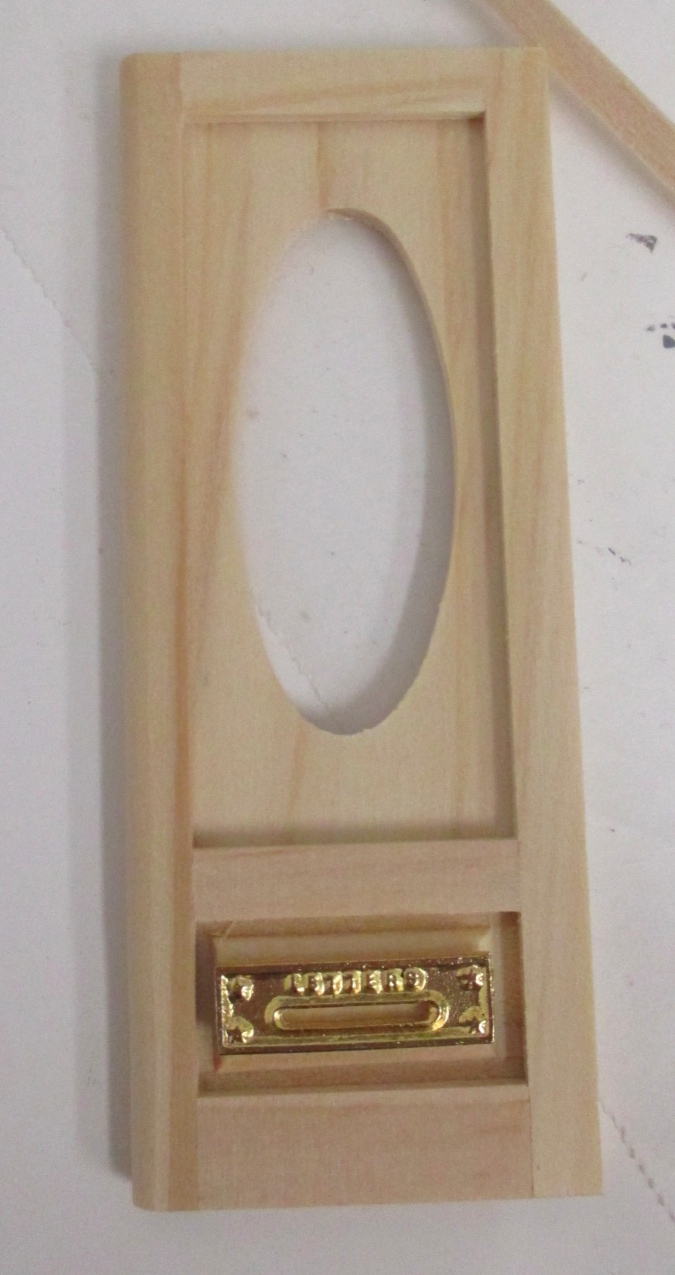
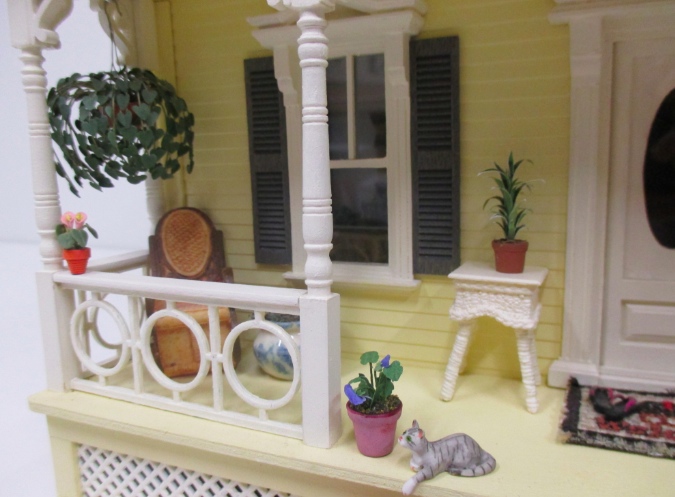
My mail slot, which I loved, doesn’t look as good on this door as it did on the old one, so I’m not using it. Some other house will need it, I’m sure.
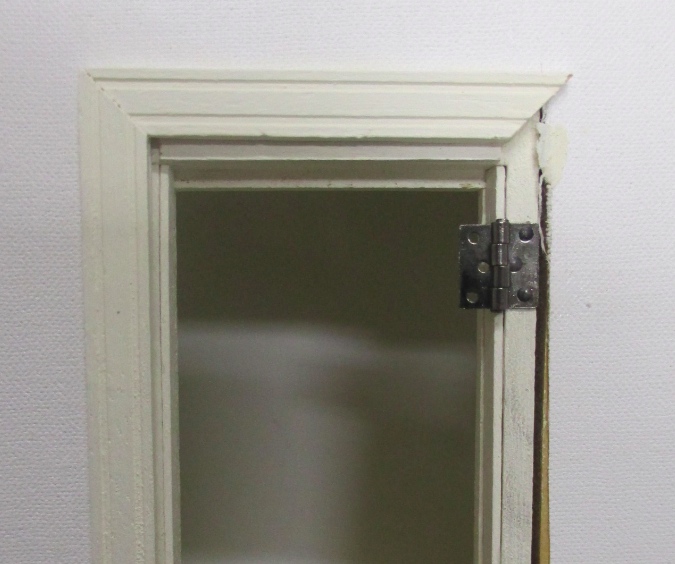
On to the hinges. In my attempt to reattach the Grandt Line door to the old hinges I mangled them and ripped them out. I bought these Classics “gunmetal” hinges from Miniatures.com. I didn’t care about the color so much (although it is nice to see something different than standard miniature gold!), but they’re $3 cheaper than the Houseworks gold hinges.
(I noticed this when I first hinged the Gull Bay door and I still can’t believe it — Houseworks butt hinges are $7+ a package now! The price went up drastically at some point and I don’t get why. That’s an insane price for these flimsy little things.)

The gunmetal hinges actually feel more substantial than the gold ones, and luckily the holes are in the same place. My only complaint is that they come with exactly the right number of nails. It’s really easy to bend or lose a nail when you’re putting hinges in, and the black nails aren’t available separately if that happens.
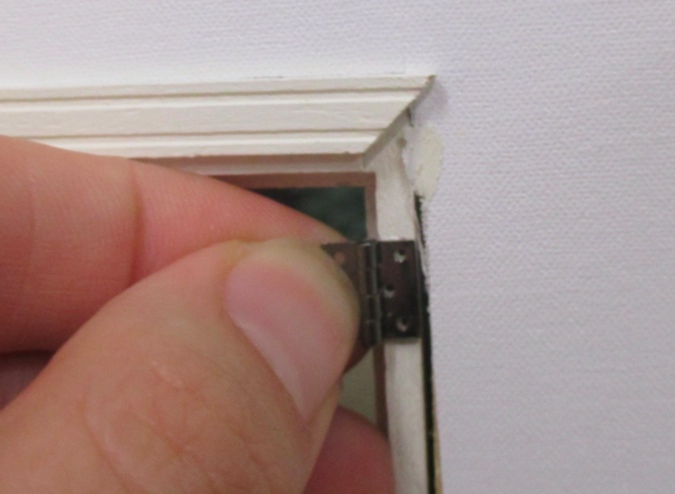
I got the hinges into the frame relatively painlessly, using the same holes as before. In this picture you can see the shims I added to the sides of the frame, too.
Attaching the door was much harder. Normally I would do the door first, with it lying flat against the desk, but I couldn’t do that and ensure the hinges were in the right place to use the existing holes on the other side. It was very difficult to drive the nails in deeply — they’d go in about halfway and then wouldn’t budge anymore no matter how much pressure I put on them. I mangled the door and the nails in the process, and some of them aren’t in all the way (which isn’t really a problem since you can’t see them with the house closed, but it will be if they pop out eventually).
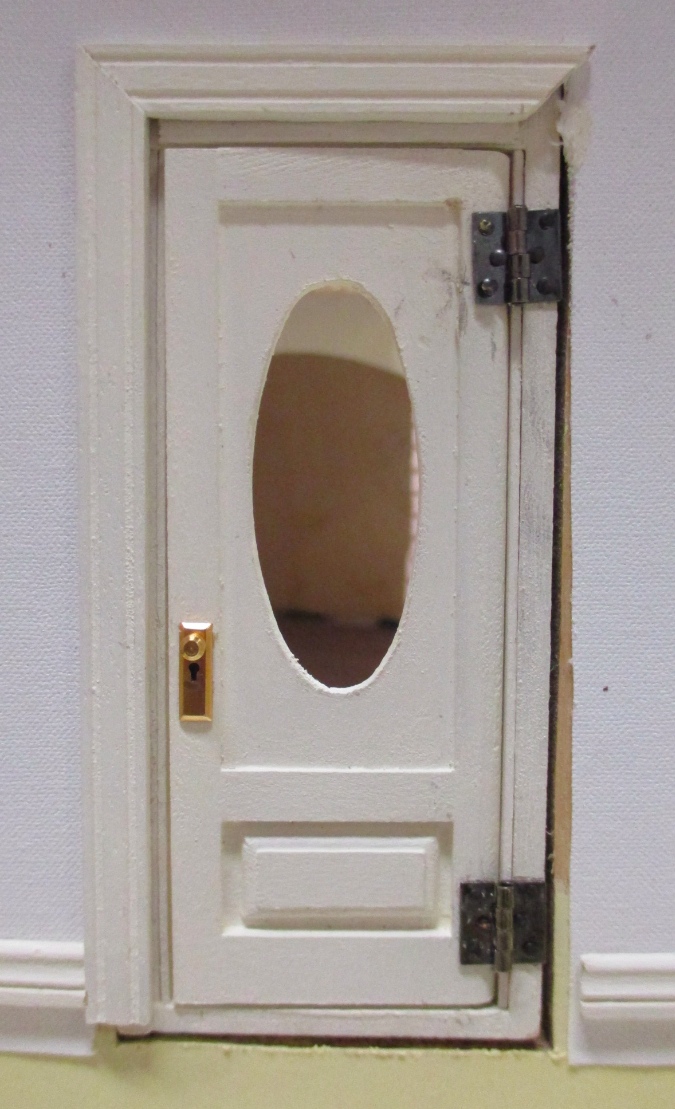
I then re-glued the door trim. Since one side of the hinge is covered up, I should have used regular gold nails on that side to conserve the black ones, but it didn’t occur to me until too late. Oops.
Up until this point I’d left the window off. I touched up the paint on the door and then glued in the window by applying small dots of tacky glue to the edges of the plexiglass. Because I’d turned the door around from its original hinged position, the plexiglass sits in the front of the window instead of the back, as you can see from the reflection of my camera string below.
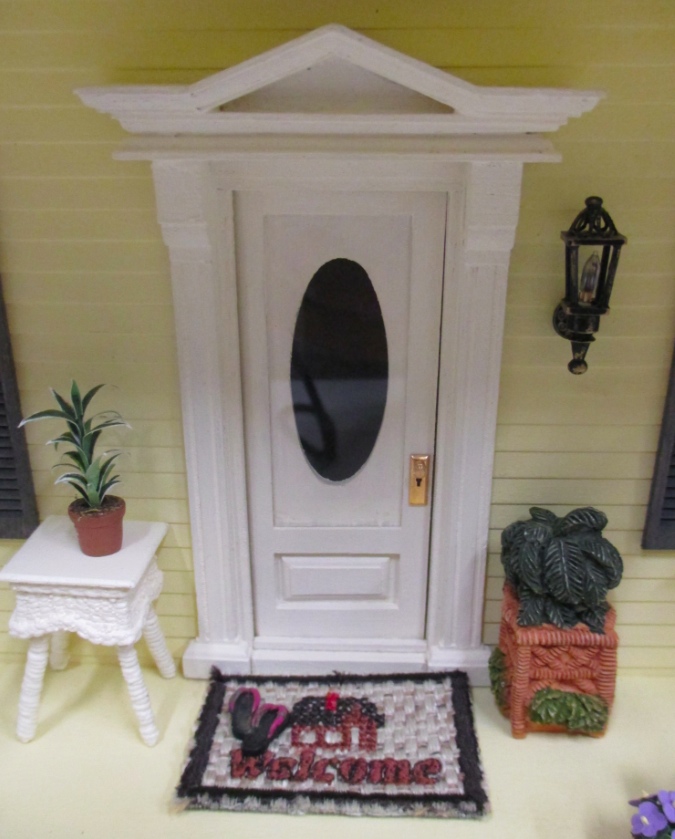
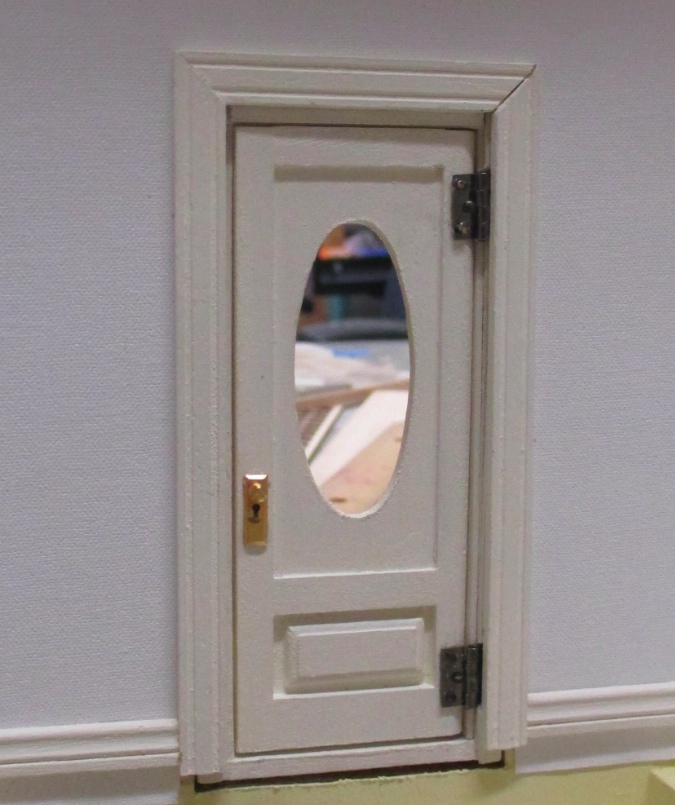
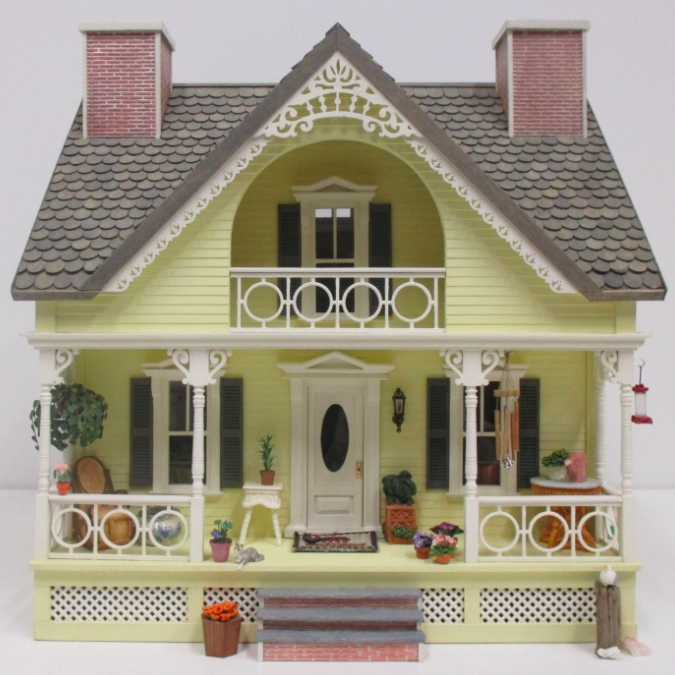
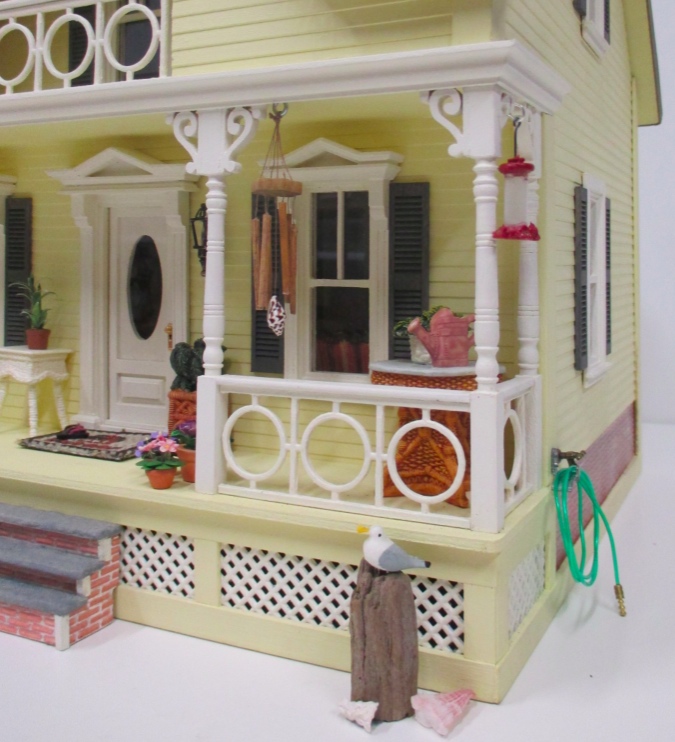
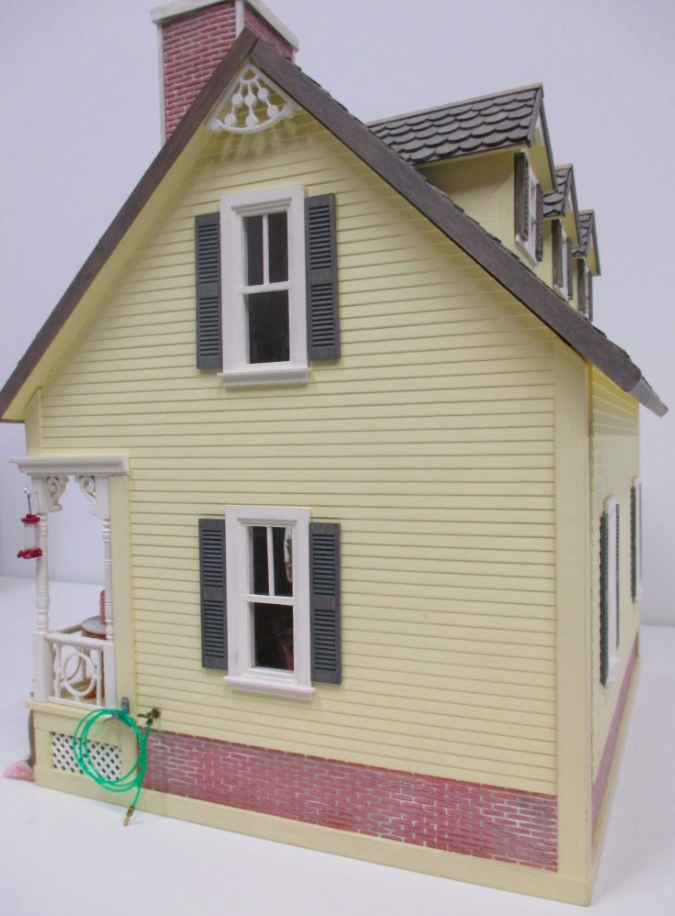
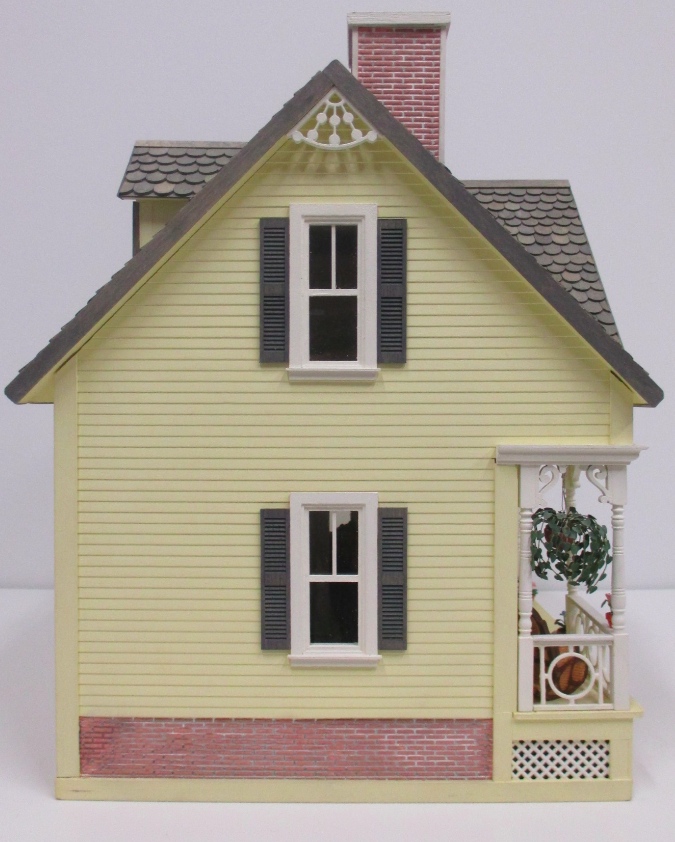
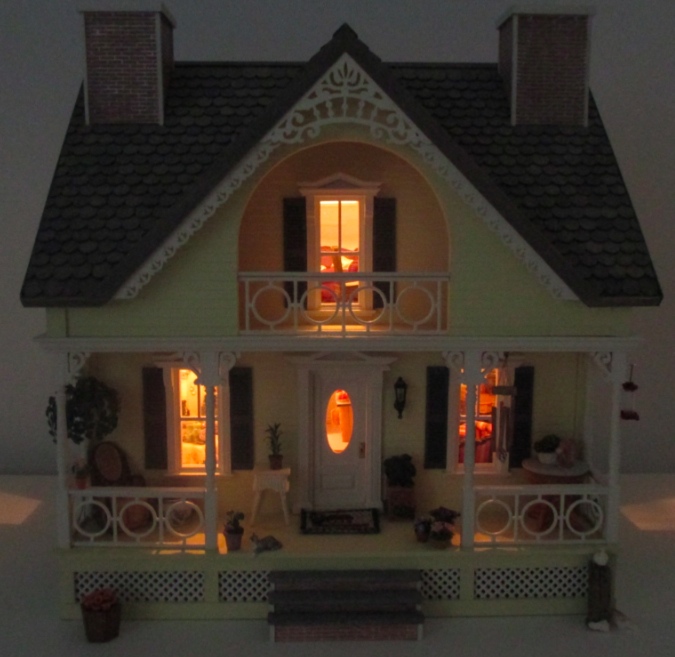
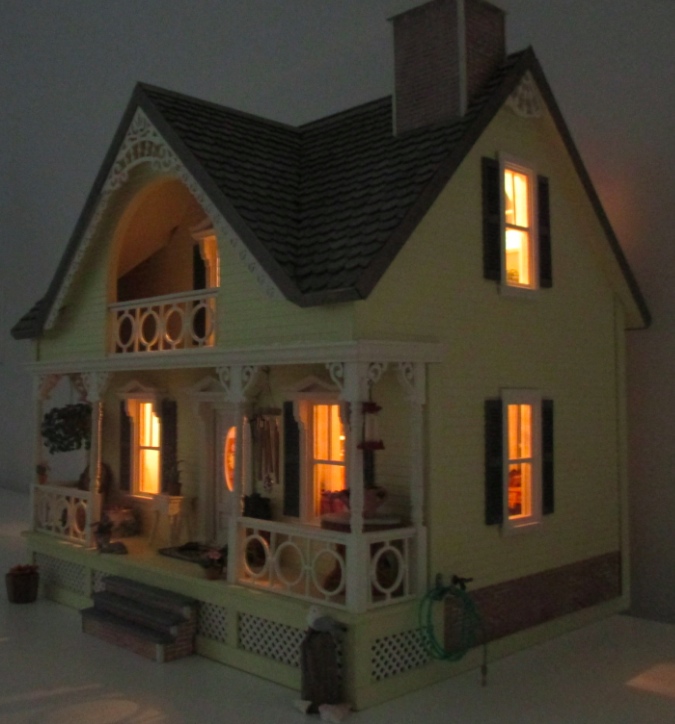
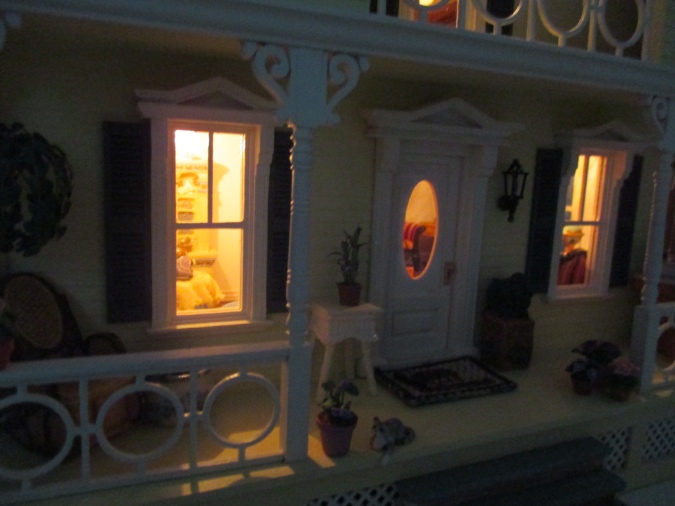
And with this repair, the Gull Bay Cottage is really and truly finished! Here’s some eye candy, and additional photos are in my Gull Bay Gallery.
 Emily is a freelance writer, miniaturist, and adventure game enthusiast.


Congratulations! It looks great! :D
Thanks! That plant next to the cat is one you made me, I love it. :)
Well done! Great repair. Good to see it finished.
You are very generous to share both your successes and your failures with others! You always seem to find a solution to challenges and are very inventive in doing so. This is inspirational for those of us who are muddling along with less experience and fewer skills. Thank you!