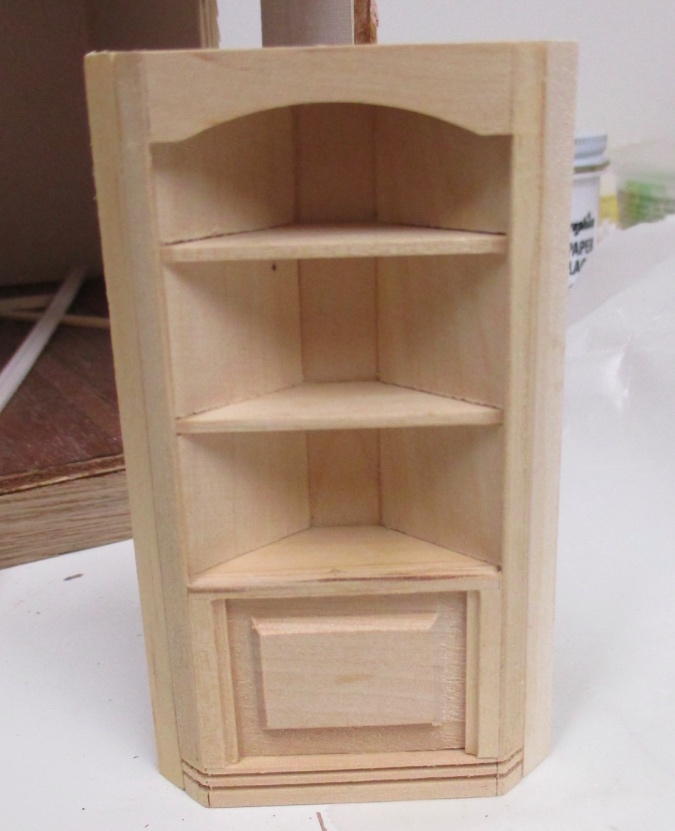
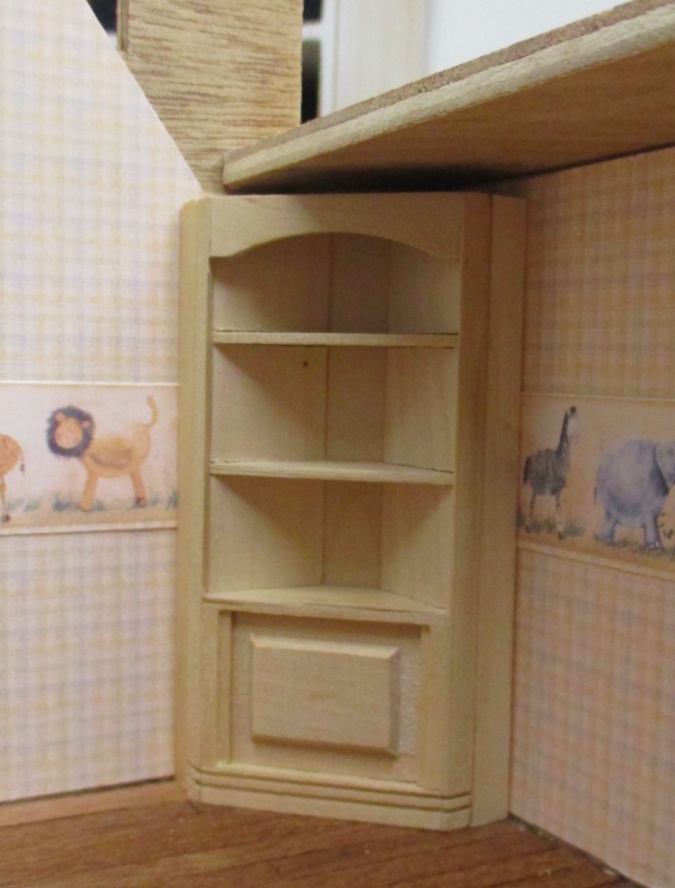
As I mentioned last time, that zebra’s butt sticking out the side of the corner cabinet was driving me crazy.
I was seriously thinking of building a new, slightly bigger cabinet to cover up the ass-end of the zebra. Then I realized I just needed to add strip wood to the sides of the cabinet I already had.
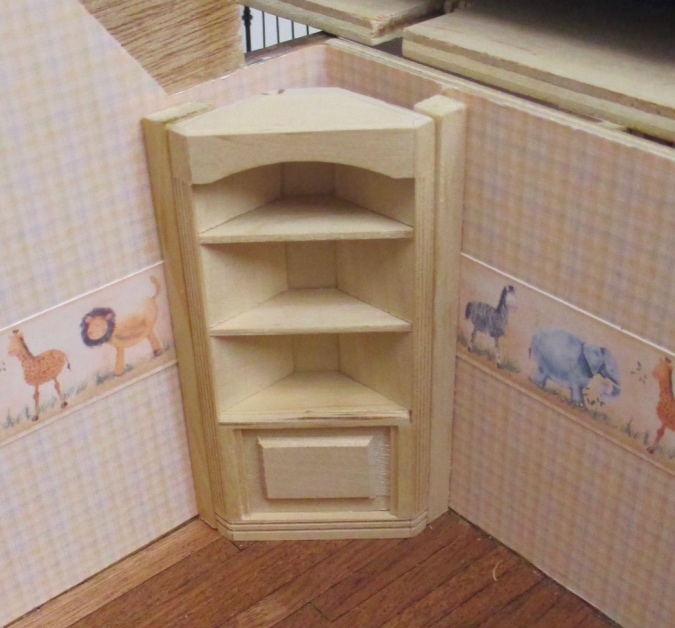
The piece on the left is 3/16″, and the piece on the right is 1/4″. I did it this way so both sides end neatly between animals. This room is a funny shape because of the tower, so you’ll never be able to see the cabinet straight on and the slight difference between the two sides won’t be noticeable.
I glued on the pieces, plus another support piece behind the 1/4″ square basswood for added stability against the wall.
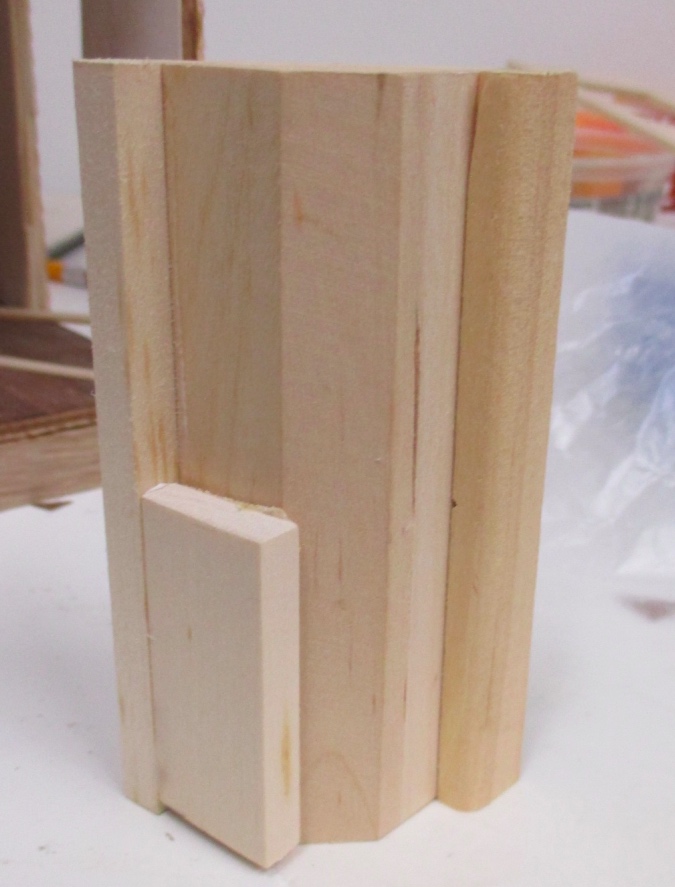
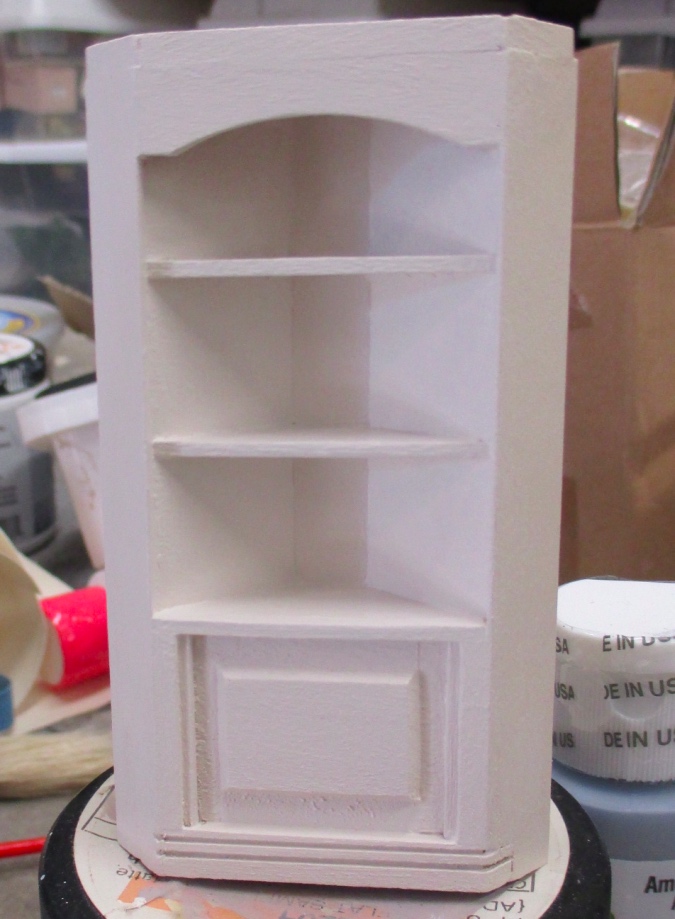
The cabinet had a grooved trim on the sides. I filled in the grooves with wood filler.
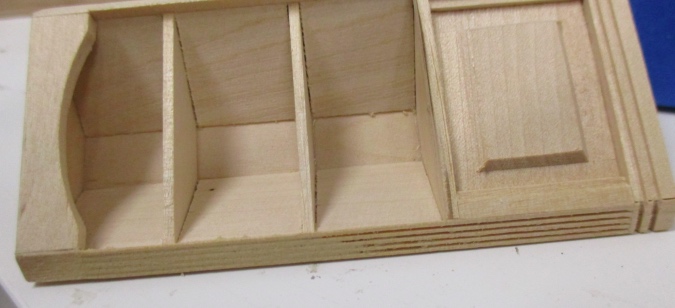
With the grooves filled in, the cabinet trim blends in better with the added pieces. The grooved part at the bottom will get covered up with baseboard.
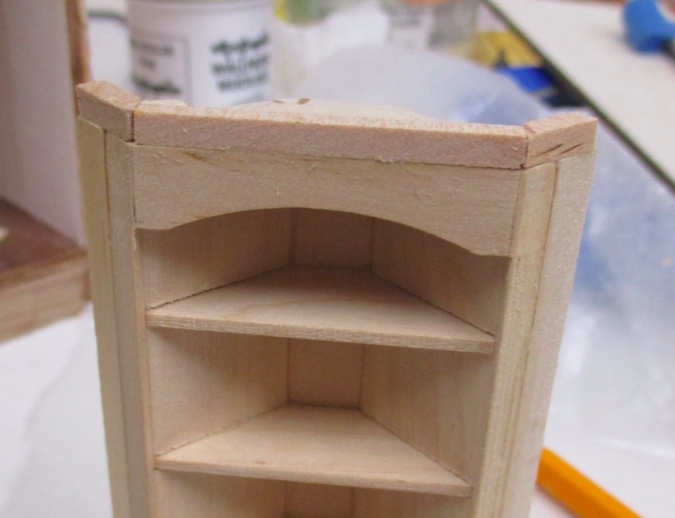
When the roof is in place, there’s a 1/8″ gap at the top of the cabinet. I’m planning to continue the crown molding from the wall along the top of the cabinet, but it will need something behind it to attach to.
I added 1/8″ square strips to the top. These will be entirely covered by the crown molding, so I didn’t worry about making them neat.
Here’s how it’ll look with the crown molding and baseboard.
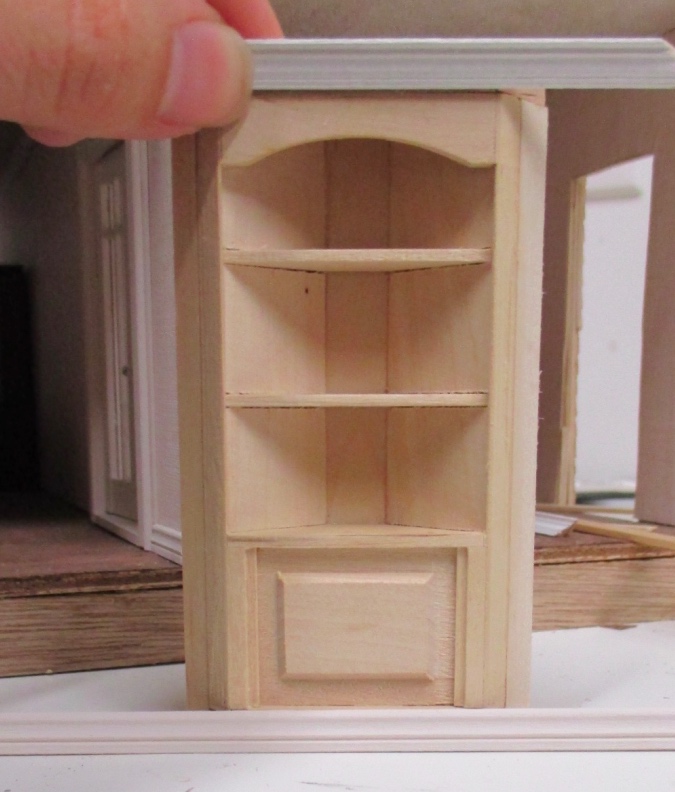
After a few rounds of wood filler, sanding, and paint, you can’t tell that I added the strip wood to the sides.
No more zebra butt! Woo-hoo!
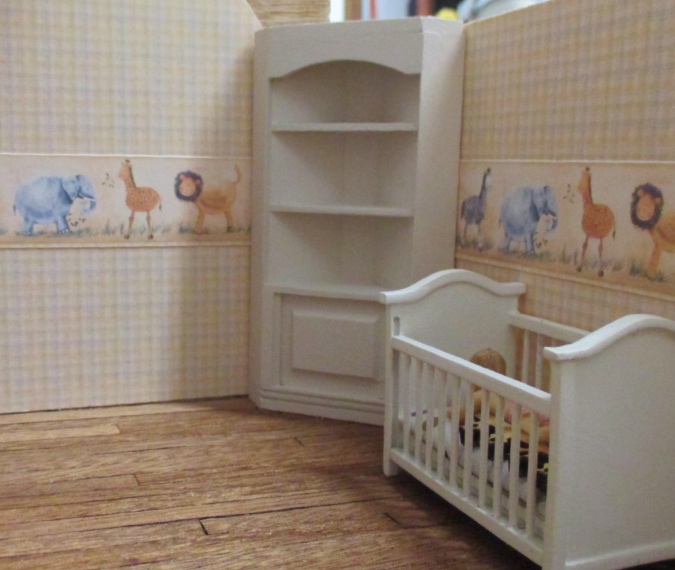
(To cover up the animals correctly, the cabinet has to be twisted just so, and I wasn’t careful about that as I took the rest of the pictures in this post. Never fear, that tail will be well hidden once the cabinet gets glued in.)
*ahem* Moving on.
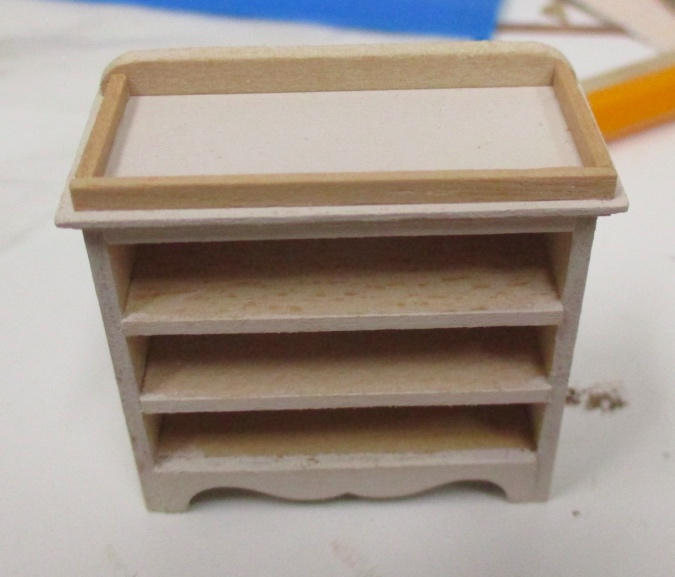
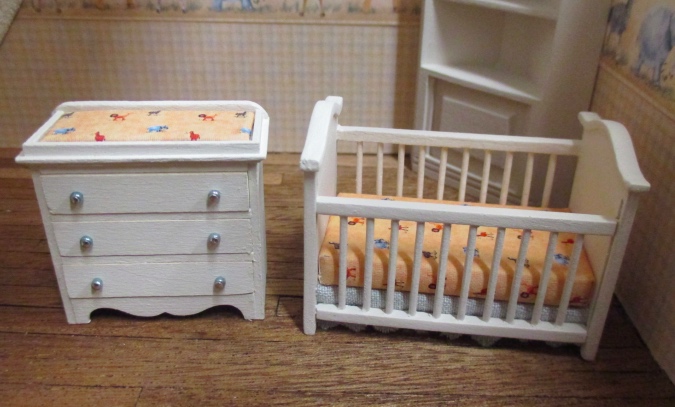
I had planned to build the changing table from the Cassidy Creations nursery kit, but my kit seemed to be missing a couple of pieces. (Either that or I didn’t understand which piece was which — entirely possible!) It would have been easy to fix but I didn’t want to deal with it so I packed it up again and pulled out a bureau kit instead. It pays to be a mini hoarder.
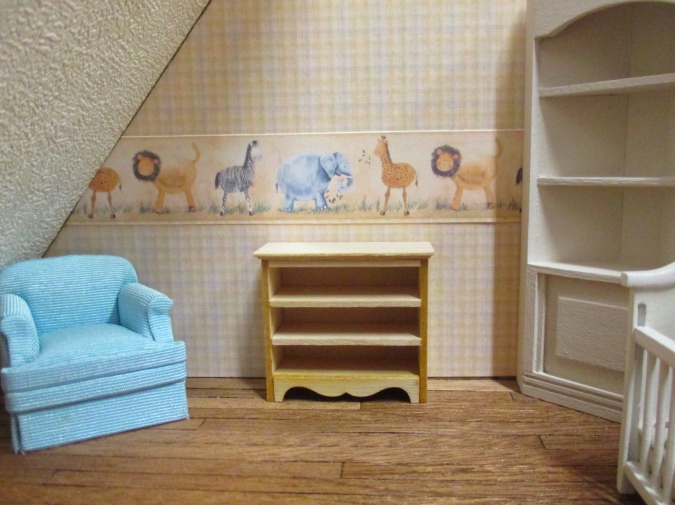
The crib was bright white and glossy. To make everything match, I decided to paint over it with Tuscan Beige (same color as the room trim and corner cabinet), and also used that color for the changing table. Not very imaginative but I’ve been using this trim color throughout the house, and it’s helping to give the house a consistent color scheme overall. While I was at it I also painted a shelf that I scratch built to go under the sloped ceiling in the master bedroom.
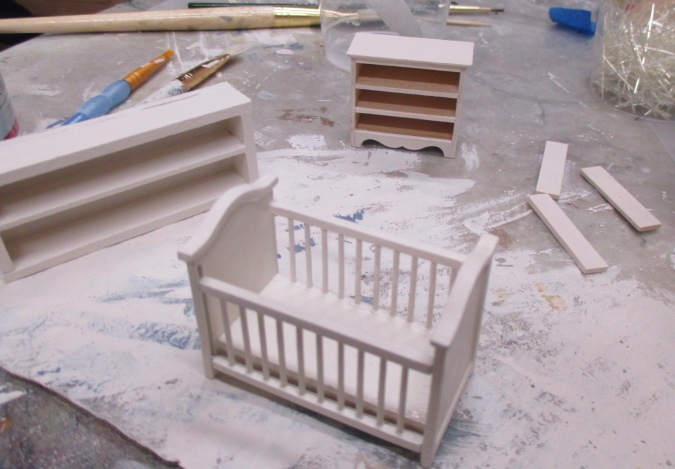
I added some basswood scraps to the top of the bureau, to hold the changing pad.
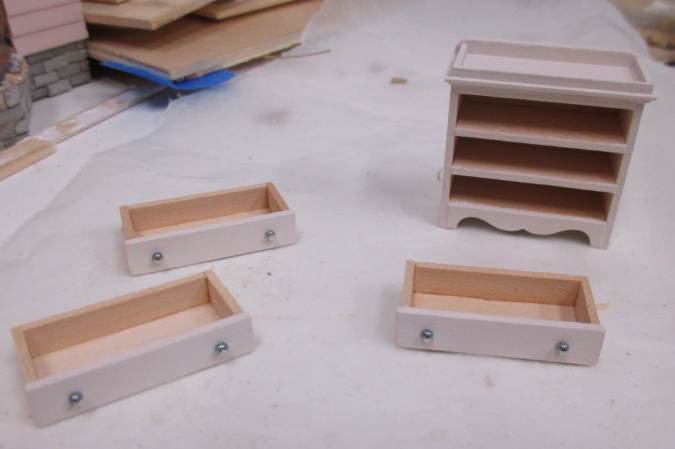
The drawer pulls are cut-down pins with metallic blue seed beads.
Itsy Bitsy Mini, manufacturer of the wallpaper in this room, offers print-to-order fabric that matches their wallpaper. The wallpaper I used is plaid with a big animal border, but there’s also a version with small animals. I thought it would be cool to make the changing pad and crib bedding out of that fabric. I’m using 1:12 wallpaper, but I ordered the fabric in half scale so the print would be nice and tiny.
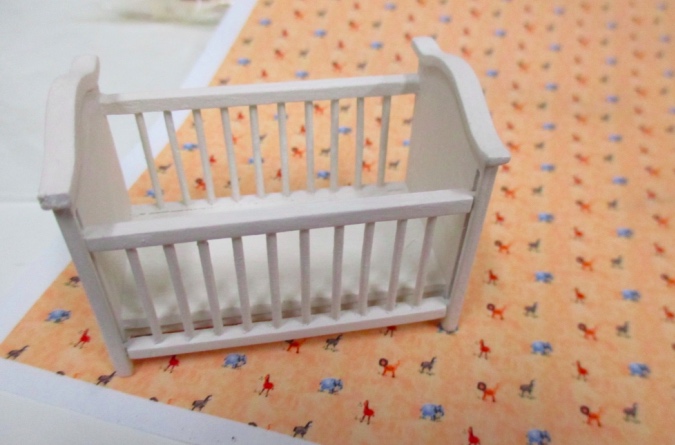
The fabric is brighter and more orange than the wallpaper. (It’s actually more orange than it appears in some of these pictures.) So it’s not a perfect match, but for this purpose, it works.
For the crib bedding, I wrapped a piece of fabric around a balsa “mattress”. The ruffle is made from a swatch of Restoration Hardware linen — it already had the scallops at the bottom. I slipped the edge of the ruffle up through the front of the crib (there’s a gap between the front bars and the bottom edge) and glued the ruffle to the bottom of the crib before putting in the mattress on top of it.

And here’s the finished changing table. I wrapped a piece of fabric over a piece of mat board to make the pad. For both the mattress and the changing pad, I only used glue on areas that don’t show. The fabric isn’t supposed to get wet, so I thought glue might cause the ink to run.
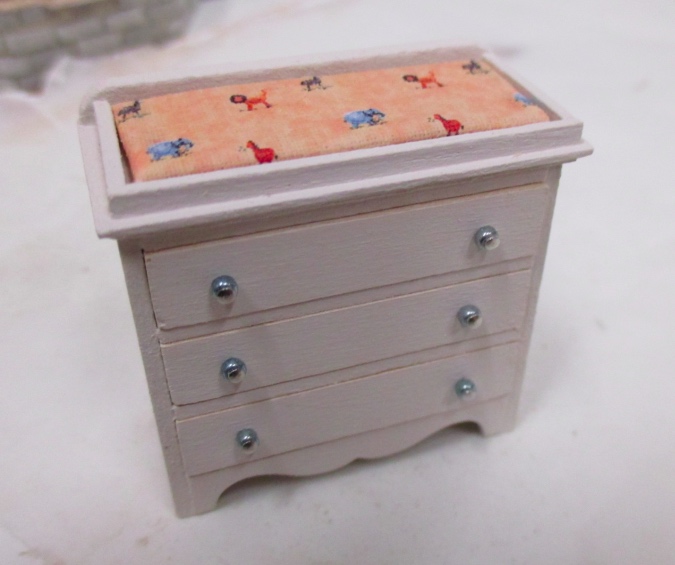
Here are the two pieces together — they could pass for a matched set!
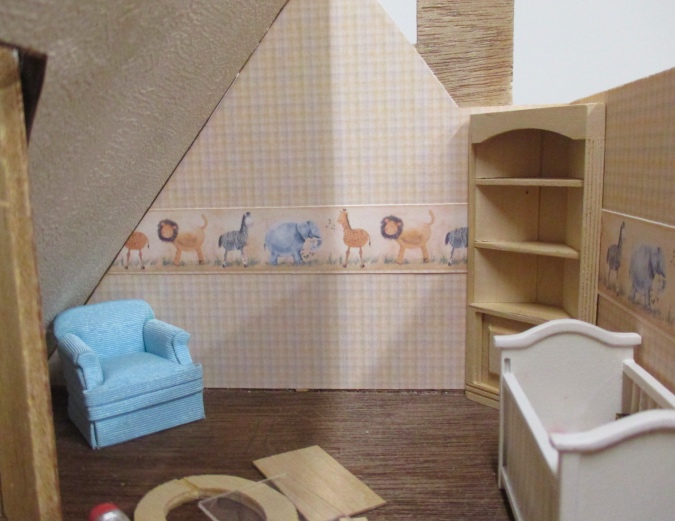
And here’s how the room looks so far. Coming up next time: toys!

 Emily is a freelance writer, miniaturist, and adventure game enthusiast.


Your attention to detail and your problem solving are incredible! What an amazing, adorable room this has turned out to be! Thanks for continuing to share your challenges, solutions, and unique ideas.
You have managed to solve several problems with creativity and designed a space that is bright, lively and fun. Clever solutions to problems have been artistically conceived and carried out….thanks for sharing your ideas!
So cute with the tiny animals on the fabric! I love how it looks. And the corner cabinet fits in perfectly now. Well done!
I love reading your blog. I have learned so much and your attention to detail is awesome. Thank you so much for sharing your ideas.
Thanks for the nice comments everyone. :)