Now that the bar is electrified, I’m done adding tapewire to the roombox and can finally get moving on the roombox interior. (I originally intended to finish this project in December so I can get back to the Victorianna, which I’m hoping to finish in 2018. Oops.)
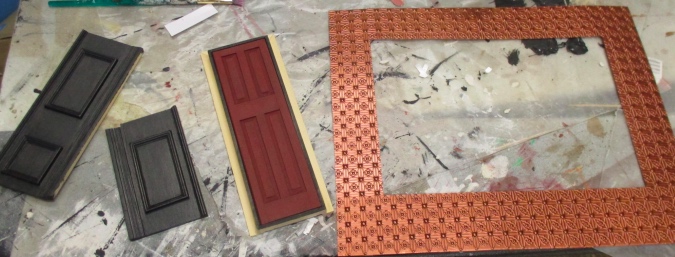
I decided early on that the bar’s main colors will be black, white, and red. It’s a contemporary place but I want the decor to have an old Victorian gothic feel. And since I rarely work in 1:12, I’m using up stuff in my stash, including some resin wainscot panels I got several years ago at an estate sale.
(I remember these had $1 clearance price tags on them, left over from when woman whose estate it was bought them, and the woman running the estate sale — not a miniaturist — tried to haggle me up. When I pointed out the price tags, she said something along the lines of “But how much are they worth?” and I said “A dollar.” I won.)
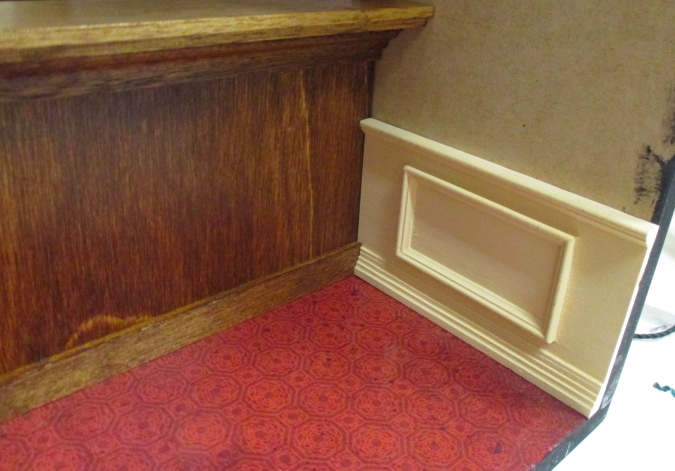
The panels would surely be easier to cut if I had the right tools, but I managed by hacking at them with the saw that goes with my miter box (the panel is too big for the miter box, so I had to use the saw separately) and a utility knife. That left a jagged edge that I cleaned up with the disc sander. On the panel that goes next to the jukebox I also used the sander to angle the bottom corner to fit up against the jukebox foot.

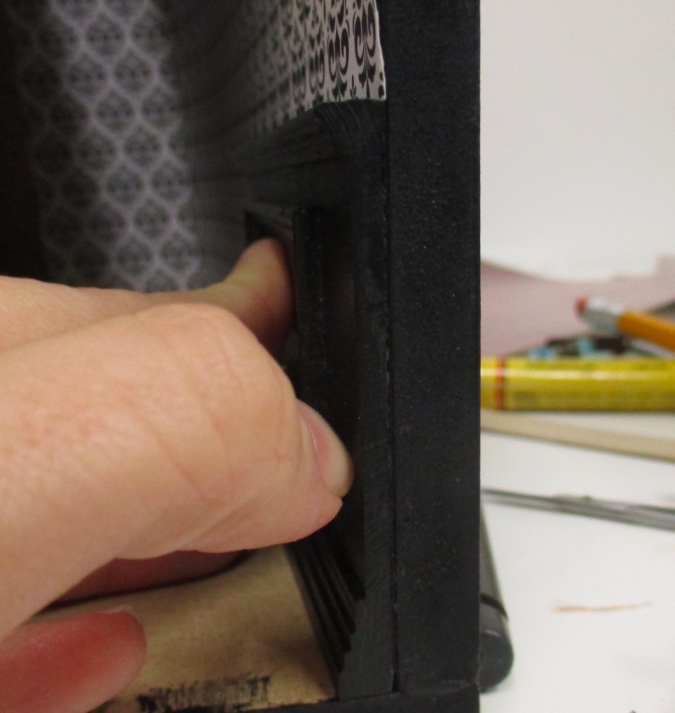
On this side the bottom needed to be notched to fit up against the bar.
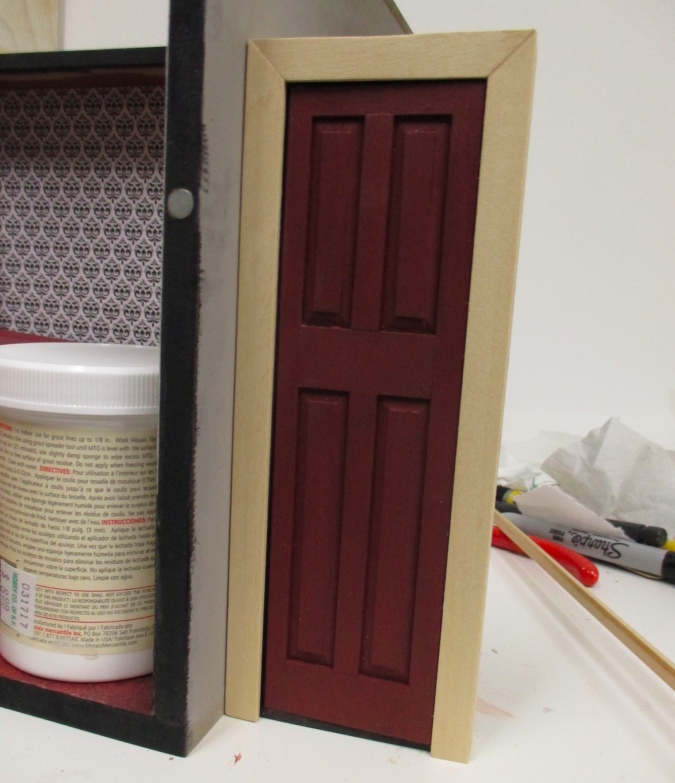
I painted the panels, the door (which will lead to a faux bathroom), and the ceiling. The door and ceiling were also flea market or estate sale purchases. I love using up stash!
This is a narrow door made by Classics. I added strip wood around the sides to fill in the gap where the door would normally be recessed into the wall. In this orientation the door will swing out into the bar. I’m planning to add a printed picture behind it to give the hint of a bathroom.
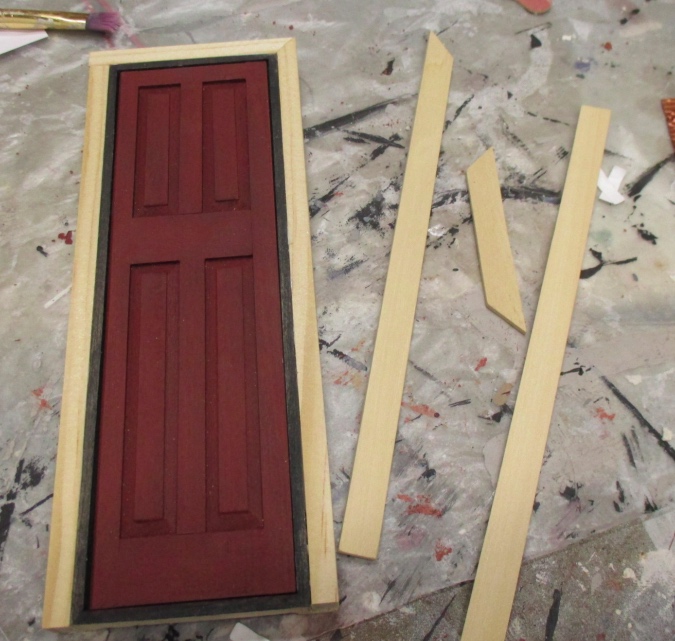
I glued the trim that came with the door on to the strip wood. This will get painted black.
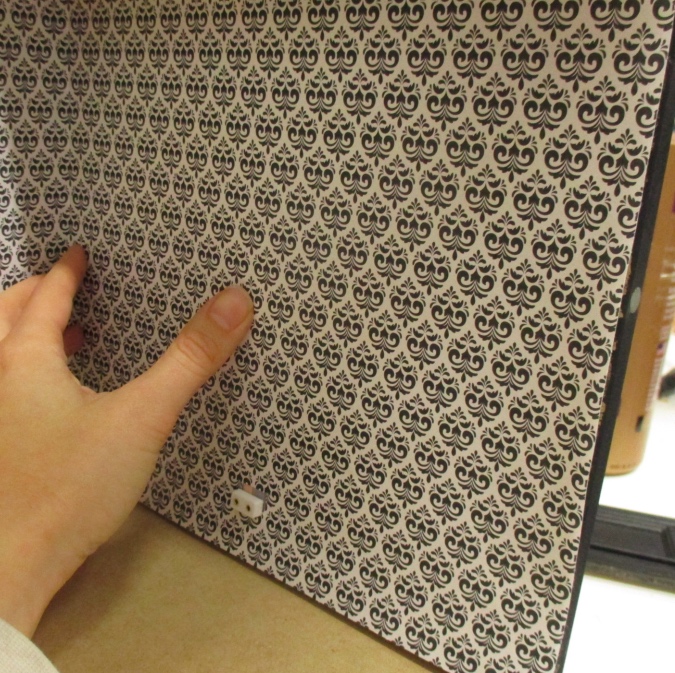
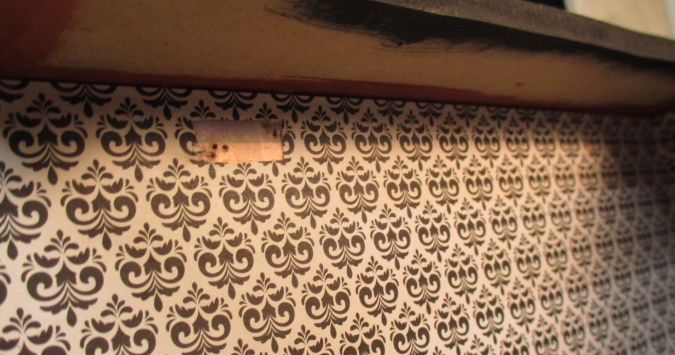
Before gluing in the wallpaper, I cut a hole for the power outlet. This will be hidden behind the bar so it’s okay that the hole is a little big.
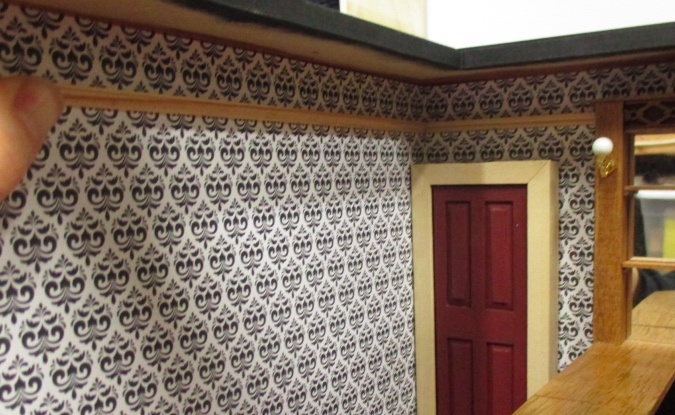
The white edge of the paper looks funny sandwiched in between the black panel and the black edge of the roombox.
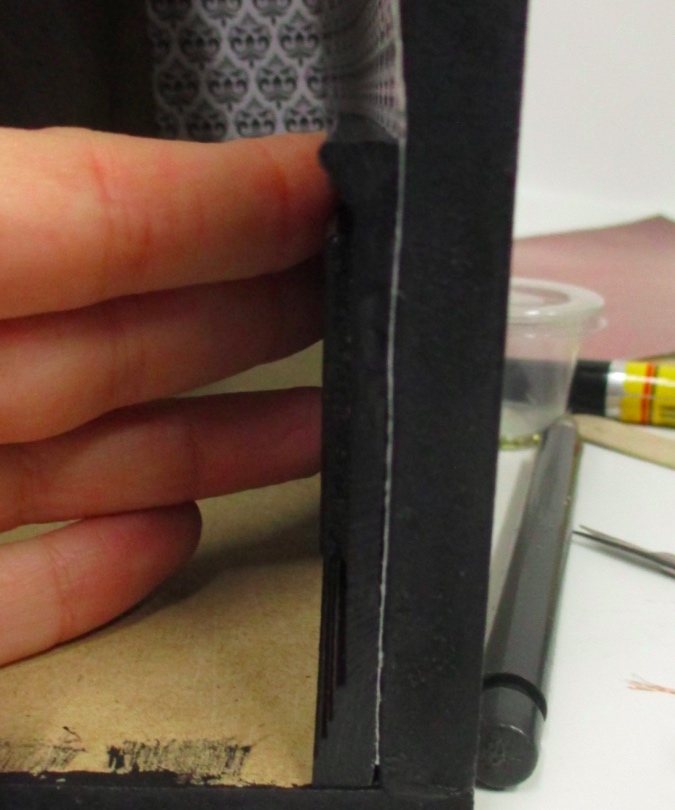
I ran the edge of a Sharpie along that portion of the wallpaper.
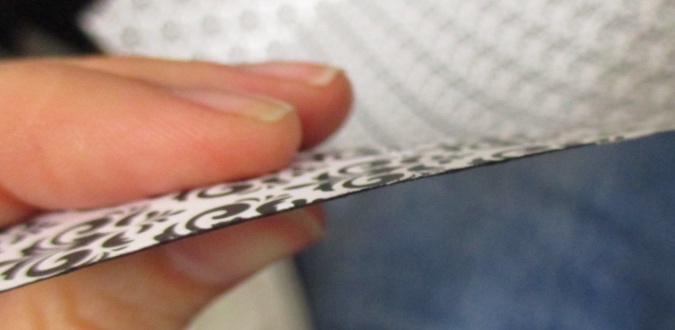
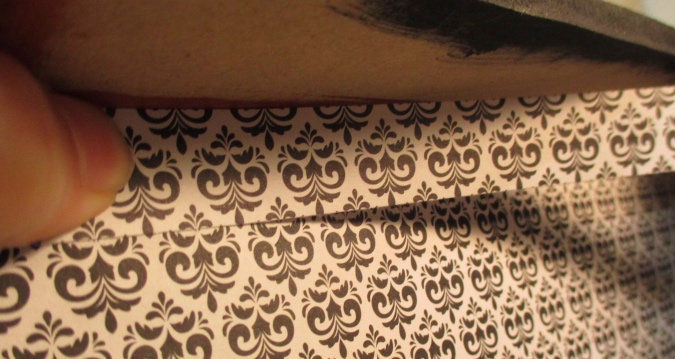
Better! You can still see a tiny bit of wallpaper, because the panel is warped. I might Sharpie over that to make it blend in.
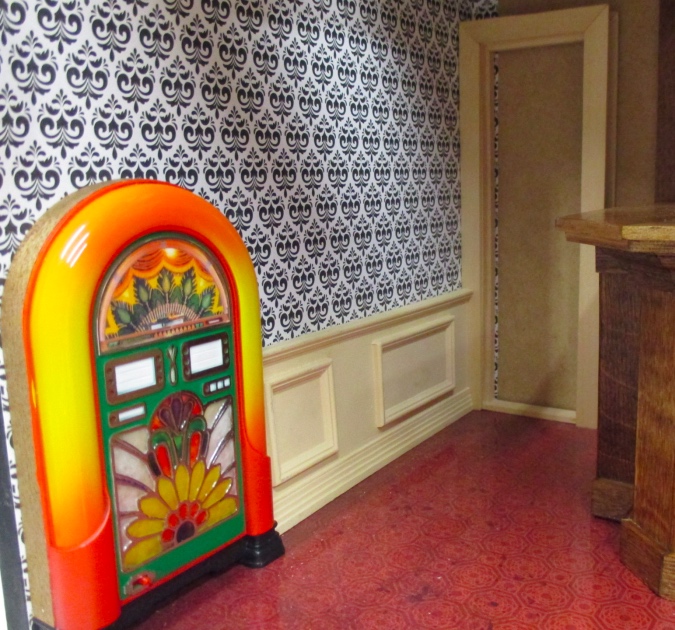
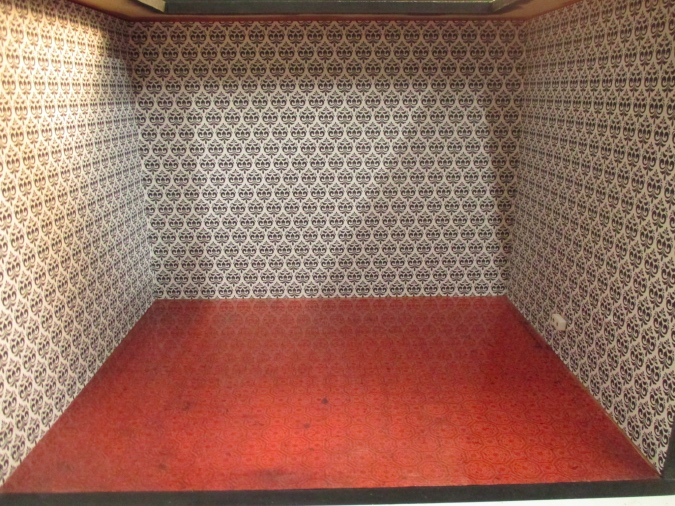
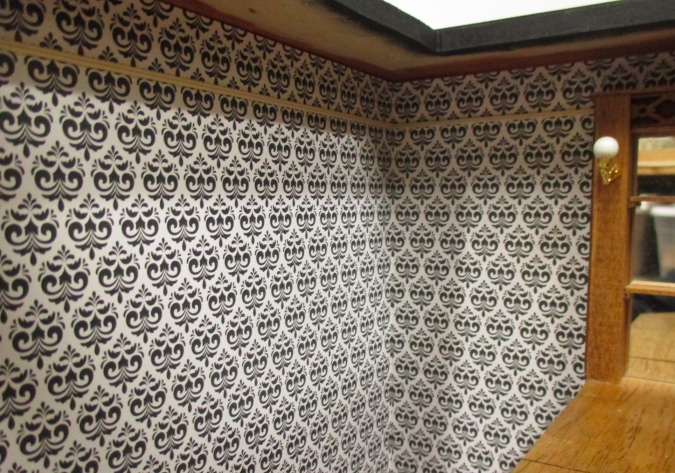
Here’s the roombox with the wallpaper and flooring in. Finally!
In addition to adding lights to the bar itself, I had planned to add three fluorette bulbs to the walls. I have used these before in the Gull Bay and the Christmas Breadbox, and didn’t have any problems with them. In fact, when I put them in the Gull Bay I dubbed the experience “easiest electricity ever”. Oh, how naive I was…
The fluorette sockets have two nails on the back that pound directly into the tapewire. Before gluing in the paper, I figured out where I wanted the lights to be and cut out small holes to correspond to the nails. You can see the pink and blue tape behind the holes.
I started with the light farthest from the front, which would have been in the corner near the bathroom door — but I just couldn’t get it to work. First of all, the socket wouldn’t pound into the MDF. I’ve only used these in wood before and hadn’t anticipated how much harder the MDF would be. I tried drilling holes with my micro drill (also known as a pin vice) and the nails fit into those holes just fine, but the bulb didn’t light up. I thought I knew where the tape was, thanks to the little holes I’d made in the wallpaper, but it was hard to see back in the corner and I just couldn’t tell what the problem was. The test probe lit up when I used it on the tapewire, so I thought maybe there was a problem with the bulb or the socket.
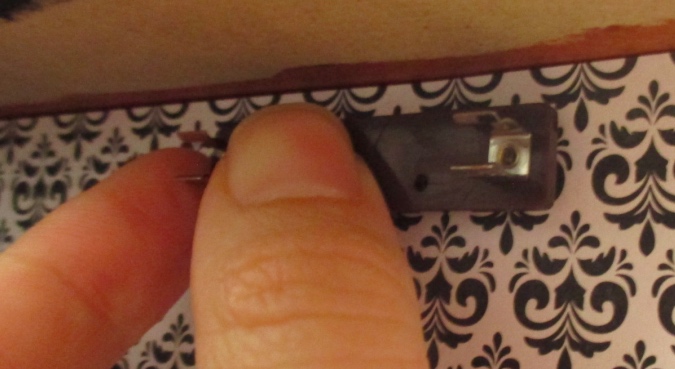
I moved on to the closer light, thinking at least that way I could confirm that the socket and bulb were good — but this one wouldn’t light up either! While I was wrestling with them, I broke two sockets. On one the nails (which are held in my flimsy metal arms) got horribly mangled, and on the other, one of the metal clamps that holds the bulb snapped off. I cut out a bigger hole so I could see the tape better, but even then I couldn’t get the light to work. (Well, once I did, for a brief moment, by holding it in a very specific position — and then I had to let go because I was touching the metal and electricity shot through my fingers.)
I think problem was that when I had one hole safely in the pink wire, the other hole was just on the edge of the blue wire, not touching it enough (or at all). I held up one of the non-mangled sockets to a piece of tapewire and saw that the two nails could barely touch the two wires at the same time. I don’t remember this being a problem in the past. Maybe I’m using a different brand of tapewire? I really don’t know.
Because these lights were going to be visible in the bar, I couldn’t shove them in at an angle, and I couldn’t keep cutting up my wallpaper trying to make it work. So I gave up. On the bright side (ha!), the roombox looks just fine with only the bar lit up. If I had put in the fluorettes it would have been very bright. Instead, it will be dimly lit with the bar as the focal point. I actually think it’ll look better — more cozy. I just didn’t realize it until I was forced to.
So, how to hide the holes in the wallpaper? The holes were too far down to cover up with crown molding. Also, they’re farther down than the top of the bar, so if I tried to cover up the holes with big, elaborate trim, I would have run into problems in the bar area.
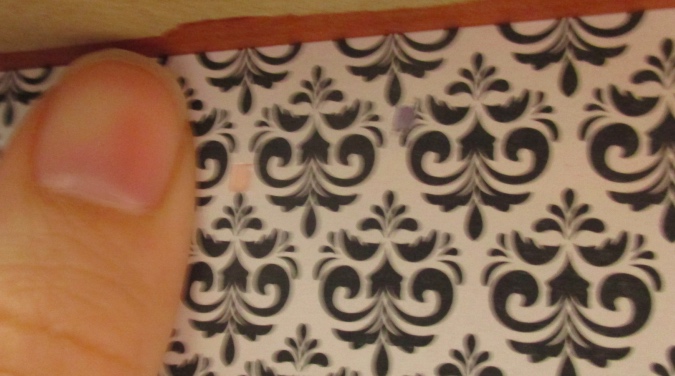
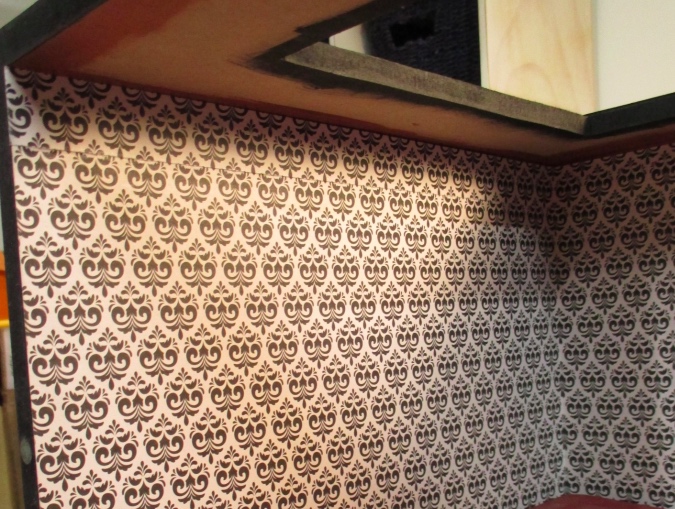
I only had one piece of the paper left — not enough to re-do both walls — but enough that I could cut out strips to cover up the problem areas.
This doesn’t line up exactly with the design, but it doesn’t need to, because I’m going to add picture rail to hide the seam. I was more concerned about making sure the tops and corners looked right.
Here’s how the interior looks so far. There will also be wainscot between the bathroom door and the bar — I’m waiting to finish the door before I cut it.
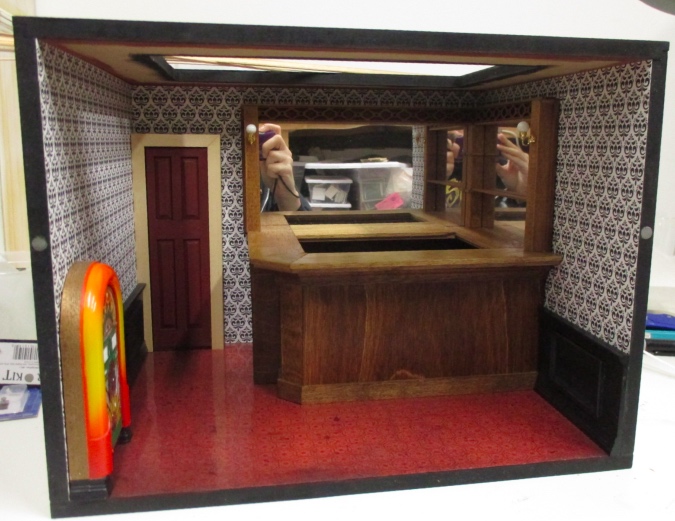
Looking at this, I realized I’m boxing myself into a corner, literally: once the wainscot and the picture rail are glued in, it will be impossible to move the bar! Once it’s in place it will stay there most of the time, but I do want it to be removable so I can add/reglue accessories and change the lightbulbs. And what if the plug or the socket need to be jiggled? It happens!
The wainscot stands up fine on its own, so I just won’t glue in the panels that touch the bar. But even without the panels there, picture rail meeting up with the sides of the bar will prevent it from sliding out of the corner.
I’d planned to use cornice, like this. I cut some pieces to the right size and tried to wiggle the bar out of the corner. Nope, not happening. The picture rail on the left keeps it from sliding to the side, and the picture rail on the right keeps it from sliding forward.
This double bead doesn’t stick out from the wall nearly as much. I think if I use this I’ll be able to twist the bar just enough to clear the trim on the left side, and then pull it out diagonally. I’ll leave a tiny gap between the trim and the bar so there’s a little more wiggle room. It’s not really what I think of when I think picture rail, but it’s the best option I could find in my wood drawer. I’m planning to paint it black, like the rest of the trim.
Will it work? Will it look ridiculous? Tune in next time to find out!
 Emily is a freelance writer, miniaturist, and adventure game enthusiast.


It’s looking great the wallpaper solution worked well, the pattern is so busy that you can’t really tell from the pictures that the pattern doesn’t match up. As for making the bar removable how about if you attached a matching wood to the walls the same depth as the picture rail behind the bar. That way the bar sits proud of the trim and is easily removed but the wood attached to the wall looks like its part of the bar back & side wall when it butts up against it?
Interesting idea! I’ll play around with some of the scrap pieces and see if I can make that work. Maybe not on the right, where the shape of the bar is more complicated, but I could possibly glue pieces to the back wall that make the bar stick out just enough to clear the picture rail on the left side.
Yes, you’re right, you would only need to do it on one side to make it removable. :) Good luck!
Ooohhh MDF and tapewire… that combination seems to be the bane of miniaturists everywhere.
Your solution looks great and I love your wainscoting against the red floor and black and white wallpaper. Classy!
I do believe that the problems and then working out their solutions, is what keeps our brains working and our minds sharp, but OH the stresses of dollhouse wiring never seem to end, no matter how prepared you are or how experienced, because something always wants to go wrong.
Even so, your Blackbird Bar is coming along nicely and it already has a cosy Victorian flavor that should definitely draw in the crowds.