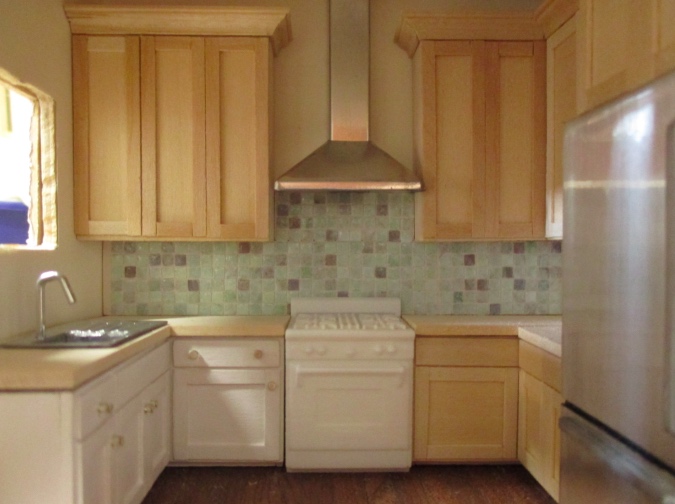
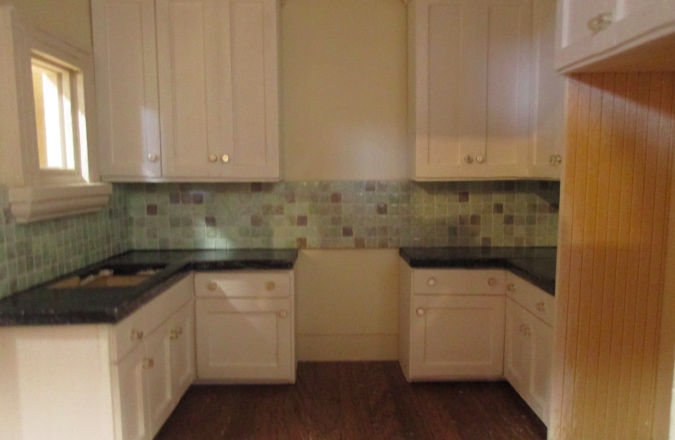
So I said in my last post that this would be the grande finale for the Victorianna’s kitchen. It’s not — I still have to finish the stove, and I might have torn up the hardwood floor for no good reason. (Oops.) I’ll leave you in suspense about that until it’s fixed, but for now, here’s the *almost* grand finale!
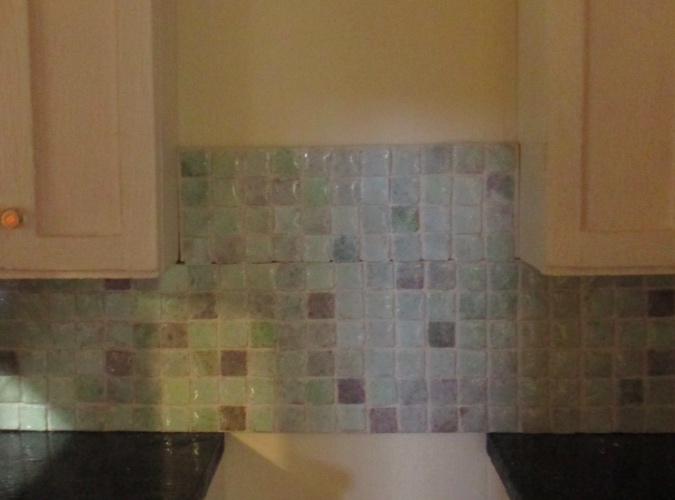
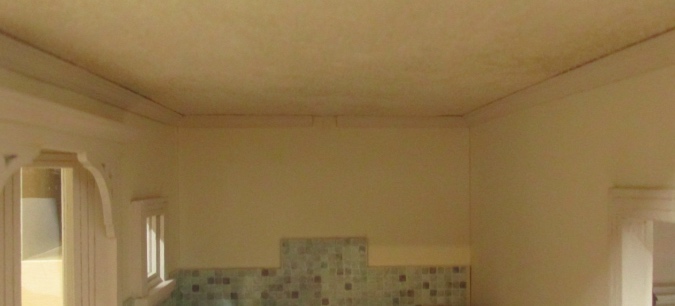
When I made the backsplash, I made the part under the hood to fit snugly between the upper cabinets.
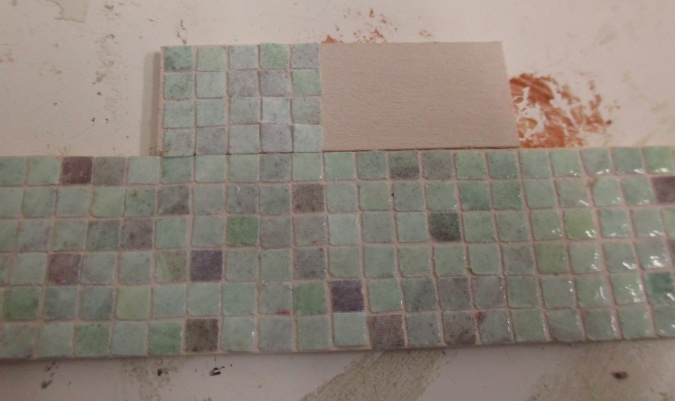
Once the cabinets were painted it needed to be sanded down at the sides in order to fit. I did this until it fit well again — but then found that the uppers on the right (which are connected to the fridge cabinet) weren’t pushed all the way back into the corner, so I’d actually sanded too much. During sanding I also messed up the spacing of the tiles so they were no longer even with the row below them.
So I redid that piece. Luckily I had enough tiles left. I started with the center and side columns to make sure they lined up.
Once again, I left the bottom tiles hanging slightly over the edge to cover the seam.
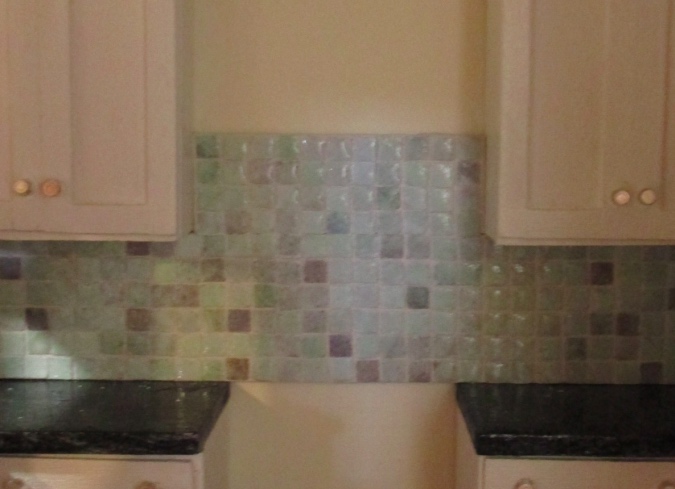
When that piece was finished, I glued on the large panel. I had already glued on the one under the sink, so this panel needed to slide into place. I didn’t want to smear glue on the wallpaper so I put the glue directly on the wall, and then slid in the panel over it.
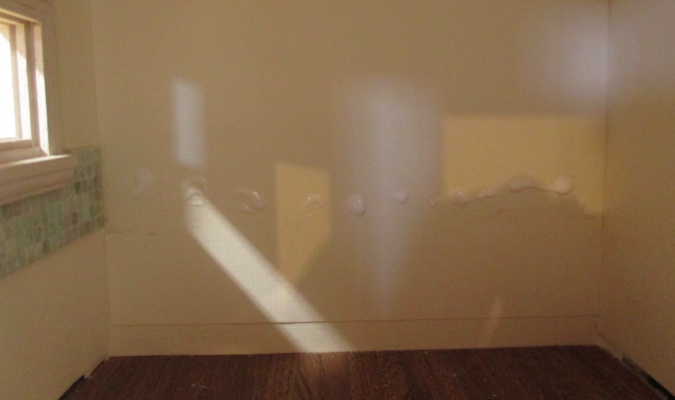
Some glue did spooge out the bottom, and I just wiped it off with a tissue. That will be covered by the cabinets so it doesn’t matter if I got a little glue on the wallpaper down there.
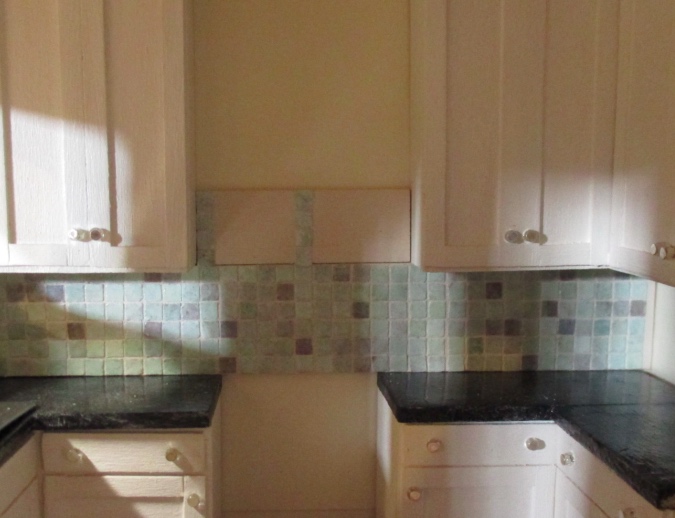
Next I glued in the small panel. Even with the tiles overlapping, you can see the seam here.
I filled in those holes with white grout on the tip of a toothpick.
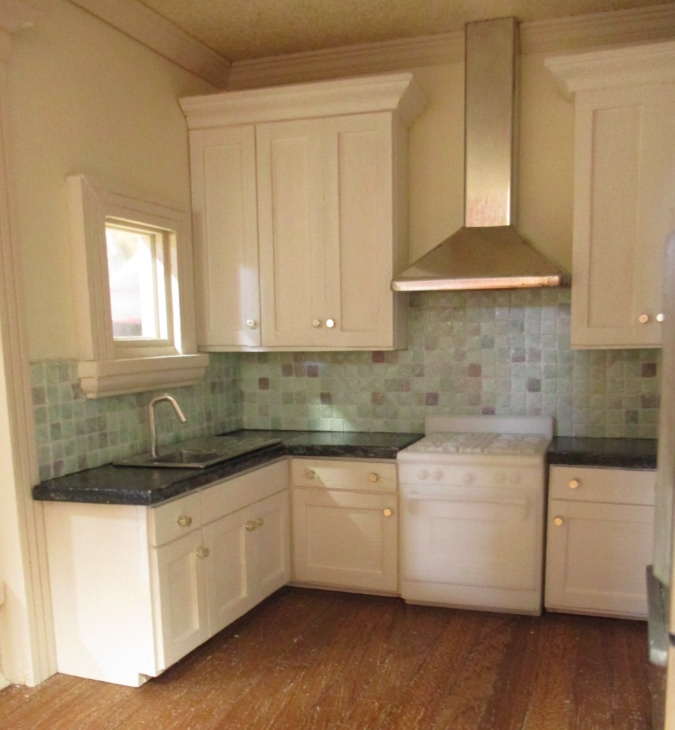
At this point I was ready to add crown molding. I didn’t want it to compete with the (different) crown at the top of the cabinets, so I’d planned to use a smaller cove molding here, but this ceiling is a little warped and it didn’t look good. Regular crown molding hides the gaps better.
My plan had been to glue in the hood, then add the trim, and then add the cabinets. This way I could make sure that the hood was in exactly the right spot before cutting and gluing in the trim. But as I was attempting to do this I realized that with both the window and hood in place, the upper cabinet on the left couldn’t slide in. Luckily I figured this out before the glue on the back of the hood dried!
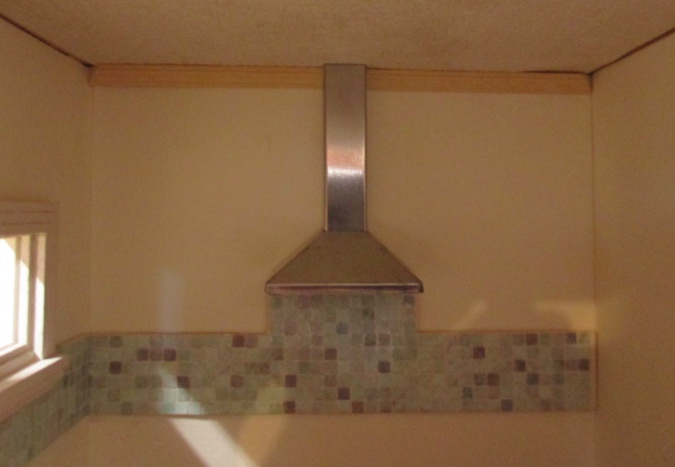
So, plan B: trim first…
…then upper cabinet, then hood.
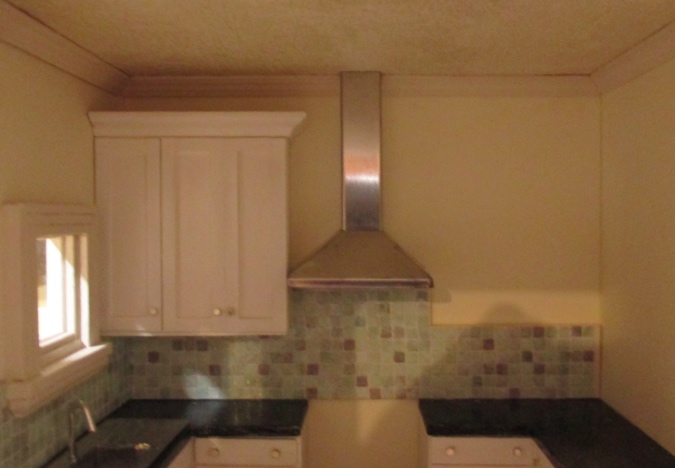
(Sorry for these horribly dark / grainy photos. After seeing these I started messing with the functions on my camera to try to get better pictures in the low light.)
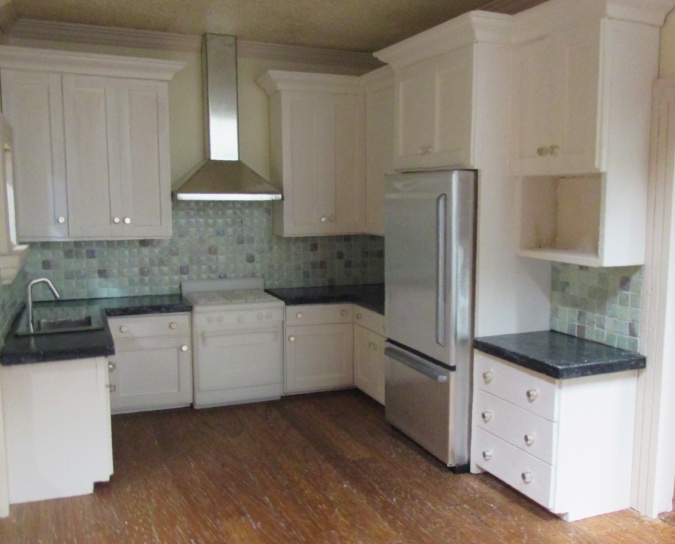
The rest of the cabinets don’t need to be glued in. They’re so snug that they won’t be going anywhere. The other backsplash pieces are also very snug, so I haven’t decided yet whether to glue them. If they are glued in, they might prevent the fridge cabinet from coming out, and I’m not sure yet if I want to make that commitment.
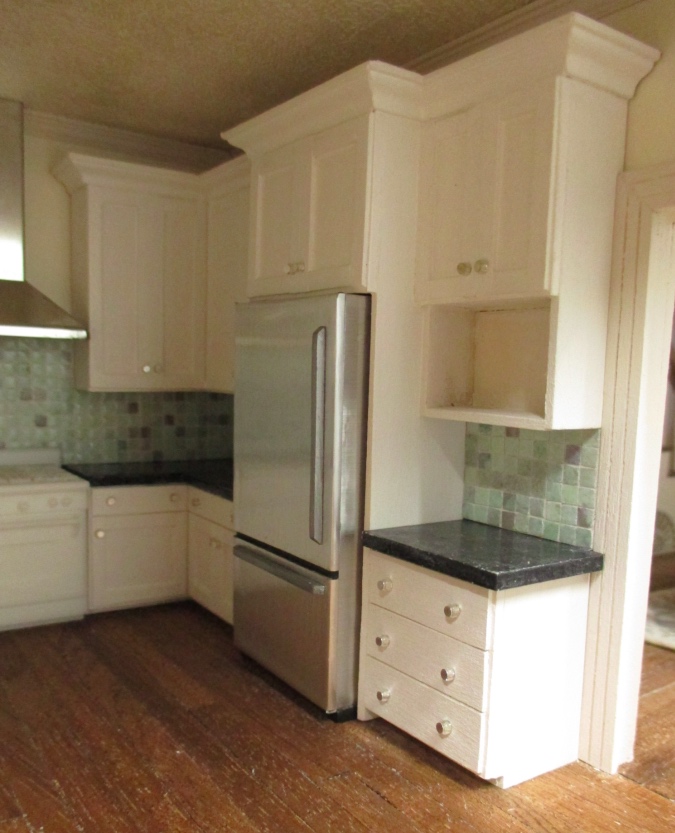
I took the microwave out to fix it, after accidentally punching in the plastic window (as I feared I would). It’s been fixed but I’m waiting to add a printed clock to the front before I put it back in. It’s also a tight fit, so once I add it to the shelf I don’t want to have to take it out again.
And I haven’t glued in the sink yet, either. This cabinet won’t come out unless I stick my finger in the hole for leverage, so I’m holding off on that until I’m sure I won’t need to pull it out again.
That’s all for now… next time will be the real grand finale!
 Emily is a freelance writer, miniaturist, and adventure game enthusiast.


*claps* I love this kitchen! So modern and light and pretty. I especially love the extra tall upper cabinets with there cornicing. They look so rich and sophisticated. I know this chicken and egg dance you are doing well and have pulled things off before the glue dries, when something that needs to be done first hits me at the last moment, too many times to count .. lol
Love it! Looks so fresh and contemporary. You are a great kitchen designer!
I really love how this looks. So light and bright and cheerful! Can’t wait to see the finale!
It is like putting a 3 -D puzzle together but you have solved the problems you’ve encountered in a satisfying way and the end results are Marvellous! I could cook in this kitchen if I were the occupant and never get tired of being in it!