I finished the Sam & Max Freelance Police roombox back in September, but I’ve been holding off on building furniture for it until the action figures from Boss Fight Studio ship — since I’m making most of the furniture from scratch, I want to have them handy as a size reference. Unfortunately the release date has been delayed on these and they’re not expected to ship until the spring.
The most complicated piece I have to build is Mr. Spatula’s water cooler. I’ve been thinking for months about how to do this, and decided to bite the bullet on the aquarium part. I can build the base later when I have the figures.
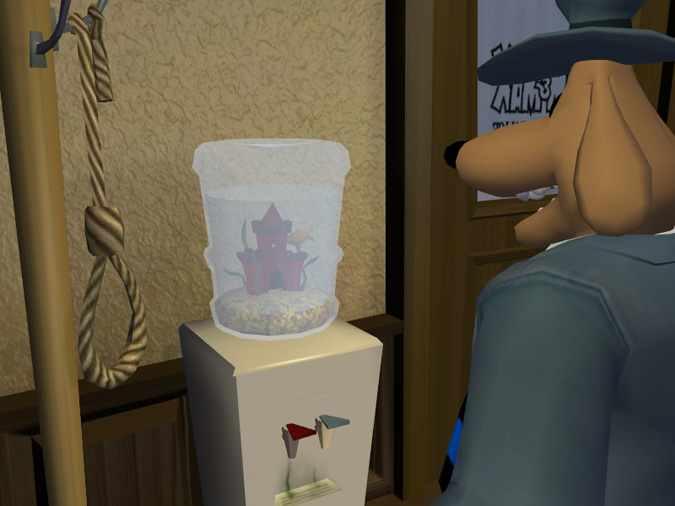
I’ve never made a dollhouse aquarium before, but they’re usually made with clear resin as water. Normally you pour the resin in through the open top of the aquarium, and can position the fish in the resin as it dries. But since a water cooler is enclosed at the top, I had to figure out another method. I’m going to try two different versions: one with resin water, and one with real water (like a snow globe). This post shows the first steps of the resin version.
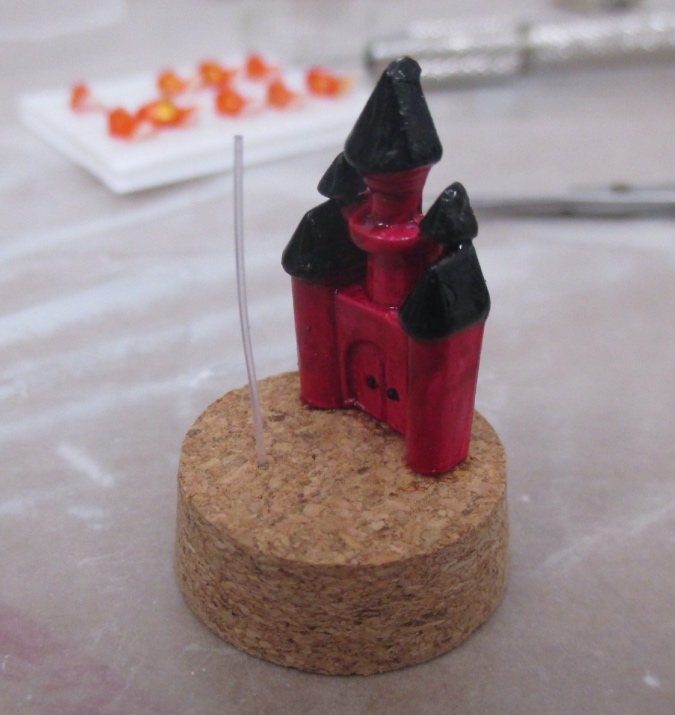
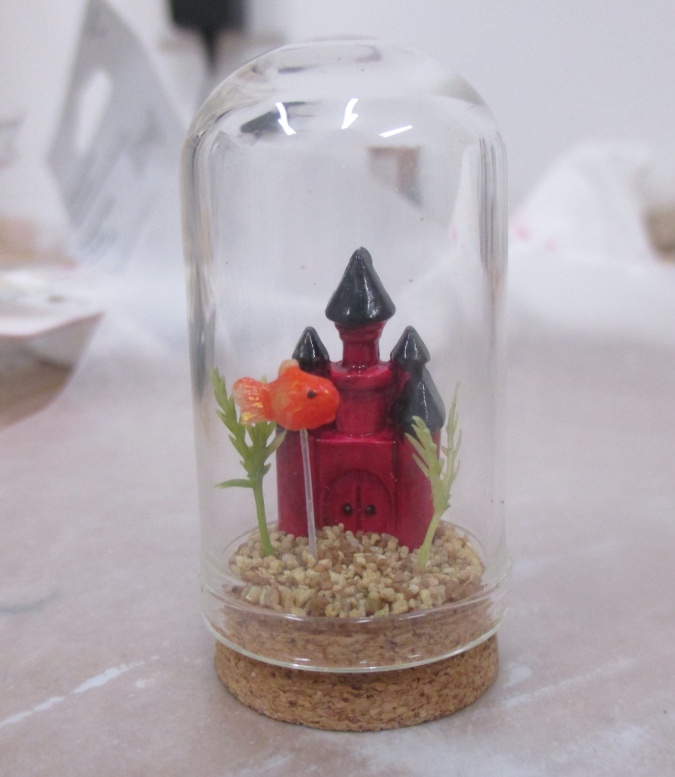
I’m using a glass dome with a cork base from Alpha Stamps for the bottle. I would have preferred something with a flat top, and almost used a corked glass bottle instead, but decided against it because the skinny neck would have prevented me from fitting a castle and gravel inside. The big cork on the dome will make a good base.
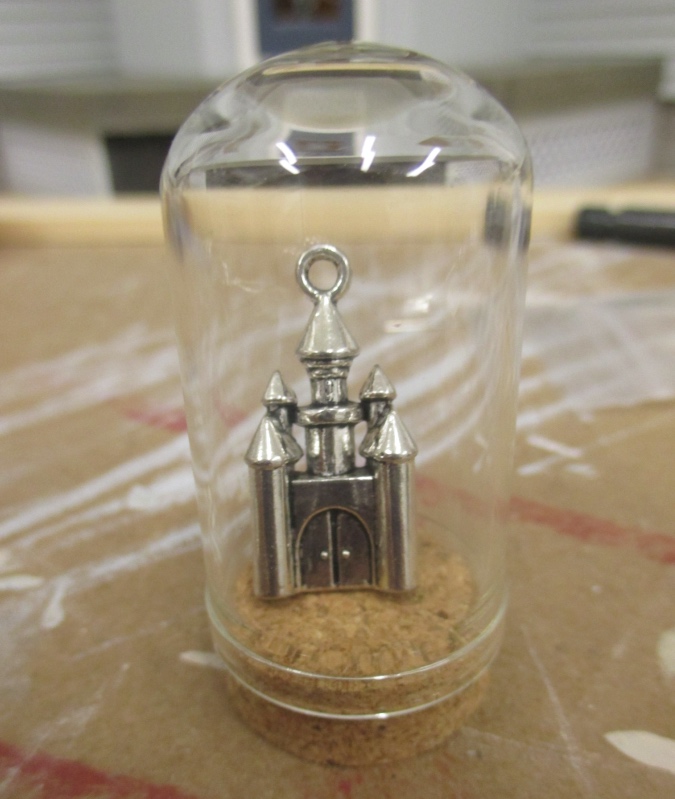
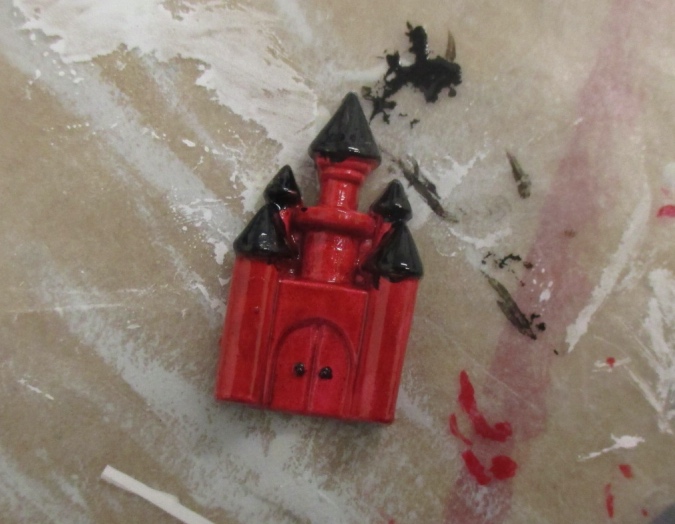
The castle charm is also from Alpha Stamps. I snipped off the ring and sanded the nubs off with a file. I washed the charm with soap and water, and then painted it with gesso.
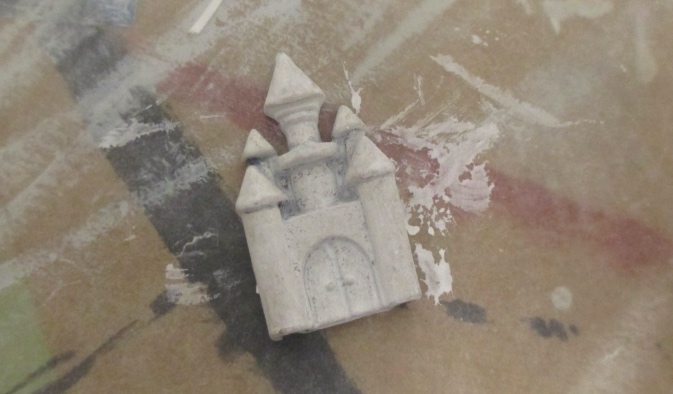
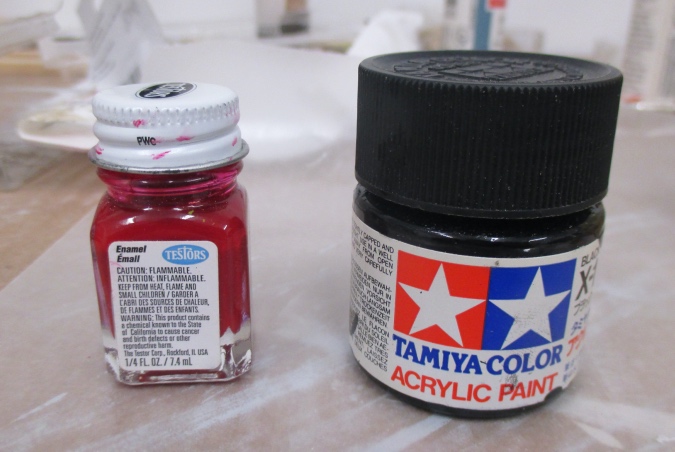
I didn’t want to use water-based paint, especially for the snow globe version, so I dug out these model paints leftover from the one and only time I tried to build a model car. (It didn’t go well.) They’re about nineteen years old, so I’m impressed the paint is still good!
Here it is after the first coat. Later I touched up where the black went outside of the lines.
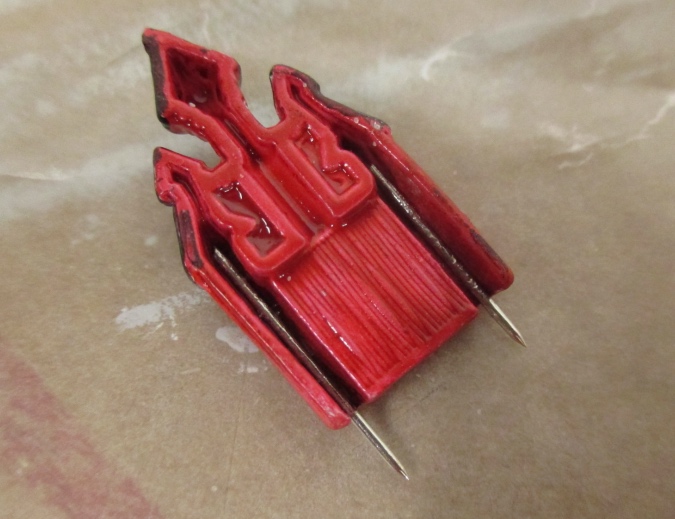
The back conveniently has these two grooves. I super glued cut-down pins into the grooves, with the pointy ends sticking out the bottom.
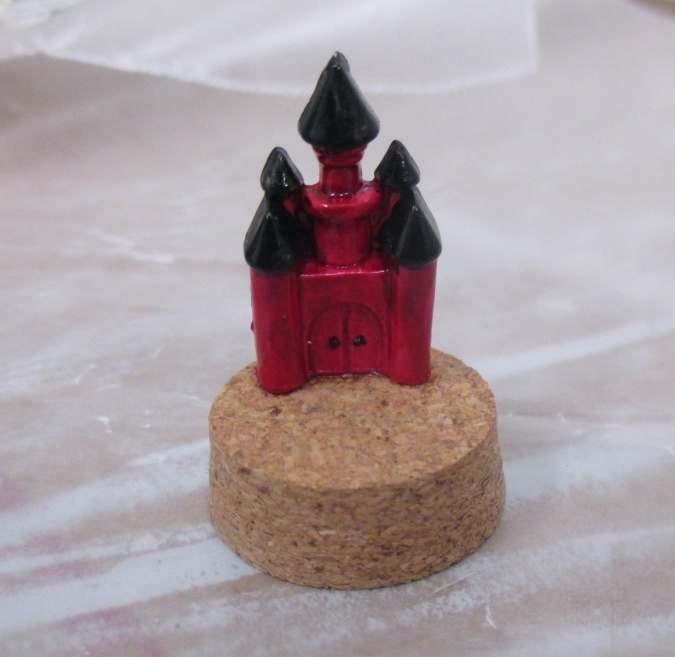
Then I super glued the castle to the base. The pins stick into the cork to give the castle added stability.
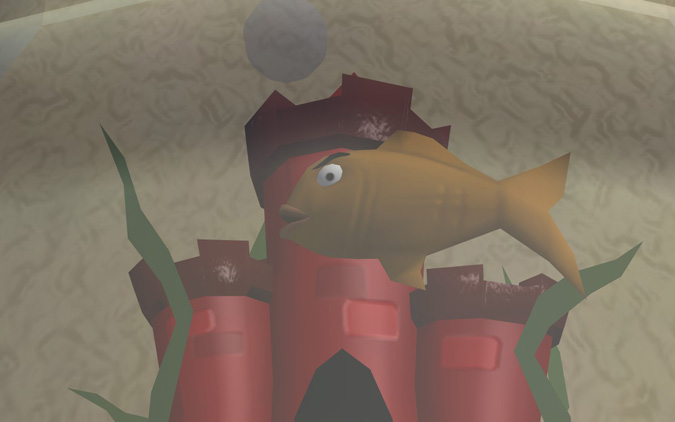
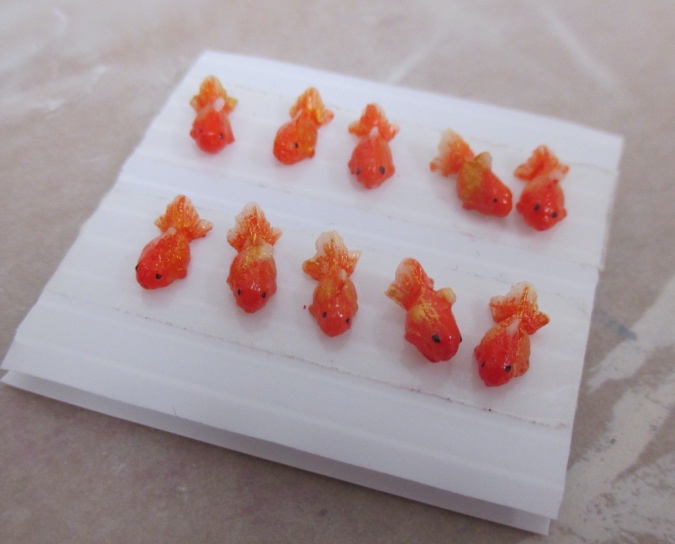
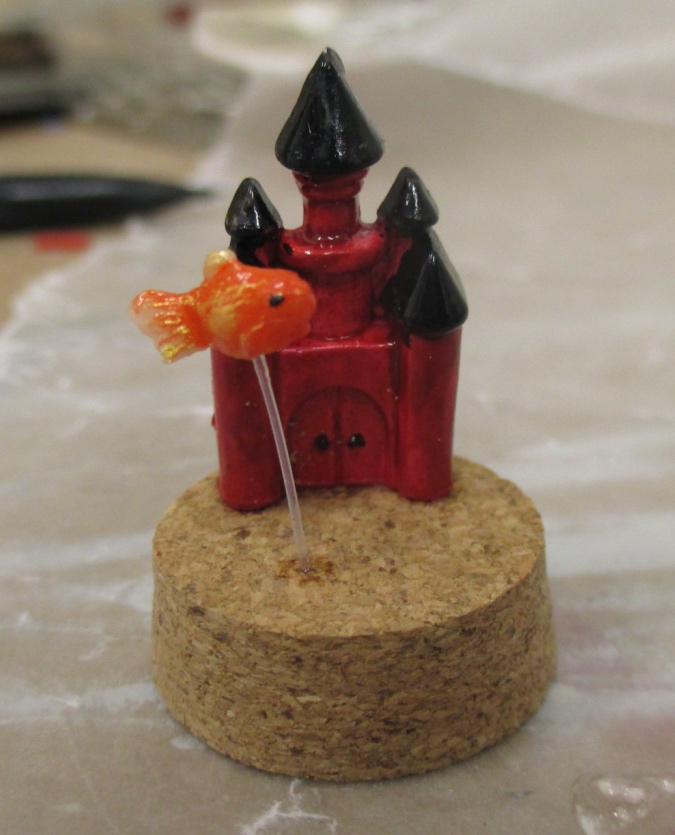
I bought these fish off eBay. They came ten to a package so I have plenty of extras if I mess up. (I got extra domes and castles, too, just in case.)
Normally, making an aquarium or fish bowl with resin, you can insert the fish into the resin and push it around with a toothpick to move it into the position you want. But since mine will be enclosed at the top, I have to attach everything I want to put inside to the base, and then add the base after the resin has been poured in (with the dome upside down). So Mr. Spatula needs to be attached to the base somehow.
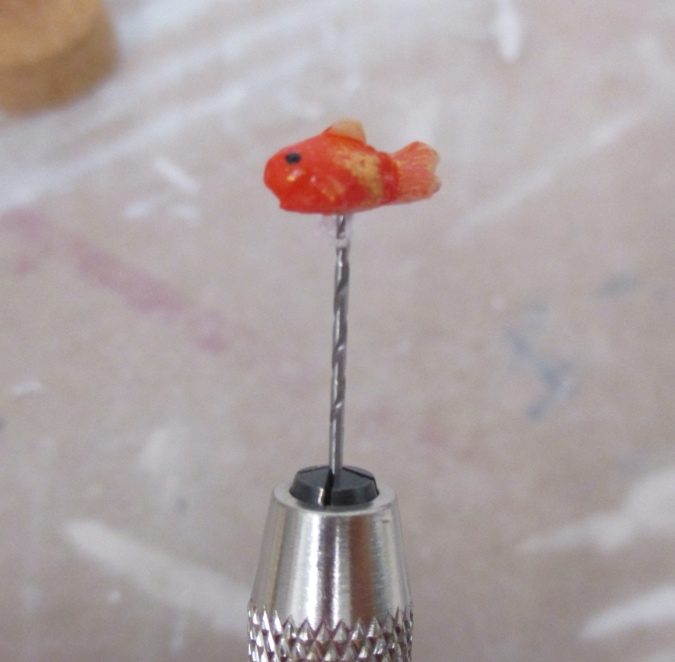
I used the micro drill to make a hole in the bottom of one of the fish.
I’d saved a plastic tag thingie off something I bought.
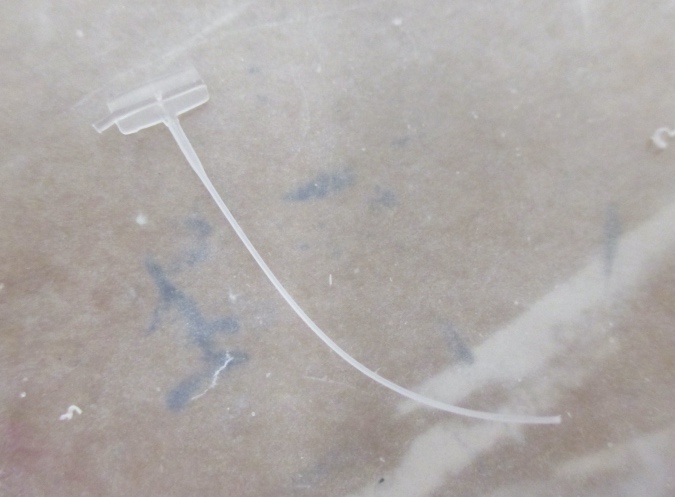
I drilled a hole in the cork and inserted the plastic stem, to decide how tall I wanted it to be.
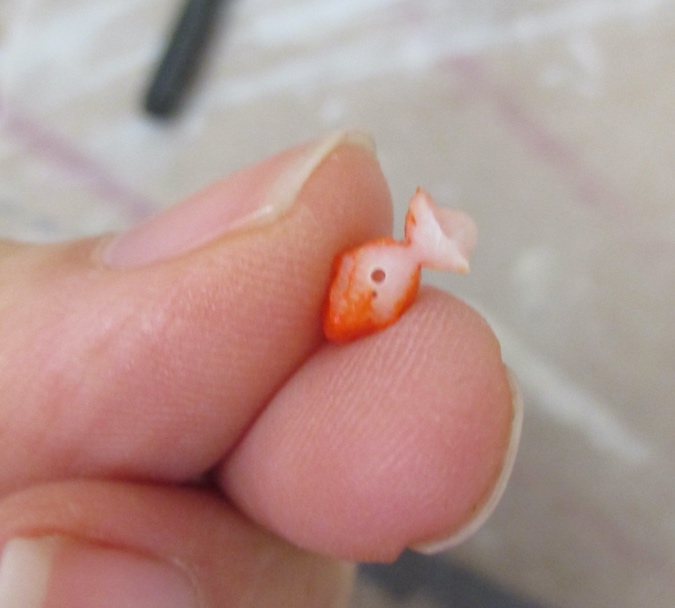
After cutting it down, I added Mr. Spatula. The stem is glued into the cork and the fish with super glue.
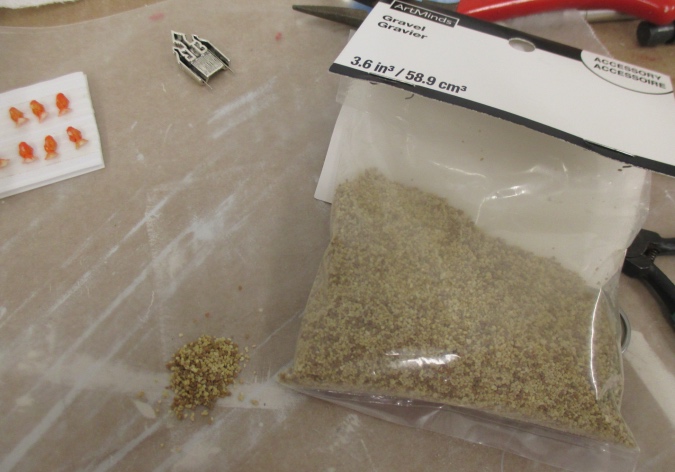
Next I added gravel to the base. I bought this at Michaels, in the diorama aisle.
Trying to spread super glue would have turned into a big sticky messy, so I used The Ultimate (a strong water-based glue) for this part. On the snow globe version I plan to use waterproof adhesive.
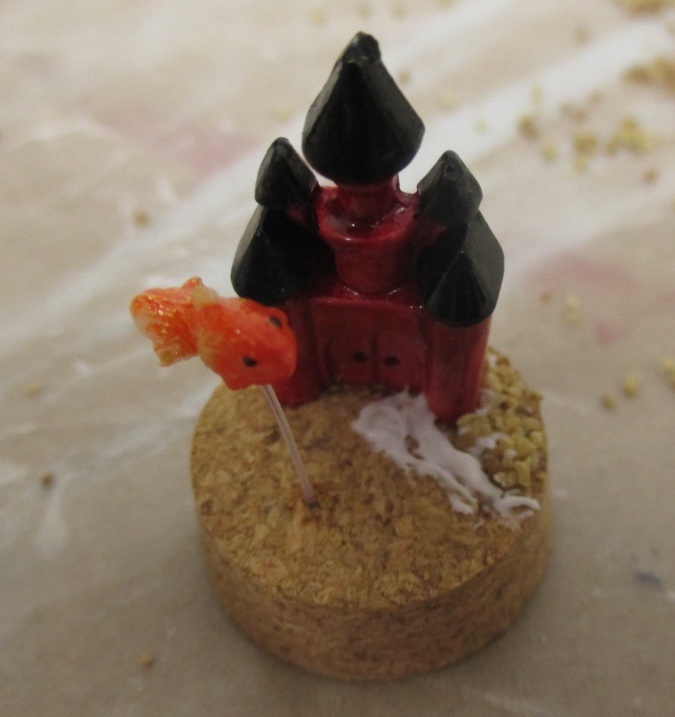
I used a toothpick to spread glue on the base, then sprinkled gravel over it and pressed it into the glue with a second (dry) toothpick. Then I turned the base upside down so any gravel that wasn’t glued on would fall off.

It’s nice that the cork and the gravel are close in color, so it doesn’t matter if a little bit of the cork shows through.
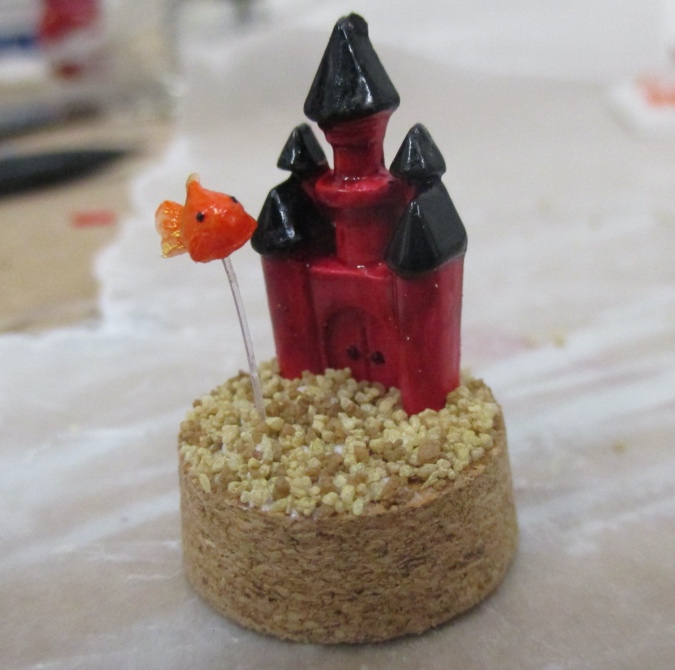
Finally I added the plants, again by poking a hole in the cork and gluing in the stems with super glue. These are pieces cut off of a plastic plant I had in my stash.
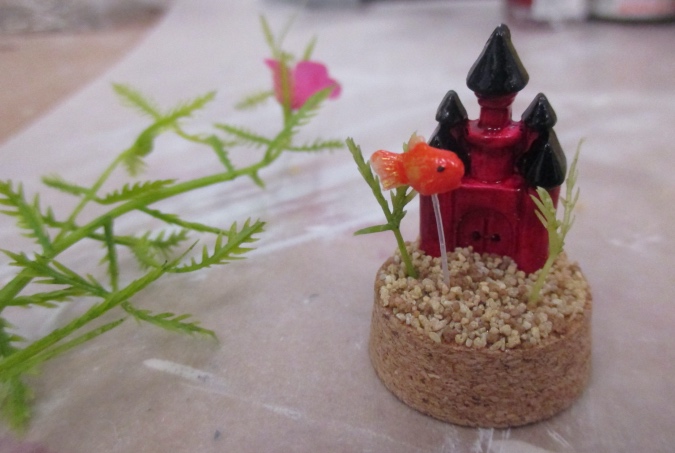
I’d hoped the stem under the fish would be a bit more invisible, but maybe once the resin is in there it won’t be so obvious.
That’s it for now. I’m a little scared to add the resin because it has the potential to go horribly wrong…
 Emily is a freelance writer, miniaturist, and adventure game enthusiast.


Adorable! My fingers are crossed in hopes that it works as planned.
Thanks! Mine are too!
Do NOT try to do the resin with crossed fingers!
Dad
Looks so good, Emily. I wonder if you could just put a circle of clear plastic across what would be the water line, and not even use resin or real water?
That might be Plan C!
Oh yes, fingers crossed. Do you add glycerin to the snow globe water? What would keep it from evaporating? I’ve watched youtube on building aquariums. One day my one of my houses will have one. My husband keeps two fresh water tanks and on marine tank, so I think I need to try to make one and you have given everyone good instruction. Waiting for your next installment. Happy New Year.
Yep, the snow globe version will have glycerin in the water, and I’ll glue in the cork with waterproof sealer/adhesive meant for aquariums.
Once the resin is in, the plastic holding Mr. Spatula might become less visible.
I’ve seen other folks add the resin in layers, building up the ‘water’ and they put the fish on top of the different layers to make them look as if they’re swimming at different levels in the aquarium. Maybe you could do something along those lines?
Unfortunately I can’t… in order to have an air gap at the top, I need to pour in a little less resin than the dome will hold, with the dome upside down, and then turn it right side up for the resin to come down with gravity and dry there. There’s no way to do it in layers and still have an air gap. I can’t think of another way to do it and still have a gap at the top.