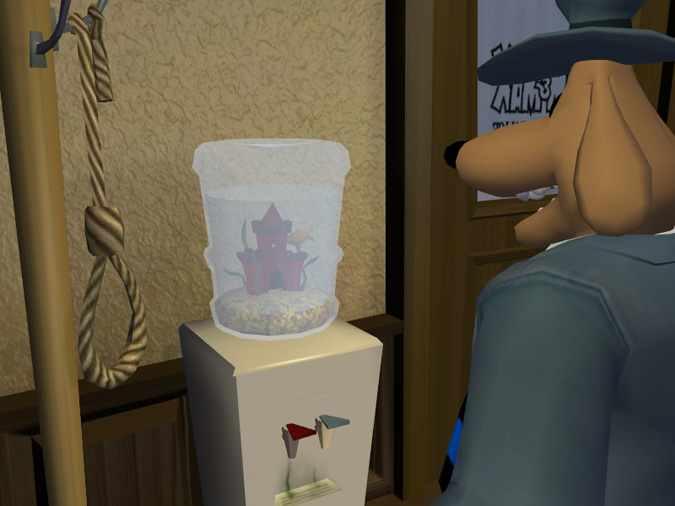
Continuing with Mr. Spatula’s water cooler, I planned to make two versions, one with resin water and one with real water like a snow globe. The castle inside the water cooler is a metal charm and I’m concerned it will rust if it sits in water. I spent a very long time looking online for a plastic charm I could use in the snow globe version, thinking “If only I could find a plastic version of the same charm I already have…”
Well, hey! Why not make one out of resin?
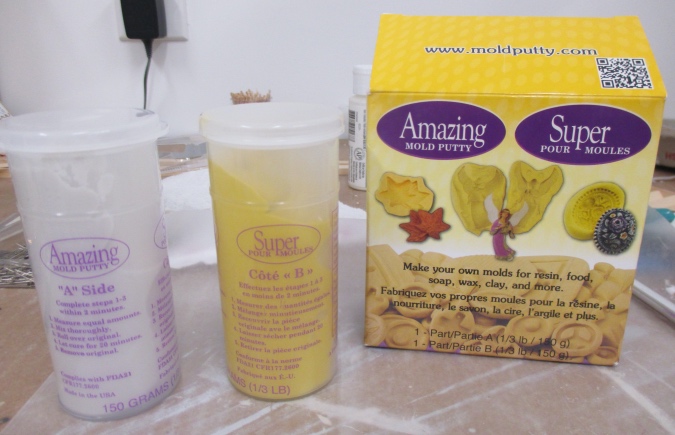
I bought a package of Amazing Mold Putty from Michaels. (The price is $23 on the website but it was $26 in the store. Lame.) The way this stuff works is, you take a glob out of the A package and a same-sized glob out of the B package and knead them together until the putty is a uniform color.
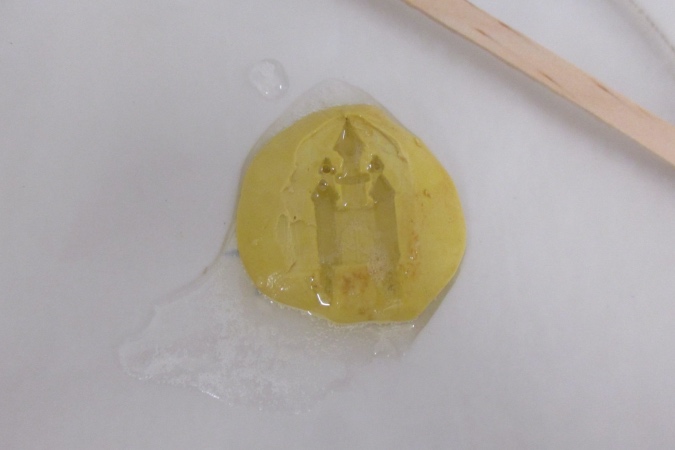
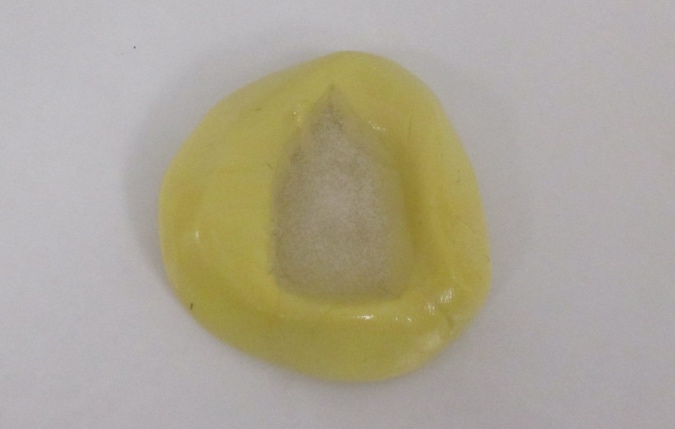
Then you squish the thing you want to make the mold of into the putty and let it sit there for about twenty minutes.
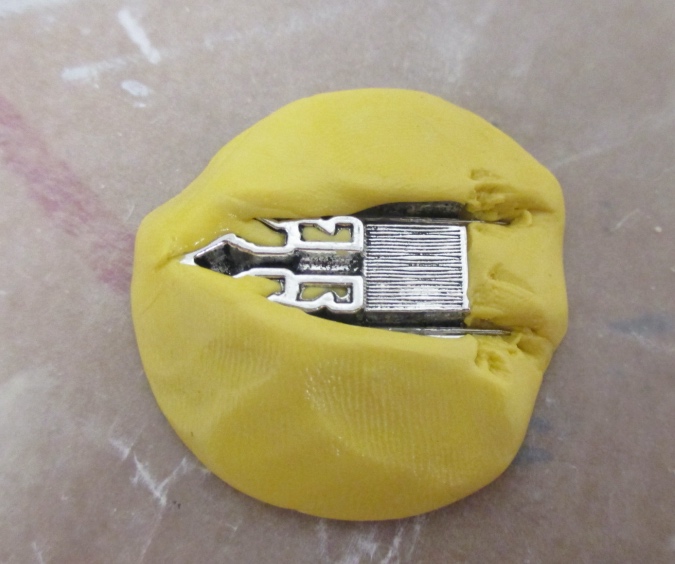
I glued pins to the charm, sticking out the bottom, to help secure it to the cork base. I included the pins on the castle I made the mold of, thinking this would allow me to insert pins before I poured in the resin and have them be embedded in the castle.
Looks pretty good! I scraped a razor blade over the top of the mold to make it flat(ish).

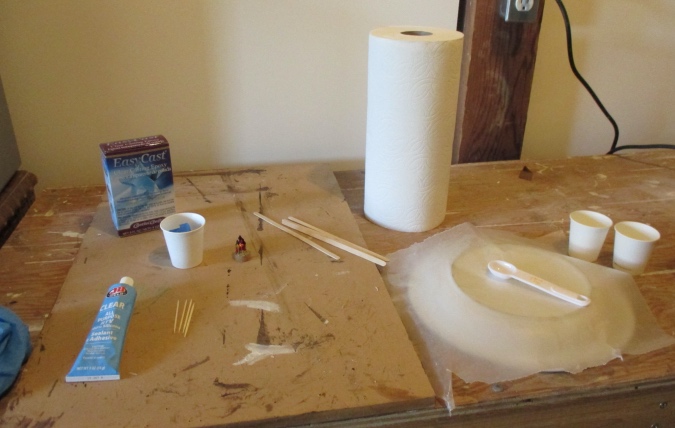
Next it was time to mix the resin. I’m using EasyCast. Like the putty, there are two bottles — the resin and the hardener — and you need to mix exactly the same amount of each one together.
Since I’ll also be filling up a dome with resin, I decided to use this process as practice and figured out exactly how much resin I needed to add to the dome to have it stop just above the castle. I poured water into a dome and eyeballed it next to the finished base (I didn’t want to get the base wet) to estimate that 1/2 tablespoon of water or resin would reach just above the top of the castle.
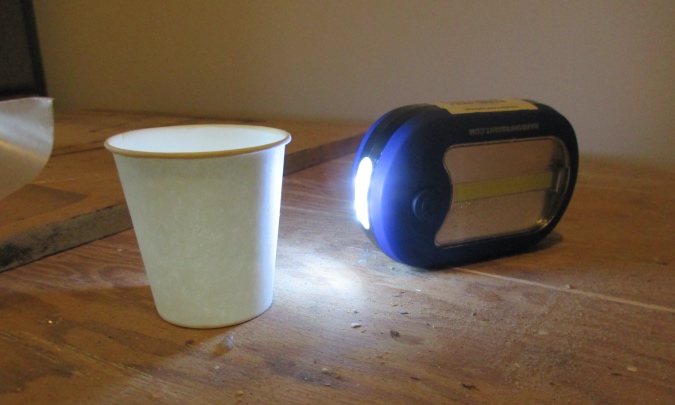
On a paper cup, I drew a line at 3/4 teaspoons (which is half of 1/2 tablespoon) and a second line at 1/2 tablespoon, with the intention of pouring the resin up to the first line and then adding hardener up to the second line.
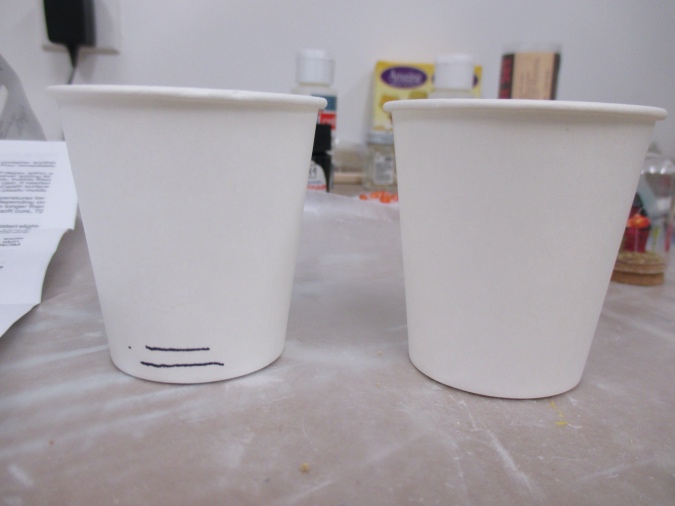
I set up a light shining at the cup so I’d be able to see the lines from the other side.
The instructions for the resin are to pour equal amounts from both bottles into the same cup and stir for two minutes, then transfer to another cup and stir with a new stir stick for an additional minute. I’m not sure what the reasoning is for pouring into the second cup, but I did it. I set up my phone on the table with the stopwatch running so I could make sure I stirred for the appropriate amount of time.
Turns out this was much too much resin for the mold! However, I noticed that a lot of resin didn’t make it out of the first cup and into the second cup, so what I ended up pouring in was somewhat less than 1/2 tablespoon. This was important to learn, since once it came time to pour resin into the dome I wouldn’t have a second chance to fill it up more — so I knew now that trying to pour in *exactly* the right amount wasn’t going to work.
(Also, I forgot to put the pins in before I poured in the resin. Oops.)
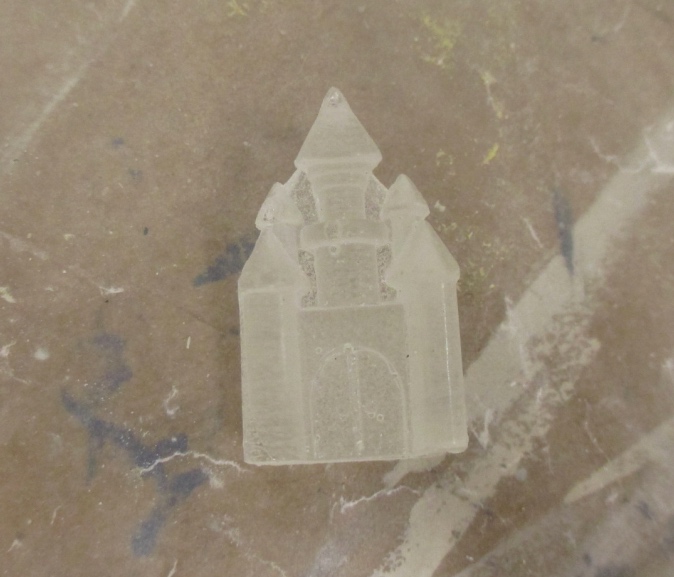
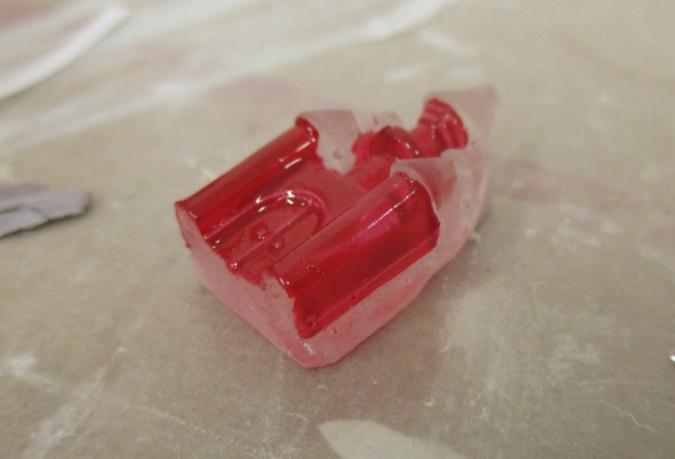
I set it aside for 24 hours, per the instructions. After 24 hours it was still a bit sticky, so I let it sit another 24 hours. The next day it was the same amount of sticky, so I decided to pop it out of the mold anyway.
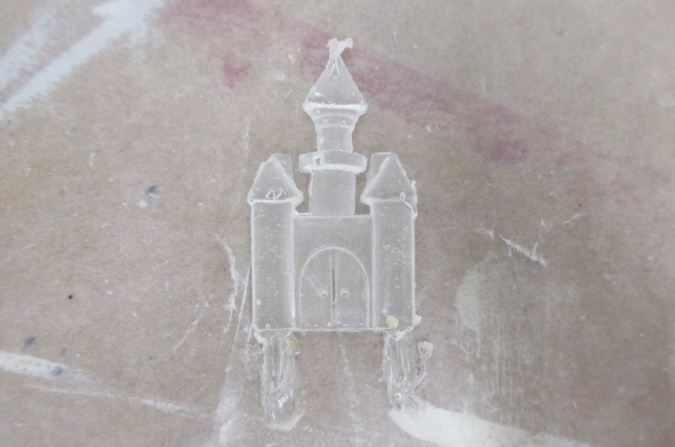
The detail came out pretty good, but the castle was flexible — like a gummy candy. I think that’s partly because the resin didn’t harden completely, which was probably because my method of pouring into the cup wasn’t exact enough. But it might also be because the castle is very thin so there just wasn’t a lot of stability.
I decided to make another mold, this time with a bigger piece of putty to give the castle more heft. I didn’t bother with the pins — I can just make holes in the bottom of the castle and insert the pins that way.
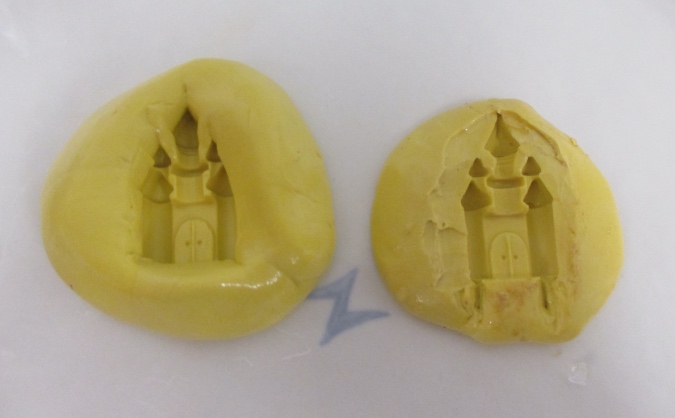
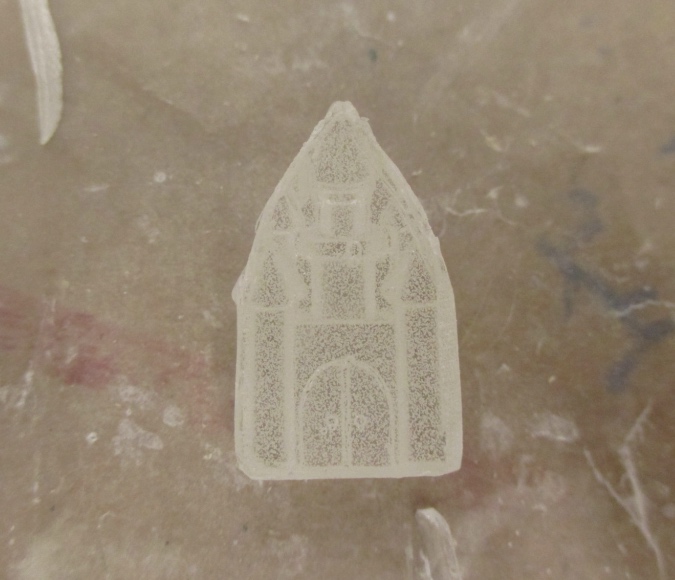
This time I measured the resin and hardener with a measuring spoon instead of directly into the paper cup.
Using the measuring spoon seemed to make a difference, because 24 hours later the castle was hard and not sticky at all.
As you can see there’s quite a bit of bulk on the back here.
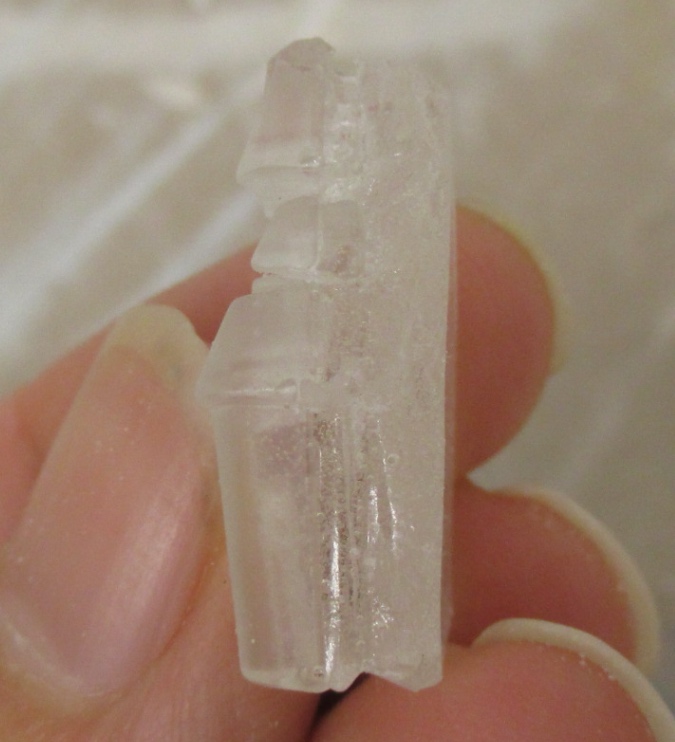
Here’s how the back looks. I cut/sanded around the edge so it’s the same shape as the front. Note all the little bubbles… I didn’t mind them because they’ll be covered up with paint on the front, and blend in with the water on the back. (In theory.)
I haven’t done the roofs yet, but here’s how it looks with a coat of the red Testor’s paint.
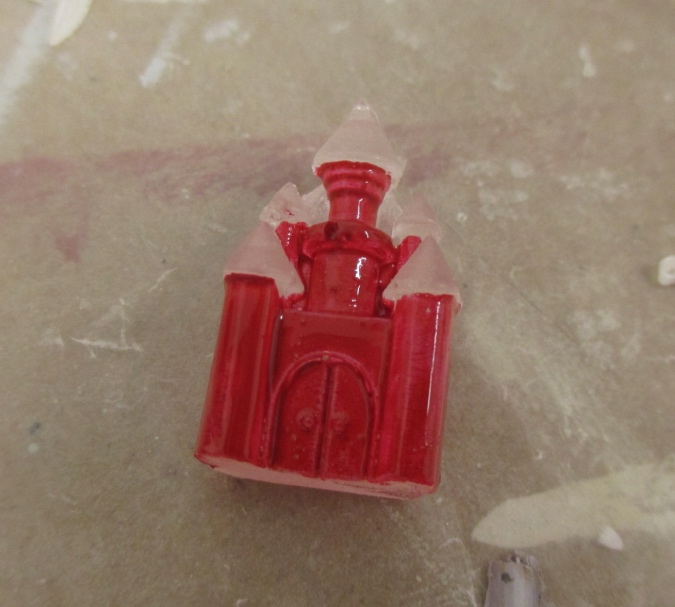
I decided not to paint the bulky back part. My hope is that this will be sort of invisible once it’s submerged in water. That’s probably a foolish hope, but we’ll find out soon enough.
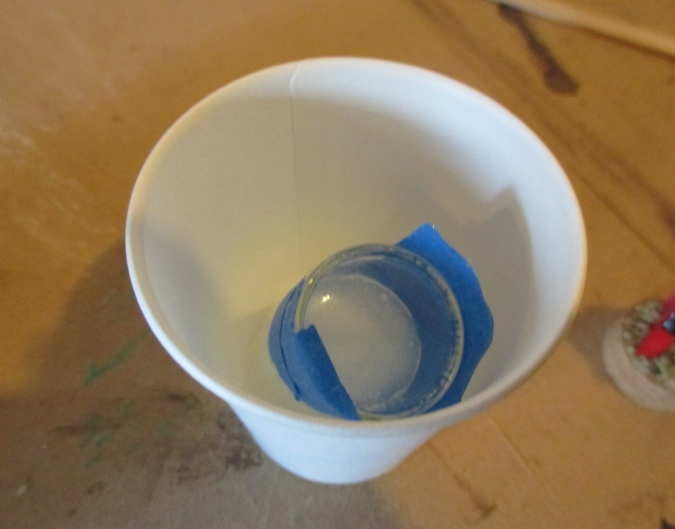
At this point I felt comfortable enough with the resin to try pouring it into the dome. I had already prepared the base. To fill the dome I needed to pour in exactly the right amount of resin (with the dome flipped upside down), glue in the base, and then turn it right side up and hope it didn’t leak out.
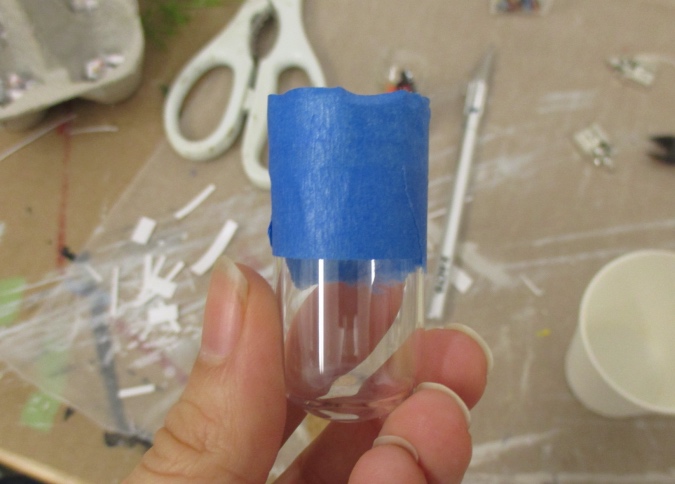
Since I now knew I couldn’t rely on measuring out exactly how much resin I needed, I instead poured 1/2 tablespoon of water into the dome and marked the top with a piece of tape. This way I could mix more resin than I needed and fill up to the tape line.
I prepared everything I needed. There’s an extra cup to hold the dome while it’s full of resin, since I’ll need my hands free to add glue to the base.
This time I measured out 1 teaspoon each of resin and hardener to make a bit more than 1/2 tablespoon of resin mixture. I again mixed for two minutes and then poured into another cup and mixed for a third minute. Even though I tried to scrape all the resin from one cup to the other, I still ended up with a little less than I needed. I just barely had enough to fill up the dome to the tape line.
The glue I used is JB Weld Silicone Sealant and Adhesive, which can be used on real aquariums. I specifically got this one to seal the bottom of the snow globe version (which will have real water in it), but I figured it would work okay for this too. I used a toothpick to spread the sealant around the top edge of the cork, and then inserted it into the dome.
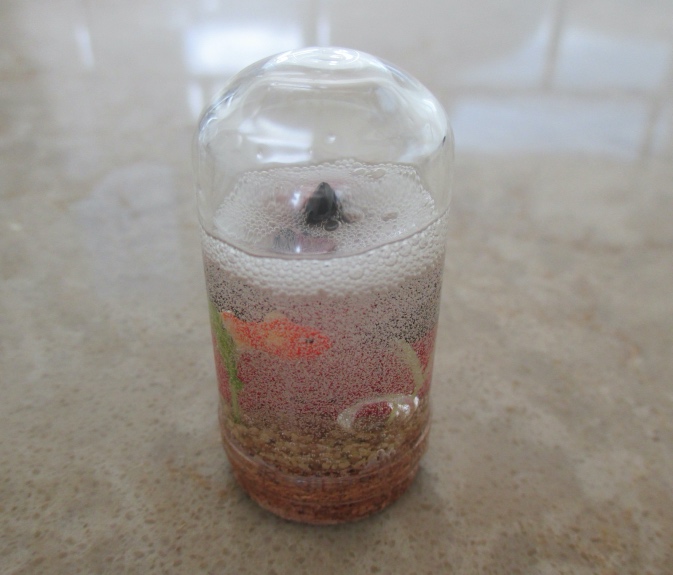
Uh oh… that sure looks cloudy.
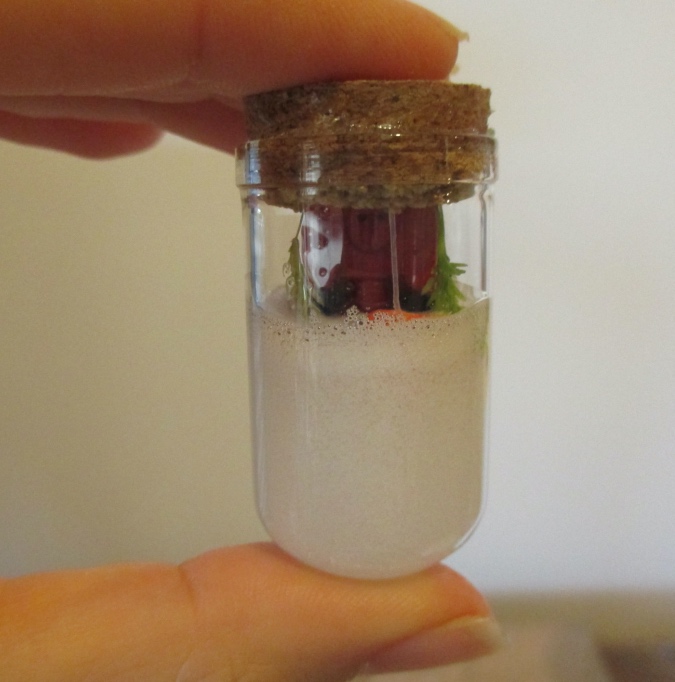
The top of the castle is peeking out — not enough resin. Dammit.
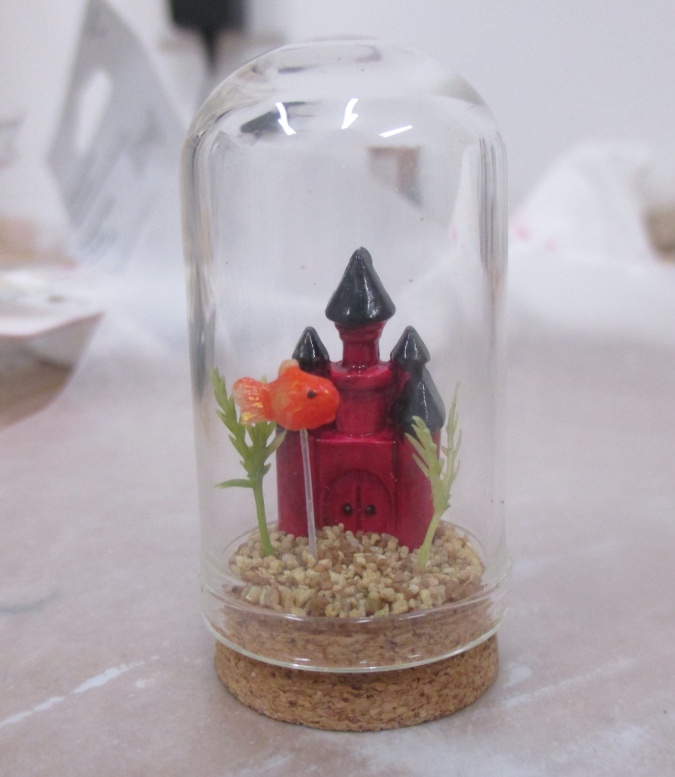
The bubbles cleared a bit as it dried, but it still looks like he’s swimming around in Perrier.

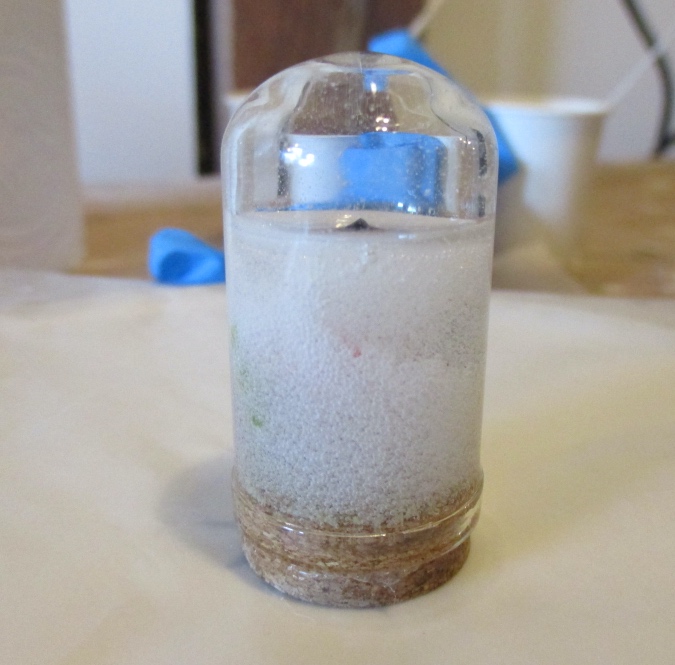
Here’s what we have 48 hours later. (Sorry, Mr. Spatula. I tried!) Not enough resin, and way too many bubbles. In addition to all those little bubbles there’s a big one near the bottom that showed up out of nowhere at some point during the drying process.
I looked online to see what I could have done to reduce the bubbles. (Yeah, I should have done that *before* I tried this…) If I were to do this again, here were some things I could do differently:
- Warm up the resin and hardener before pouring. The instructions mentioned that the bottles should be warm to the touch, but I kind of ignored that part — I figured that as long as the resin was hardening, then the temperature was okay. I didn’t realize the temperature had anything to do with bubbles. What I should have done is warmed up a bowl of water, put the bottles in a Ziplock bag, and let them sit in the warm water for 5-10 minutes.
- Stir slowly. I stirred very fast because I thought that was necessary to make sure the resin and hardener mixed completely. Apparently I was mistaken.
- Let the stirred resin sit for 15 minutes before pouring it in. Some of the bubbles would have disappeared into the air.
So, great, those would be useful tips if I intended to try this again. (I don’t know if they would have prevented that big bubble that appeared out of nowhere, though.) But I’m not going to try this again, because there’s something else weird about this…
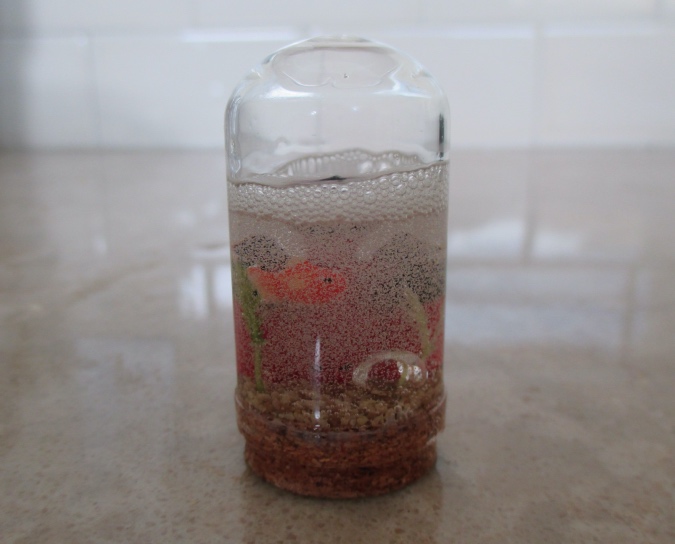
The castle looks HUGE! I think the curve of the glass plus the refraction through the resin is acting like a lens or something. It looks like you’re viewing the castle in a fun house mirror.
I’m not sure if the snow globe with real water will have the same effect on the castle. Probably, but I’m still going to try it. And if that also looks ridiculous, I’ll have to come up with a Plan C.
 Emily is a freelance writer, miniaturist, and adventure game enthusiast.


Hi Emily,
I’m sure you will get something acceptable with a little trial and error. Have you looked at the’ Quick Water” they use for silk flower arrangements? I don’t know if it is any better but I thought I’d mention it.
I looked at a lot of brands and most of them said you have to pour in small layers (I think that helps with the bubbles). I can’t do that since I need to pour in all the resin at once with the dome upside down and then flip it. I got the EasyCast because it said it works for deeper pours, and also because it provides the two parts that you mix equally (with many of the others you just add drops of hardener and it seems less precise).
I still like the EasyCast and I think it’ll be great for other projects, just not for this one!
Hi Emily
Here are a few tips that might help:
If you’re making a mold of something that’s got a flat back, put the item down on a smooth surface on it’s flat side and press the molding compound over it, instead of pressing the item down into the compound. You will have less distortion and a nice flat pour line that way.
The castle looks symmetrical to me. If you wanted to bulk it up, why not cast two in resin and glue them back to back?
Most clear resins are extremely sensitive to moisture. I don’t even pour on a cloudy day. If more bubles develop once the resin starts curing, it’s a sure sign that you’ve got a chemical reaction going on. Next time, make sure everything is absolutely dry.
Have you considered putting glycerine or baby oil in your snow globe instead of water? It is clear and easy to work with and metal items won’t rust in oil. Just make sure you have very clean edges where you apply the glue when you seal the globe.
Hope this helps!
These are great tips, thanks! I live three blocks from the ocean so unfortunately there’s never going to be a day without some moisture in the air. I let it dry in my enclosed workshop with the heat cranked up, though.
I thought about casting two castles back to back but thought they might take up too much space on the cork… but then again, the one with the bulky back is also going to take up space on the cork. It’s a good idea. I also like the suggestion to place the item on a flat surface and put the putty on top of that.
I was planning to use a little glycerin in the snow globe but it didn’t occur to me to make the whole thing out of glycerin, that’s a great idea! I might bypass the resin castle / water experiment and just try that next with one of the metal castles.
Megan gave you some very good suggestions. I’ve seen others made canned food in jars with resin and thought that the process looked pretty simple and thinking, “I can do that.” But can I? Even with less than perfect results, you shared a great lesson.
Sorry that didn’t work out. I like Megan’s tips, especially just using baby oil or glycerine.
Thanks! I was pretty sure it wouldn’t work out the first time, so I’m not too disappointed. At least I didn’t make a huge mess with it!
A GREAT adventure!
I think the large bubble came from air in the sand and cork that made its way out but couldn’t rise to the top because the resin was getting too thick. If the rest was clear that large bubble would have looked like the bubble that happens when you take water from the cooler.
Dad
Ahh, that makes sense!
These are always tough. The castle looks good… I wonder… you could mold in plaster too, paint would seal it. What about melted candle wax from a gel candle? It’ll be clear and shouldn’t bubble (well you hope?)
Interesting idea! But I suspect the wax would be too sticky on the top part of the dome (the part where the air is supposed to be) so when I flipped over the dome to let the wax settle it would leave residue at the top.
Having used resin for quite a few projects, it is a little finicky, but it will work the way you want it to work. Megan’s tips are spot on! Also, if you buy the materials at Hobby Lobby you can use their online 40% off coupon for one item.
I love using the mold putty. It is so easy to use and makes amazing castings! (Also a bit cheaper sometimes on Amazon.) I use it for plates and utensils, as well as many other small items, and cast them in resin. Slow and steady when stirring the resin is the key, also.
I hope you won’t let this deter you from using resin on other products. It really does work well if you follow the tips from the internet and from Megan. Making two parts of the mold and joining them is also a really good idea.
Anyway, just my two (or three) cents. I love seeing your work. It is amazing and I have learned so much from reading your blog! I look forward to all of your new posts!
I did use a 40% off coupon on the putty, so that lessened the sting of the high price!
I’ll definitely try using resin again for other projects. I had fun with it. I just don’t think it’s right for this one.
So glad to hear. It is fun to use, although sometimes very frustrating. I look forward to seeing what you come up with. I am now really curious about how baby oil or glycerin would turn out. I have wanted to do an aquarium but wasn’t sure about how to go about it. I have looked into it and the ones I have seen did quite a few layers of resin, letting it harden in between each layer. I just don’t think I am patient enough to go that route. :)
I figure that nothing is ever completely wasted if you learn something from a “failure”, and later able to apply that new knowledge to your advantage.
I know that I certainly gained some valuable information regarding your experiment with resins and so I appreciate your sharing this post Emily and will be tuning in to see what your final outcome will be!
Good Luck! :D