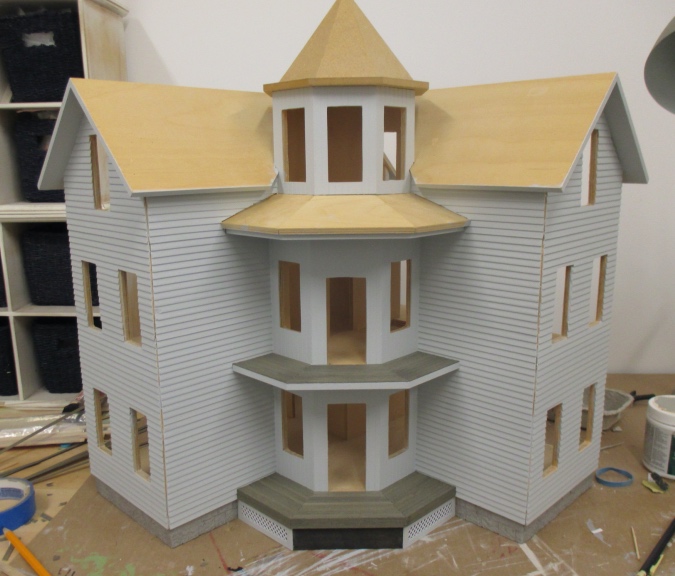
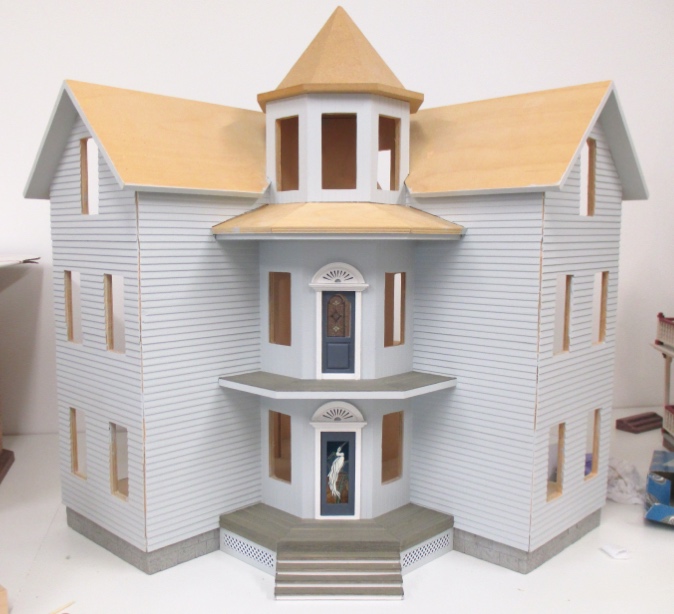
My Seaside Villa shell didn’t come with front steps. Time to build my own!
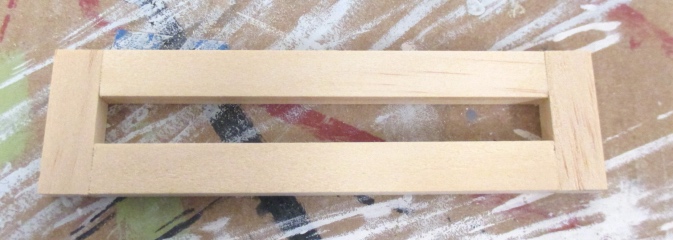
The space under the porch floor is 1″ tall. The side pieces are 3/8″ x 1/4″ strip wood cut into 3/8″, 3/4″, and 1 1/8″ lengths. The back piece is 1/8″ thick — just enough to fit under the overhang of the edge of the porch.
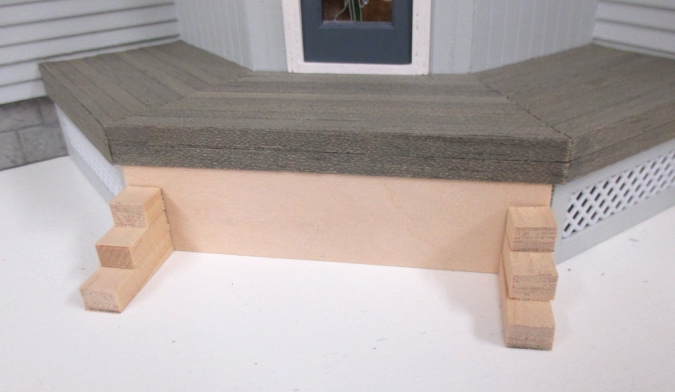
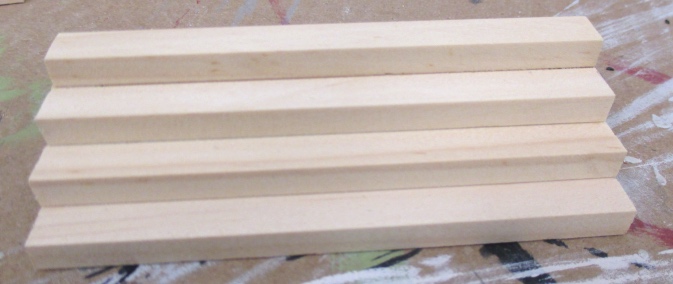
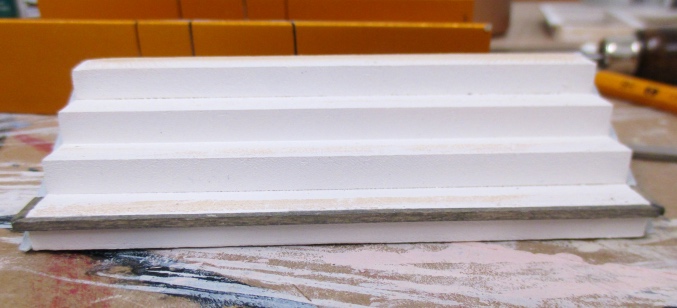
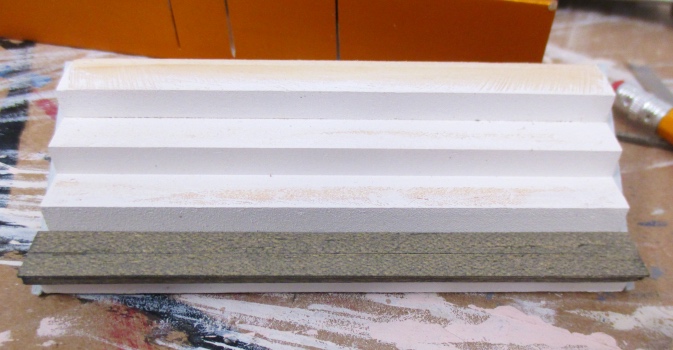
Additional 3/8″ x 1/4″ lengths in front of each of the side pieces create the steps.
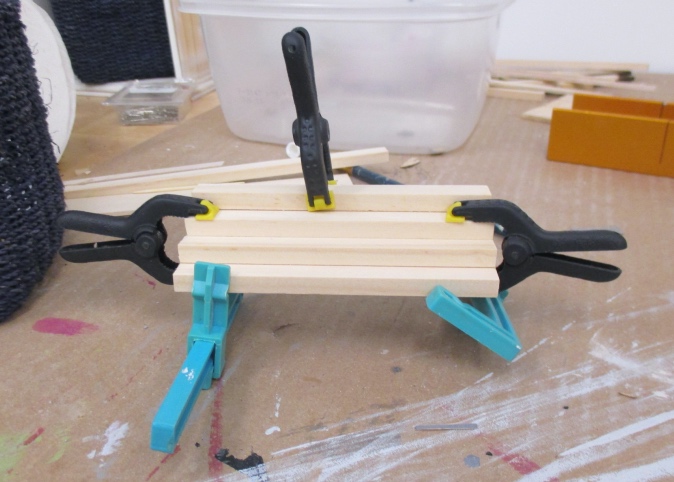
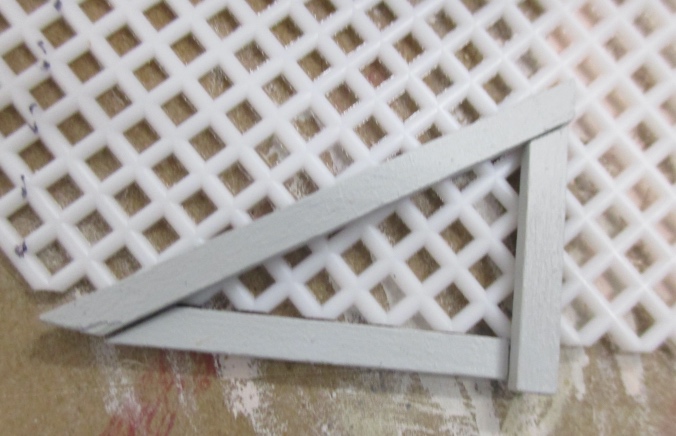
To assemble the stairs, I started with two pieces of the 3/8″ x 1/4″ on the inside of the longest side pieces.
I added the other side pieces, each with a support at the back.
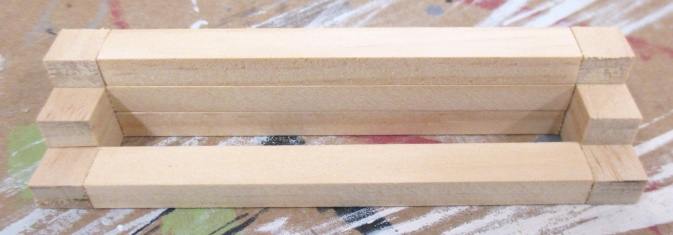
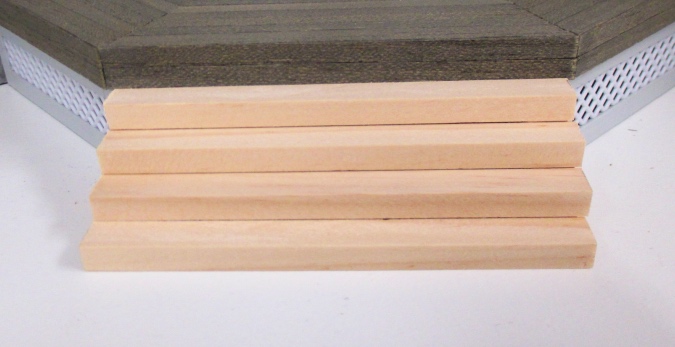
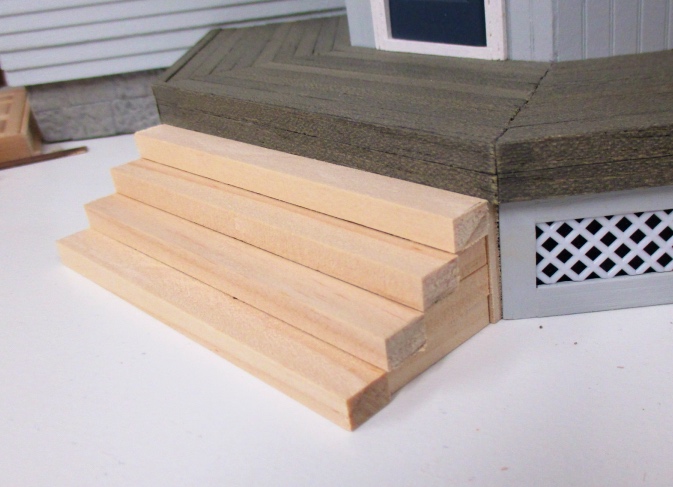
Then I added the steps. These sit in front and on top of the side pieces.
Next I added the back piece. Without this, the steps would have been tucked under the porch overhang and the tread of the top step would have been too shallow compared to the others.
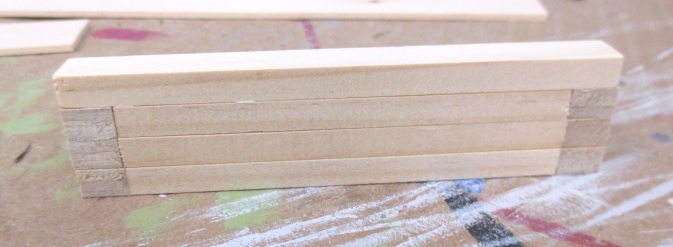

I glued the pieces together and clamped them to dry.
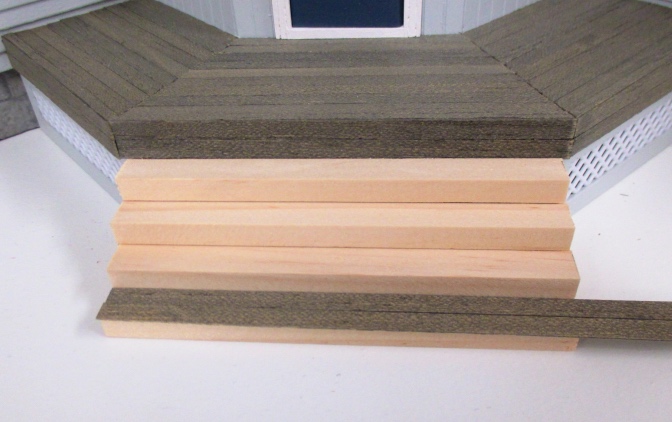
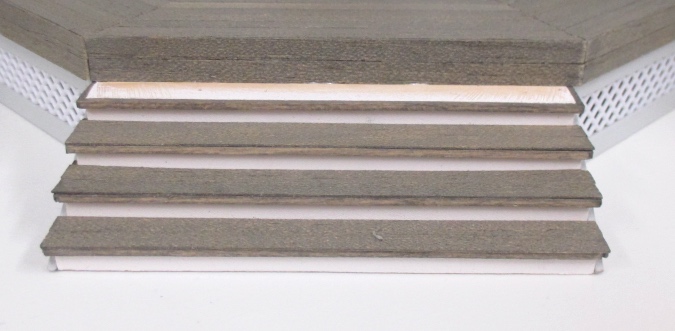
I had some flooring pieces left over from the porch that I wanted to use as treads. Two pieces of flooring are slightly larger than the surface of one step, so the tread overhangs by about 1/16″. Normally that would be fine, but the flooring pieces are very thin and I was worried about the unsupported part cracking and breaking off. You’ll see how I dealt with this a few pictures down.
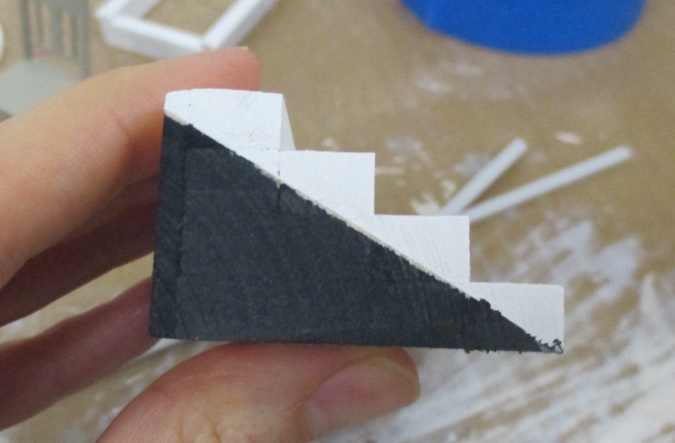
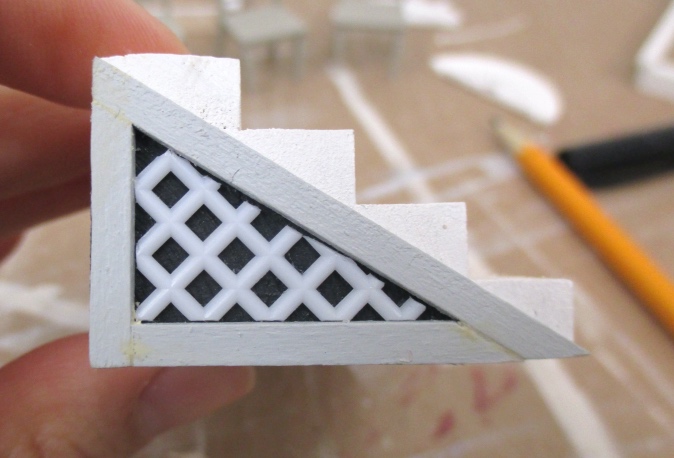
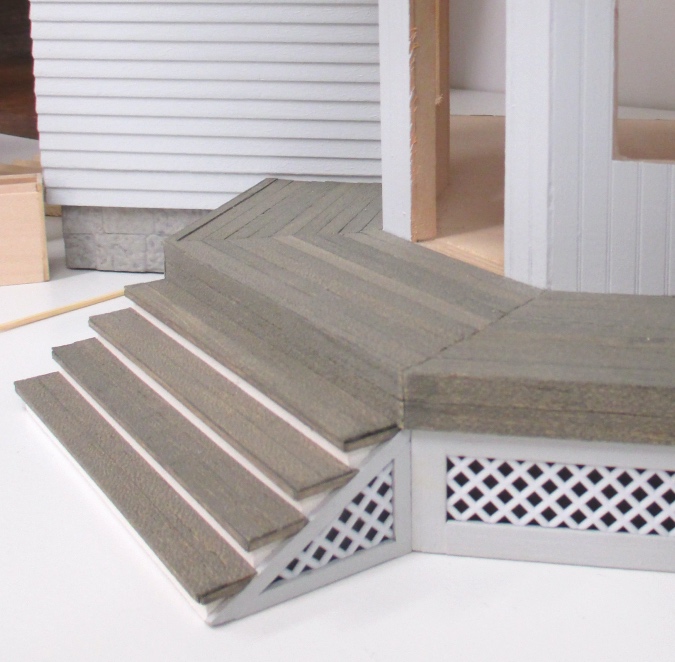
Next, I painted. The steps will have lattice, like the rest of the porch, so the bottom portion is painted black to give the illusion of empty space beyond the lattice. The white is Behr Bleached Linen. (I’m saying this to remind myself when I get to the rest of the trim later!)
I cut pieces of 3/16″ x 1/16″ strip wood to make a frame for the lattice.
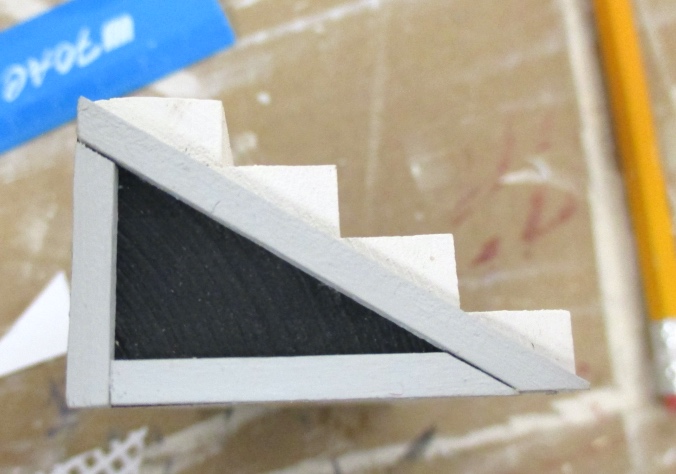
The lattice is made out of plastic needlepoint canvas.
To figure out the correct shape for the lattice, I first put the pieces down on top of a piece of paper and drew the triangle inside them. I cut this out and used it as a template for the lattice triangles.
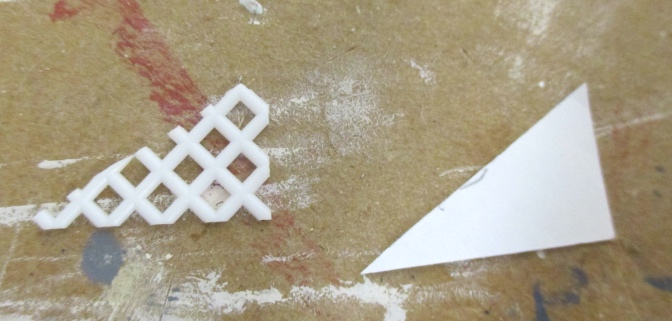
The slant isn’t perfect, but this won’t be obvious once the stairs are glued in.
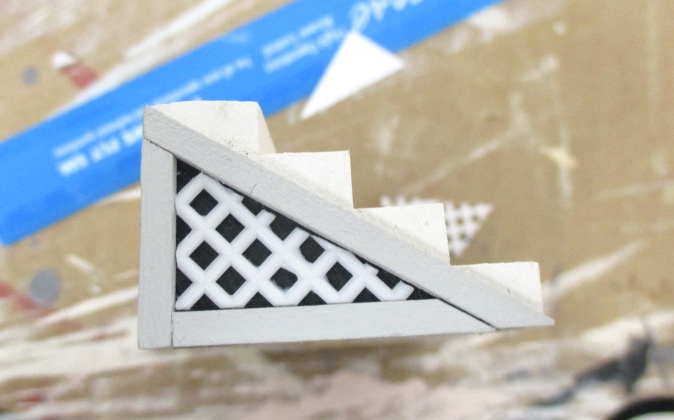
Next I filled in the gaps where the wood pieces meet, and went over them with paint.
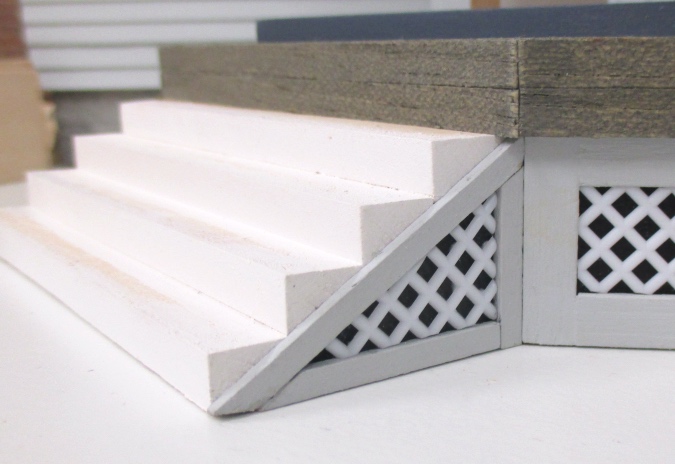
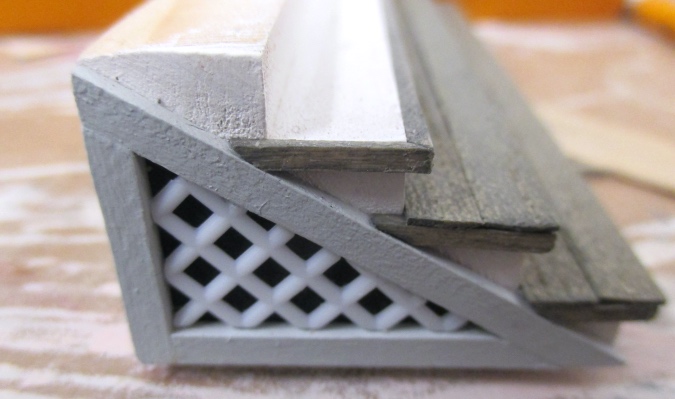
Here’s where I got fancy. I stained a piece of 1/16″ x 1/16″ strip wood to match the treads and glued it to the front and sides of the step, flush with the top.
This provides support for the overhanging flooring and makes the tread look more substantial.
Cutting these side pieces was challenging because I needed to cut a 45-degree angle for the mitered corner, but also another angle to meet the wood frame, and that angle is on a different plane than the mitered angle. Trying to figure out where to cut to get the correct angles made my head hurt. I ended up doing this by gluing on the front pieces first and then cutting the side pieces to fit. I marked them up with pencil to remind myself which way the angle needed to go.
Even with the piece of wood at the back, the stairs tuck under the porch overhang a tiny bit. The stairs fit snugly and I didn’t want the tread to get in the way, so I glued the stairs to the house before adding the floorboards to the top step.
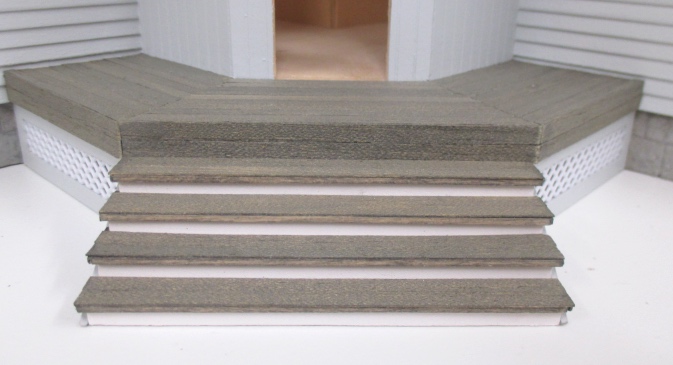
All finished!
 Emily is a freelance writer, miniaturist, and adventure game enthusiast.


That looks really nice. Really adds more to the design. Love this house!
Beautiful work! They really add to the finished look of the house.
Nicely done. The steps make me want to go right up and knock on the door.
Great tutorial of the steps!
I must make some for my Bramasole house so… you pushed me in the right direction lol!
Have a nice day,
groetjes van Marijke
It looks great! I love your choice of wood stain for the treads and porch floor.
Nicely done :)