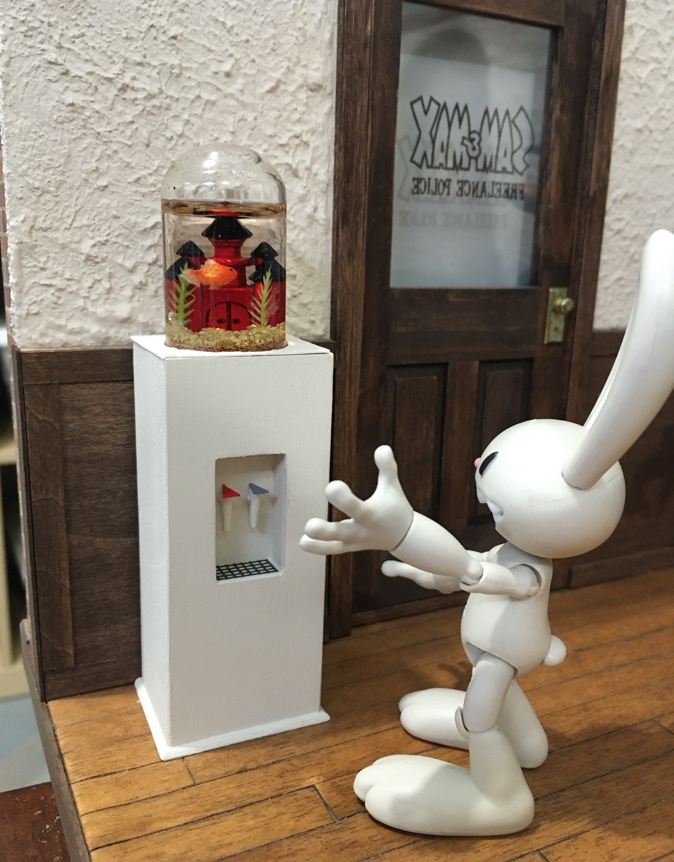
Almost a year ago, I started planning one of the most complicated elements of the Freelance Police office: Mr. Spatula’s water cooler.
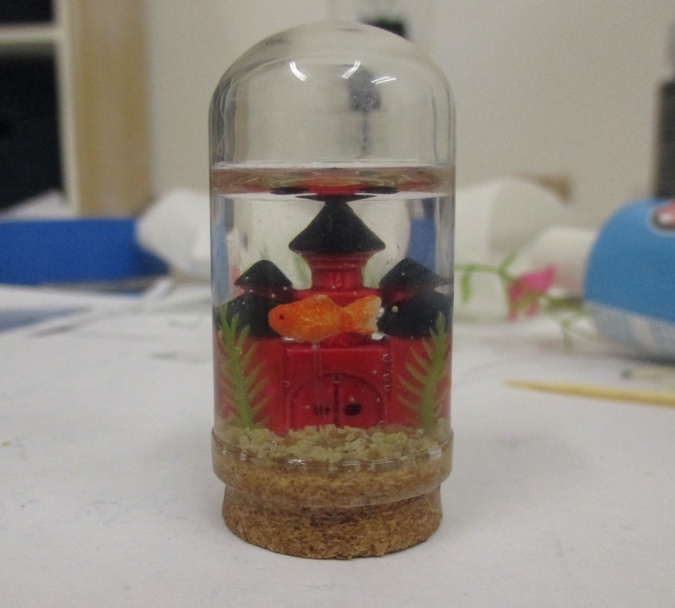
I made the aquarium out of a glass dome with a cork base. The castle is a painted charm. After a failed attempt with resin for the water, I made this version with glycerin.
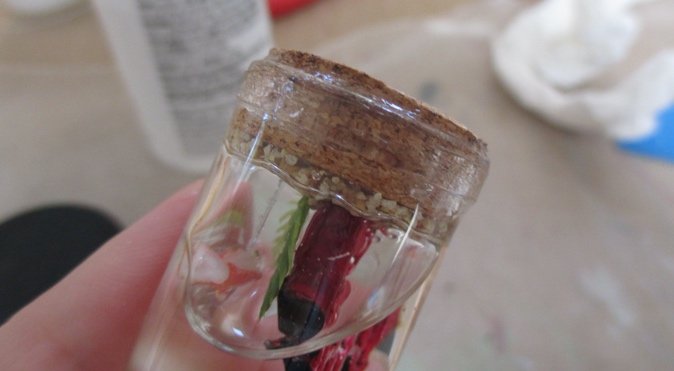
This didn’t have quite enough liquid in it, and it also seemed to have a small leak — sometimes I’d pick it up and it felt greasy, like glycerin was seeping out. I had used waterproof silicone adhesive around the inside of the dome where the cork stuck in, and this prevented a tight fit.
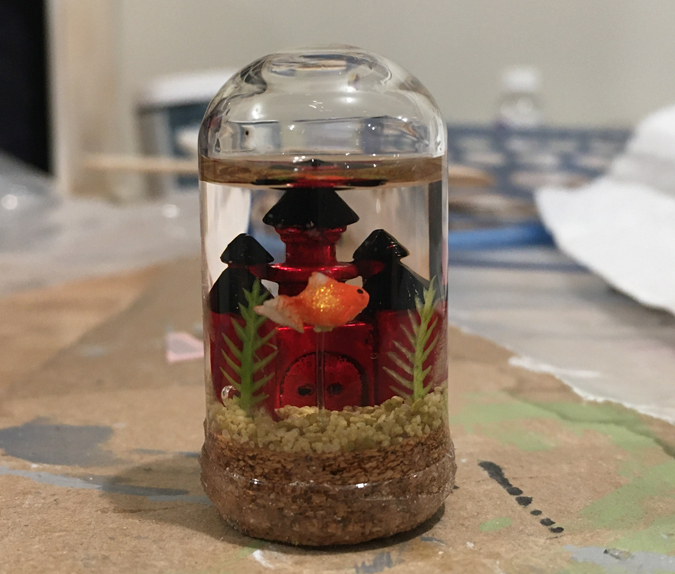
I made another attempt over the summer. This time I pushed the cork in tight first, and then used the silicone around the bottom edge. What I didn’t do this time, that I had done last time, was smear silicone over the bottom of the cork. I’m not sure why I didn’t do that… laziness, I guess. It didn’t seem necessary.
Turns out I was wrong! The aquarium seemed fine for a couple of months, but recently I placed it on the floor of the roombox, and when I moved it later I noticed a small wet spot underneath it. I wiped this up (luckily it didn’t damage the flooring) and set the dome on a tissue to see what would happen.
A week or so later I checked the tissue it was saturated with glycerin that had leaked out through the bottom of the cork. Could a temperature change in my workshop be the culprit? It was in the 90s when I made it, and now it’s getting down into the 40s at night. I glopped silicone all over the base of the cork and that seems to have stopped the leak, but enough glycerin has now leaked out that the water level is once again too low. Sigh.
So, I have to make *another* aquarium. I’m okay with this, because I didn’t like how this one turned out. I forgot to use gesso on the metal castle before painting it, so it has a metallic sheen, plus a few rogue pieces of gravel got stuck to Mr. Spatula’s belly when I turned the base upside down to insert it into the dome.
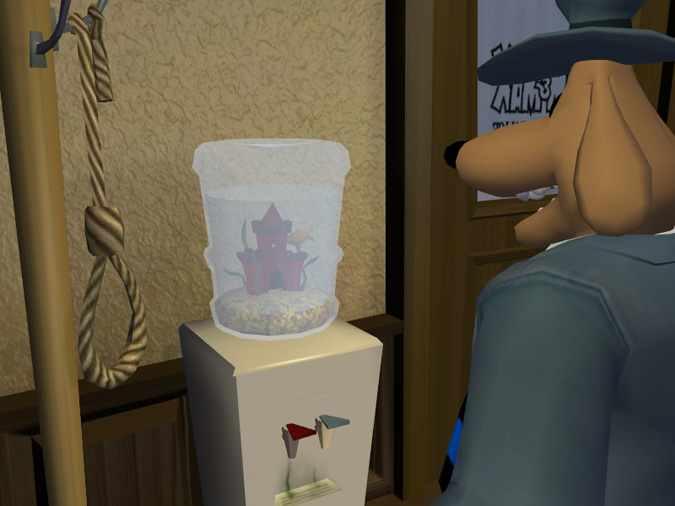
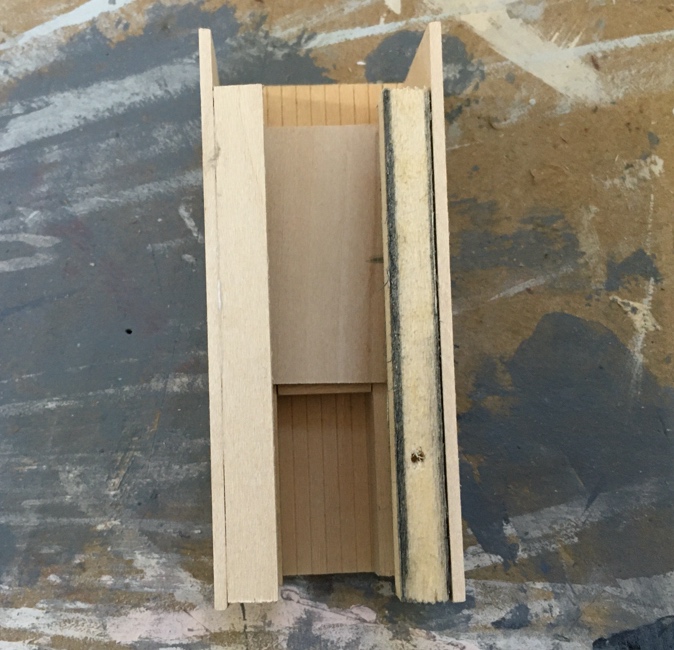
For now I’ve moved on to the base. This is the best picture I have of the full water cooler. In Telltale’s Sam & Max games you rarely see this corner of the office due to the camera position.
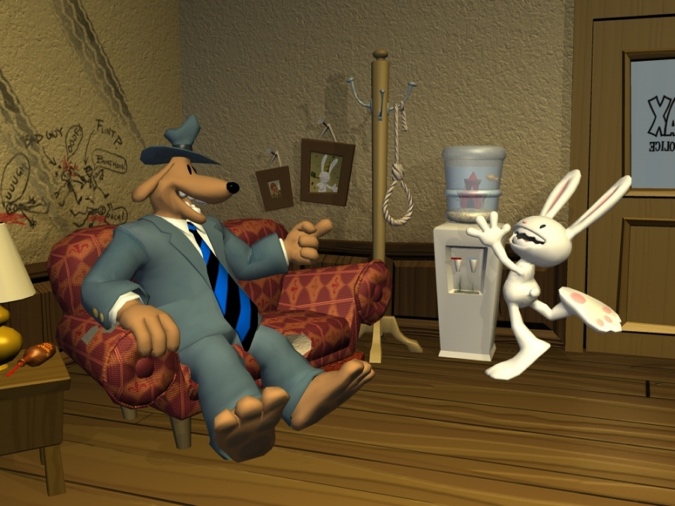
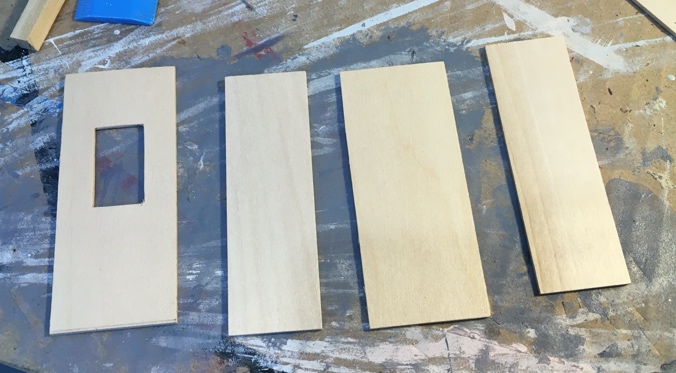
I started with four pieces of wood — the side pieces are 1″ basswood and the front and back are cut from basswood that’s scored at 1/16″ intervals. The score lines made it easy to cut down to the size I need it and to cut a hole into the front piece. (I also used this wood for the file cabinet.)
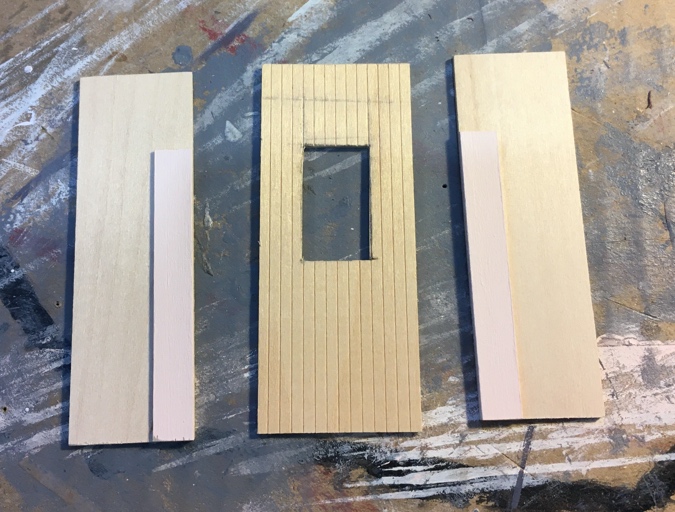
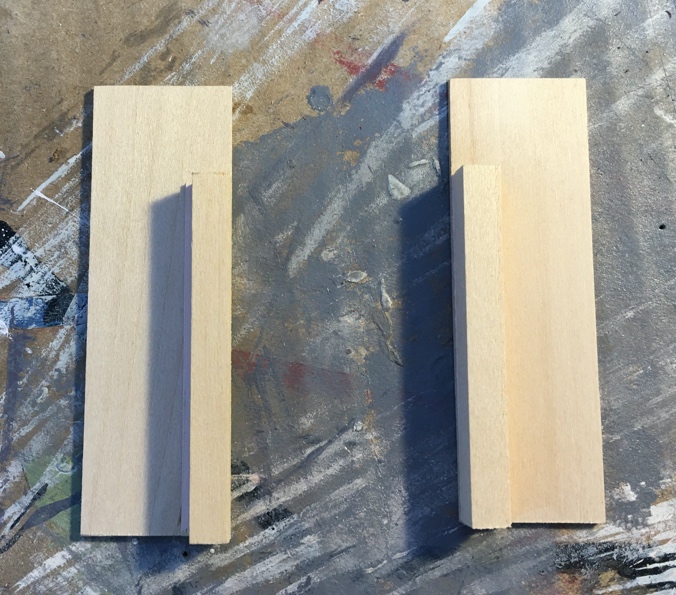
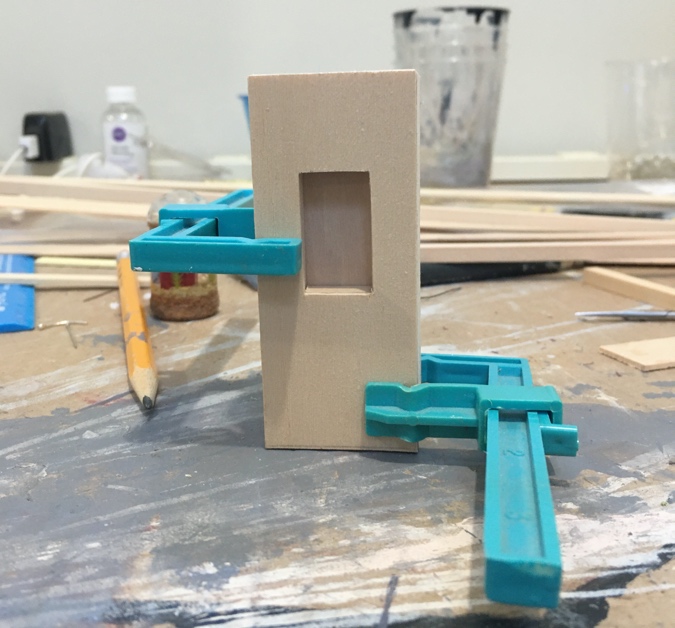
Like the file cabinet and Sam’s desk, the water cooler will be a hollow box with support pieces in the corners for easier gluing. I wanted the support pieces to form the sides of the alcove in the front of the water cooler, but my 1/4″ square basswood wasn’t quite wide enough, so I started by gluing on thin basswood scraps.
Then I added the support pieces.
These come exactly to the sides of the hole.
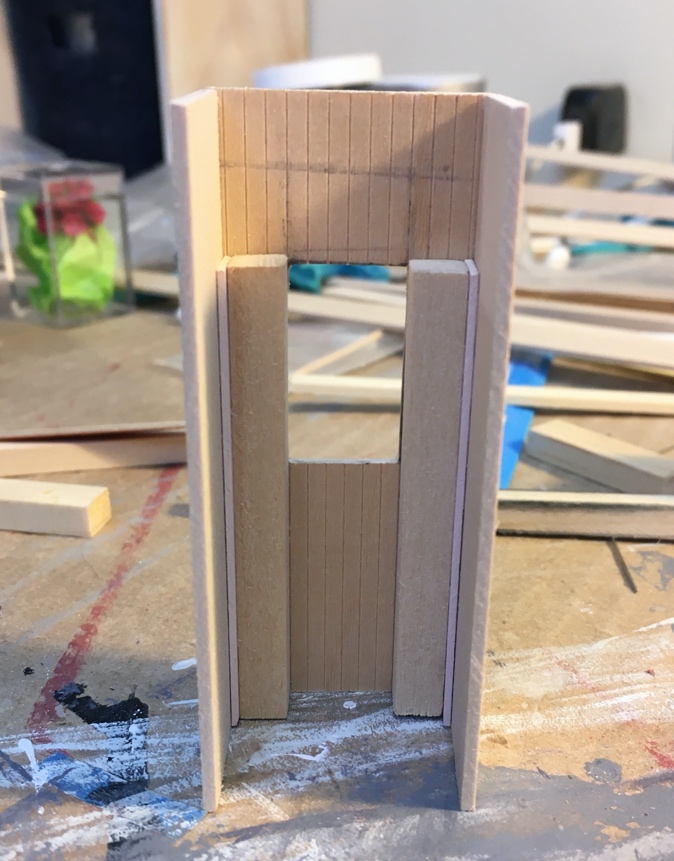
Next I added pieces to form the top and bottom of the hole.
And I added a piece to form the back of the alcove.
Here’s how it looks from the front. The water spigots will go inside this alcove.
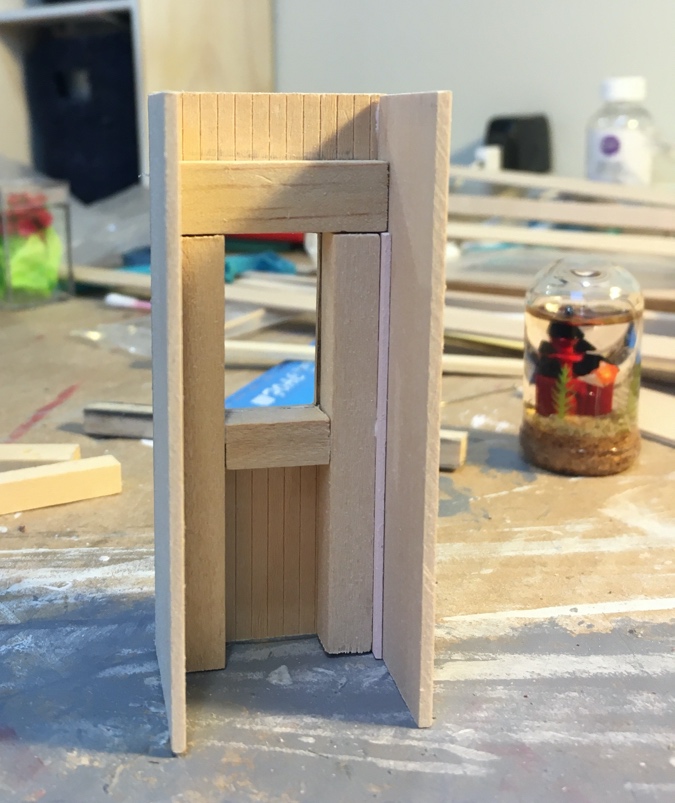
Next I added support pieces to the back corners.
And then glued on the back piece.
The scored wood wants to bend and the assembly isn’t quite square, but it’s good enough. Notice that the support pieces don’t come all the way to the top. That’s because I want to hide the cork at the bottom of the aquarium inside the base.
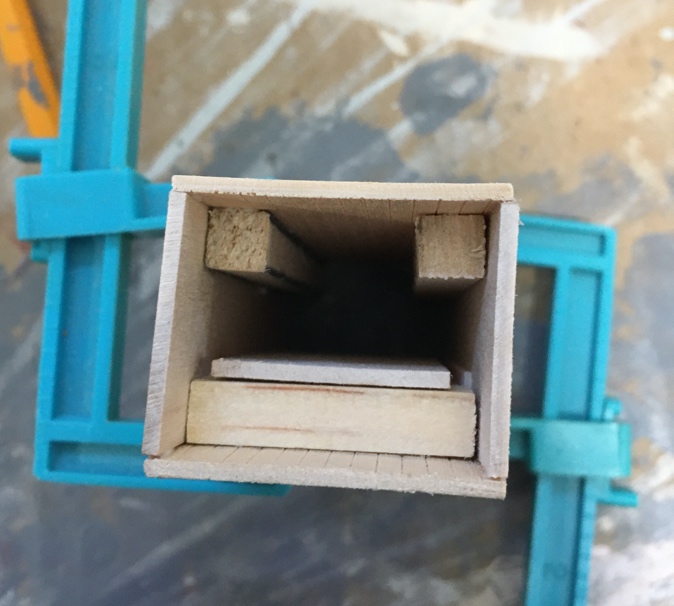
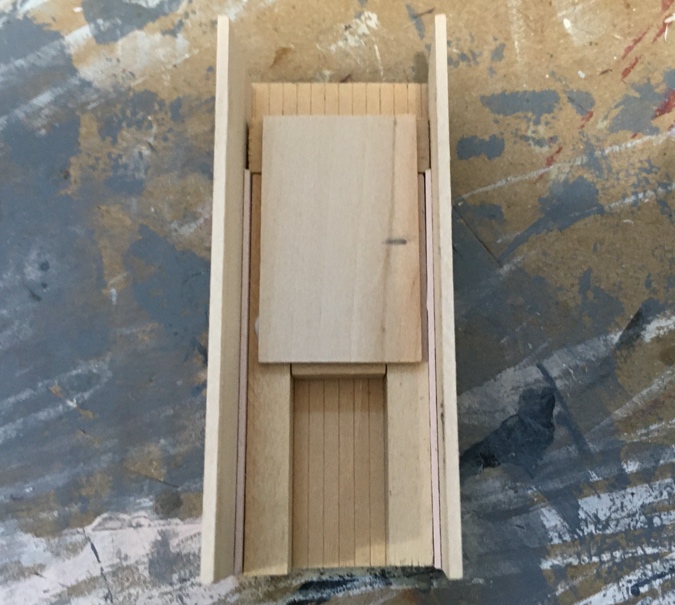
I glued in a piece of wood to make a platform.
The dome sits on this platform, hiding the cork. I’ll add a top piece later so you can’t see the cork at all.
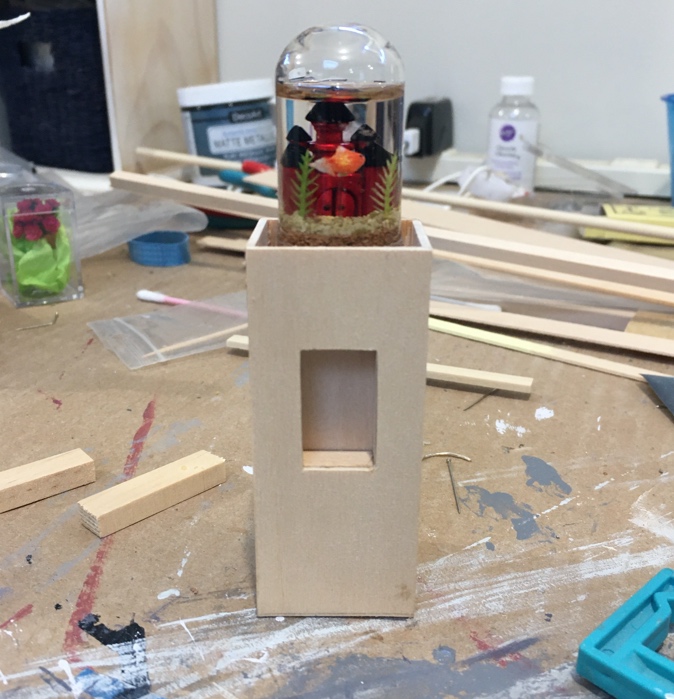
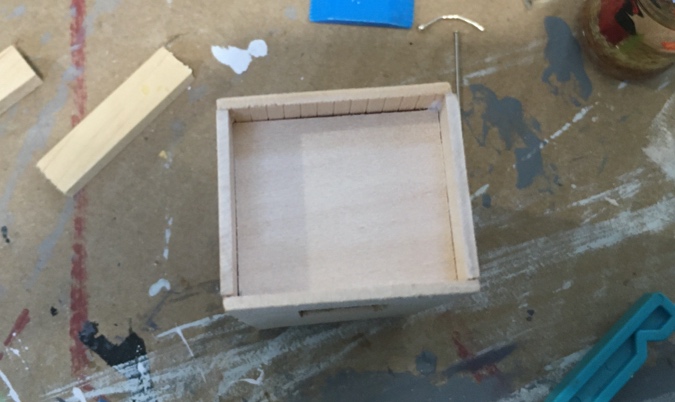
Height check!
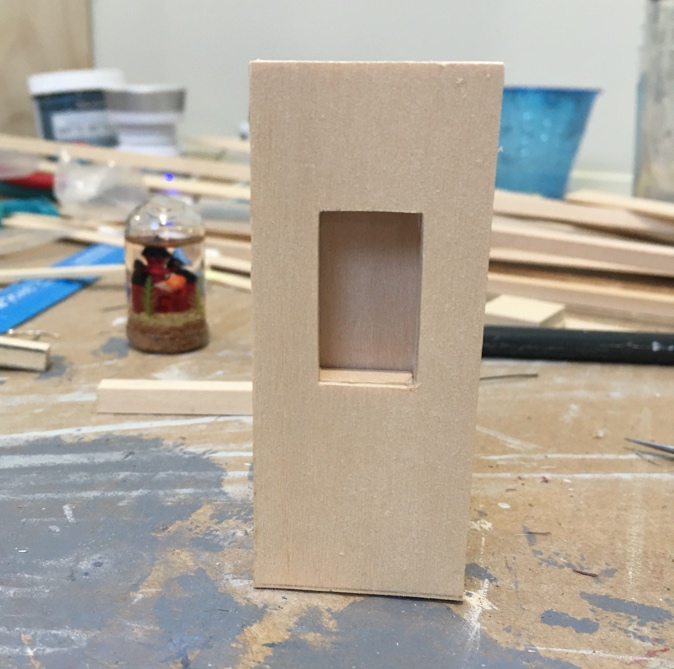
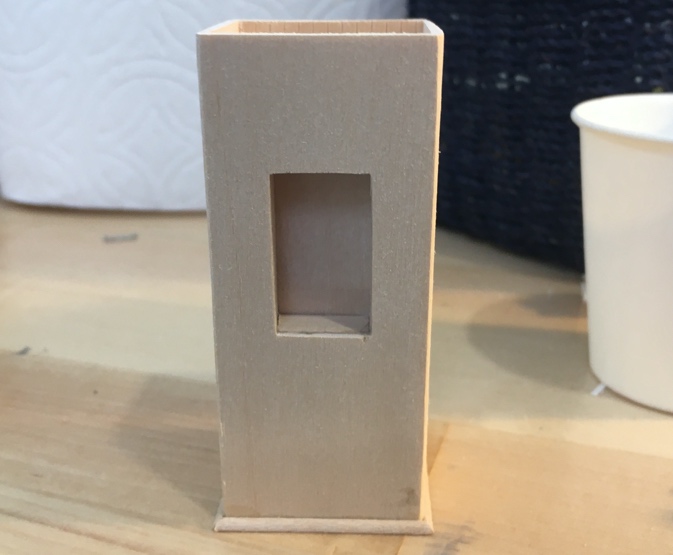
Next I added mitered quarter round to the bottom front and sides. I didn’t add it to the back since I want it to sit flush against the wall.
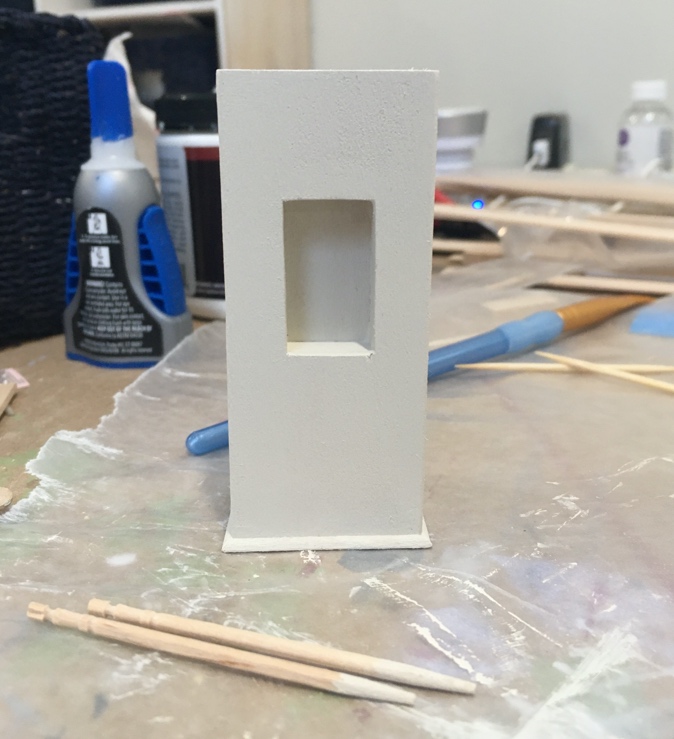
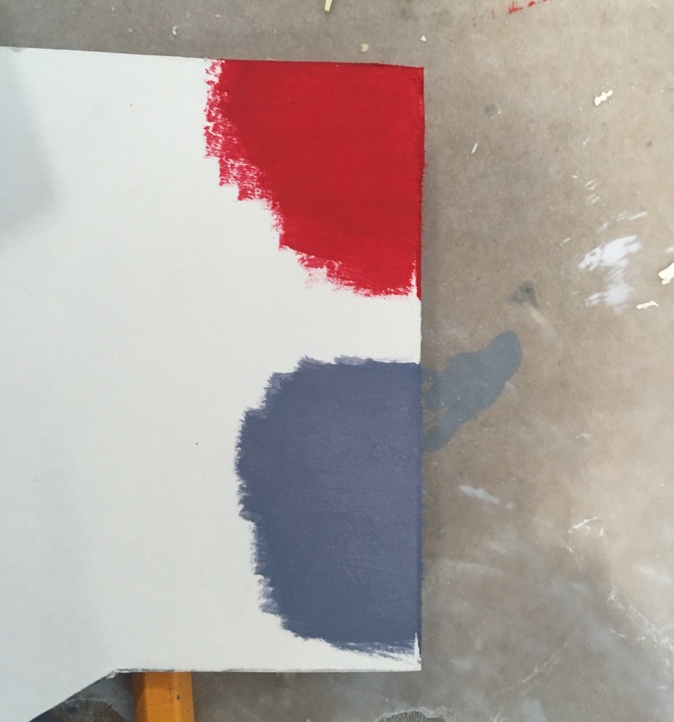
And then I painted the water cooler off-white. I also cut the points off a couple of toothpicks and painted the tips — these will be the water spigots.
I used my micro drill’s skinniest bit to make a hole in the toothpick.
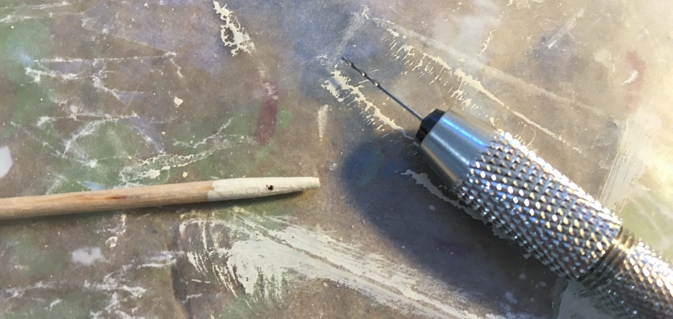
I glued a cut down pin into this hole, and added a seed bead. The pin will secure the spigot in the water cooler and the bead will serve as a spacer.
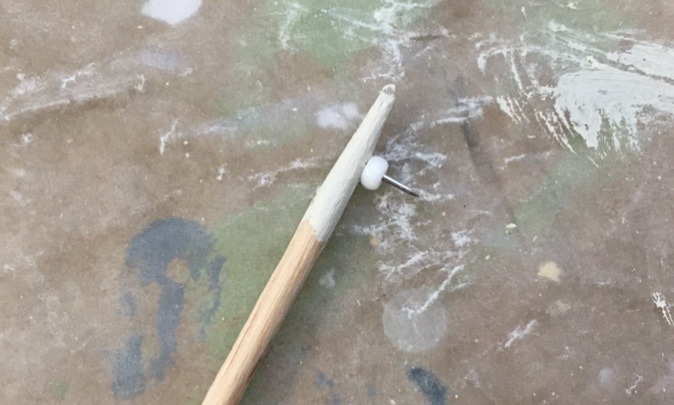
I cut down the toothpick.
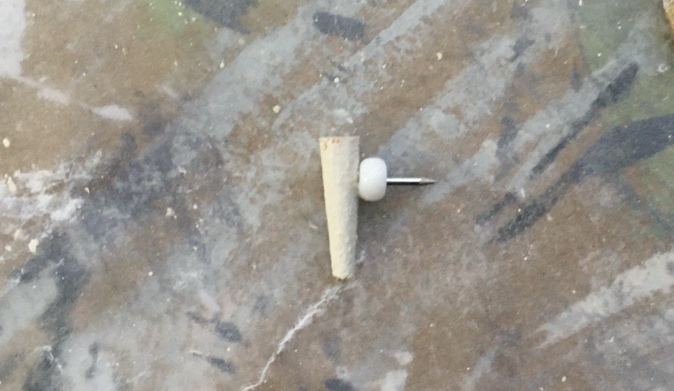
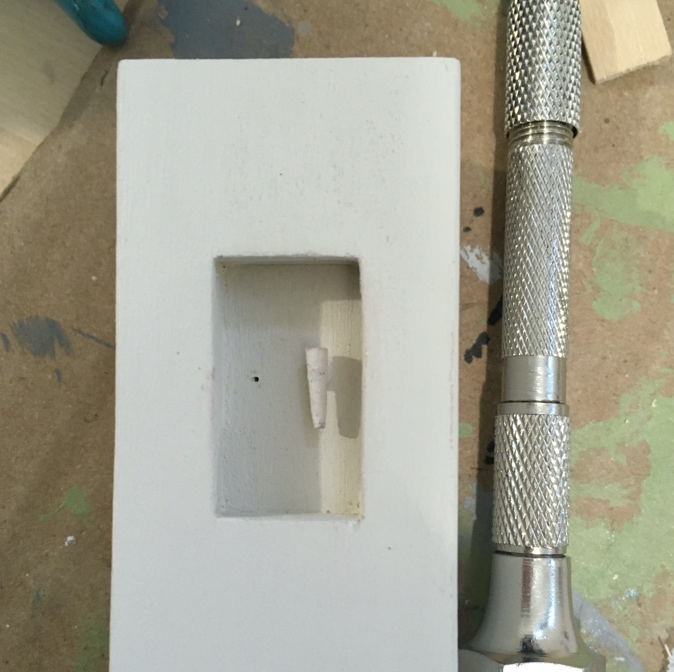
Using the same tiny bit, I drilled holes in the back of the alcove and glued the spigots into them.
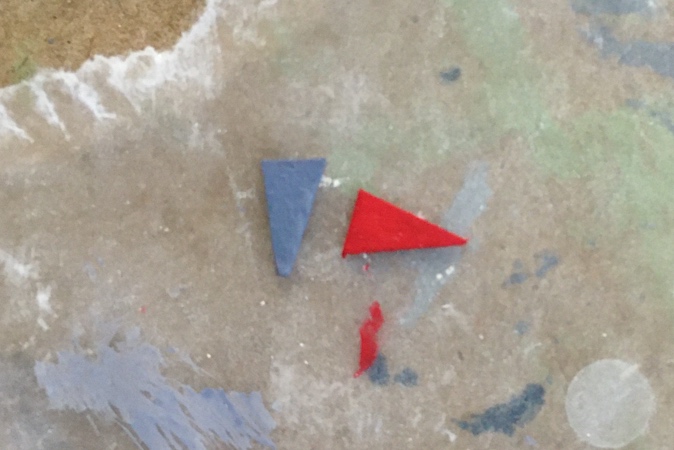
To make the spigots’ red and blue handles, I painted a piece of posterboard.
Then I cut the triangles out of the painted posterboard, and touched up the white edges.
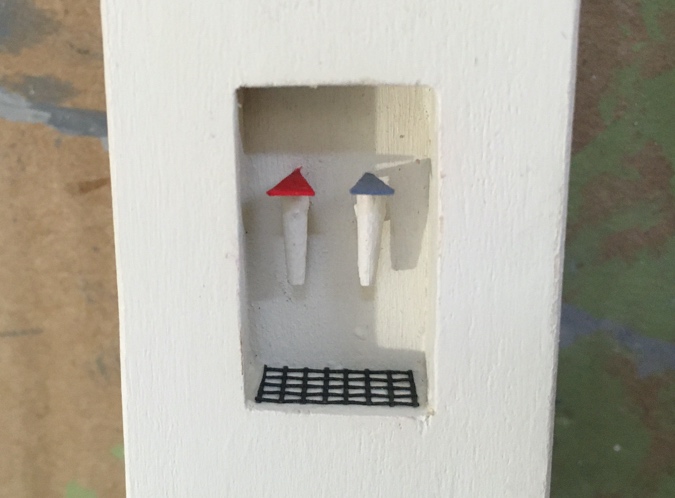
Here they are glued on. The grate is made out of life-sized window screen material.
I have to redo the aquarium first, so the top piece isn’t painted and glued on yet, but here’s the idea. It’s made out of posterboard (easier to cut out the circle than wood). I forgot to paint the green stains under the spigots, so I’ll do that when I come back to this.
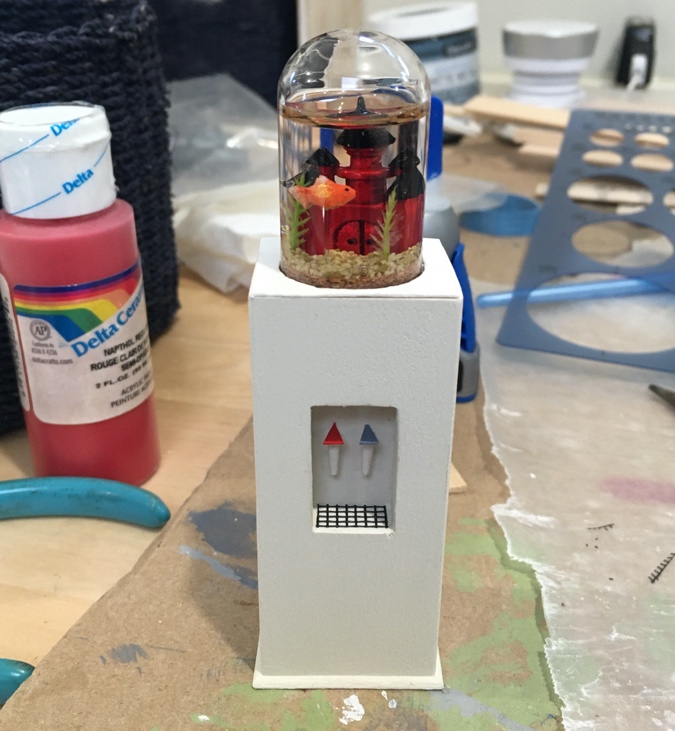
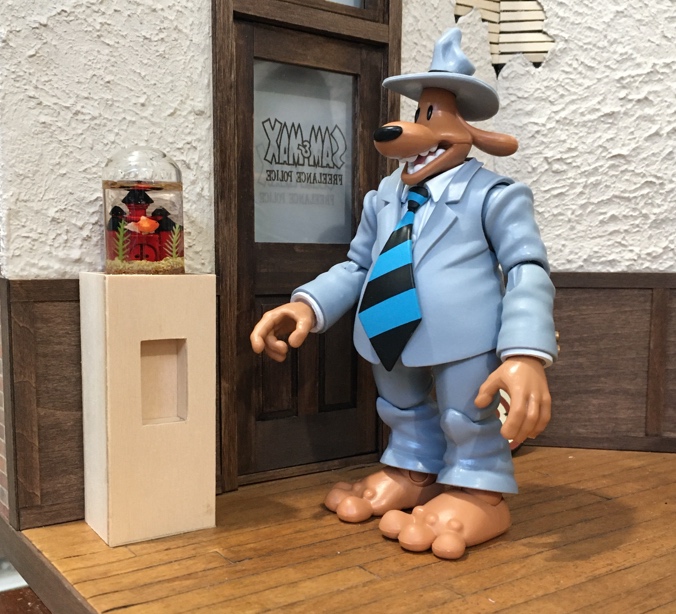
Welcome home, Mr. Spatula!
I’m mostly happy with this, but I’ve never liked that the aquarium is a dome rather than a water jug shape. Ideally it should be a bit wider, with a skinnier neck where it goes through the hole and a flat top. Since I have to redo the aquarium anyway, I decided to look for another bottle.
Etsy has a ton of options, but most of the bottles that are the right shape have skinny necks and small corks, and I need something with a wide neck and a cork big enough for the castle and landscaping. After a bit of searching I decided on these.
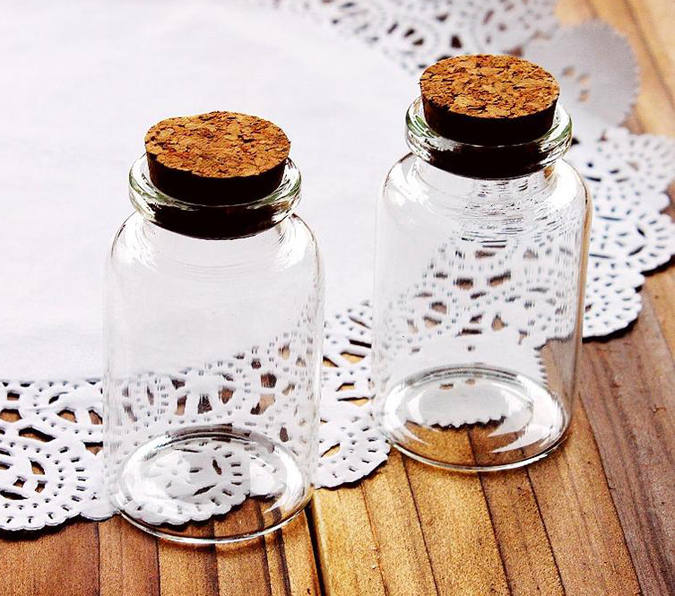
Shipping time from China is estimated to take a month. Good thing Mr. Spatula is a patient goldfish.
 Emily is a freelance writer, miniaturist, and adventure game enthusiast.


Interesting is that the cartoon version has more a cloudy appearance though. Maybe you can paint inside the glass and forget the ‘water’? Great job though.
Looks great so far. Those new bottles should be perfect.
I love this and am enjoying being able to follow your progress.
Oh this should be so much fun to see completed!
I am in love with the work you have done so far! I have been a fan of Sam and Max for close to 20 years now, and recently got the Boss Fight figures as well! When playing the season 1 remaster I was thinking to myself “Man I would love to make a model of their office to display them in!”
One google search later and here I am on your page! So many great posts and so much inspiration for when I start mine! I’ve never done any doll house/rooms before though, so I am a little scared. Any tips you can offer for a first time builder?
Thank you! I’ve been building dollhouses and miniatures for a long time and most of what I know was learned through experimentation and trial and error, so my advice is to just jump in and do it. :) Almost any mistake can be fixed.
The local miniature and hobby stores I used to go to have all closed (even before Covid) so I buy a lot of supplies online. Miniatures.com and https://kitkraft.com/ are good sites.