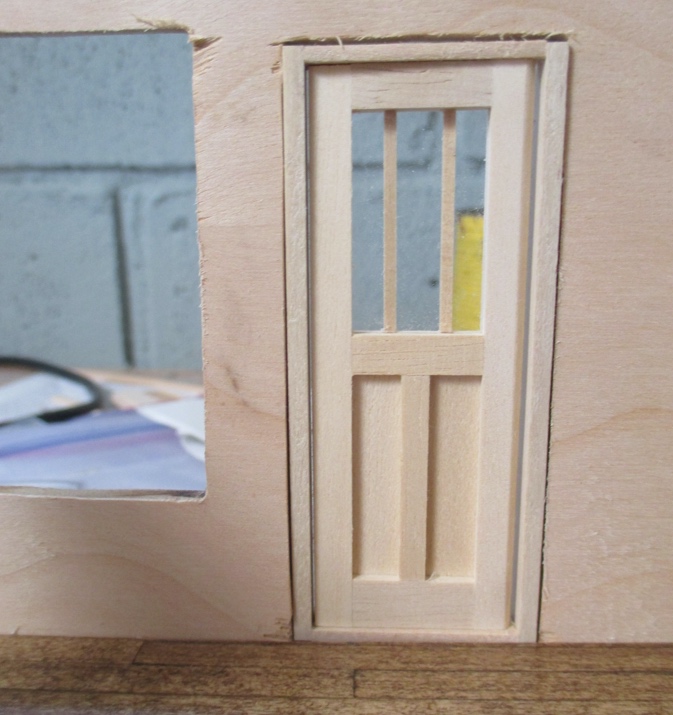
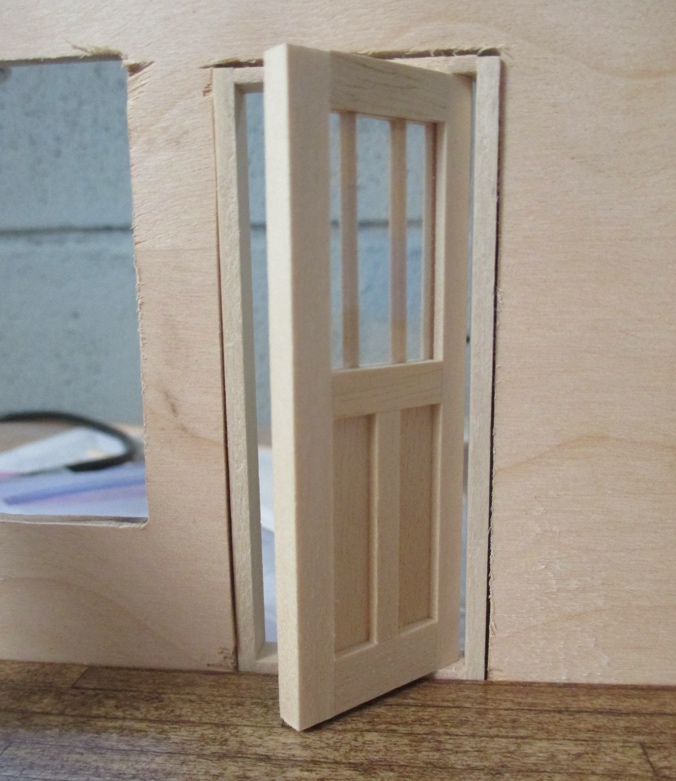
One of the first steps in Debbie Young’s bungalow vignette instructions is to complete the flooring before gluing the house together. Initially I ignored that, because I’m used to adding flooring once the house is assembled. But then I dry fit the pieces and discovered there’s a gap below the bottom of the door.
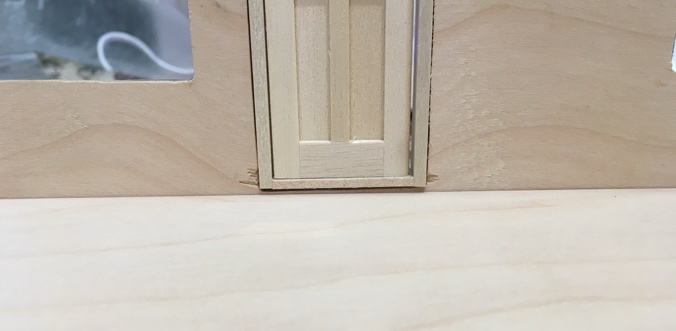
I didn’t touch the door hole when I enlarged the window holes, so this is by design. A little odd, but nothing some tall floorboards can’t fix.
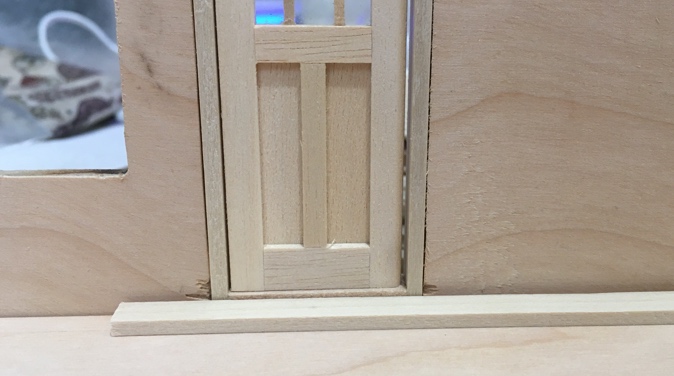
These are 1/4″ by 1/8″ sticks of some kind of wood that’s nicer than basswood, that I acquired a while back from a miniaturist who was clearing out her stash. I’ve pilfered a few pieces for other uses, and I actually used two of these to form sides of the new door frame. I pulled out the rest of what I had and it wasn’t quite enough to cover the floor.
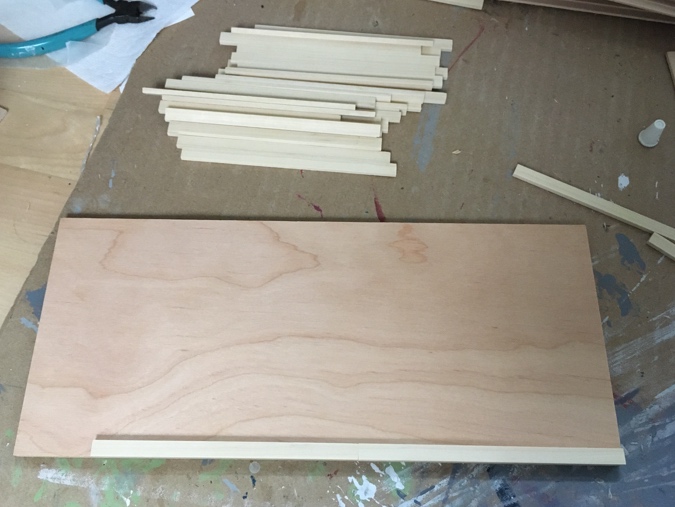
I dug through my scrap drawer and found a few more pieces, and it seemed like I would have *just* enough to cover the floor. I’d already glued boards to about 2/3 of the floor when I laid out the rest, and this is how it ended up. The piece hanging off the edge is not quite big enough to fill the remaining gaps. Argh!
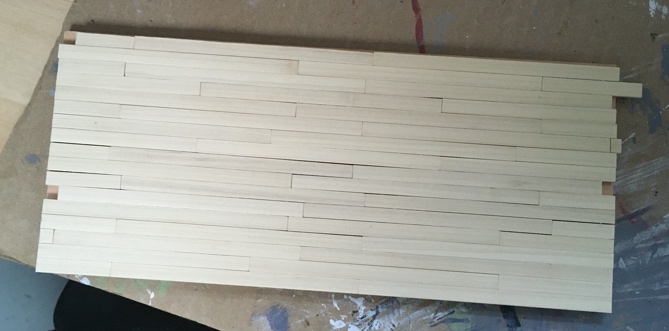
Since the gaps were small, I knew I could fill them up with regular basswood and they would more or less blend in. But first I tore through my workshop just in case there was a stray board lying around… and I found one!
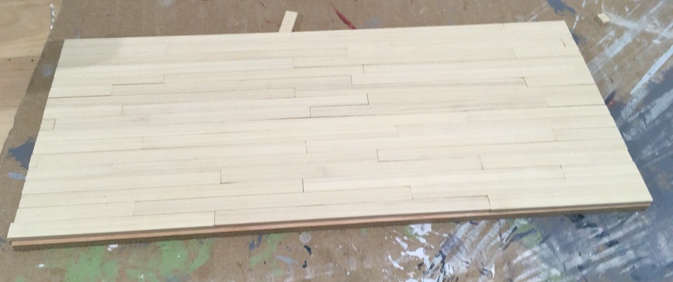
I used a skinny piece of basswood for the final strip. This edge will be inside the house and will have a baseboard over it, so it shouldn’t be noticeable if it takes the stain differently than the rest.
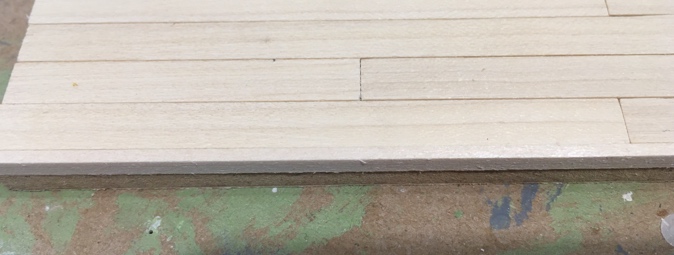
Like I mentioned, I usually lay floors once the house is already assembled, using veneer or, when I can find it, LittleWonders Lumber. But a while ago (ten years, yikes!) I took a class with the Guys from Texas and learned a great technique for finishing hardwood floors outside of the house.
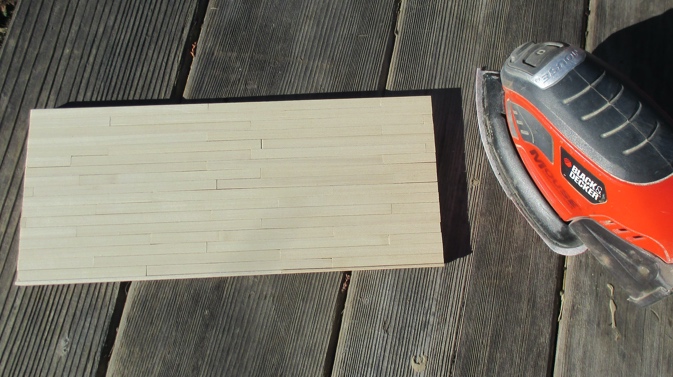
The first step is to sand the floor. I used a mouse sander, which is not exactly the same as the orbital sander we used in the class, but it got the job done.
Next I mixed water into wood filler and used a cut-up plastic card to spread it thinly across the floor to fill the cracks.
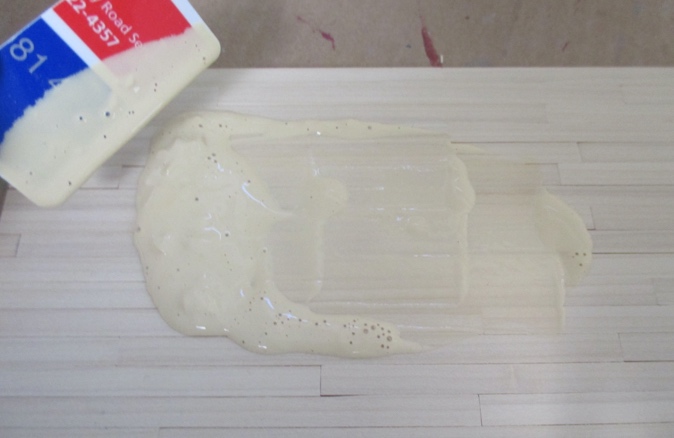
As the wood filler dried, I scraped with the edge of the card to get as much off the top as possible.
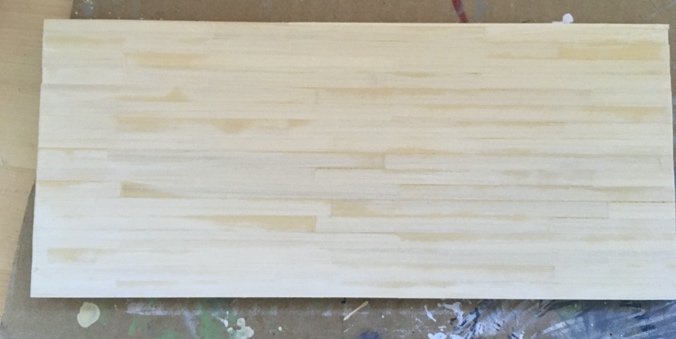
After scraping off as much wood filler as I could with the plastic card, I sanded again. Now the floor is nice and smooth, and the cracks are filled.
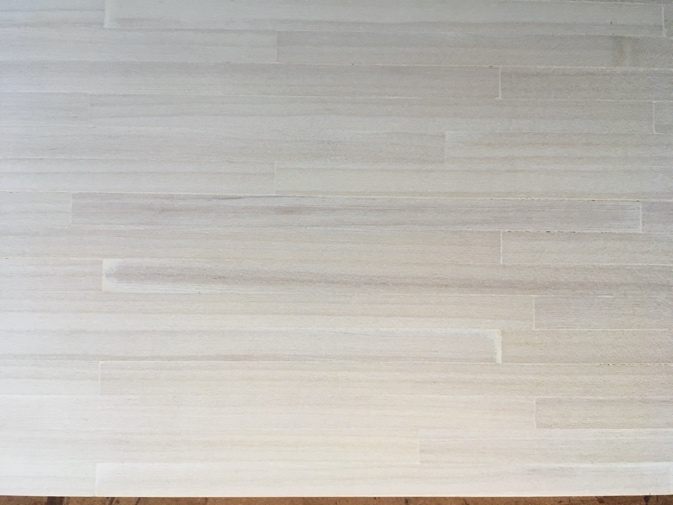
I stained the floor with Minwax Aged Oak gel stain and let it dry overnight.
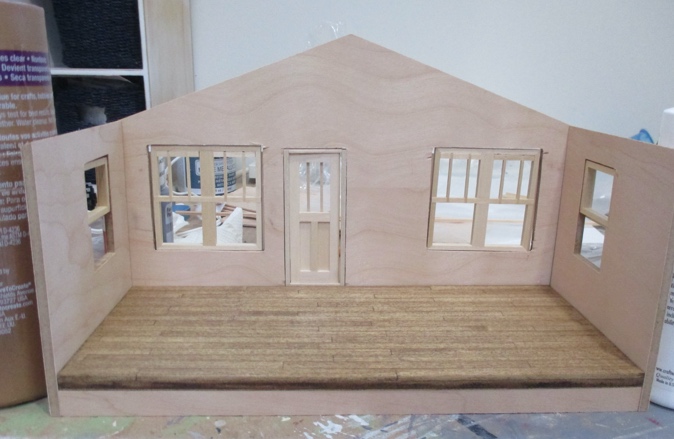
I do like this stain, especially the dark speckles it adds to the grain, but on this wood it didn’t feel rich enough, so I went over it with a coat of Minwax Provincial.
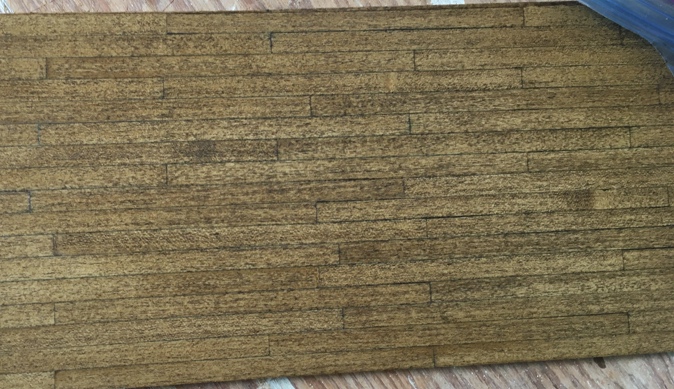
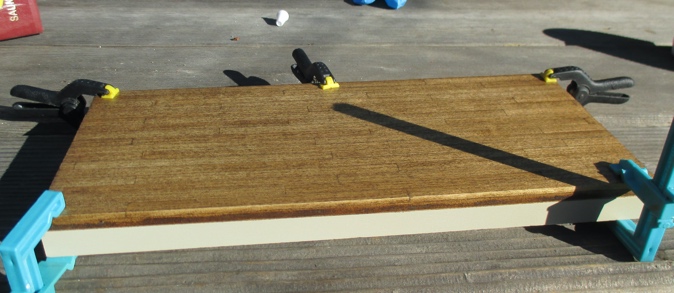
I let that dry overnight again, and the next day I waxed the floor. Now it’s beautifully smooth. The funny thing about this method (which took me three days rather than an hour like veneer would have) is that the finished floor is so uniform and smooth, it could be paper! But I like how it turned out, and seeing as I needed to build up the height of the floor anyway, I’m glad I had an excuse to use this technique again.
Next I glued the foundation pieces to the bottom of the finished floor. (Before this, I had painted the foundation piece that shows on the open side of the house with Behr Bamboo Shoot, a light green that I plan to use for the rest of the house.)
Once the foundation pieces were dry, I glued on the walls. These were slightly warped, but masking tape and clamping helped.
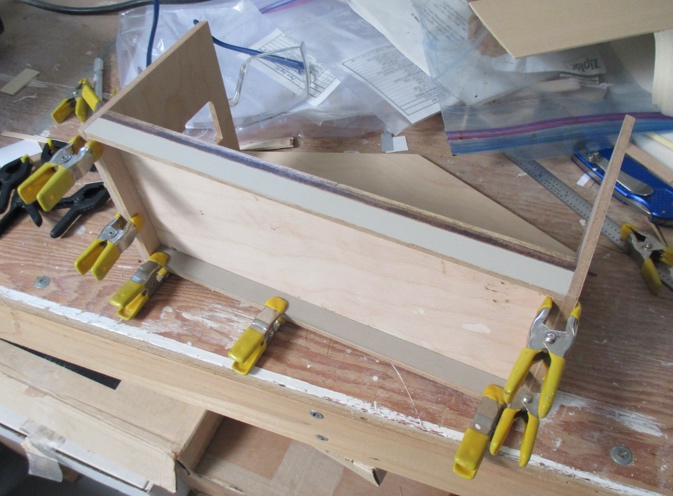
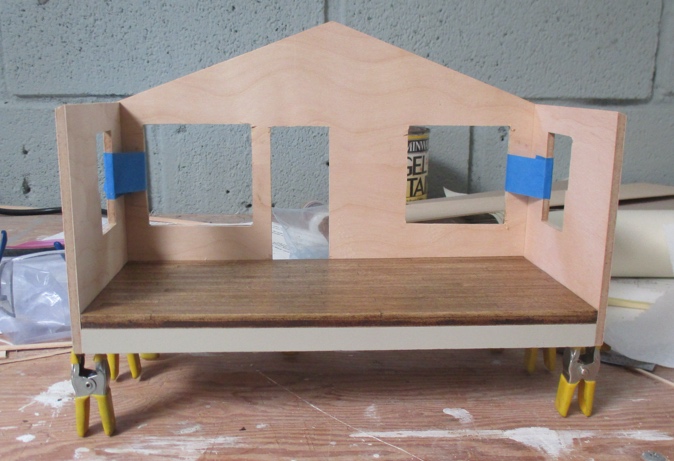
No more gap! I’ll stain the threshold so it blends in with the flooring.
 Emily is a freelance writer, miniaturist, and adventure game enthusiast.


It’s coming along nicely. I love the color of the floor.
Marilyn
That looks great! New and shiny!
This is a great tutorial on flooring. The floor is beautiful.
The flooring turned out looking so professional – smooth and a lovely colour! Thank you for sharing how you achieved the result.
Great tutorial. I certainly will use this come time!
Where do you get those yellow clamps?
I’ve had them a long time so I’m not sure where they came from, but probably Home Depot or Harbor Freight.