I have spent most of the month working on my annual half scale swaps and a gift for a friend’s new baby — neither of which I can post about yet — but I just realized I had a bunch of pictures on the camera from when I added siding to the Craftsman bungalow vignette back in December. Better late than never!
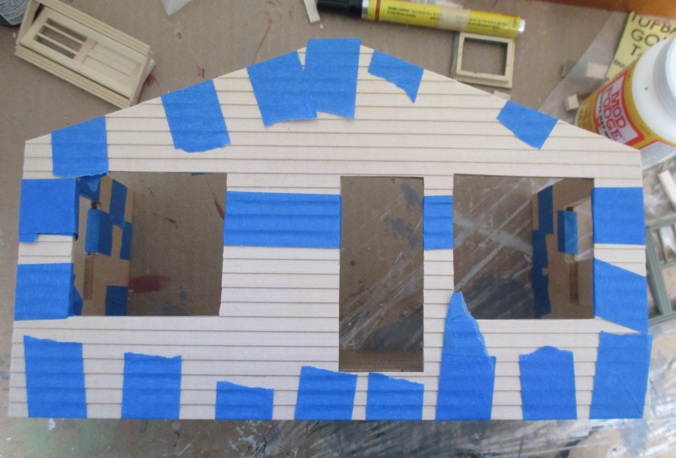
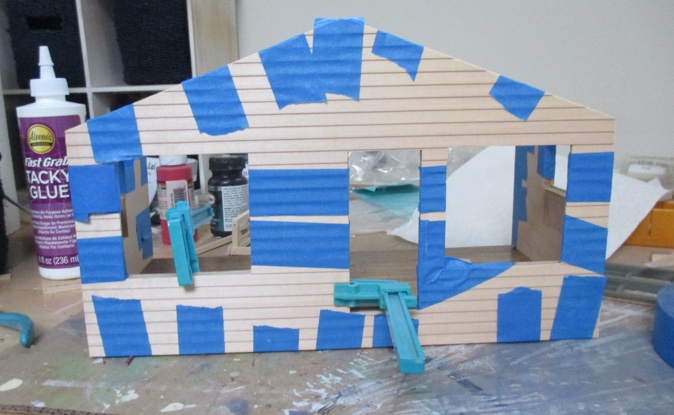
This kit came with siding that was already cut to the correct widths, so all I had to do was cut the top pieces of siding down to size and cut out holes for the windows and door. I clamped the siding tightly with masking tape so it would dry flat.
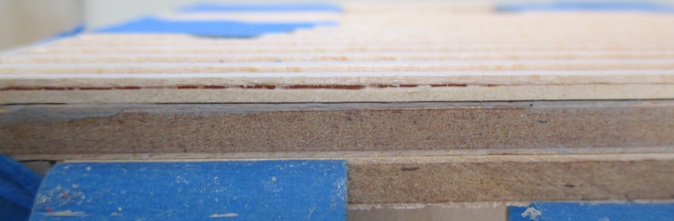
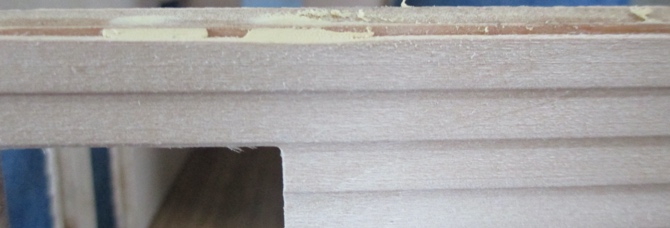
Maybe a little too hard! The siding has a lip at the bottom edge so it can neatly slip over the top of another piece. Because the lip doesn’t sit tight against the house, it got crushed when I wrapped the tape around the bottom of the house. Normally I would use a partial piece of siding at the bottom to avoid this problem.
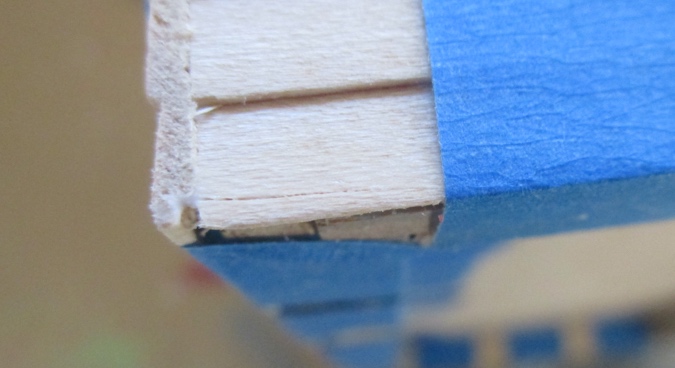
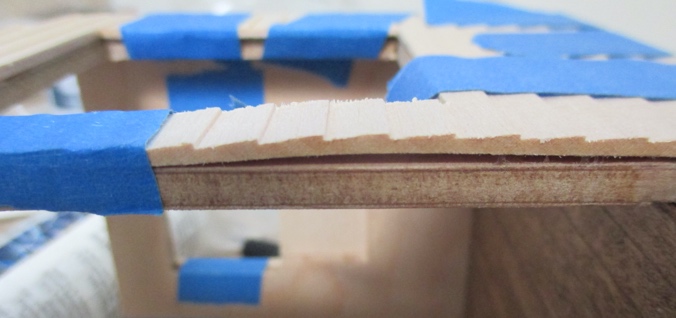
Here’s what it looks like underneath. You can see there’s empty space between the bottom edge of the siding and the edge of the house. This needs to be filled in to keep the delicate lip from breaking off.

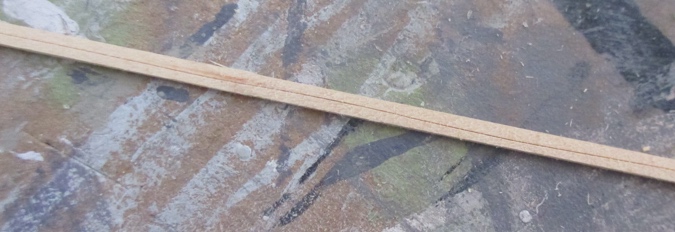
I didn’t have any strip wood the right size, so I used a utility knife to slice a wider piece in half.
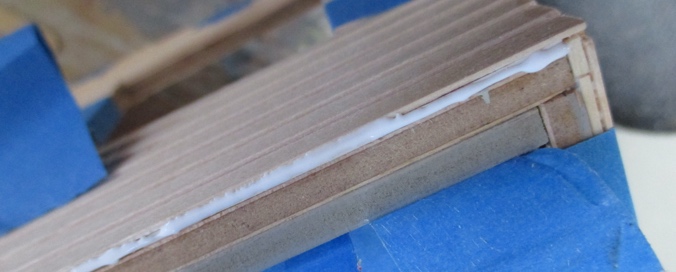
I glued this in behind the lip.
Then I glopped in a lot of glue to fill in the cracks and make sure that bottom edge wouldn’t get crushed again.
Despite all the tape, the siding did curl in some places around the door and window holes.
I put glue on the edge of a piece of paper and slid this into the curled area, to get the glue back there. Then I clamped the siding down with clamps and more tape.
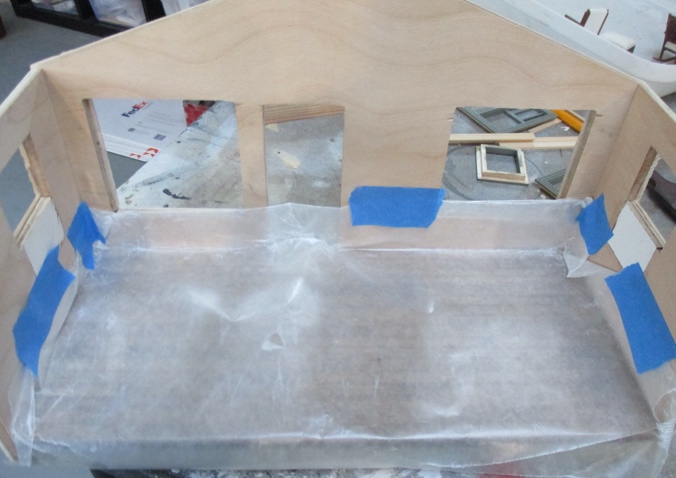
The sides of the house had vertical windows that I turned into horizontal windows. Geoff cut me some scrap pieces to fill in the bottoms of the original window holes. I waited to glue these in until after the siding was in, so the back of the siding would provide a surface to glue to.

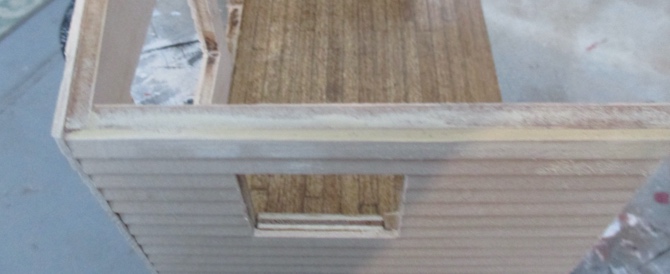
On the sides of the house, I didn’t want a little sliver of siding at the top so I had cut the siding pieces slightly too short. I filled in the gap with wood filler.
The top edge of the wall is beveled to hold the roof and the wood filler along the top edge of the siding now follows the same angle. Once it’s painted and under the eave you’ll never know.
Before painting, I taped down wax paper to protect my nice wood floor.
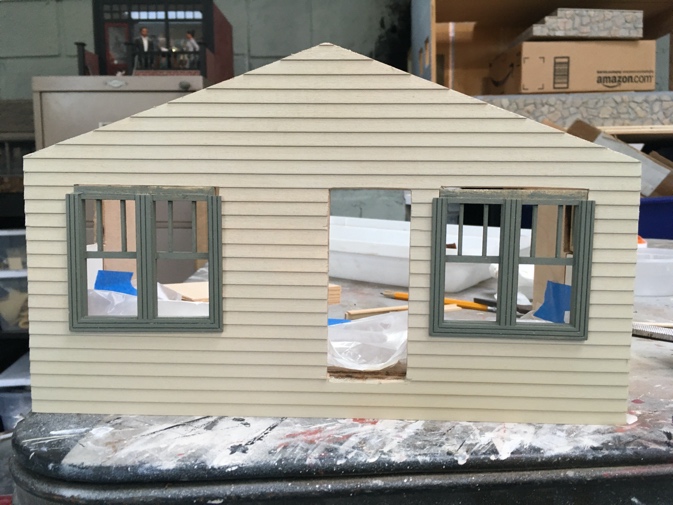
Here it is after one coat of paint — it’s kind of washed out in this picture and it still needs another coat, but the house color is Behr Bamboo Shoot and the trim is Glidden Mossy Green.

 Emily is a freelance writer, miniaturist, and adventure game enthusiast.


Love your color choices. Emily, I am working on a Laser Dollhouse Designs Craftsman cottage kit. It’s such a nice kit, I think you could do so much with it. Just 4 rooms. His kits come with all the doors, windows and stairs and they are so detailed.
Love the colors!
Looks wonderful!
Thank you for providing so much detail about applying the siding. I admit, I have never used commercial siding since I usually just do small projects and room boxes but having these details will be helpful if I ever do want to use it. I have learned so much through the generosity of our mini community! – Marilyn D., New Brunswick, Canada