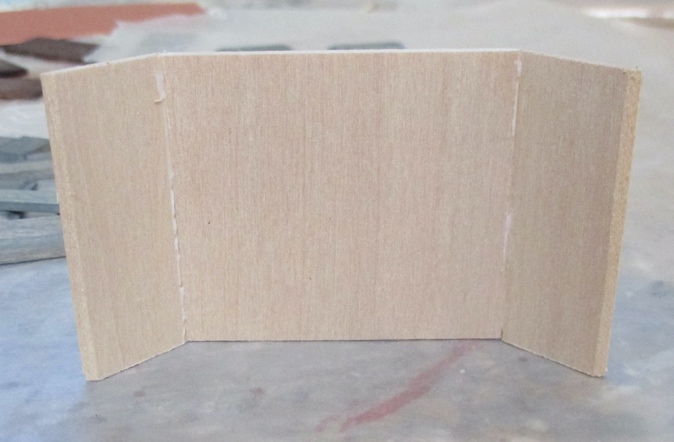
Continuing with the very complicated Cassidy Creations Federal fireplace wall kit, once the front facade and the back structure were completed, I moved on to the fireplace. The first step was to assemble three pieces to make the back of the fireplace. These pieces had mitered edges to meet up at an angle.
The kit came with a piece of styrene brick material, but I decided to make my own bricks out of egg carton. This might have been a waste of time considering they’re tucked into the fireplace, but I’d already wasted so much time staining and then restaining each piece of wood in the structure, why not waste some more?
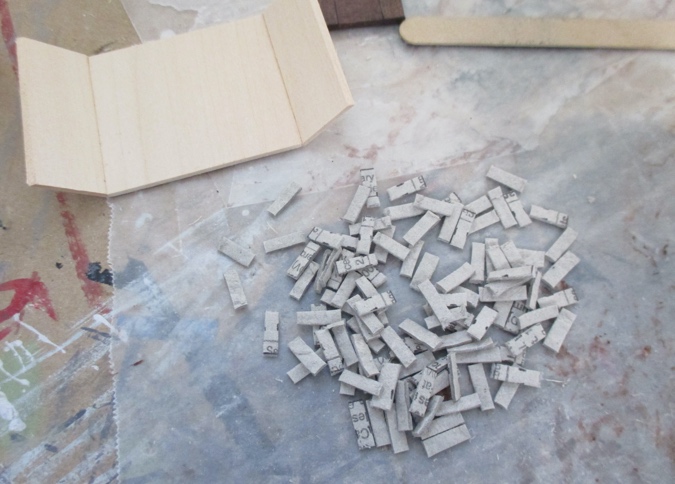
The bricks are 1/8″ x 3/8″. I start by cutting a 3/8″ wide strip, and then cut it into 1/8″ pieces (I find this easier than cutting a 1/8″ strip into 3/8″ pieces). Then each brick gets its corners snipped off. If this process is new to you, you can read past posts about egg carton brick and stone here.
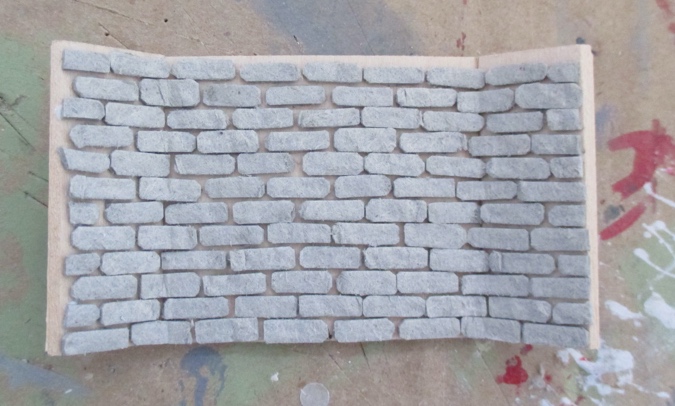
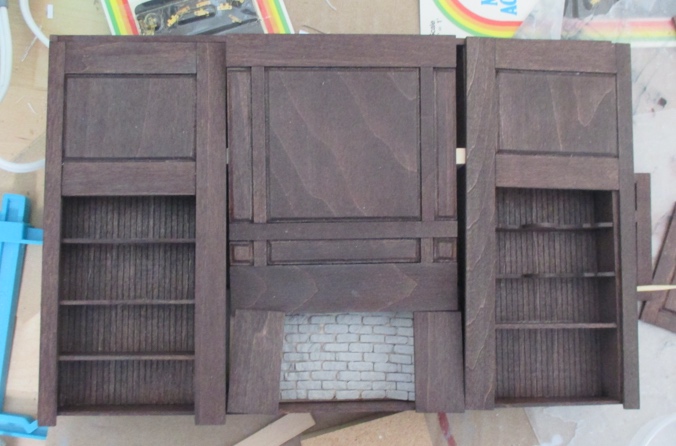
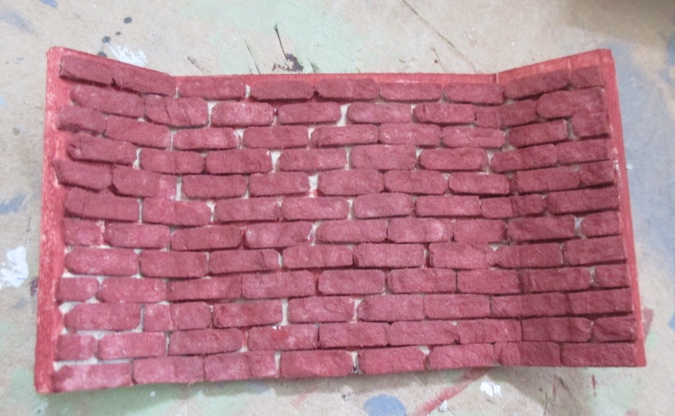
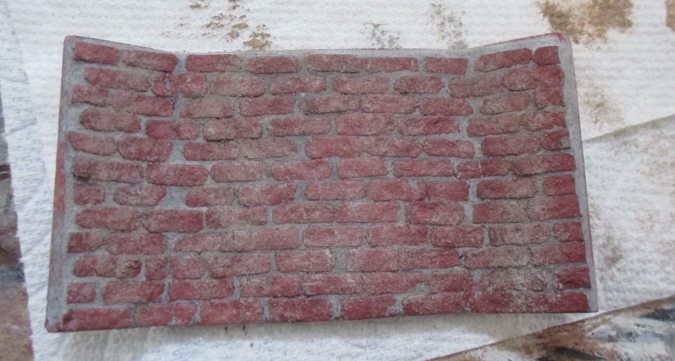
Here it is in context.
Next I painted the bricks red.
At this point I noticed that the very thin piece of wood was warping.
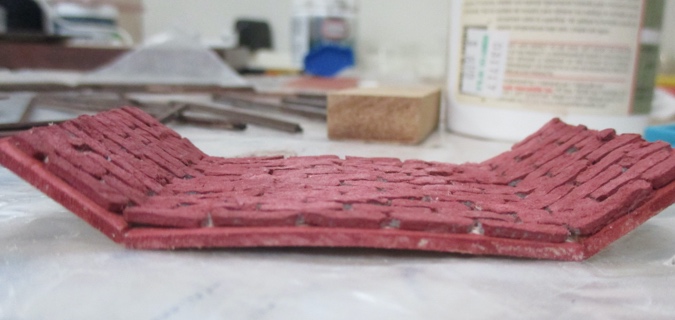
I attempted to flatten it out by clamping it to a piece of wood overnight, which sort of worked. Luckily, when this is in place, you can’t tell it’s a little bowed.

Next I painted on a coat of matte varnish.
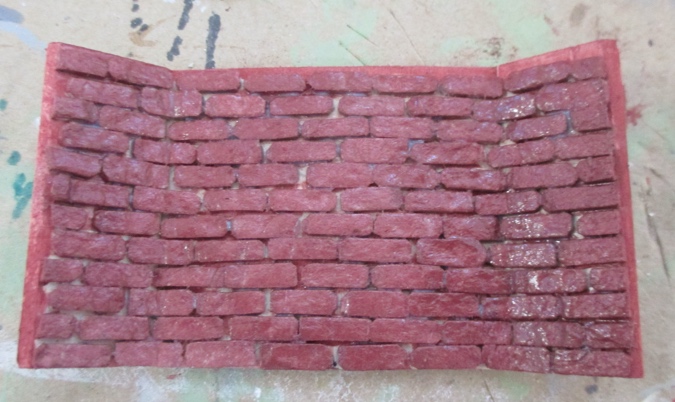
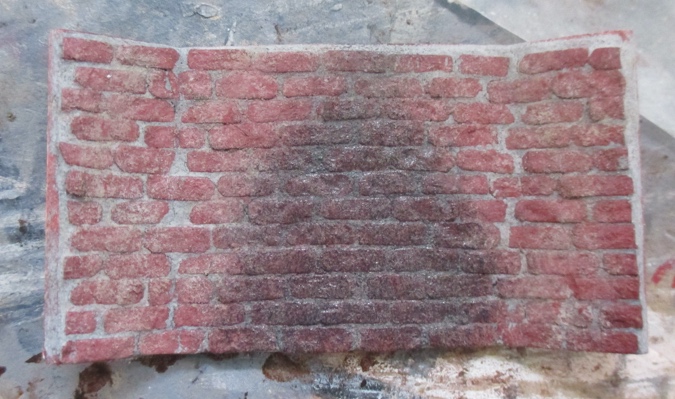
When the matte varnish was dry, I grouted the bricks with Andi Mortar Mix (similar to this, except mine came pre-mixed).

Here it is while the mortar’s still wet. It lightens as it dries.
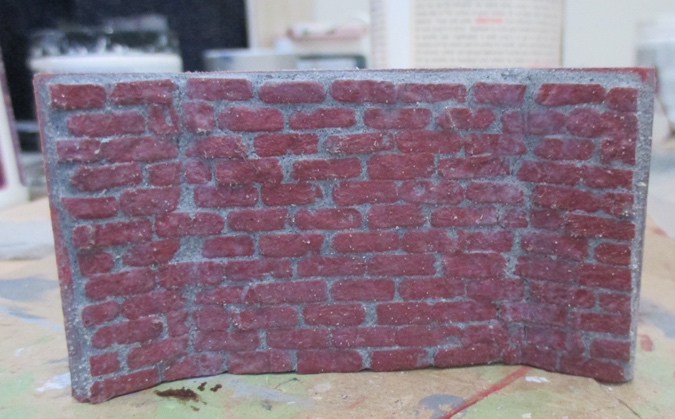
After this I added another coat of matte varnish, and once that was dry I splotched on some brown and gray paint with a dry brush. Normally I would have used washes for more subtle color variation, but that requires watering down the paint, and I don’t have a sink in my workshop and didn’t feel like dirtying several cups and then carrying them back to the house to clean them. (Because I was clearly SO concerned about being efficient…)
Finally I used the dry brush to add black paint in a sooty pattern.
On to the fireplace surround. The kit came with these pieces.
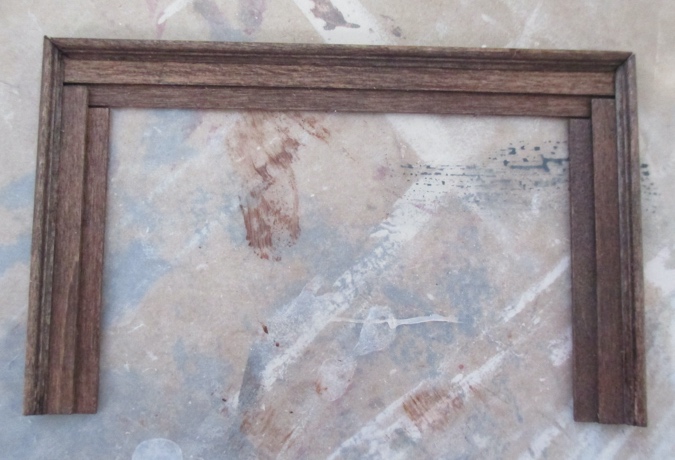
These leave space around the hole that probably shouldn’t be flammable.
Because the only dollhouse I have with tall enough ceilings to fit the federal fireplace wall is the Little Belle, which is modeled off of a San Francisco Victorian, I thought I should try to make this very Colonial-styled fireplace look a bit more Victorian. So I added blue/green tiles.
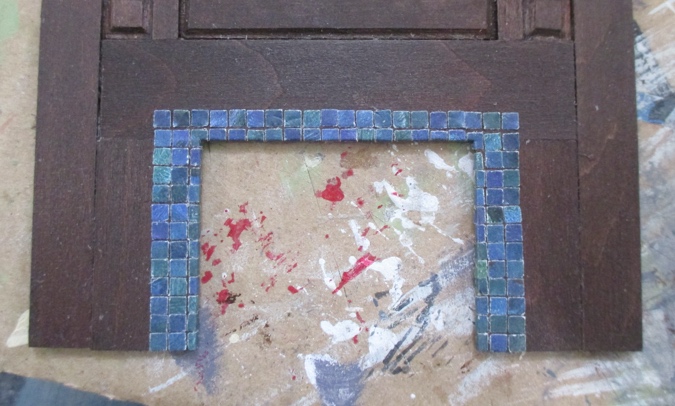
These are 1/8″ squares cut from a piece of scrapbook paper using a Fiskars border punch. You can read more about this technique here. The scrapbook paper is a reproduction of Monet’s Water Lilies that I bought fifteen or so years ago thinking I’d use it as a mural in a 1:12 house.

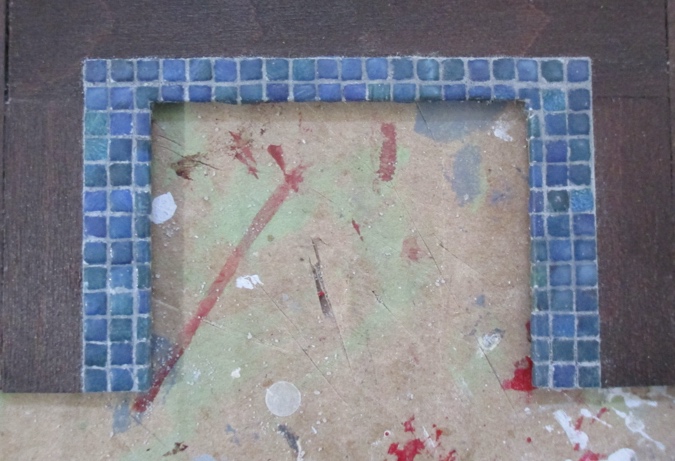
After gluing on the tiles, I coated each one with Crystal Clear Gallery Glass paint, which protects the paper and makes each tile nice and shiny, with a bit of dimension. I started at the bottom right, so in this picture the tiles on the right are almost dry and the ones on the left are still wet.
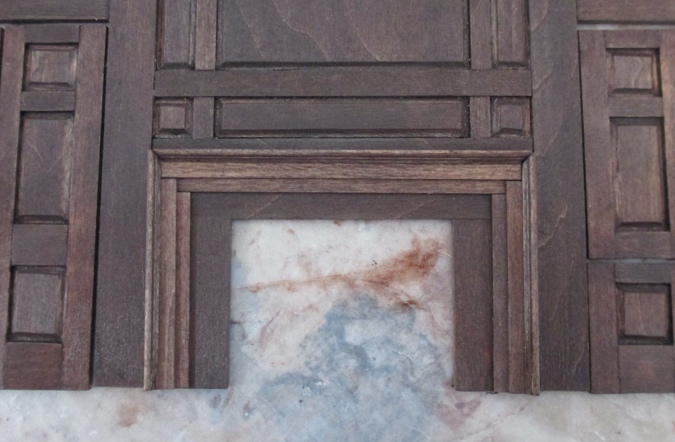
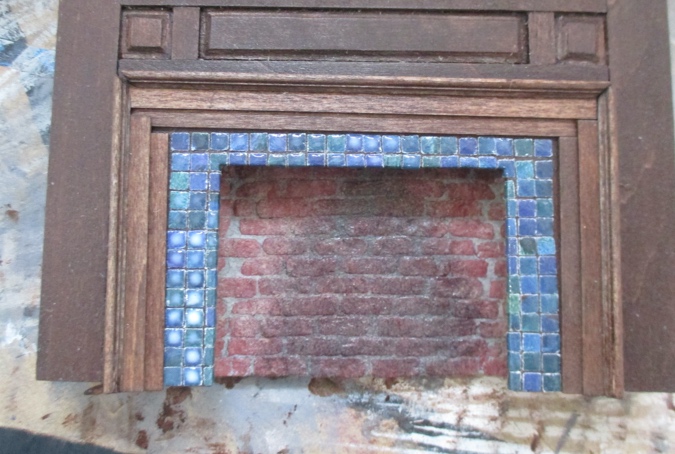
Here’s how it looks with the surround and the bricks. The Gallery Glass paint isn’t quite dry in this picture.
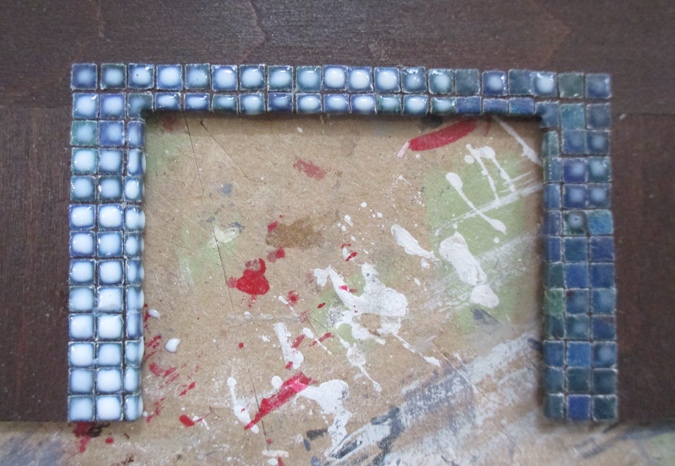
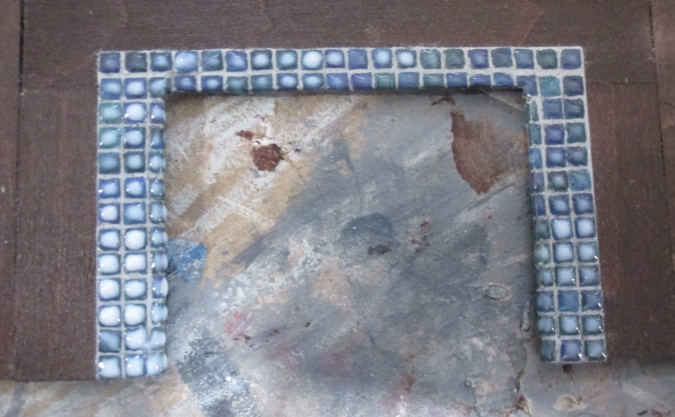
Next I grouted the tiles, again using the Andi Mortar Mix. This might not have been necessary if I’d painted the wood behind them gray to begin with, but it does cover up the white cut edges of the paper.
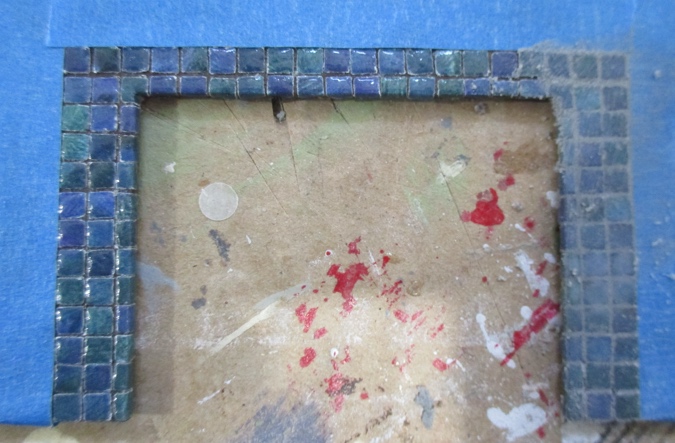
The grout made the shiny tiles matte. This actually didn’t look bad. It reminded me of some ceramic Arts & Crafts tiles I saw in a tile store recently.
But I wanted the tiles to be shiny, so I gave each of them another dot of the Crystal Clear Gallery Glass paint.
Coming up next time: door hinges, and putting it all together!
 Emily is a freelance writer, miniaturist, and adventure game enthusiast.


I’m impressed with the detail work you do with these kits. It’s looking great!
There is so much to learn here working with bricks and tile. The fireplace will be wonderful and look authentic.