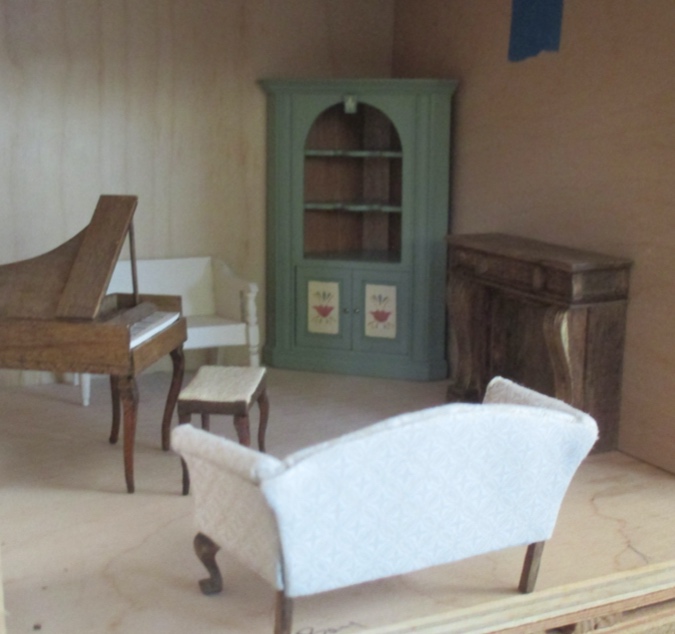
As I mentioned in my last post, I spent a lot of time arranging furniture in the Mansard Victorian to find a space to use this Bauder Pine corner cabinet. Literally the only corner I could make it work is this one in the living room, with a fireplace next to it.
I tried out a few different fireplaces from my stash, but none of them sang to me. I’d originally planned to use the Cassidy Creations Federal fireplace wall in this house, but it turned out to be too tall. When that didn’t work out, I wanted to find something else that was really special.
Braxton Payne makes the nicest half scale fireplaces I know of, and I checked his website, but none of the standard designs were calling out to me.bas
And then this popped up on eBay.
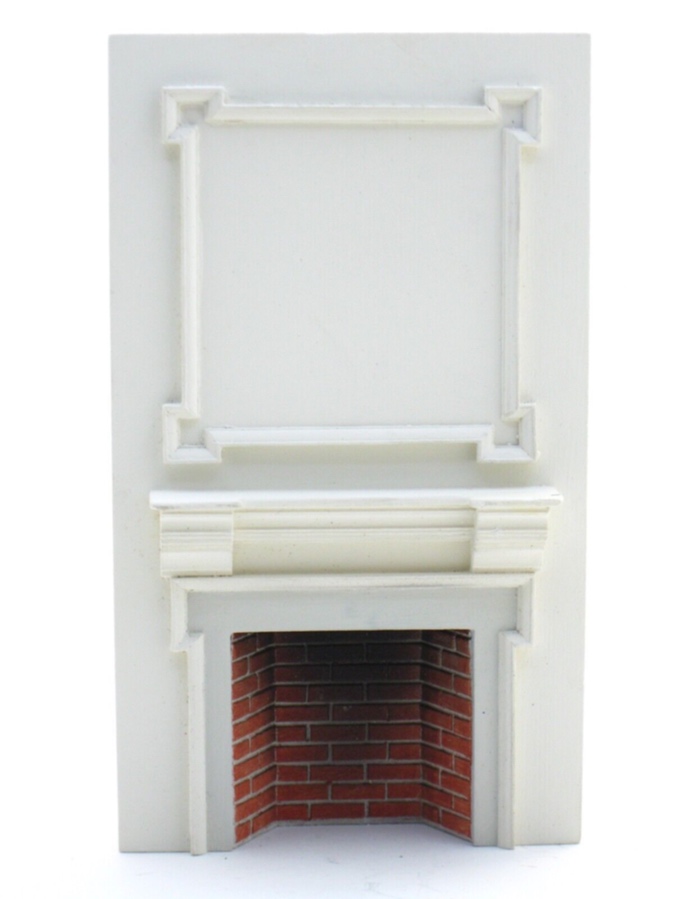
This is a Braxton Payne fireplace from 1982. It’s five inches tall — exactly the height of the Mansard Victorian’s ceiling — and it has a Federal feel, like the Cassidy Creations kit I can’t use in here.
Here’s how it looks in the space I’d decided on for the fireplace.
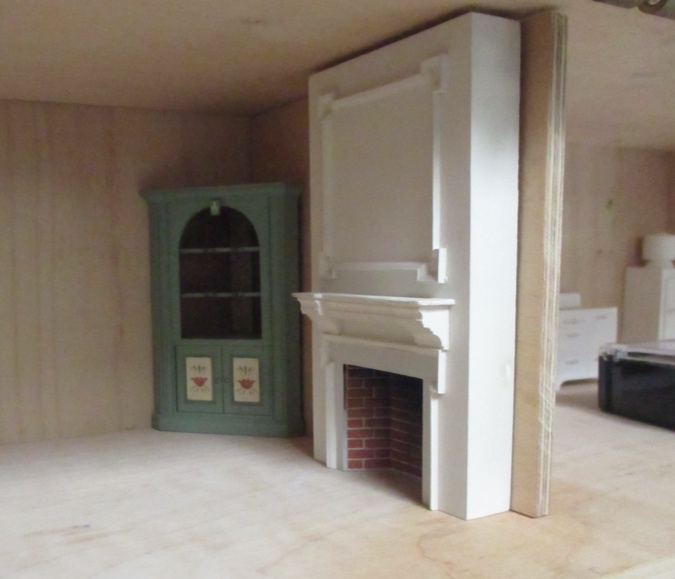
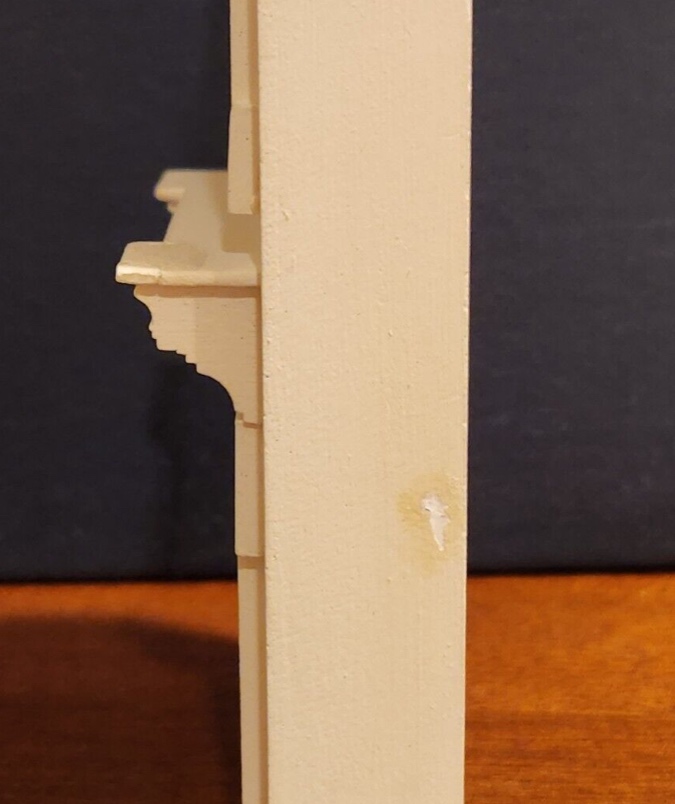
There are a few problems with this arrangement. One, the corner cabinet is awkwardly blocked. If the point is to make the corner cabinet a focal point, this isn’t the way to do it. Also, this fireplace has a few imperfections that are very obvious when you view it from the right side. One is a broken corner that the seller repaired.
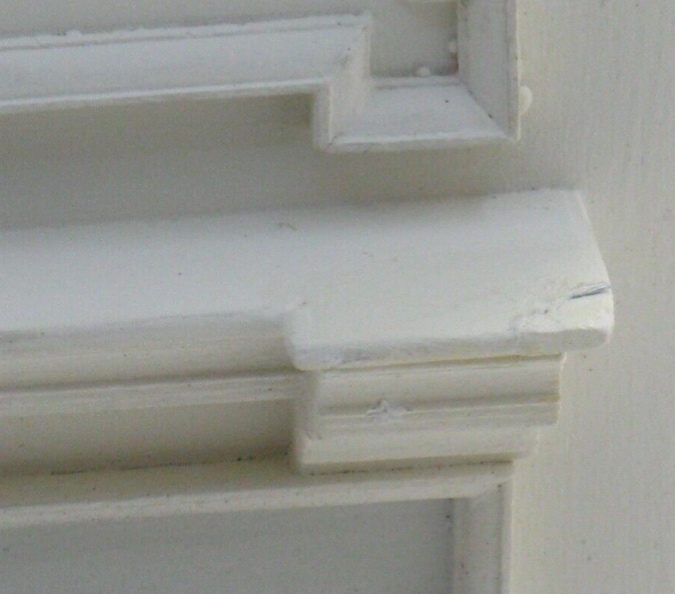
And the other is a splotch where the paint is gone.
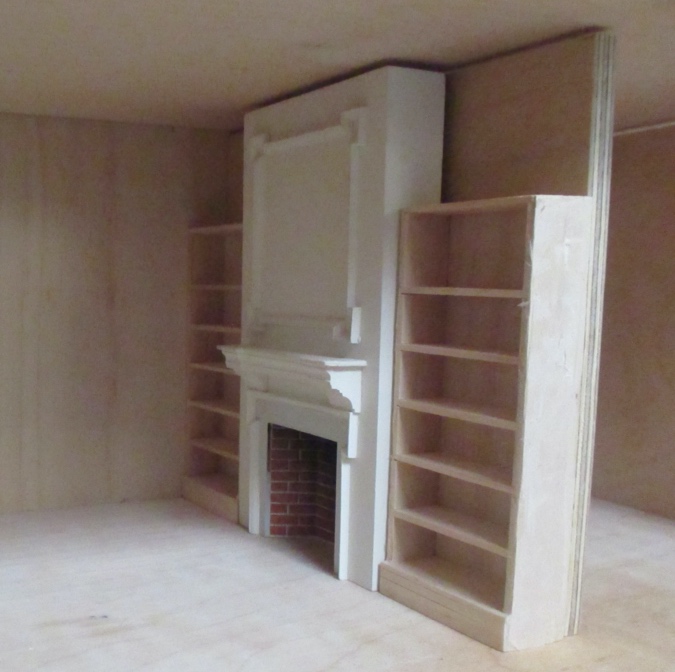
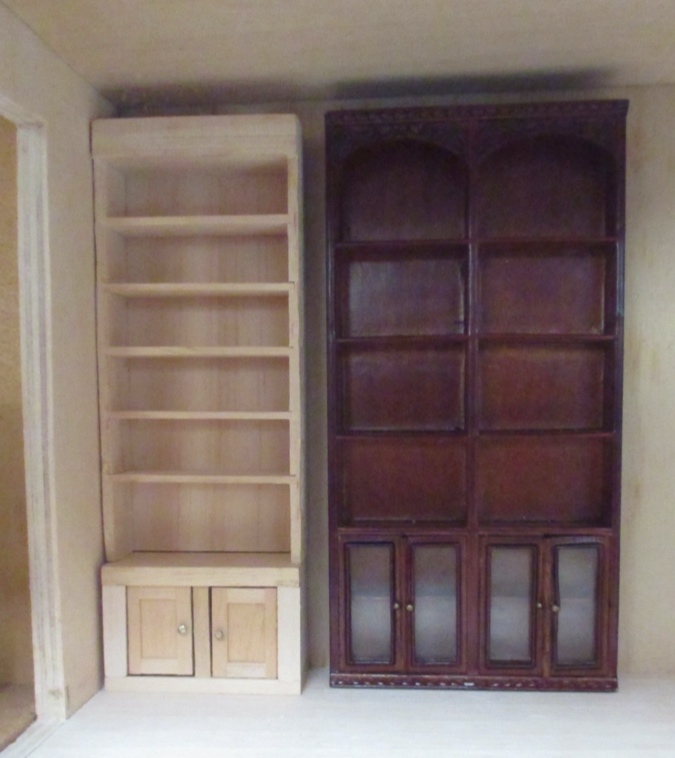
Okay, so if I give up on the idea of using the cabinet in that corner, I could add shelves to either side to hide the splotch. These are Houseworks bookcases that I pulled the trim off of during a short-lived (and never blogged-about) attempt to recreate the Federal fireplace wall at a height that would work in the Mansard Victorian. But if I’m giving up on the corner cabinet anyway, it would be better to put the fireplace along the back wall, so your eye isn’t drawn to that repaired corner.
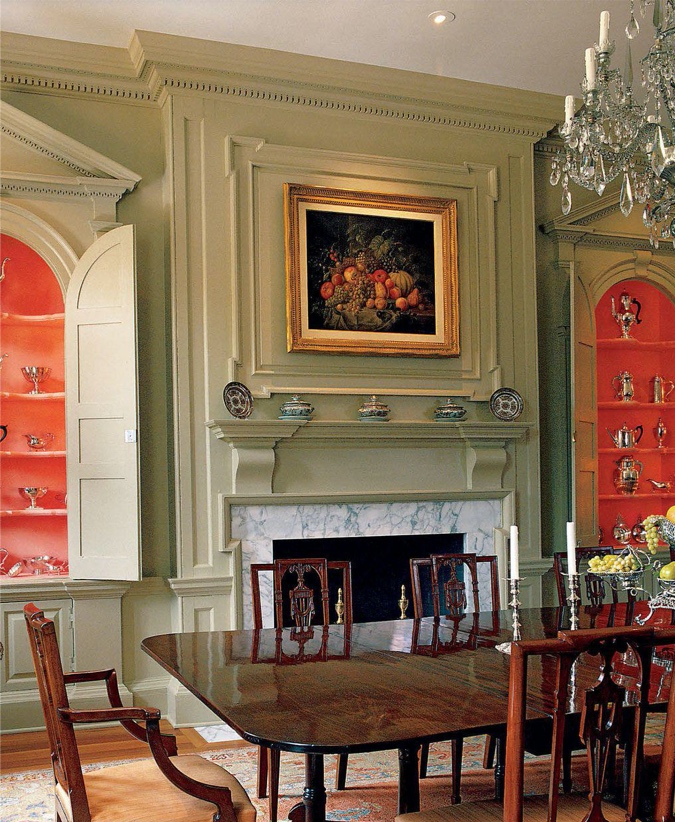
I looked online for pics of Federal fireplaces for inspiration and found this photo.
This got me thinking about the corner cabinet again. The one I wanted to use in this house was finished by Bauder Pine, but I also have several Cassidy Creations kits of the same design that I’m squirreling away for a future roombox project. Could I bash those to sit flat against the wall instead? Sort of like this:
I didn’t like this because they’re so much shorter than the fireplace. The shelving should go all the way to the ceiling.
Next I pulled out these Bespaq Greyford bookcases. These are the double-wide version of the bookcases I used on either side of the window in the Queen Anne Rowhouse stair room.
The height is better, but the wood finish is a problem since I wouldn’t be able make the fireplace match. Plus, this is too wide — I haven’t glued in the room dividers yet, but the entry and the kitchen both need to be a certain width to accommodate the furniture I want to use in there, and this layout wouldn’t leave enough space.
The Bespaq bookcases also feel too fancy for this house, which I want to have a more Colonial/rustic feel with the Bauder Pine and Cassidy Creations furniture.
I spent some time staring at the Houseworks bookcases that are pictured farther up. If only I had some cabinets they could sit on top of…
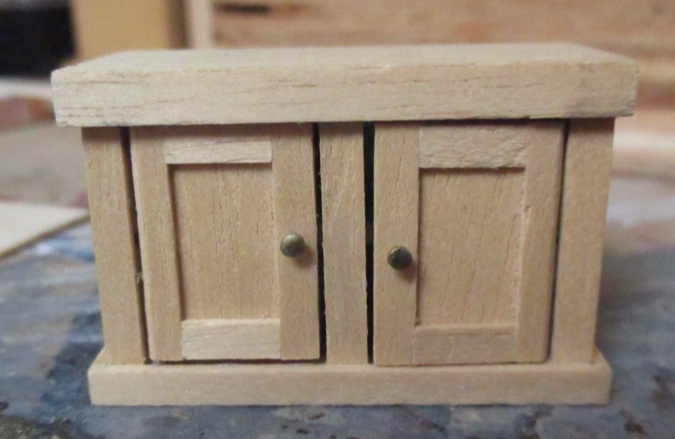
Hmmm… like these, maybe?

These cabinets are made by Shenandoah, a company that had a small line of Shaker-style half scale furniture (as well as 1:12 scale) in the 1980s and 1990s. They also made spindles and modular modern kitchen cabinet kits, and at some point were acquired by Houseworks.
Earlier this year I got several Shenandoah pieces in an eBay purchase, including one of these cabinets. I was pretty sure I had another one from another eBay haul several years ago. But where was it?
I looked in every box and container it could possibly be in and couldn’t find it anywhere. I’d almost given up when I thought to check inside the Bill Lankford thatched cottage, which has a roof that lifts off. When I moved in 2020, I stashed the furniture I planned to someday use in that house inside of it, and there was the cabinet!
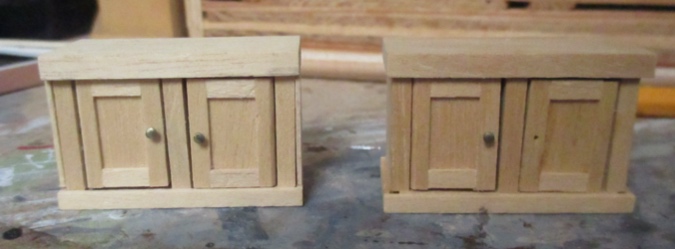
The trim on the cabinet has a 1/16″ overhang that doesn’t work for a built-in.

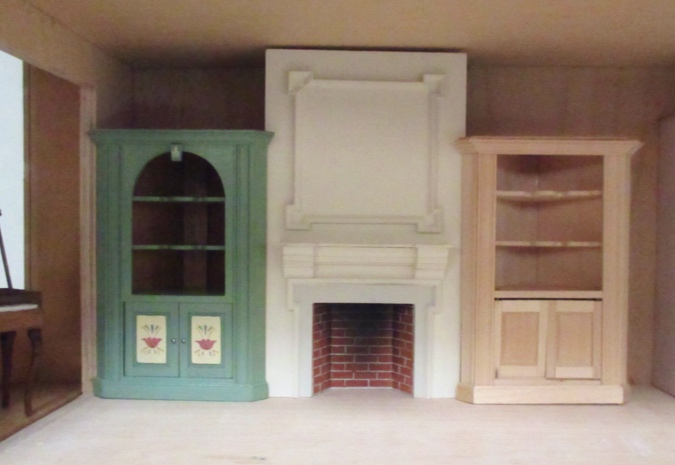
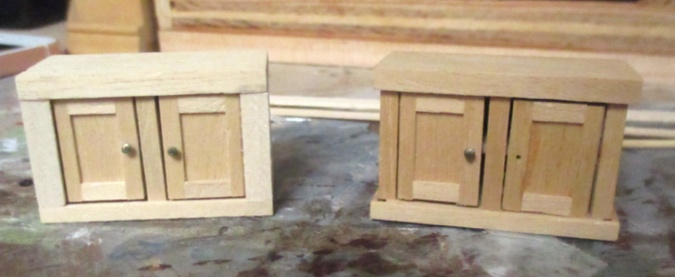
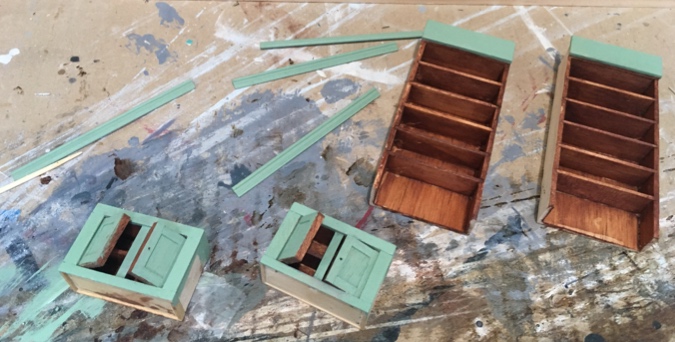
I fixed this in by gluing 1/16″ thick wood to the sides and back. Here you can see the modified cabinet on the left next to the unmodified one on the right. The edges of the filler pieces on the sides are visible from the front.
I added strip wood to the side pieces to cover these up.
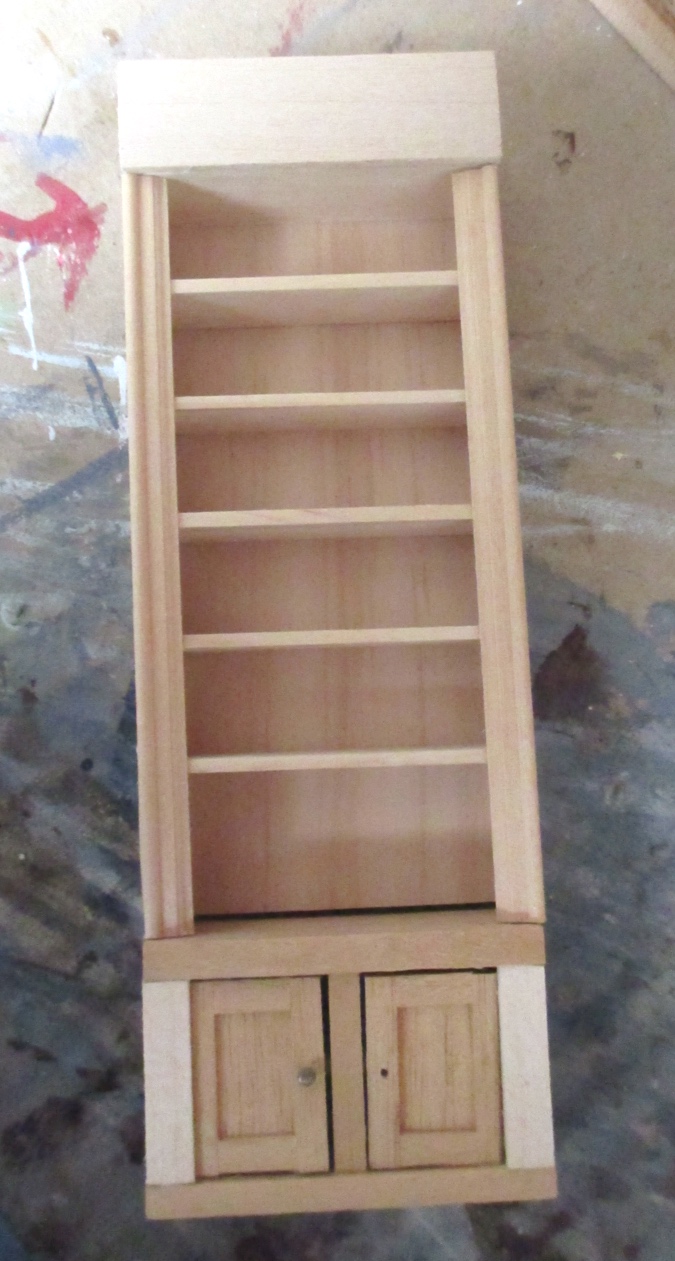
Here’s how my bash looks next to the Greyford bookcase. I wish the cabinet part was a little taller, but the overall height works. The bookcase is turned upside down, with the original top removed so the top of the cabinet forms the first shelf.
When I bashed the bookcases originally, I sanded down the bases (now the tops), which originally had a baseboard-type trim. I glued a piece of 1/2″ basswood to this, to fill in the gap between the bookshelf and the ceiling. I also cut some fancy routed trim to go on the sides.
Here’s how they look (sans side trim). The remaining gap at the top will be covered with crown molding.
By this point I’d accepted that I won’t be able to use the Bauder Pine corner cabinet in this house. It’s a shame because that corner cabinet is iconic Bauder Pine, and I bought it specifically for this house. I have no shortage of dollhouses — I’ll find a space for it somewhere!
Instead I decided to keep that Bauder Pine feel by making these look like the corner cabinet. I don’t have the skill to paint designs on the doors, but at least I can match the stain and paint.
I started with walnut stain on the shelves and inside the cabinets.
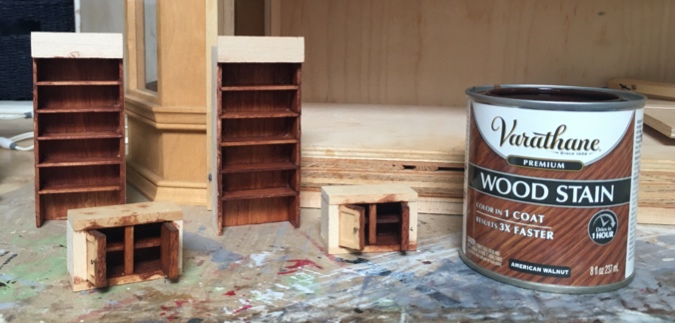
Then I painted them. I brought the corner cabinet to Home Depot to match the paint color.
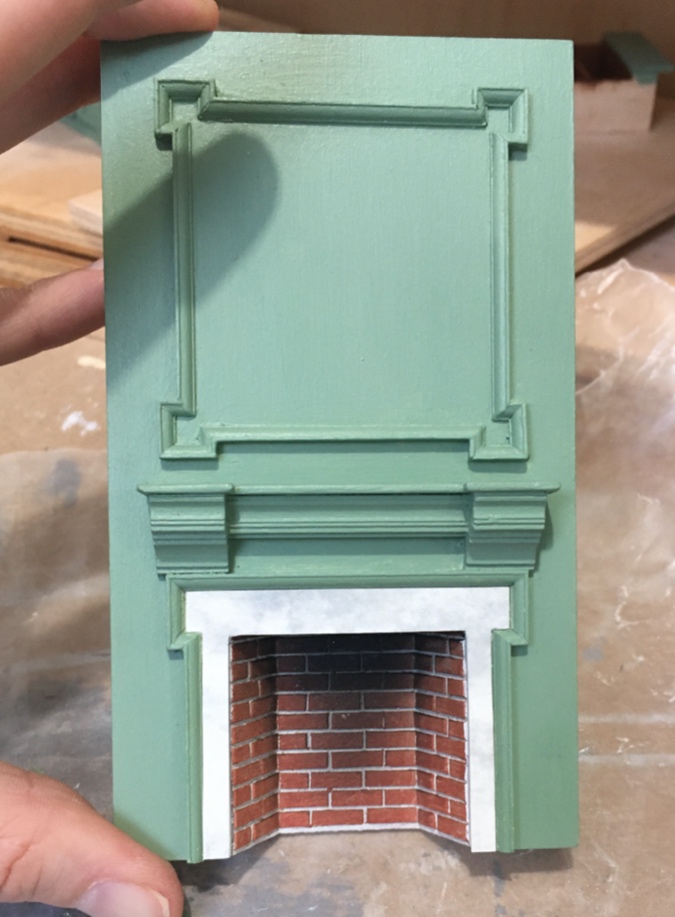
Next I painted the fireplace. I was nervous about ruining it, but it’s more interesting green than it was white. I wasn’t careful around the surround because I intended to cover it up.
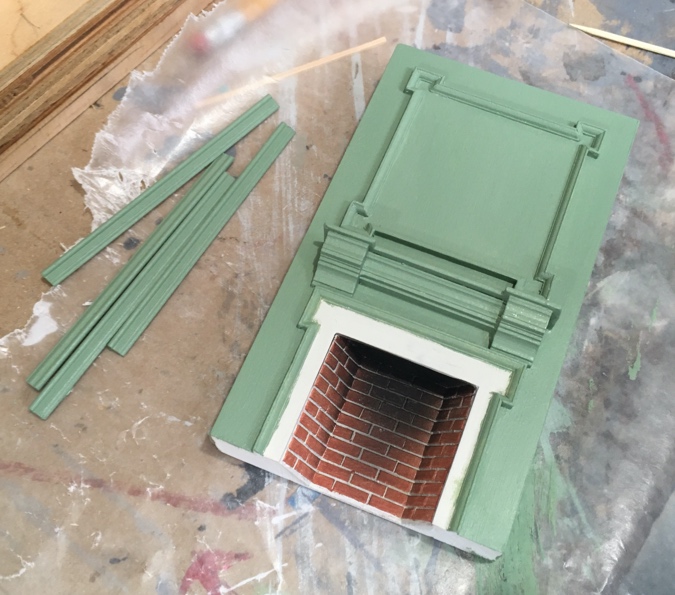
I wanted to tile the surround, and tried a few different things that didn’t work out. (This post is already long so I’ll spare you the details.) I ended up making a “marble” surround that I only realized afterward is similar to the surround in the photo of the real fireplace I posted above.
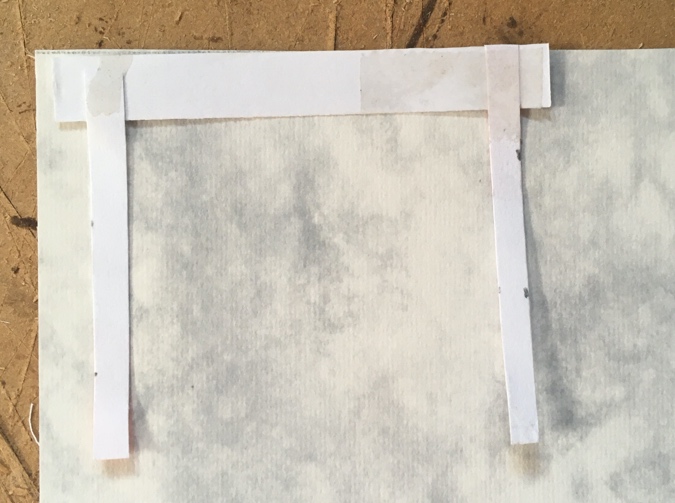
I started by making a paper template of the area.
Then I cut it out from this piece of marble paper I found in my stash.
Using the Xacto knife, I very carefully cut it down until it fit exactly.

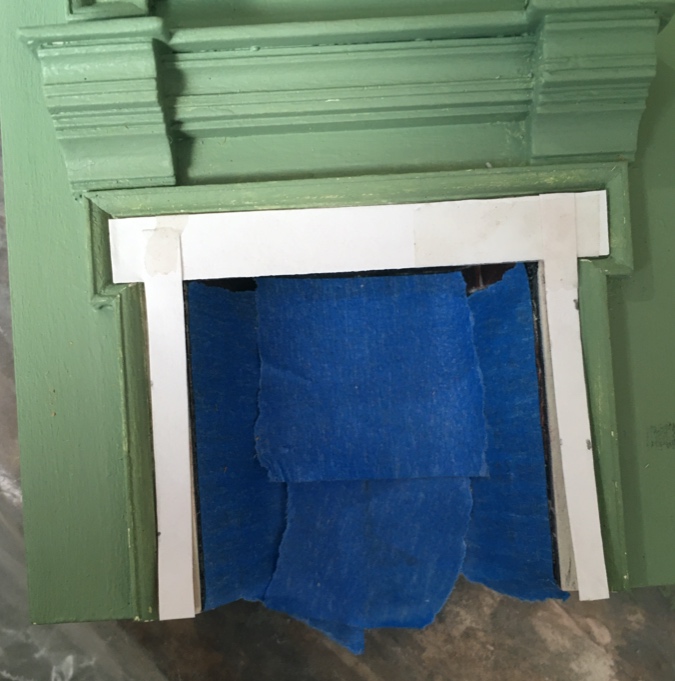
I used satin varnish on the marble paper, did a final paint touch-up on the fireplace, and glued in the surround.
Something about this is bugging me: as part of the failed tile experiment, I painted the edge of the surround black. Before gluing in the surround, I repainted it off-white (to match the marble paper), and the paint got on the exposed edges of the bricks. You can see this on the right side and it looks sloppy. (Nitpick? Moi?) I might try fixing that with some brick-colored paint, but I’m not sure if I can do it without making a bigger mess. Stay tuned.
The fireplace and the cabinet are the same depth, but I want the fireplace to stick out more than the built-ins. I cut pieces of basswood to go behind the fireplace and project it 3/8″ from the wall.
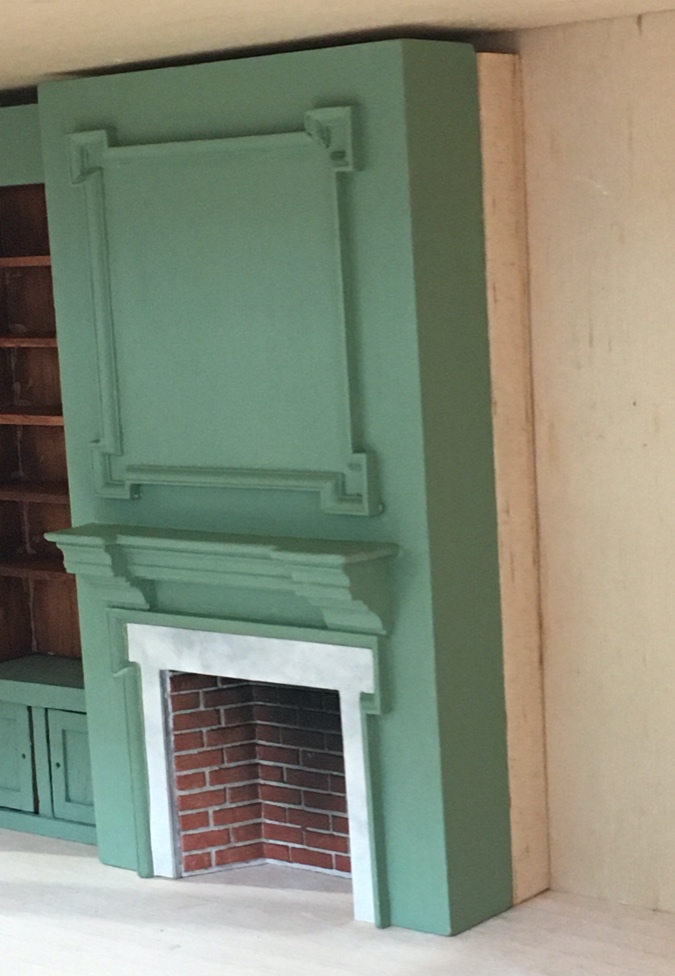
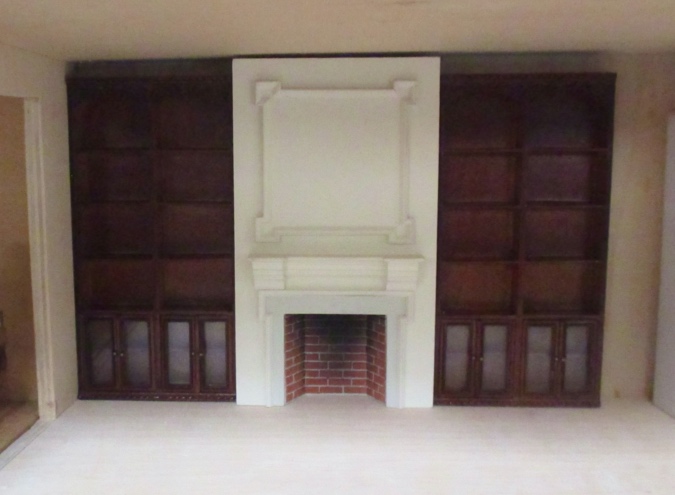
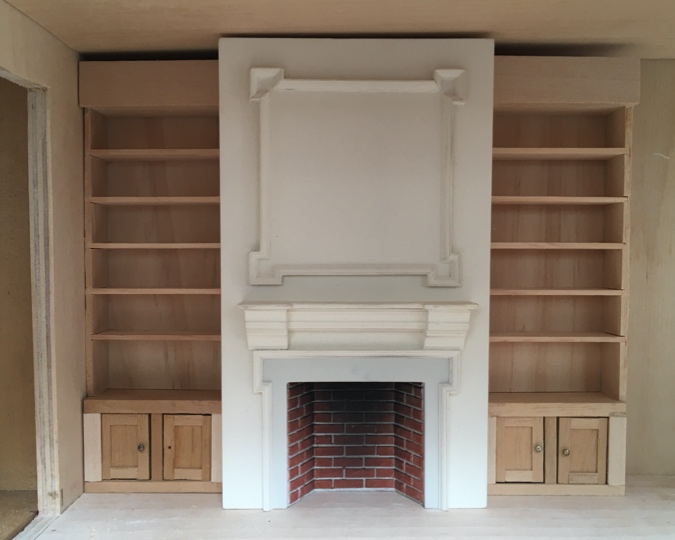
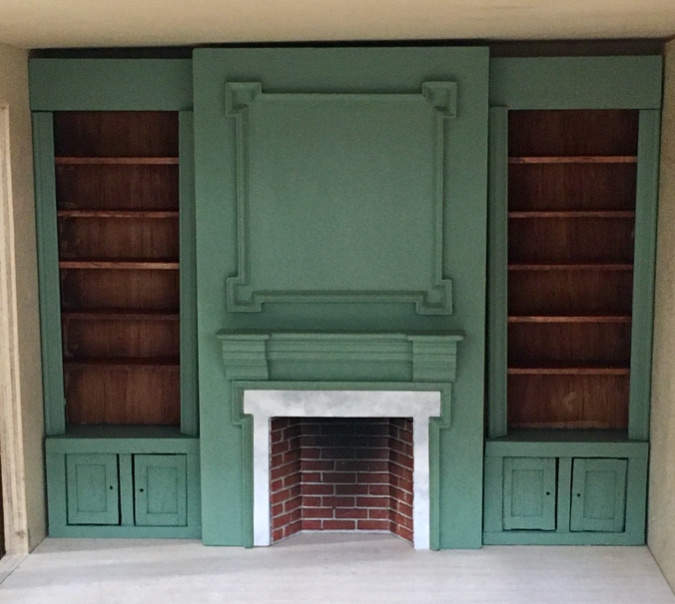
Here’s how it looks all put together (with the vertical trim pieces on the bookcases temporarily set into place). I’m sorry to lose the corner cabinet, but I love how this turned out.
 Emily is a freelance writer, miniaturist, and adventure game enthusiast.


Wow! I am sorry you couldn’t use the Bauder Pine cabinet, but this looks fantastic!
Love the way you keep trying different pieces until the finished look is what you had envisioned…a shame about the corner cabinet not fitting into the room easily but this looks delightfully appropriate and very much in keeping with the inspiration photo. Well done!
The result really is nice and though I’m not a green fan, that is a nice color. You could paint the marble with a feather, too, which works very well. Will that original corner cabinet fit in a bedroom or dining room? One thing I did think: wow you have a lot of bookcases/cabinets! haa! :)