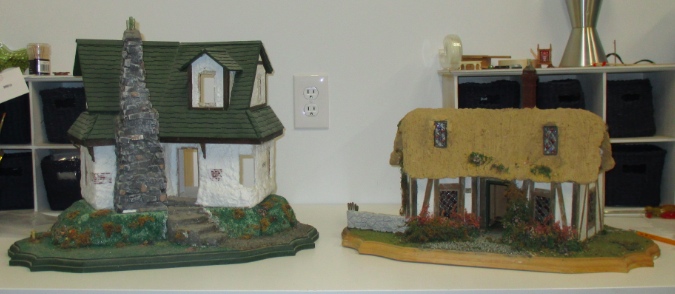
These are two half scale Bill Lankford cottages I bought separately off eBay. The one on the left is officially called “A Place for All Seasons” because it came with two bases, summer and winter, that could be swapped out. (Mine only came with the summer base.) The one on the right is fully enclosed and the roof lifts off to see the inside. They both need some repairs and new landscaping, and the insides are unfinished. Since most of the tasks will be the same for both houses, and they’re small, I decided to tackle them together.
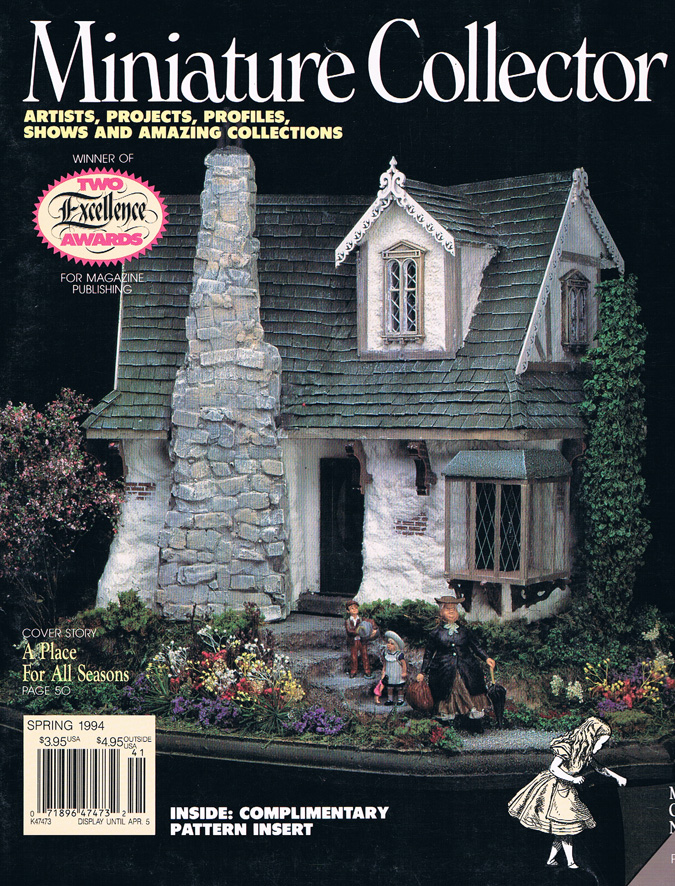
Before I even knew what it was, I dubbed the Place for All Seasons house the Tudor Cottage, so that’s how I’ll be referring to it on the blog. I bought this dollhouse thinking it was made by Bauder Pine because an eBay auction for another one (in much better shape) said so. Then I came across the Spring 1994 issue of Miniature Collector, with this house on the cover, and the magazine credited the house to Bill Lankford. I contacted Bill for more details and he said that the house was once taught in a class at the Philadelphia Miniaturia sponsored by Pat Bauder, but the house is entirely his.
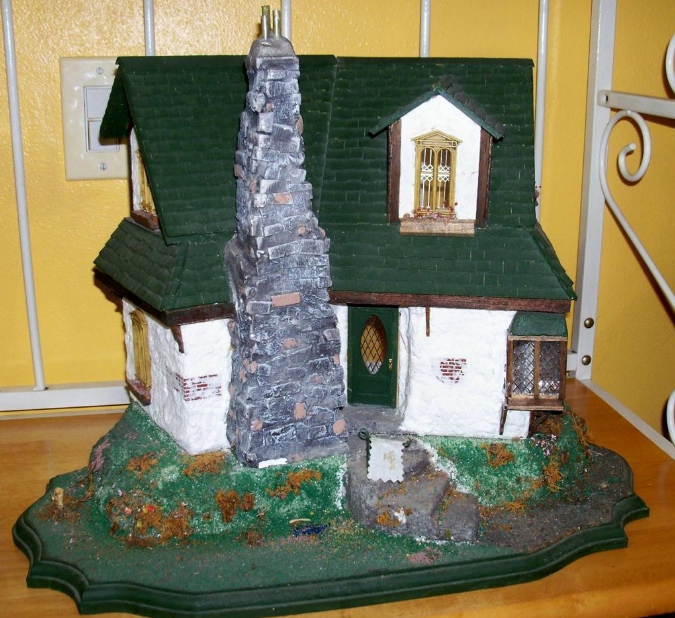
Here’s how the Tudor looked when I bought it. It may be the exact same structure, but mine isn’t nearly as nice as the one in the magazine. (Not yet, anyway!)
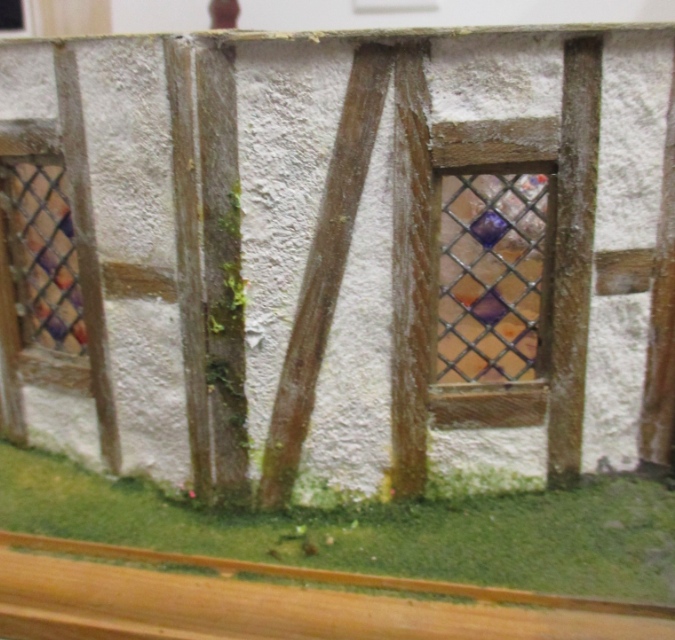
As soon as I unpacked the house I started pulling it apart. I popped out all the windows (one of which had been completely painted over inside), the door, the window boxes, and the bay window thingie. I’m going to replace the glass and make a new door. The bay window was poorly glued in, I can do a better job.
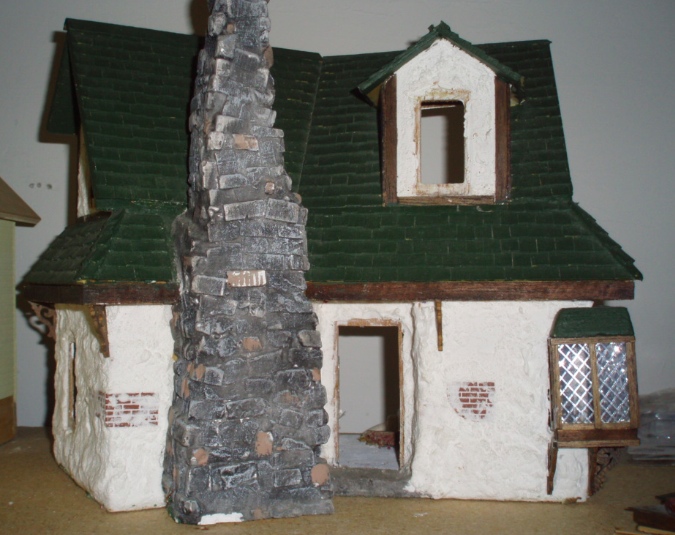
Inside, I’ll add texture to the walls, repaint, and add flooring and trim. I’ll build in an egg carton stone fireplace where the hole is, something like the fireplace in my Little House cabin, but more ornate.
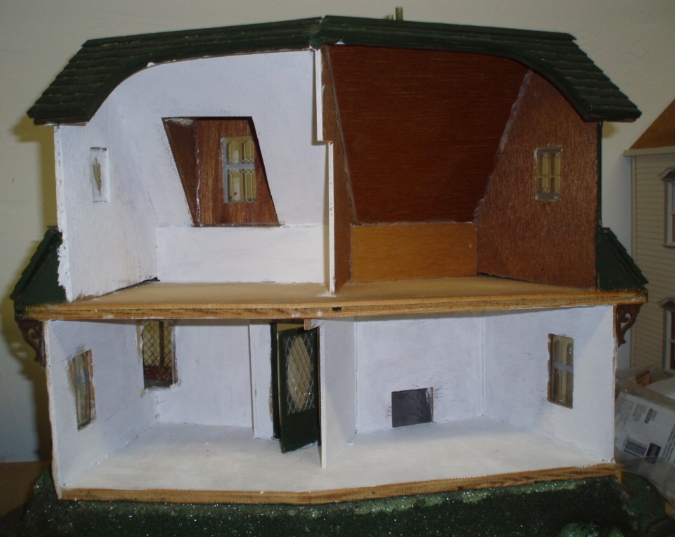
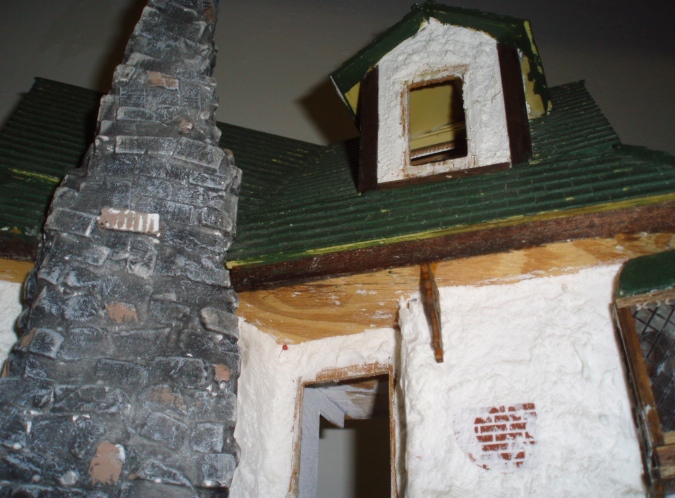
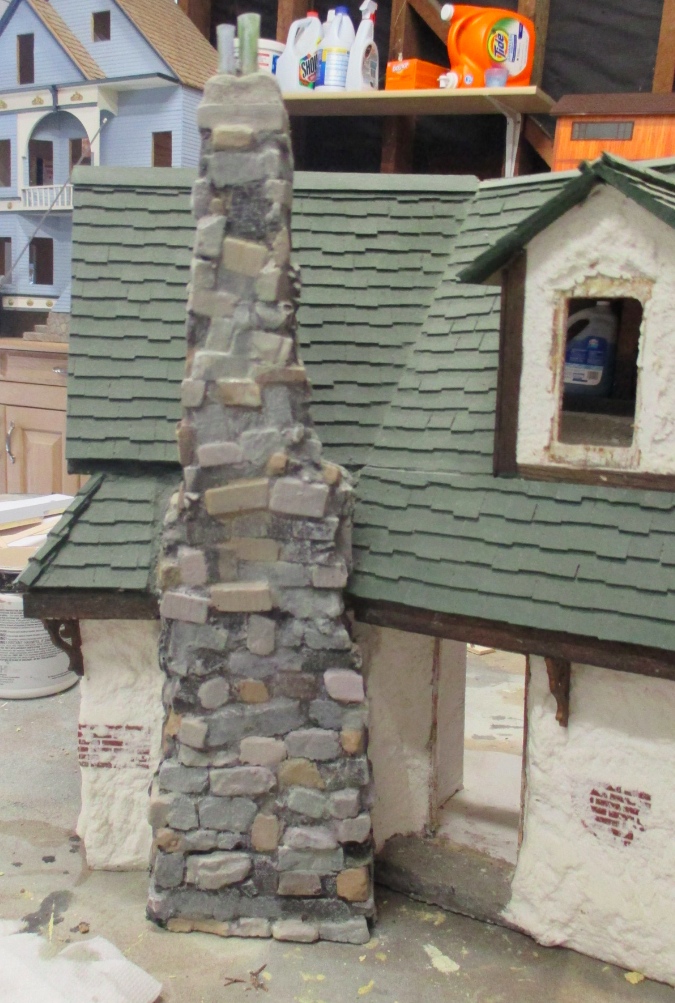
The house isn’t in bad shape, but a lot of things are just sloppy — no paint under the roof, for example. One side of the dormer in the roof is unpainted, too. And the chimney, which seems to be cast in resin, is totally unfinished. It looks like the previous owner started trying to paint it and stopped when they realized they weren’t doing it right.
Besides the one shown in the Miniature Collector article, I’ve found a couple other instances of this dollhouse online, one at LiveAuctioneers and one on eBay finished by Pat Bauder. (I don’t know how long that eBay link will continue to work, since the auction is long over, but for now all the images are still hosted here.) I also saw one a couple of years back at the CHAMPS show in El Cerrito, CA.
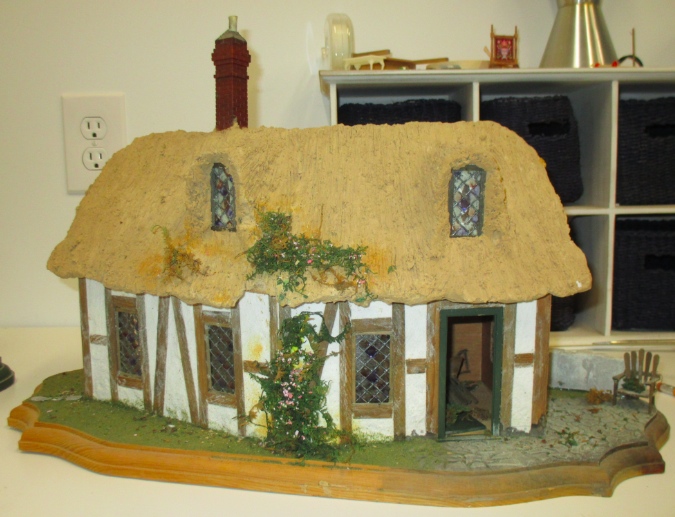
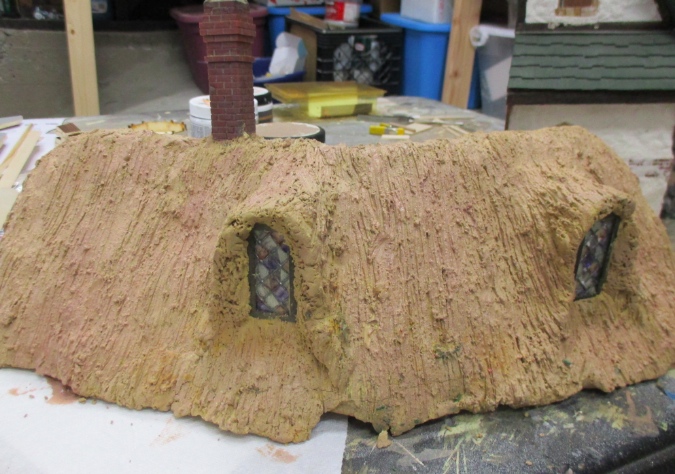
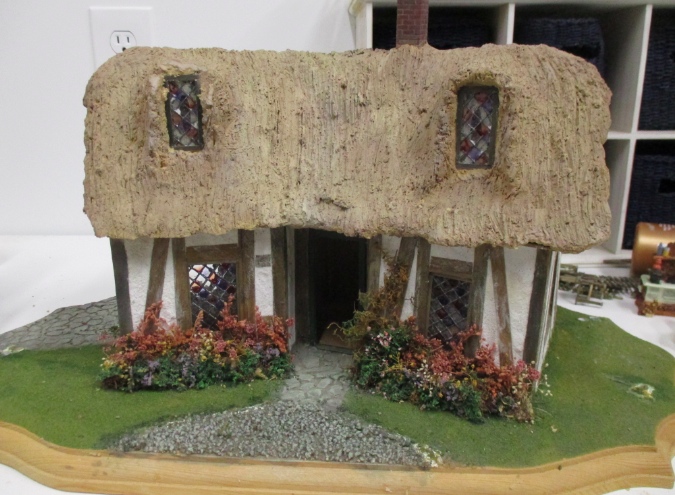
On to the second house. The same Miniature Collector article has a picture of another Bill Lankford dollhouse that looks like a smaller version of my eBay find.
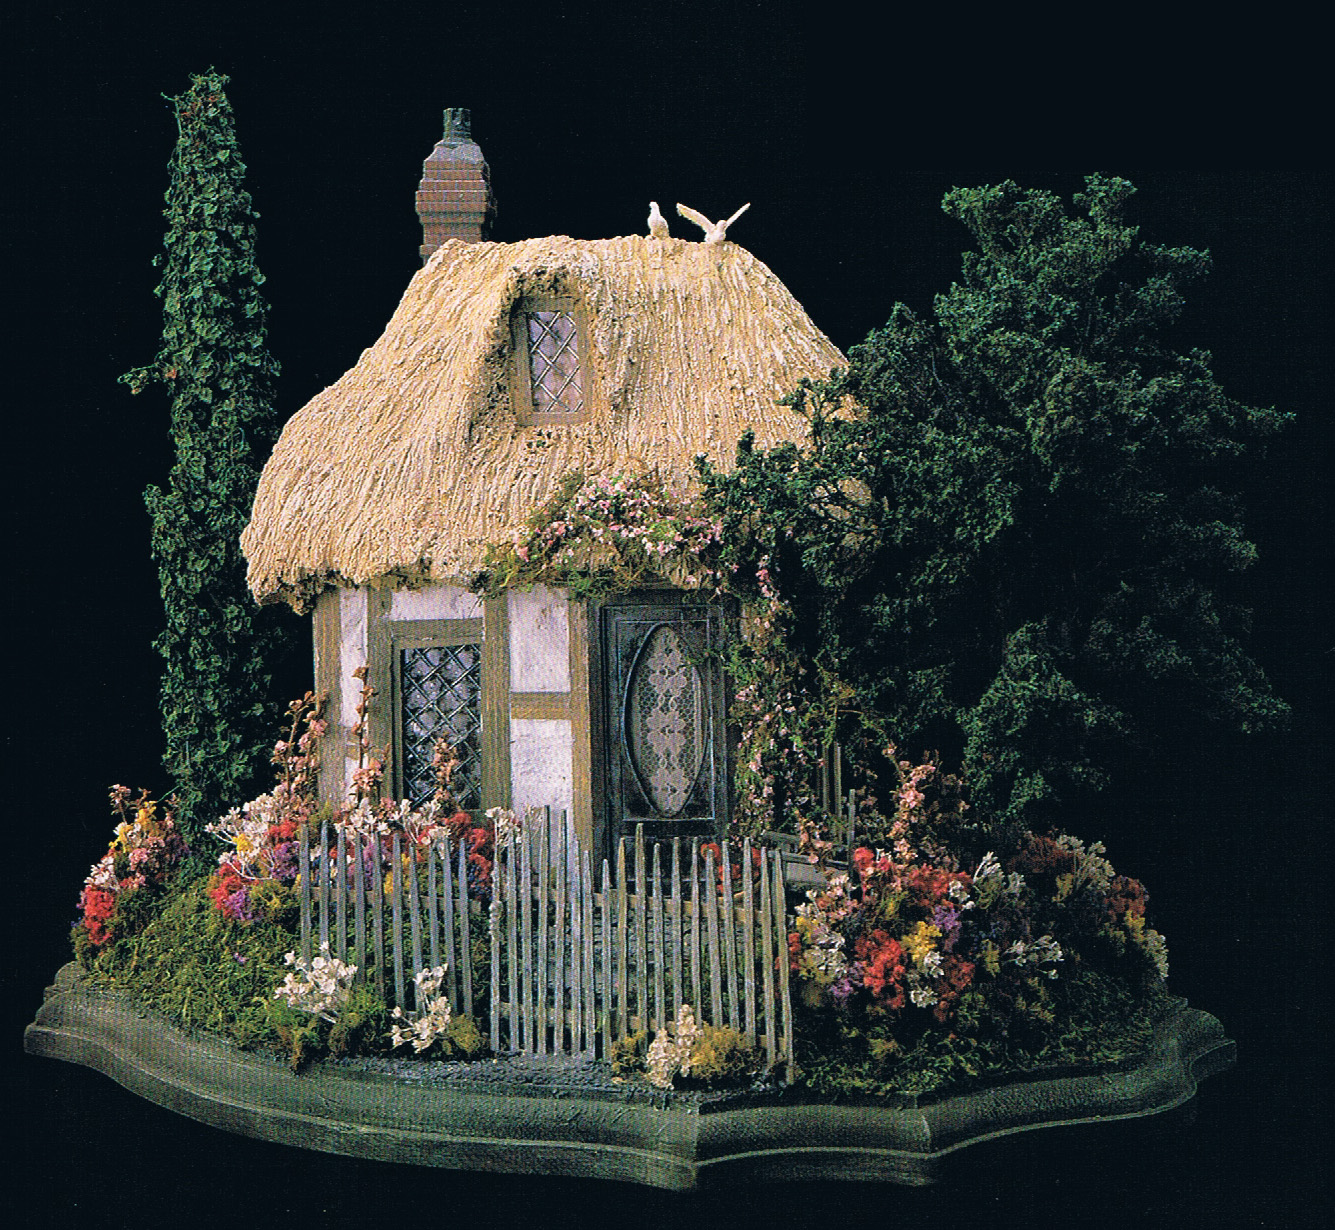
The magazine calls this the English Cottage, but Bill has a totally different English Cottage on his website, so I don’t know if that’s its official name. I’m going to call mine the Thatched Cottage. The seller told me this house was built in a class in October 1993 by a woman who died last fall at age 88.
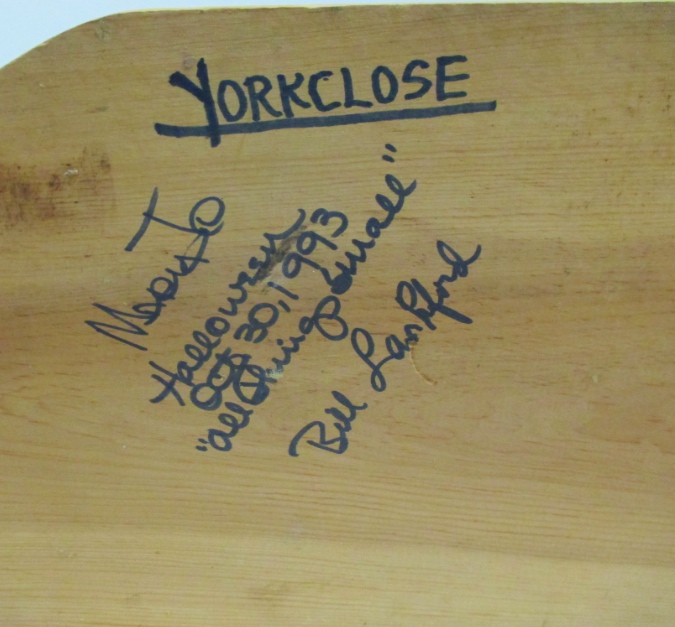
It’s permanently attached to the base, which the original owner signed. The inscription also gives the date and location of the class — All Things Small was the name of the shop. It also says “Yorkclose,” which I’m assuming is the name she gave to the house. Google hasn’t turned up any other dollhouses with that name.
I haven’t found any pictures online that look exactly like this house, but here are some similar ones at LiveAuctioneers, About.com, and Wanna in El Paso’s website.
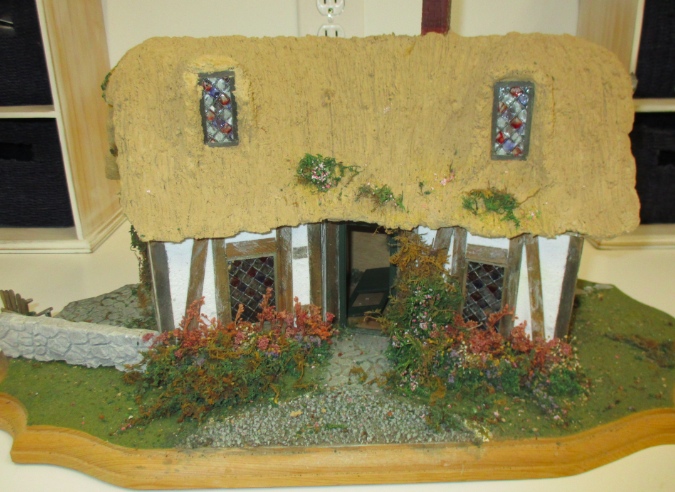
The 20+ year old landscaping was in sad shape to begin with, but it also got damaged in transit, so after snapping these pictures I tore most of it up. I put reusable scraps aside for later and vacuumed up the crumbs with the shop vac.
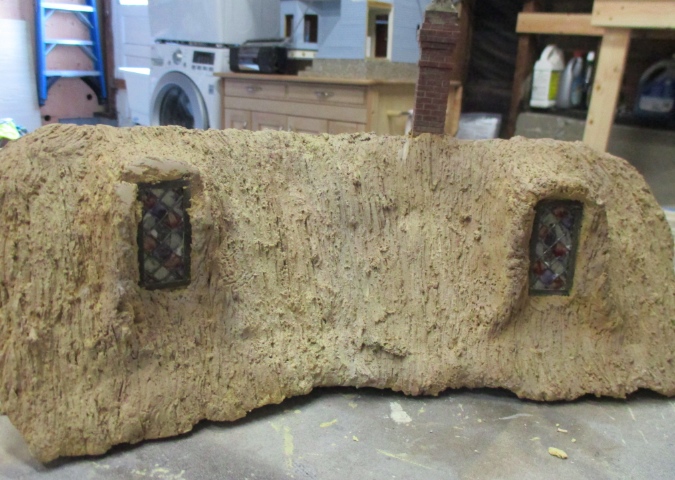
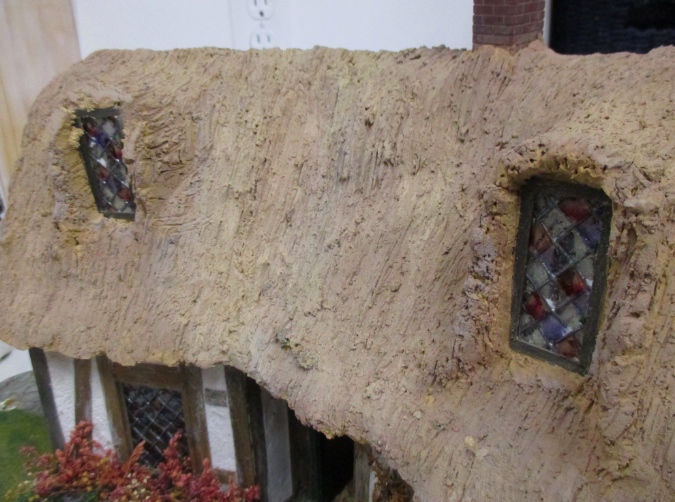
I’ve read that in Bill’s classes he taught how to make faux thatch with spackling compound. The lines were made by running a plastic comb through the wet spackle. I don’t know if it’s always crumbly or if that’s a result of age, but some hunks fell off in transit, including a big one that I glued back on to the bottom of the roof here. There’s still a hunk missing (right under the greenery in this picture), as well as some damage over one of the window bonnets and in a few other places. Rather than try to patch these, I’ll hope to cover up the problem spots with new vines.

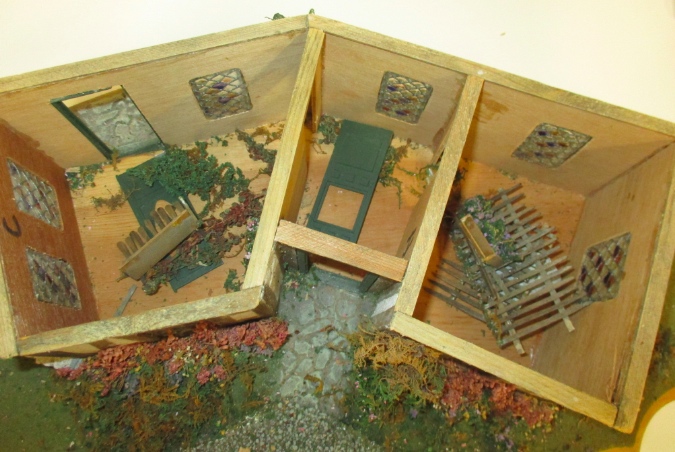
The roof lifts off to reveal three small rooms. They’re pretty tiny — I’m not even sure what furniture I’ll be able to fit in here. These fence pieces, doors, etc. fell off when the house was shipped to me. Again, I’ll hold onto them, but I’m not sure if I’ll end up using them.
The exterior has some discoloration from glue.
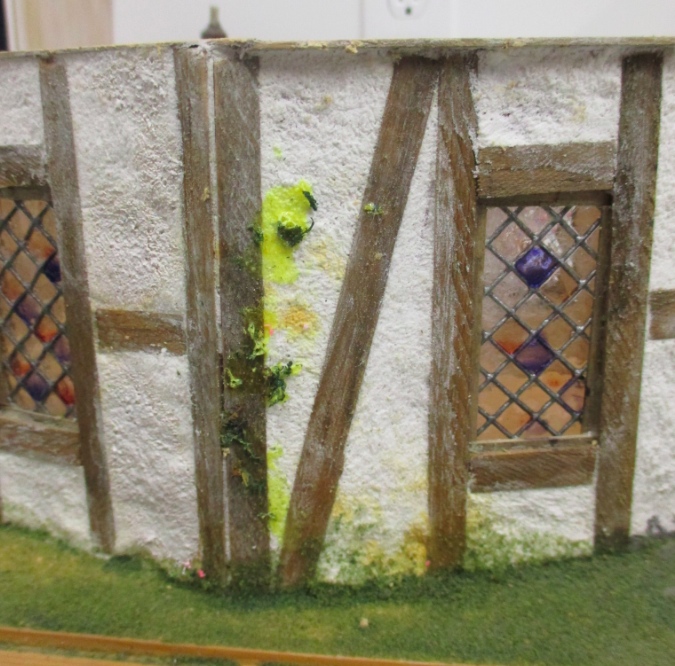
I did my best to cover up these spots with white paint, and will also use strategic landscaping to hide them.
The yellowish roof was bothering me, so after cleaning up the base as much as possible, that’s the first thing I tackled. I made several washes by watering down different shades of brown and gray paint. Here’s the roof after a couple of shades were applied. The dark brown came out kind of purple — not what I was expecting!
And here it is after a few more shades. I dirtied up the brick chimney with the same washes.
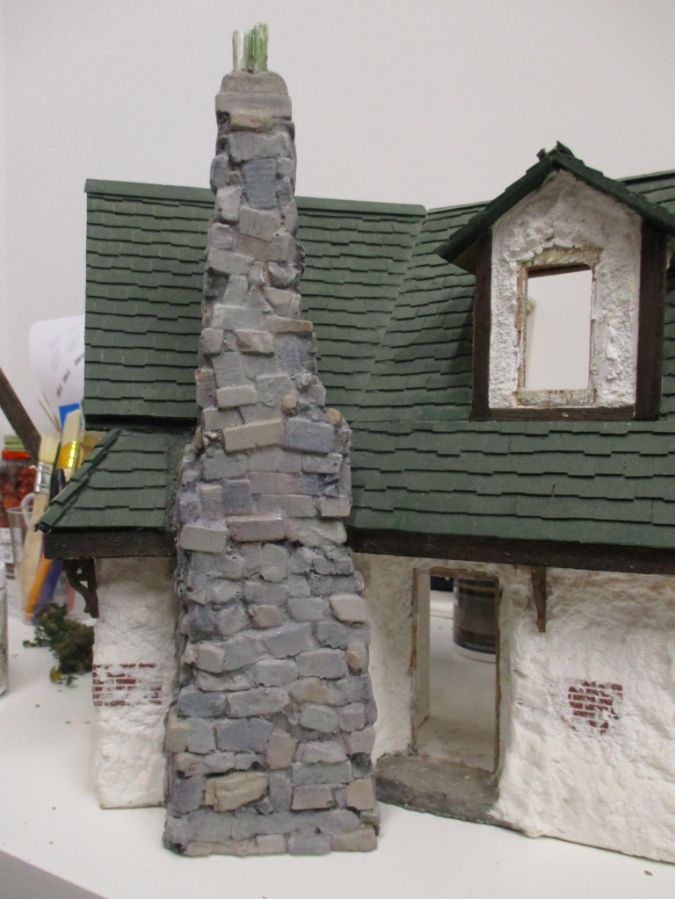
I’m not sure if I like this — I might want to try some darker browns — but I decided to let it sit for a while. The washes do add nice shading, so it’s no longer that fake-looking uniform color. In real life it’s a little darker than it looks in the pictures.
And here it is back on the house. Those plants in front of the house are firmly glued in and not in bad shape, so I left them. The rest will get re-greenified, possibly including a vegetable garden and a wishing well. (Wanna in El Paso has both a veggie garden and a well in her Mother Goose Cottage, which I linked to above… I honestly don’t know if I came up with the idea on my own or saw them on her website first!)
I used some of the same washes I’d made for the thatch, plus some additional shades, on the chimney stones. At one point during the process it looked like this — too candy colored, so I scaled it back.
Here’s what I ended up with. Again, I’m going to let it sit a little while before I decide if it’s really done.
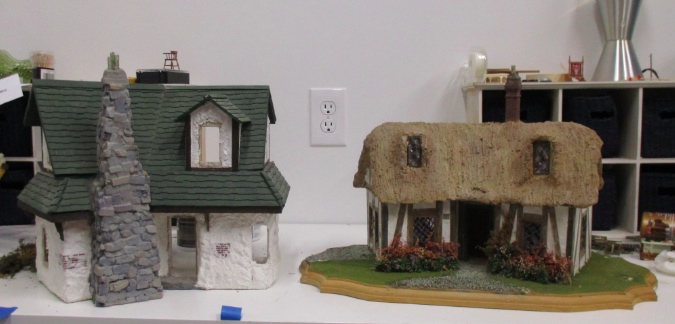
Here are the two houses at the end of an afternoon’s work. They look better already!
 Emily is a freelance writer, miniaturist, and adventure game enthusiast.


These houses are well on their way to becoming the little beauties that they should be…even after an afternoon of work they look so much better than when you received them. It can be challenging to jump into a project that has been started by someone else but the direction you are taking them is lovely…looking forward to seeing additional photos and descriptions of how you will get them to their finished state. Great job so far!
I just received the Cottage For All Seasons from a lady in our miniature group who had attended the class The outside looks nice, except for some plaster near the chimney. Looks like all the windows are included the corner window is included, but off. No base. The inside needs refinishing. Not that familiar with half scale, as I mostly work in 1/12. I have this issue in my magazine stash, going to dig through and find it. Looks like I will need a chimney top. Best wishes on your house redo. I wonder how many of these are out there?
Congratulations! There’s a nice one on eBay right now if you want inspiration: https://www.ebay.com/itm/203585471424
The pipes sticking out of the chimney are just painted tubing or drinking straws, you could easily make your own.
I took a class w Bill 20 years ago. Built his Harry Potter house…. twice. One for each of my kids who neither turned out to be Harry Potter fans. Going to do some repairs this summer and then Raffle them off online. They’re 1:12 scale, roughly 32 × 30 x 18
Ooh, lucky you! I would have loved to take a class with him.