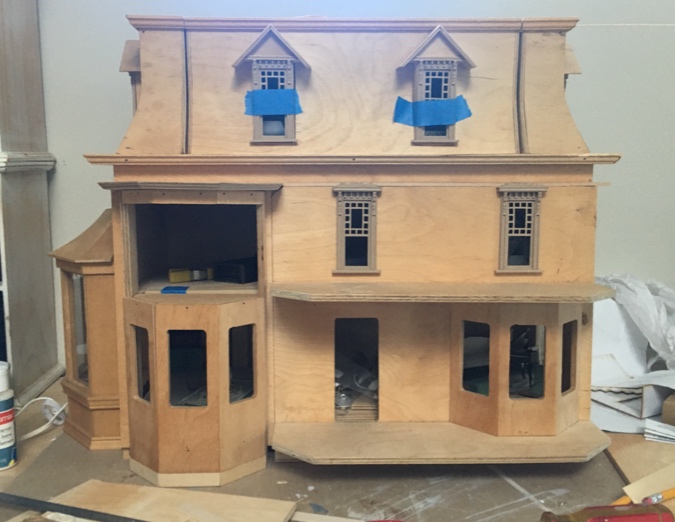
To accommodate the addition I’m adding to the side of the Mansard Victorian, I had to add 1/2″ of depth to the house. I started by gluing 1/2″ strip wood to the front edges of the house and top edge of the front panel, as described here.
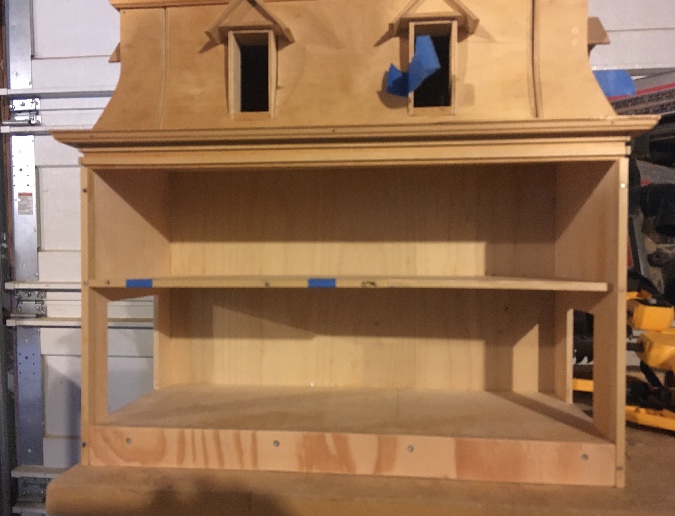
The front panel now sits 1/2″ out from the front of the house, creating a space between the top of the panel and the bottom of the roof. It looks odd since it’s no longer flush with the front panel, and needs some kind of trim to make it seem more deliberate.
This space is 11/16″ tall — slightly too small for 3/4″ molding and slightly bigger than 5/8″ molding — and that height isn’t consistent across the front of the house due to the top of the bay window being not quite level.
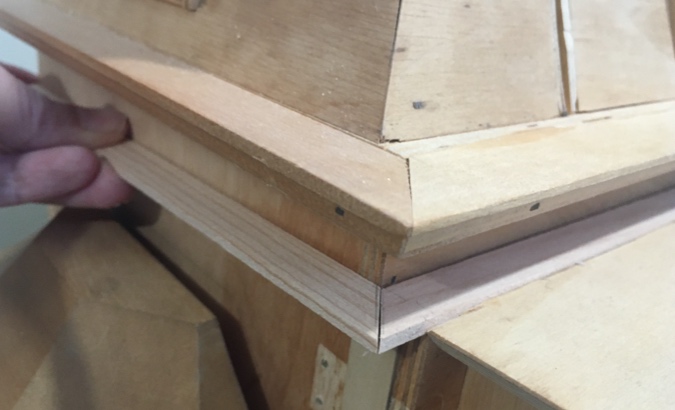
Rather than try to cut a piece of wood to fit exactly, I glued on two smaller pieces of strip wood at the top and bottom of the space that needs to be filled. This allowed me to position the bottom piece so it ends right above of the front panel, even though it’s not quite straight. I’ll glue decorative trim on top of these.
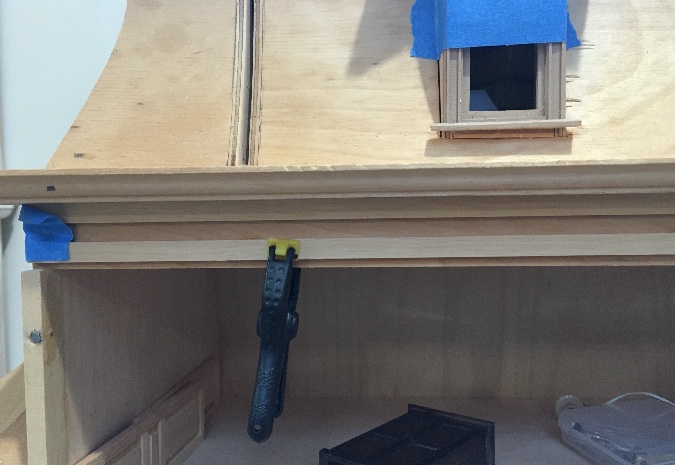
The wood wraps around the sides of the house, and the decorative trim will too.
I spent a long time looking for molding that could fit in that space and finally landed on this 5/8″ laser trim by Alessio Miniatures. I ordered it from Earth & Tree and they accidentally sent me the wainscot version of the same trim, which is much bigger!
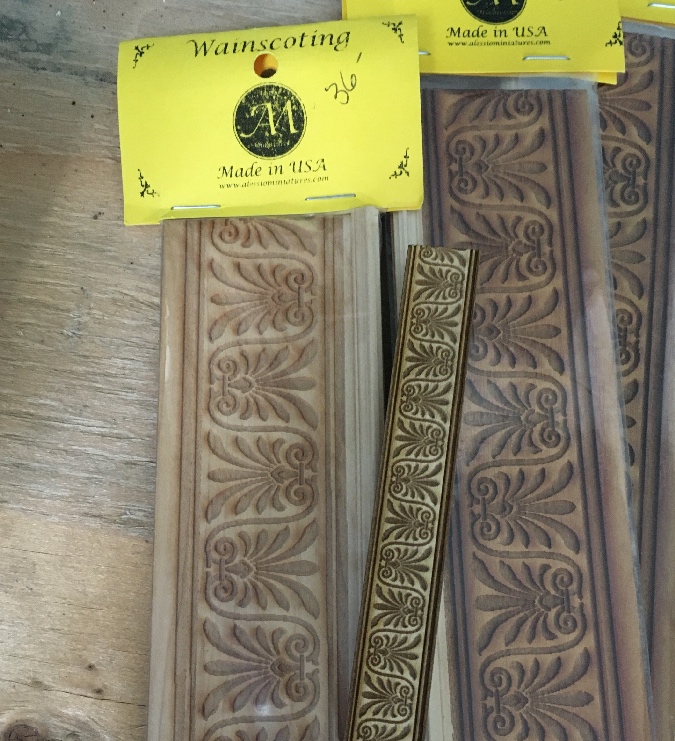
(Their customer service was great. They sent me the replacement trim along with a prepaid UPS label to return the wainscot pieces.)
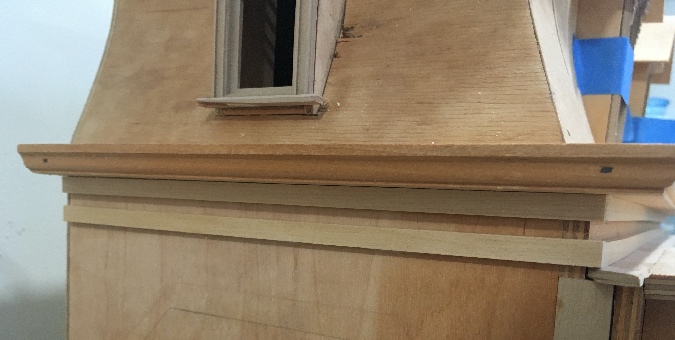
Here’s how it will look on the house. I’ll center it on the strip wood pieces, and the paint the 1/32″ crack above and below the trim to match. The design kind of gets lost in the shadow, so I might add another layer of strip wood first, to bump the trim out farther. But I’ll worry about this later, once I’m farther along with the exterior.

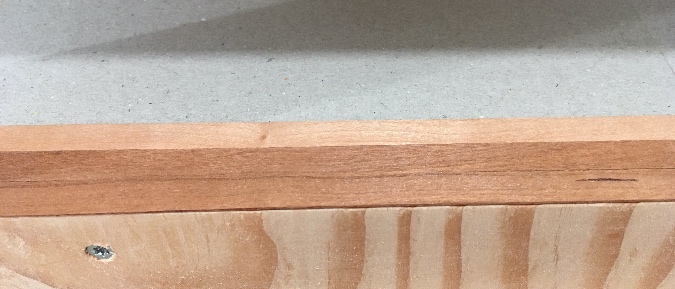
A piece of 1/2″ wood is also needed on the front of the base. This was not a standard height so Geoff cut me a piece of plywood.
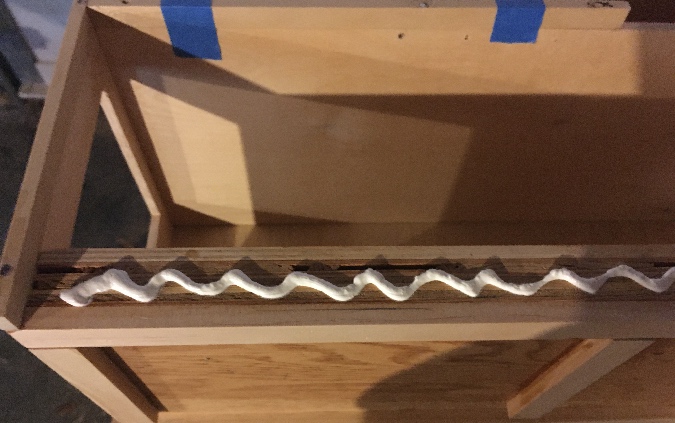
We glued it on with construction adhesive.
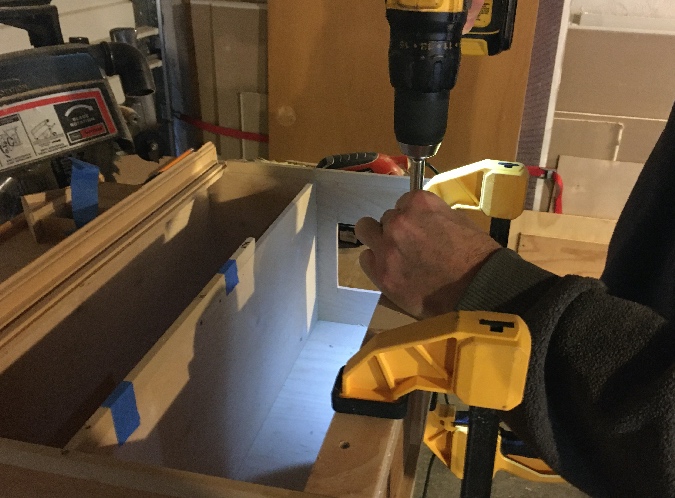
The piece was slightly warped and we were having trouble clamping to achieve a tight fit, so he added some screws.
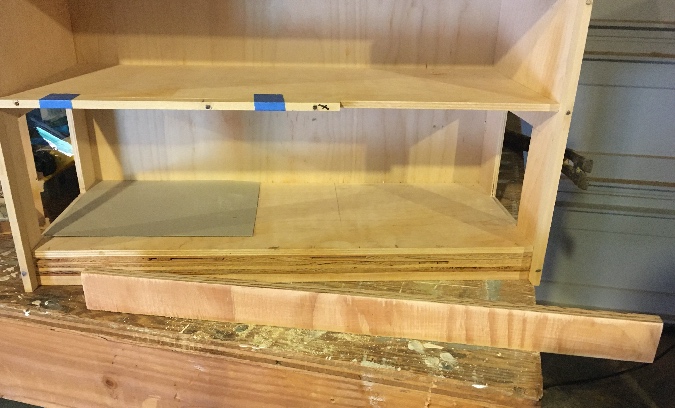
Here’s the house with that piece attached. As you can see, the second floor (which has a scrap piece of 1/2″ wood taped to its left side in this picture) is warped, with a hump in the middle.
Eventually this will get glued to the walls below, which will force it to flatten out. I’m not ready to do that yet, but I wanted to make sure the floor was straight when I attached the 1/2″ strip to the front of it.
I lay the house down on its back, put the walls in place (without any glue), and clamped. Then I added wood glue to the 1/2″ strip, slid it in under the clamps, and taped it to the floor while the glue dried.
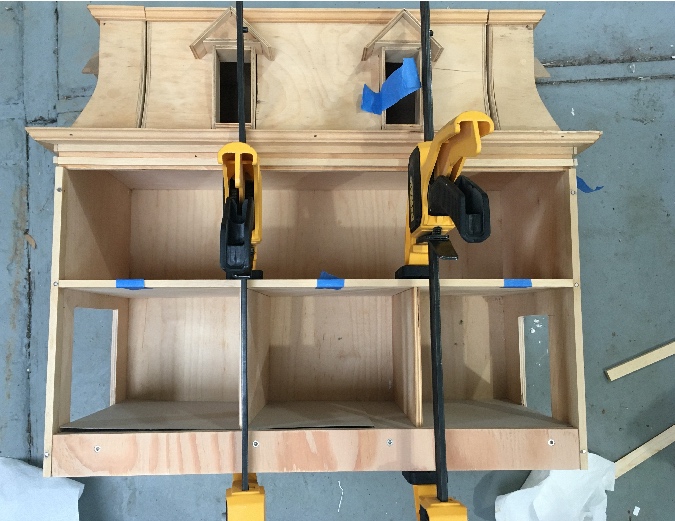
That already looks better.
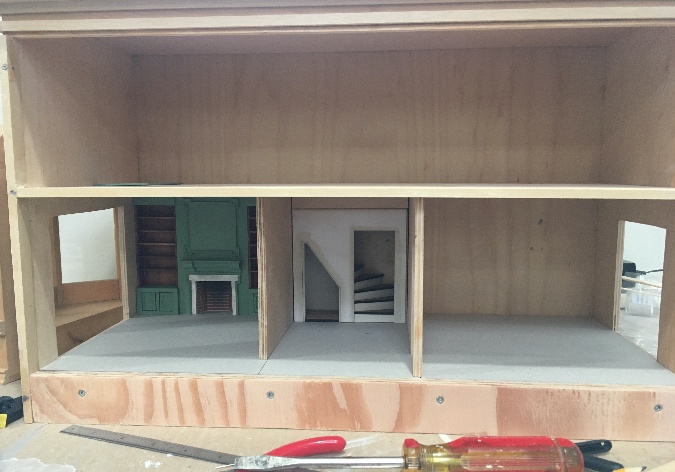
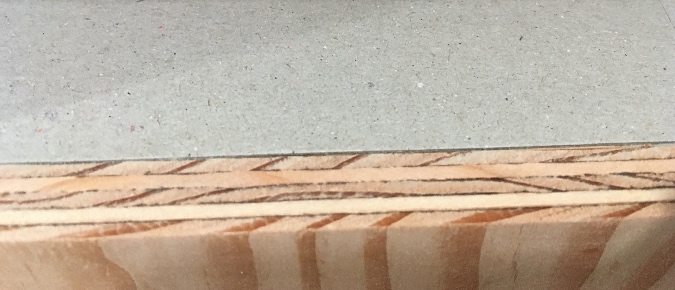
I have pieces of cardboard on the first floor since the floor is slightly lower than the floor of the bay window addition. We kept that in mind when cutting the piece of wood for the base, so the cardboard butts up against it rather than running on top of it.
Here’s how it’ll look with floorboards on it. I did it this way so you won’t see the edge of the cardboard sandwiched between the floorboards and the base.
That’s all for now. I’m itching to work on the interior, but first I want to finish the front edges of the walls, second floor, and base, so I don’t later have to worry about making a mess on the wallpaper/flooring/ceiling paper. This means figuring out what I actually want to do with the exterior. I have some ideas, but I’ll save those for a future post.
 Emily is a freelance writer, miniaturist, and adventure game enthusiast.


Wow! Great detail and skill, as always. Excellent progress!
This is coming along really nicely. I love that trim!
Really like that trim. This is going to be a nice house!